> ## Documentation Index
> Fetch the complete documentation index at: https://docs.noimosai.com/llms.txt
> Use this file to discover all available pages before exploring further.
# Contacter le service client
> Envoyez une demande d’assistance avec la bonne catégorie et des détails clairs pour obtenir une réponse plus rapide.
## Aperçu
Utilisez ce parcours lorsque vous avez besoin d’une aide directe de l’équipe support de NoimosAI.
Les réponses sont envoyées à votre adresse e-mail, et l’interface actuelle indique un objectif de réponse sous 24 heures.
## Quand contacter l’assistance
* Quand les paramètres ou le comportement d’un agent ne fonctionnent pas comme prévu.
* Quand vous avez besoin d’aide pour la facturation ou des changements de compte.
* Quand vous rencontrez des problèmes techniques, comme une erreur de connexion ou un bug produit.
* Quand vous souhaitez envoyer une demande de fonctionnalité ou une demande générale.
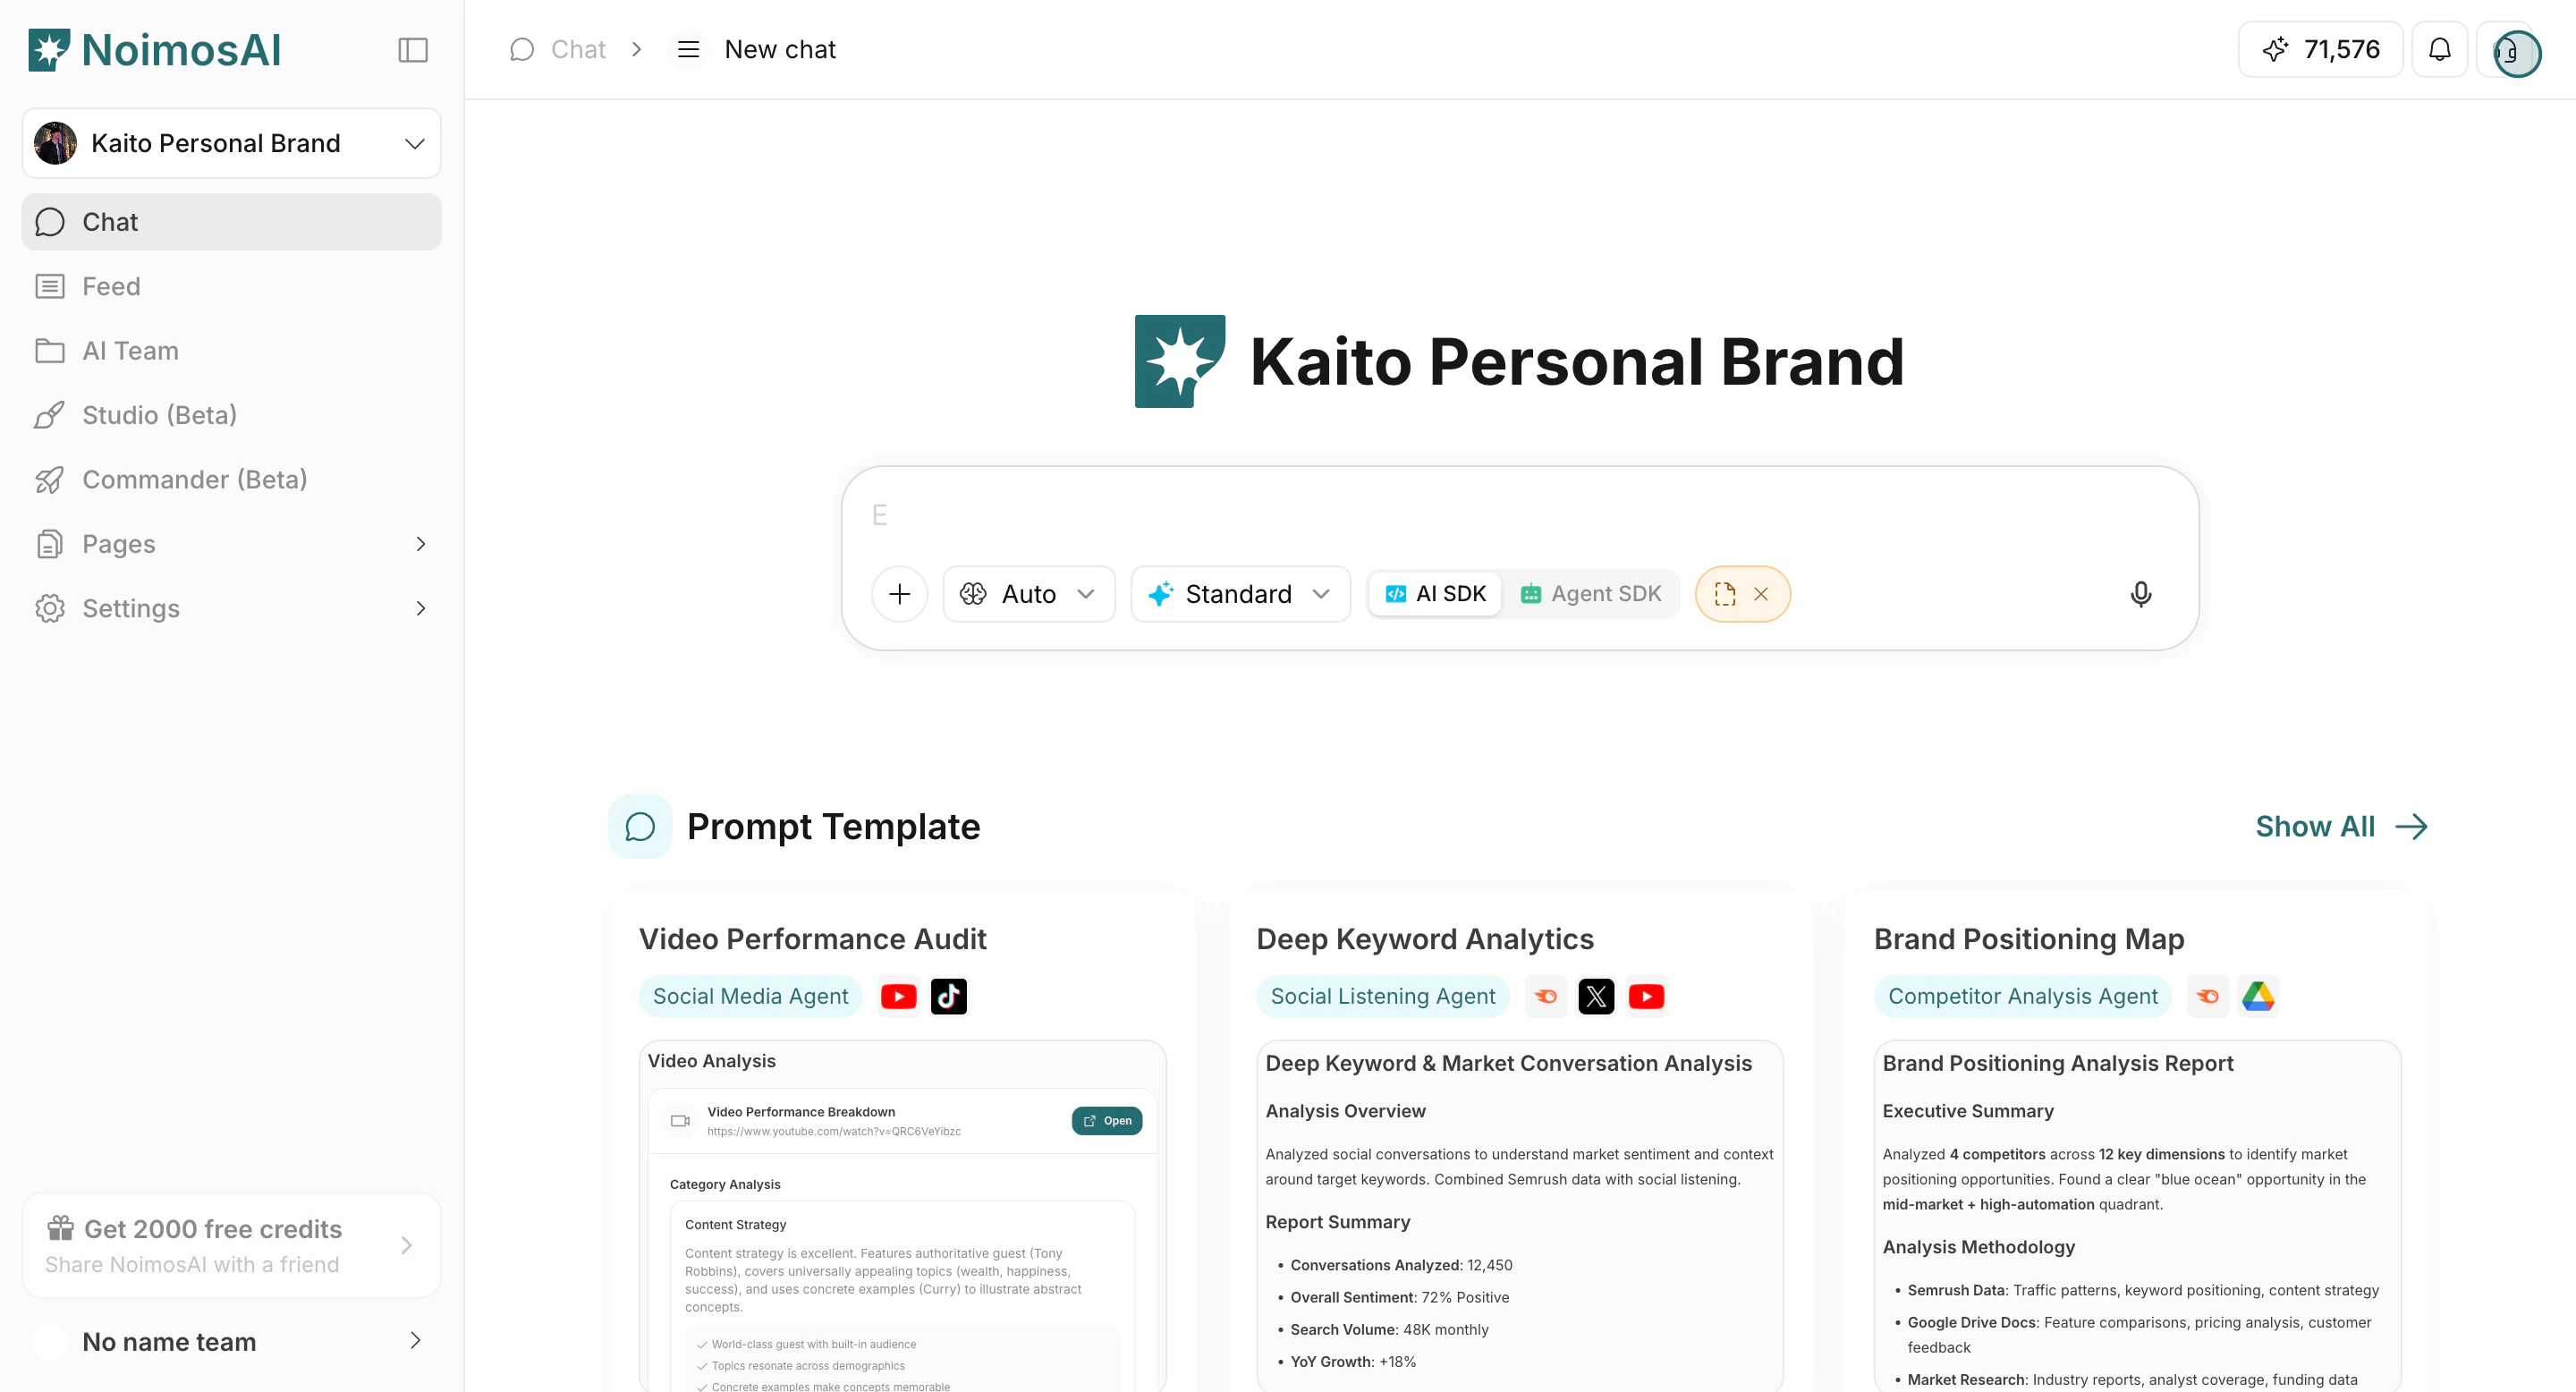 ## Envoyer une demande d’assistance
1. Cliquez sur l’icône d’assistance en haut à droite de l’application.
## Envoyer une demande d’assistance
1. Cliquez sur l’icône d’assistance en haut à droite de l’application.
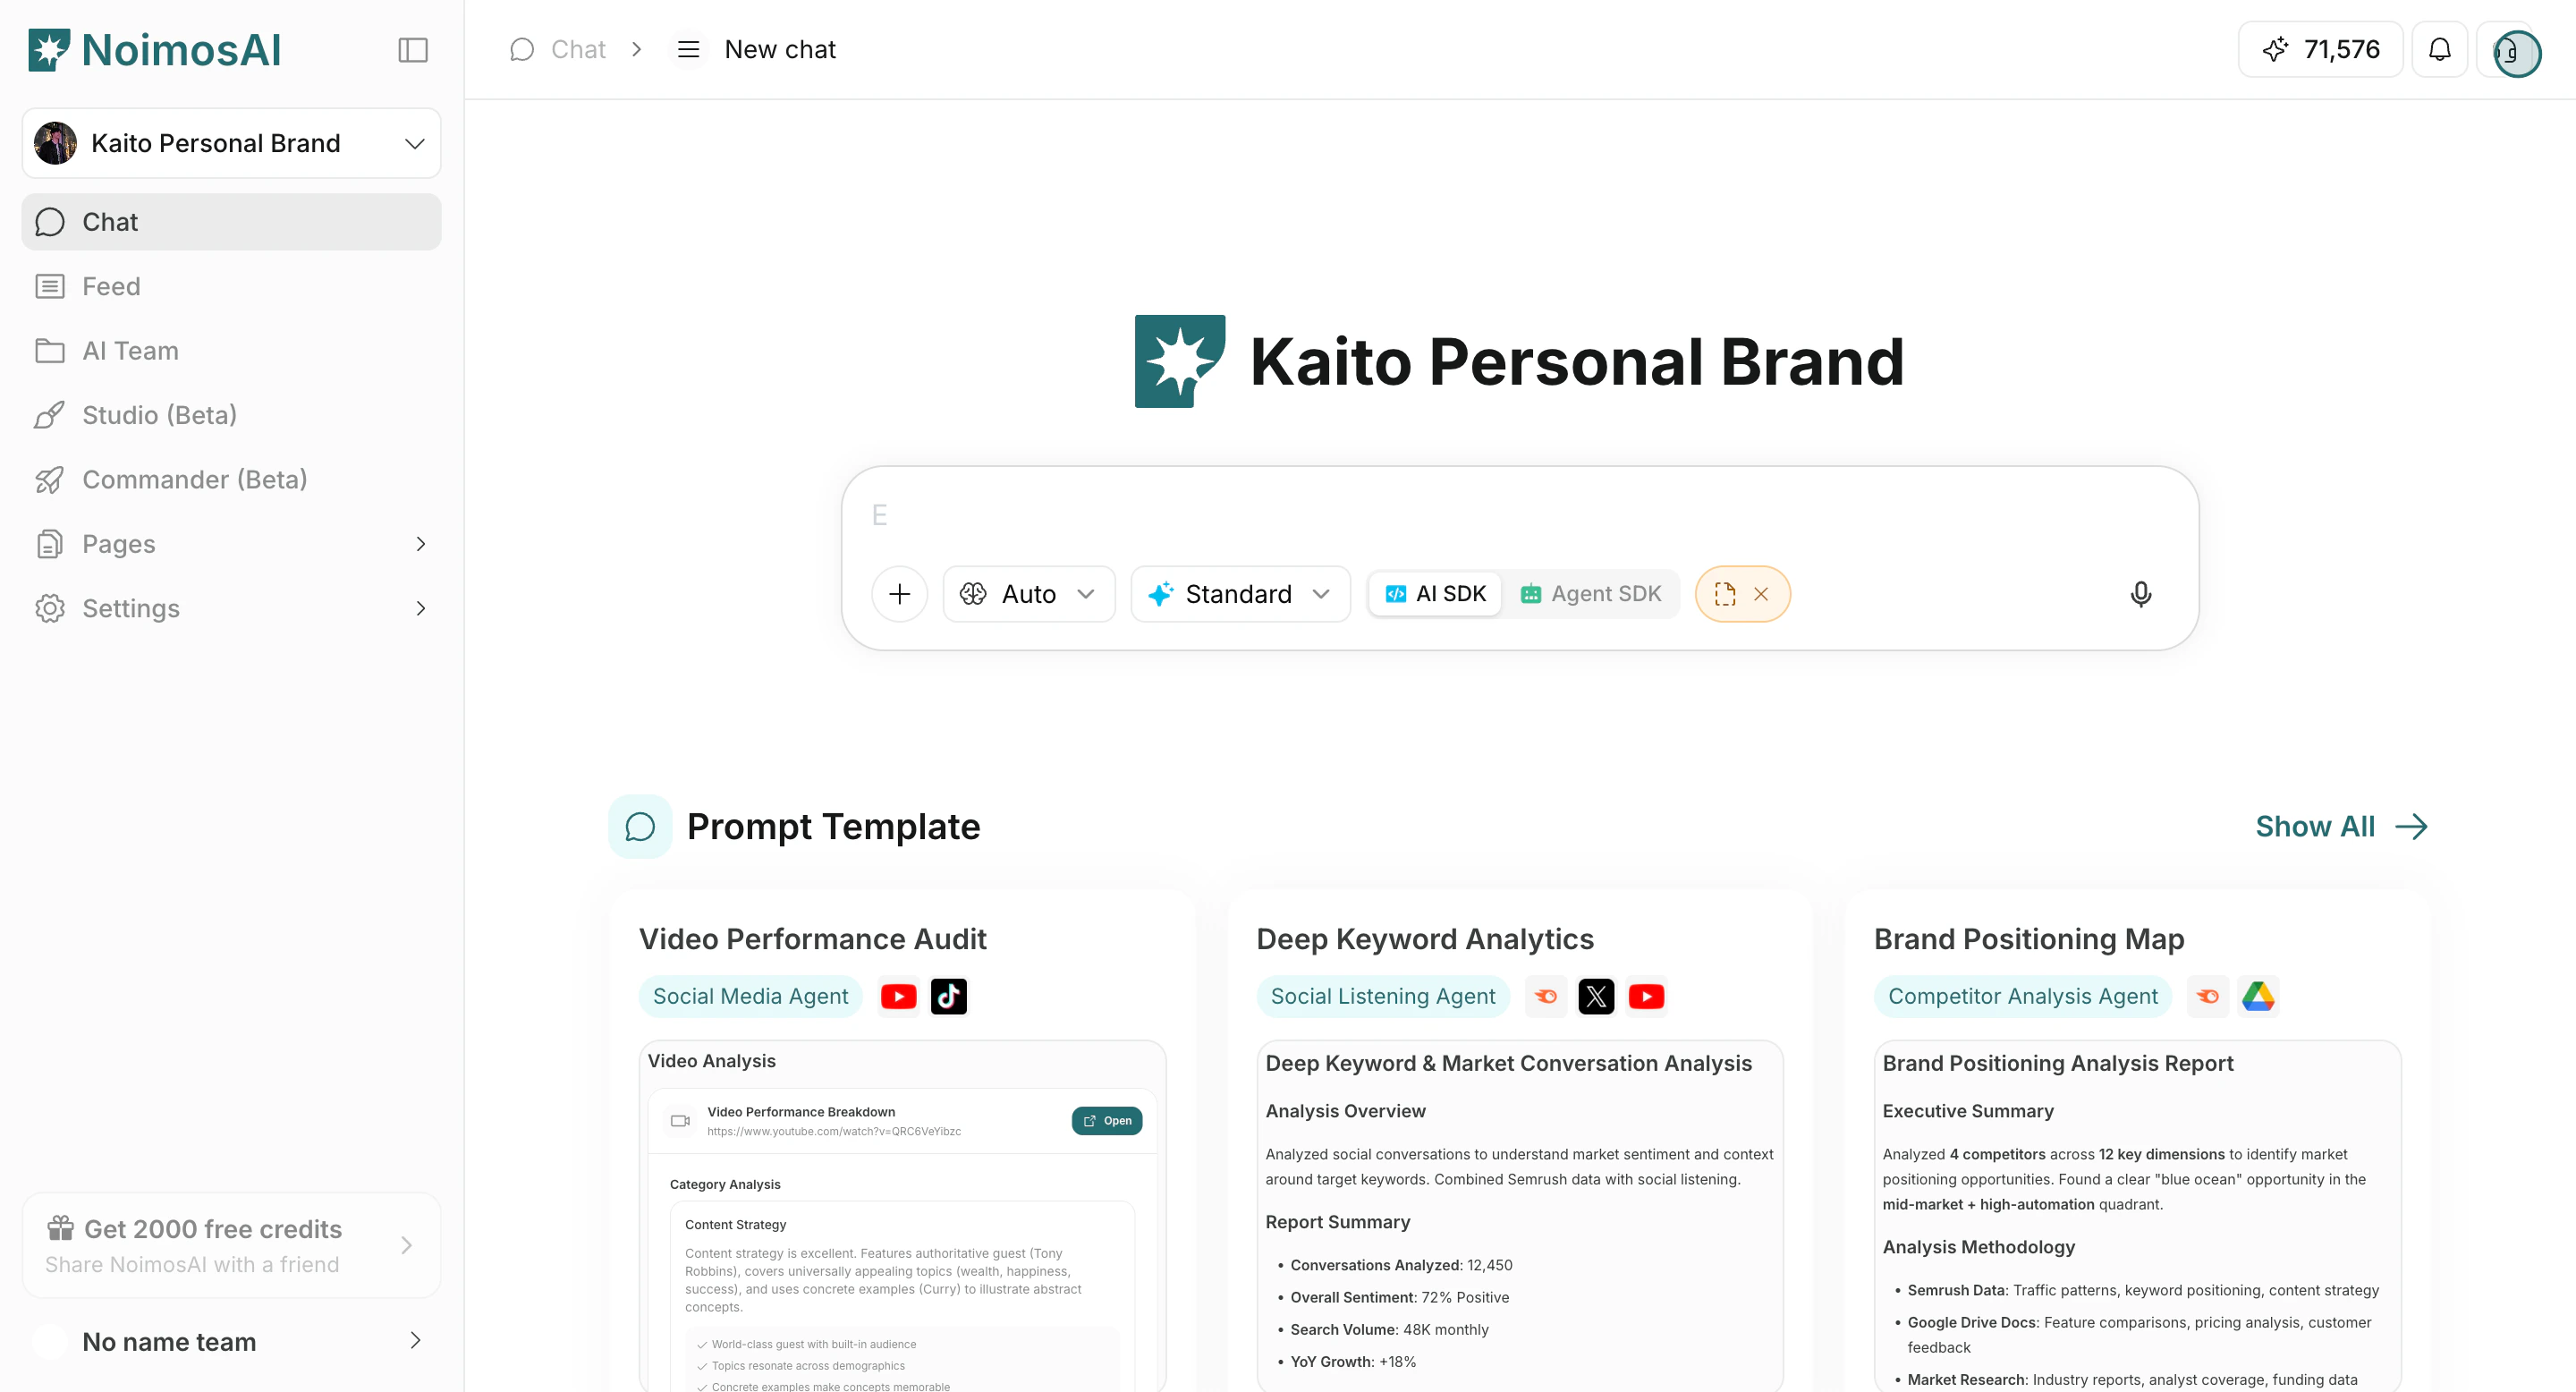 2. Ouvrez le formulaire d’assistance.
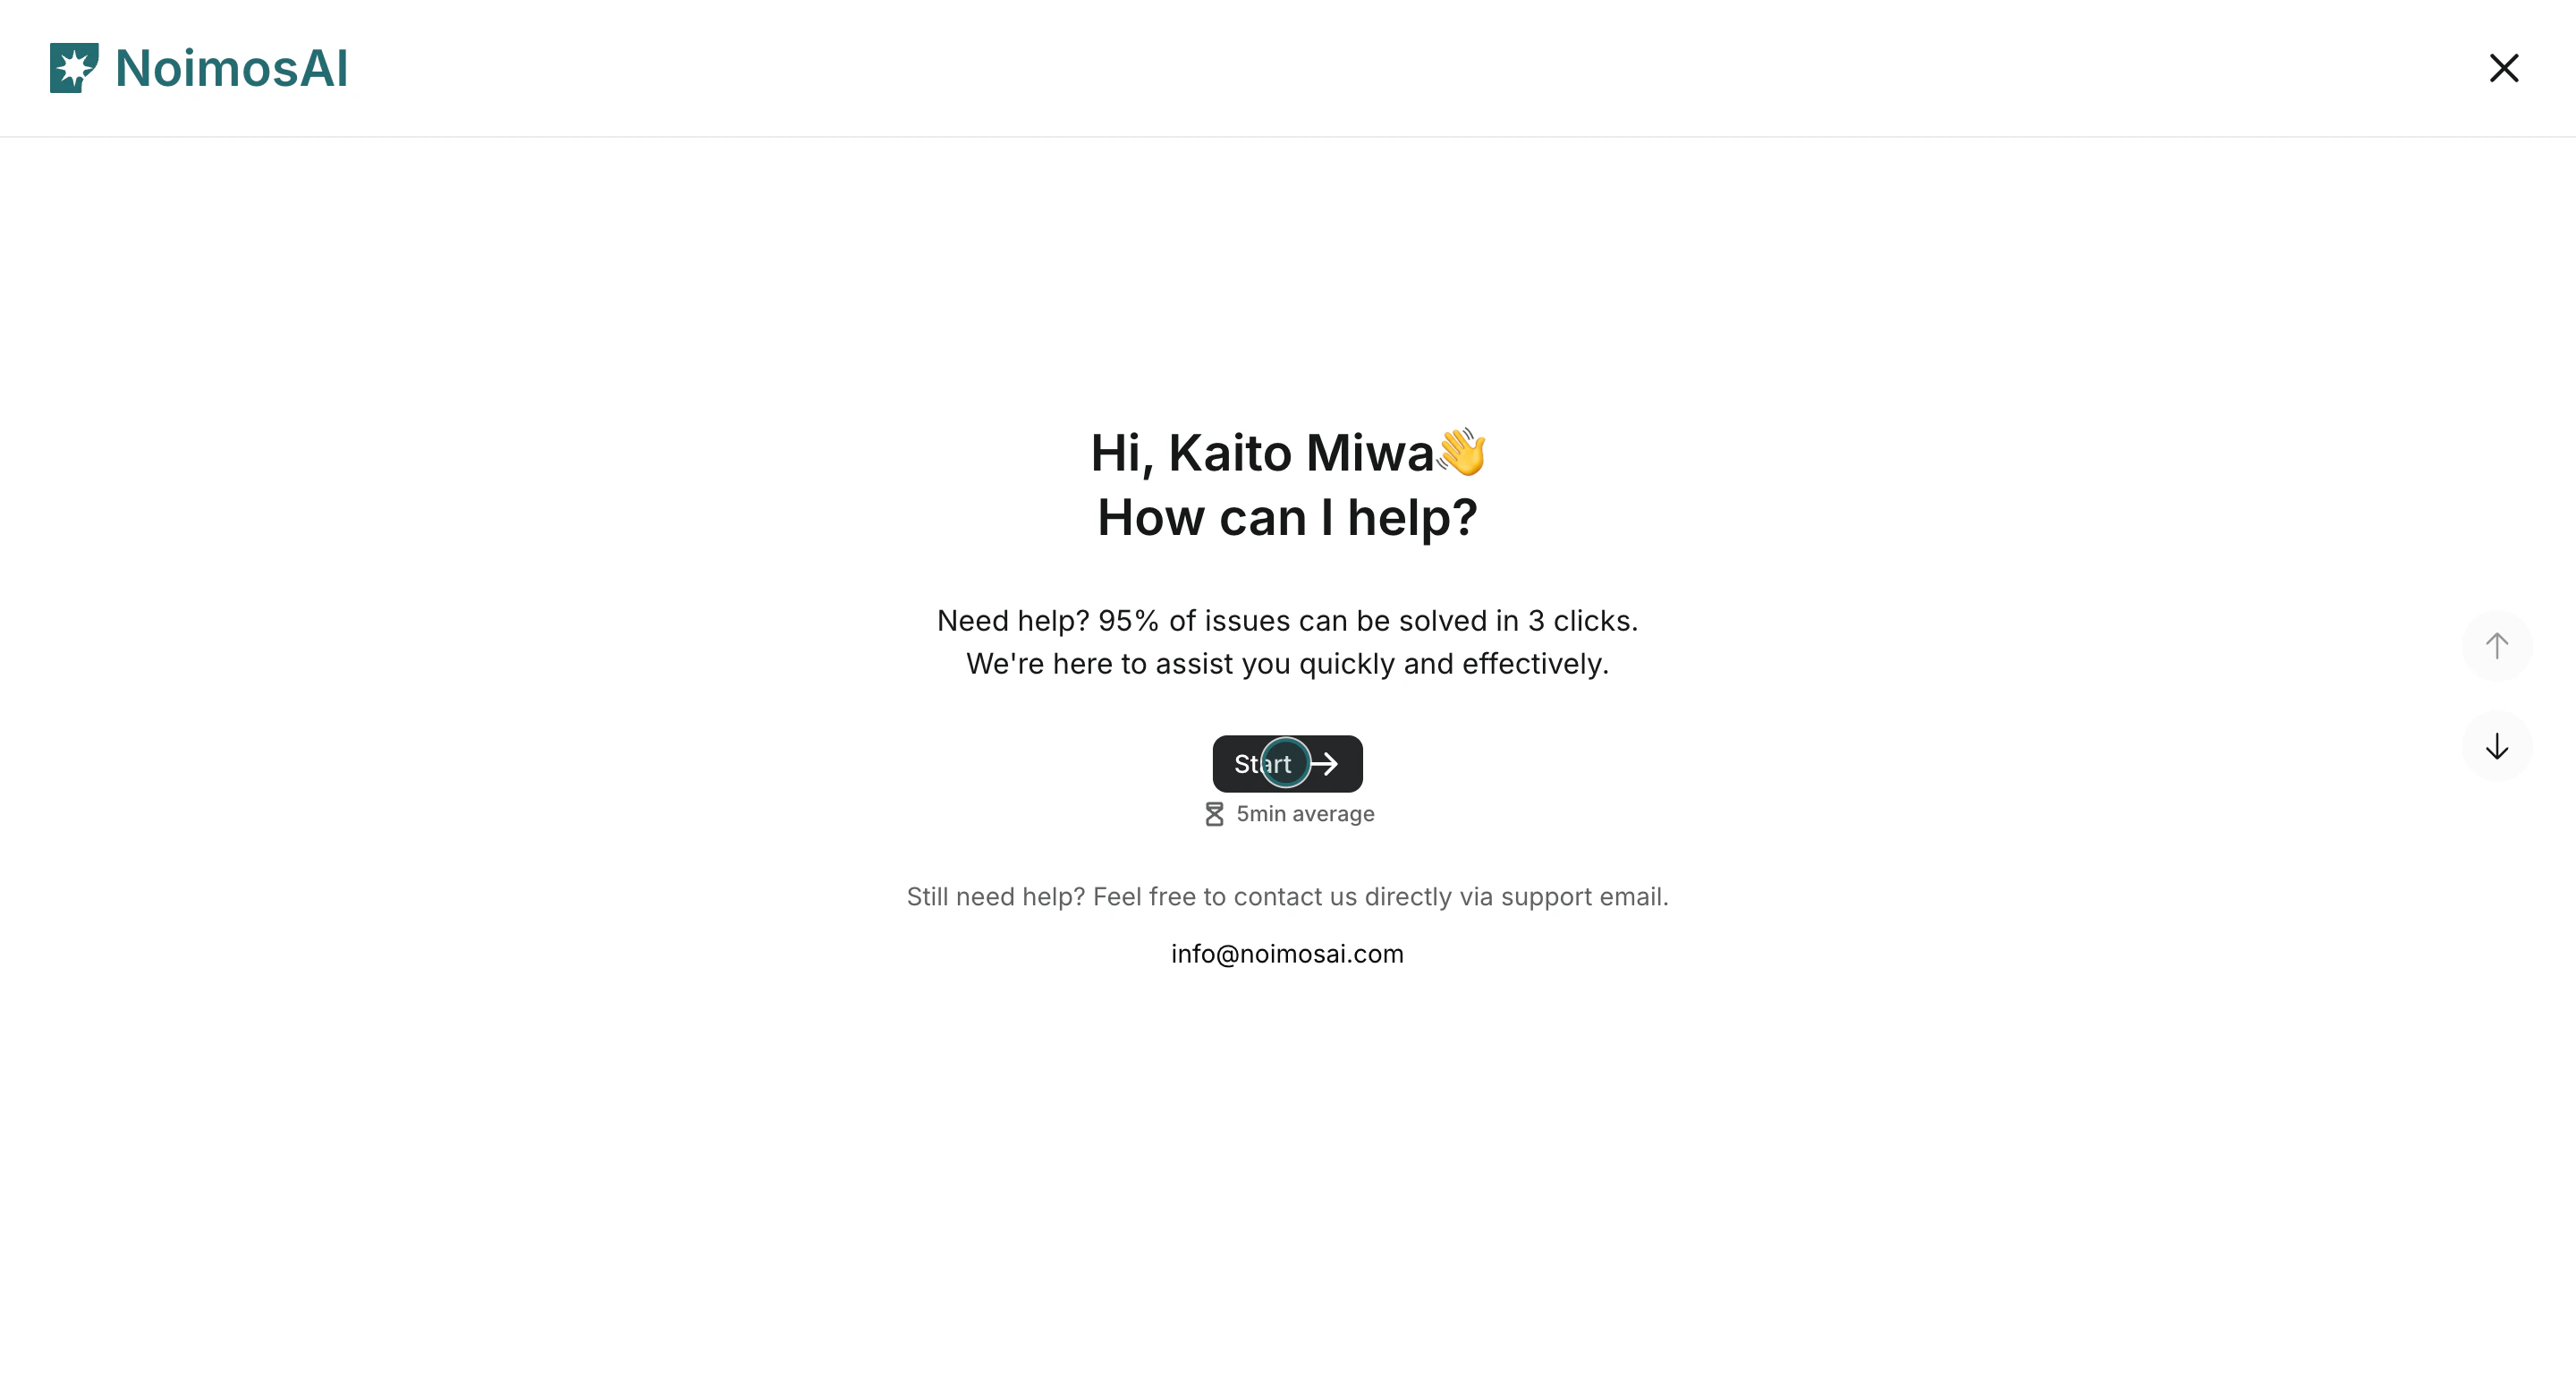 3. Saisissez votre nom complet et votre adresse e-mail.
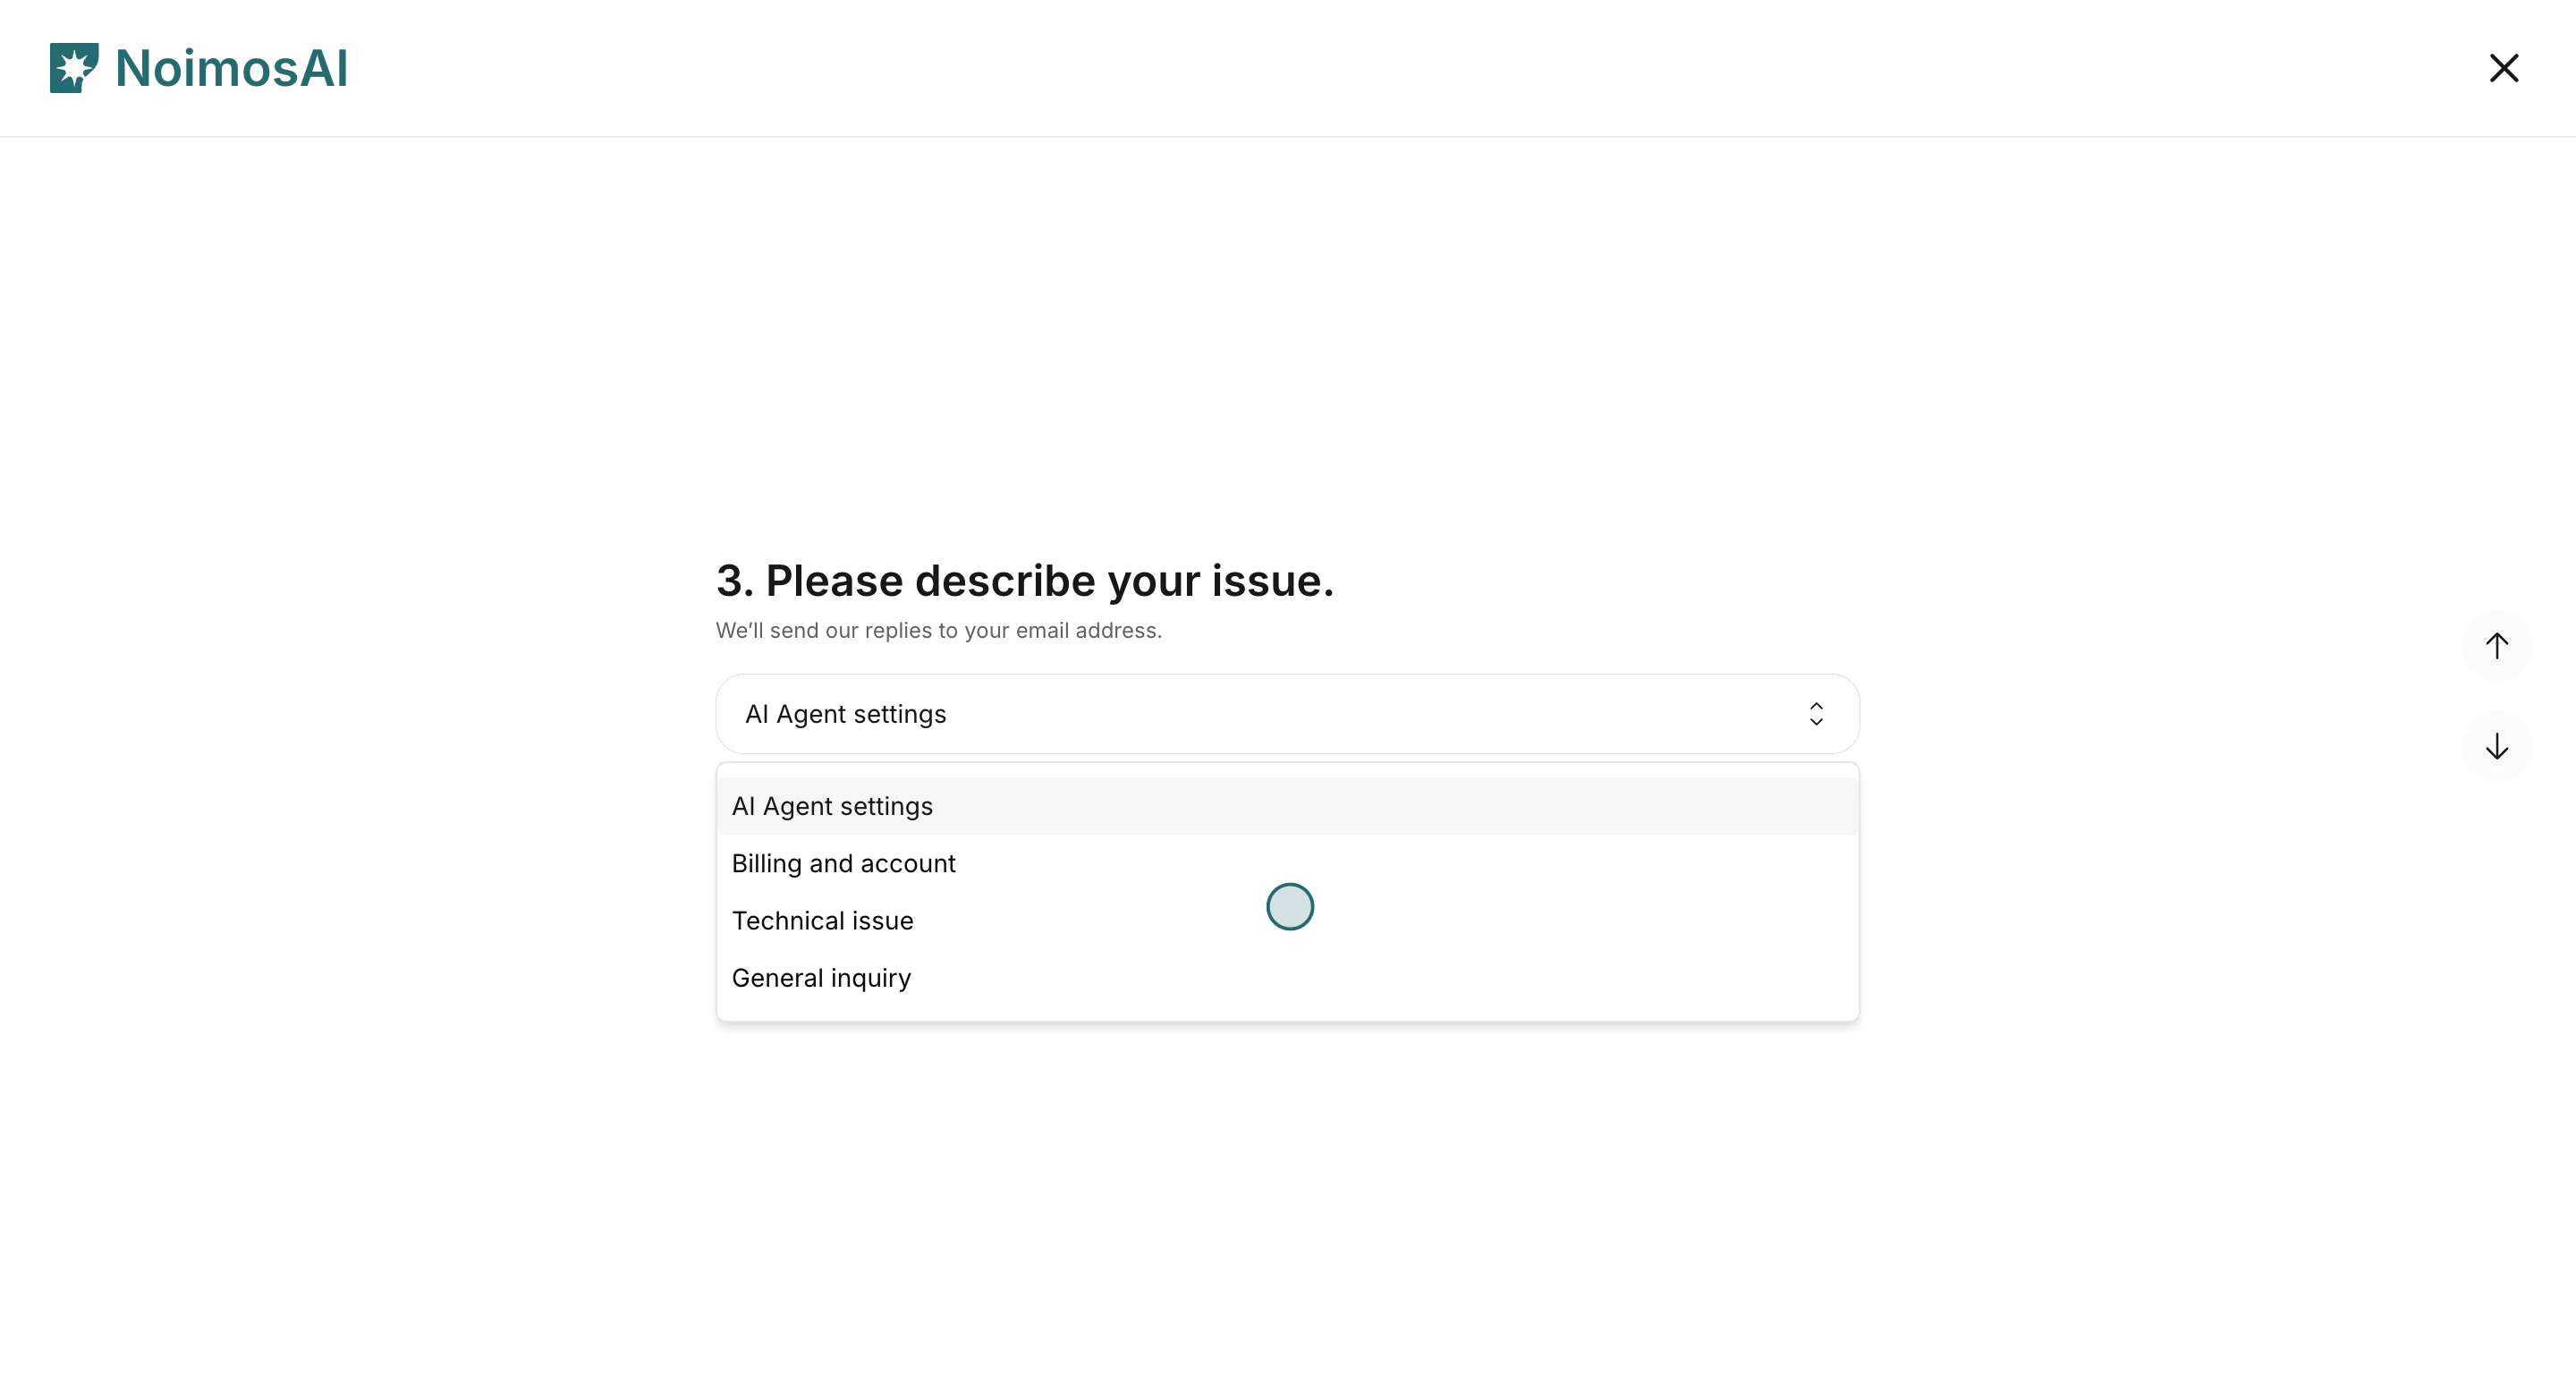
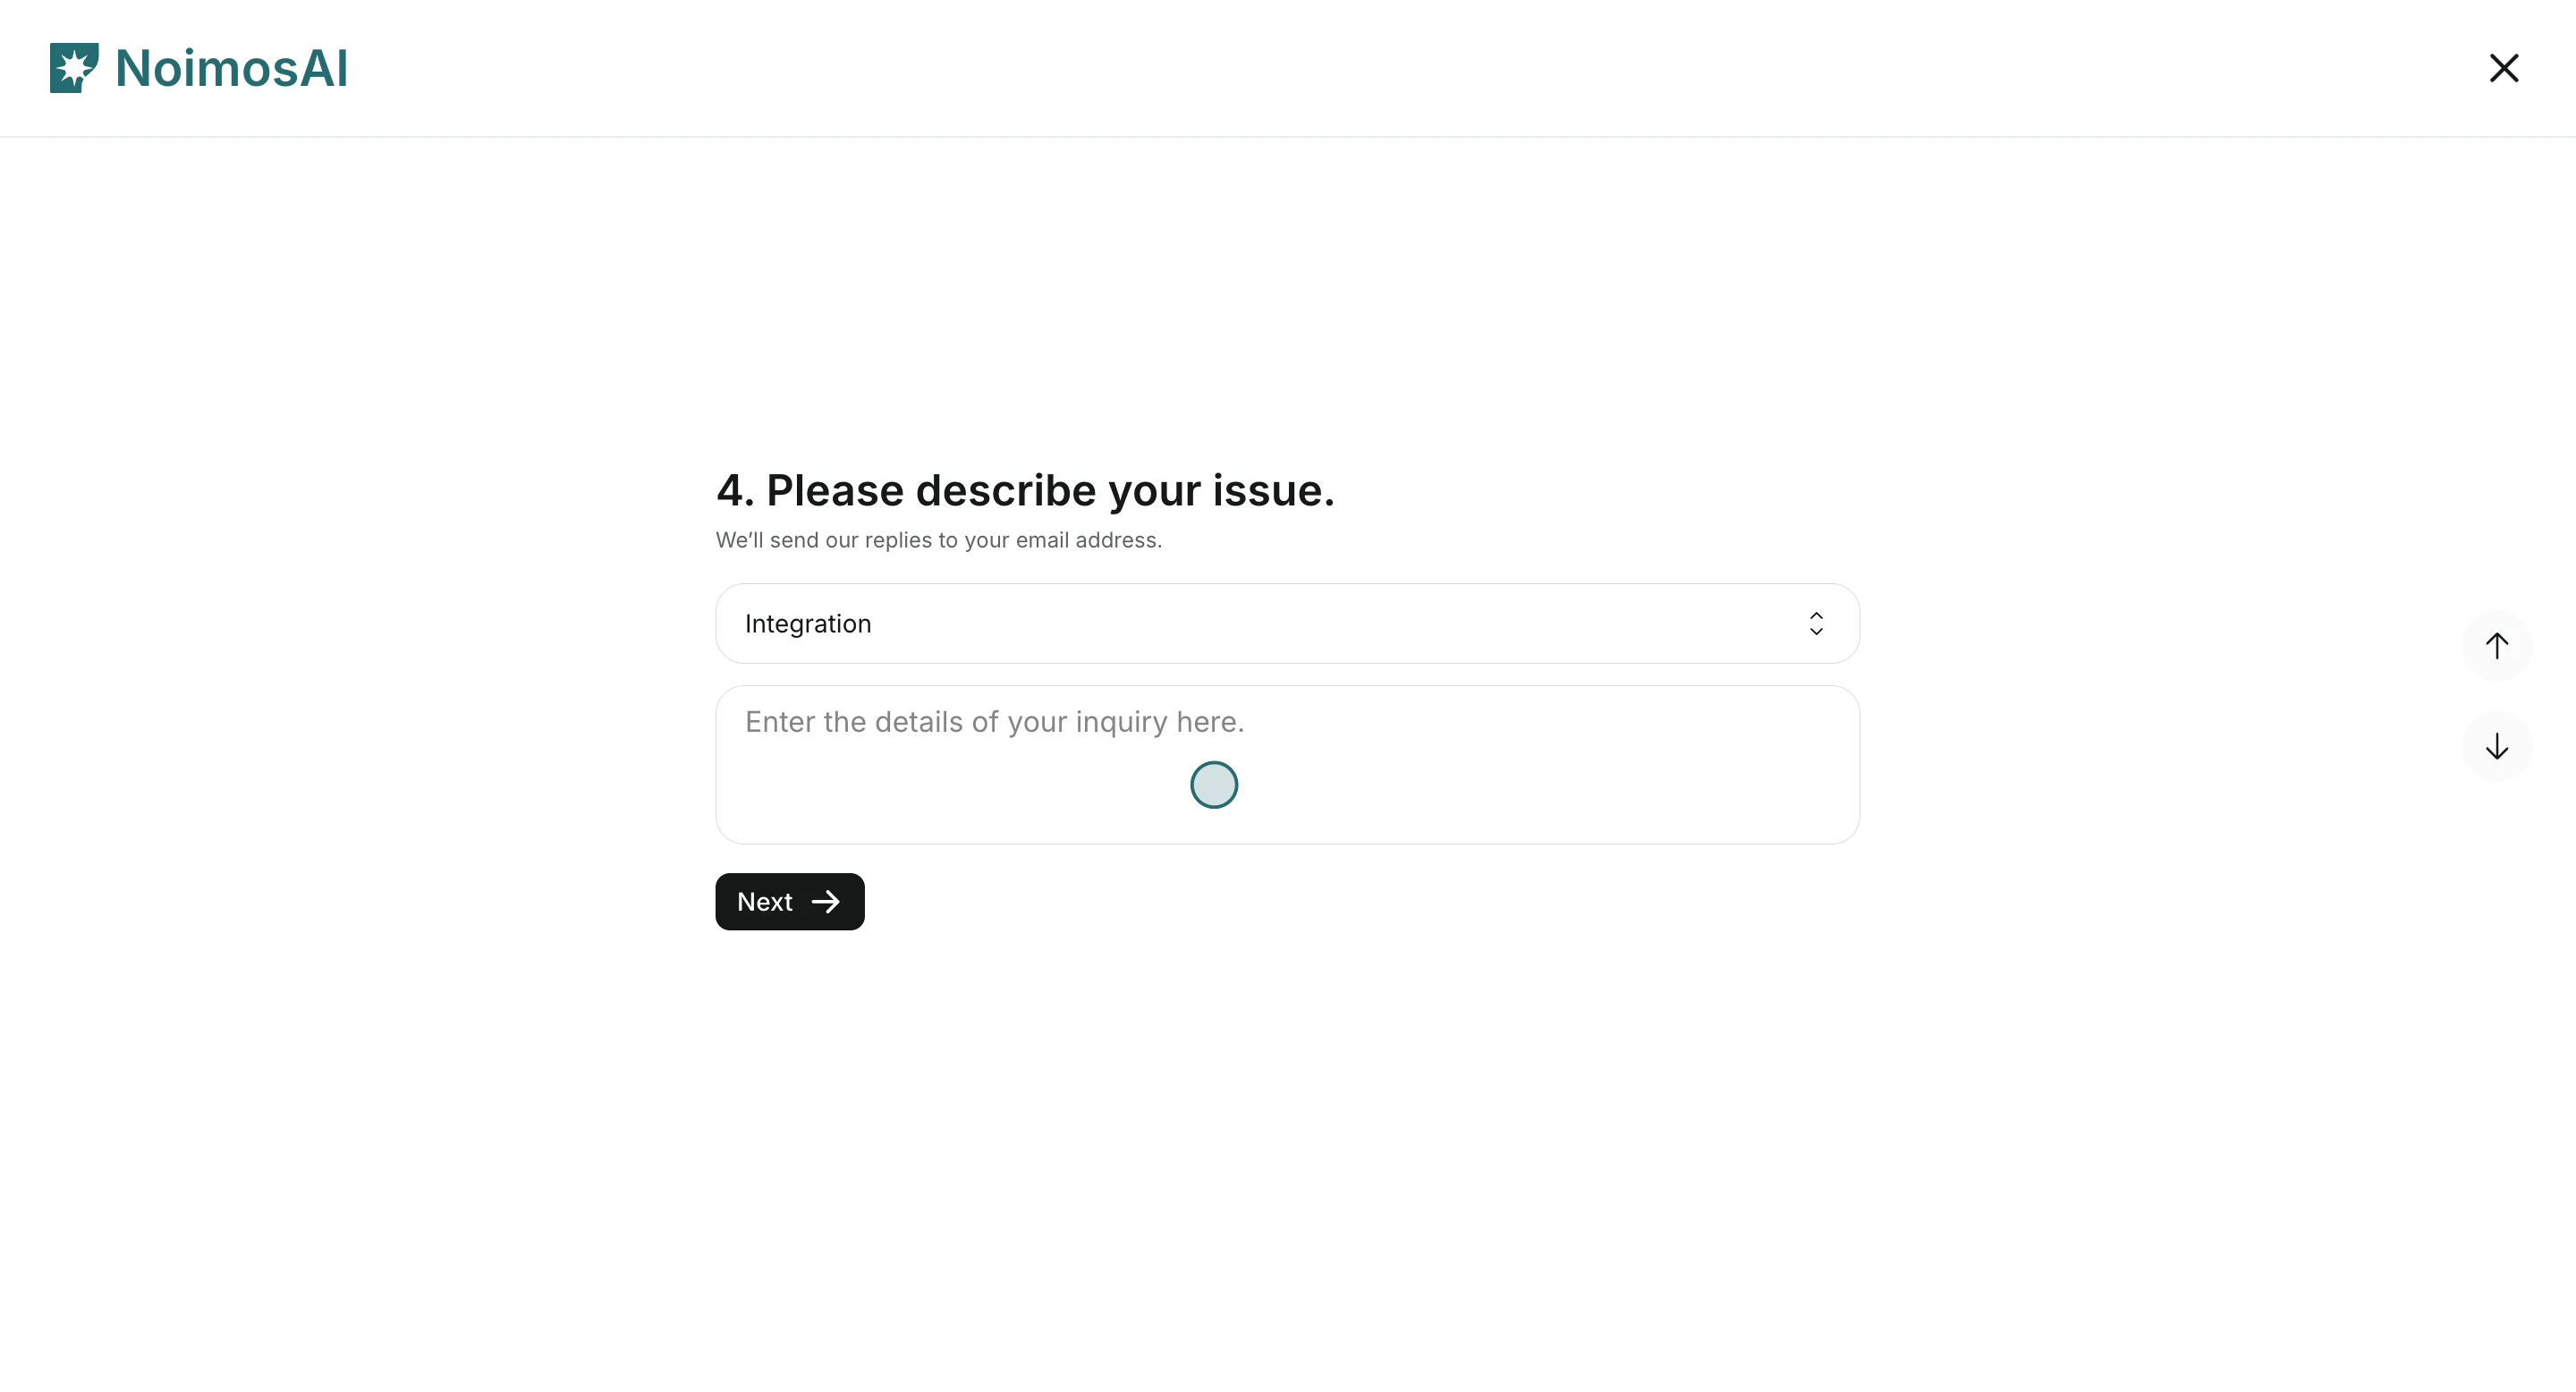
 4. Sélectionnez d’abord `Tapez - 1`, puis `Tapez - 2`, selon le cas.
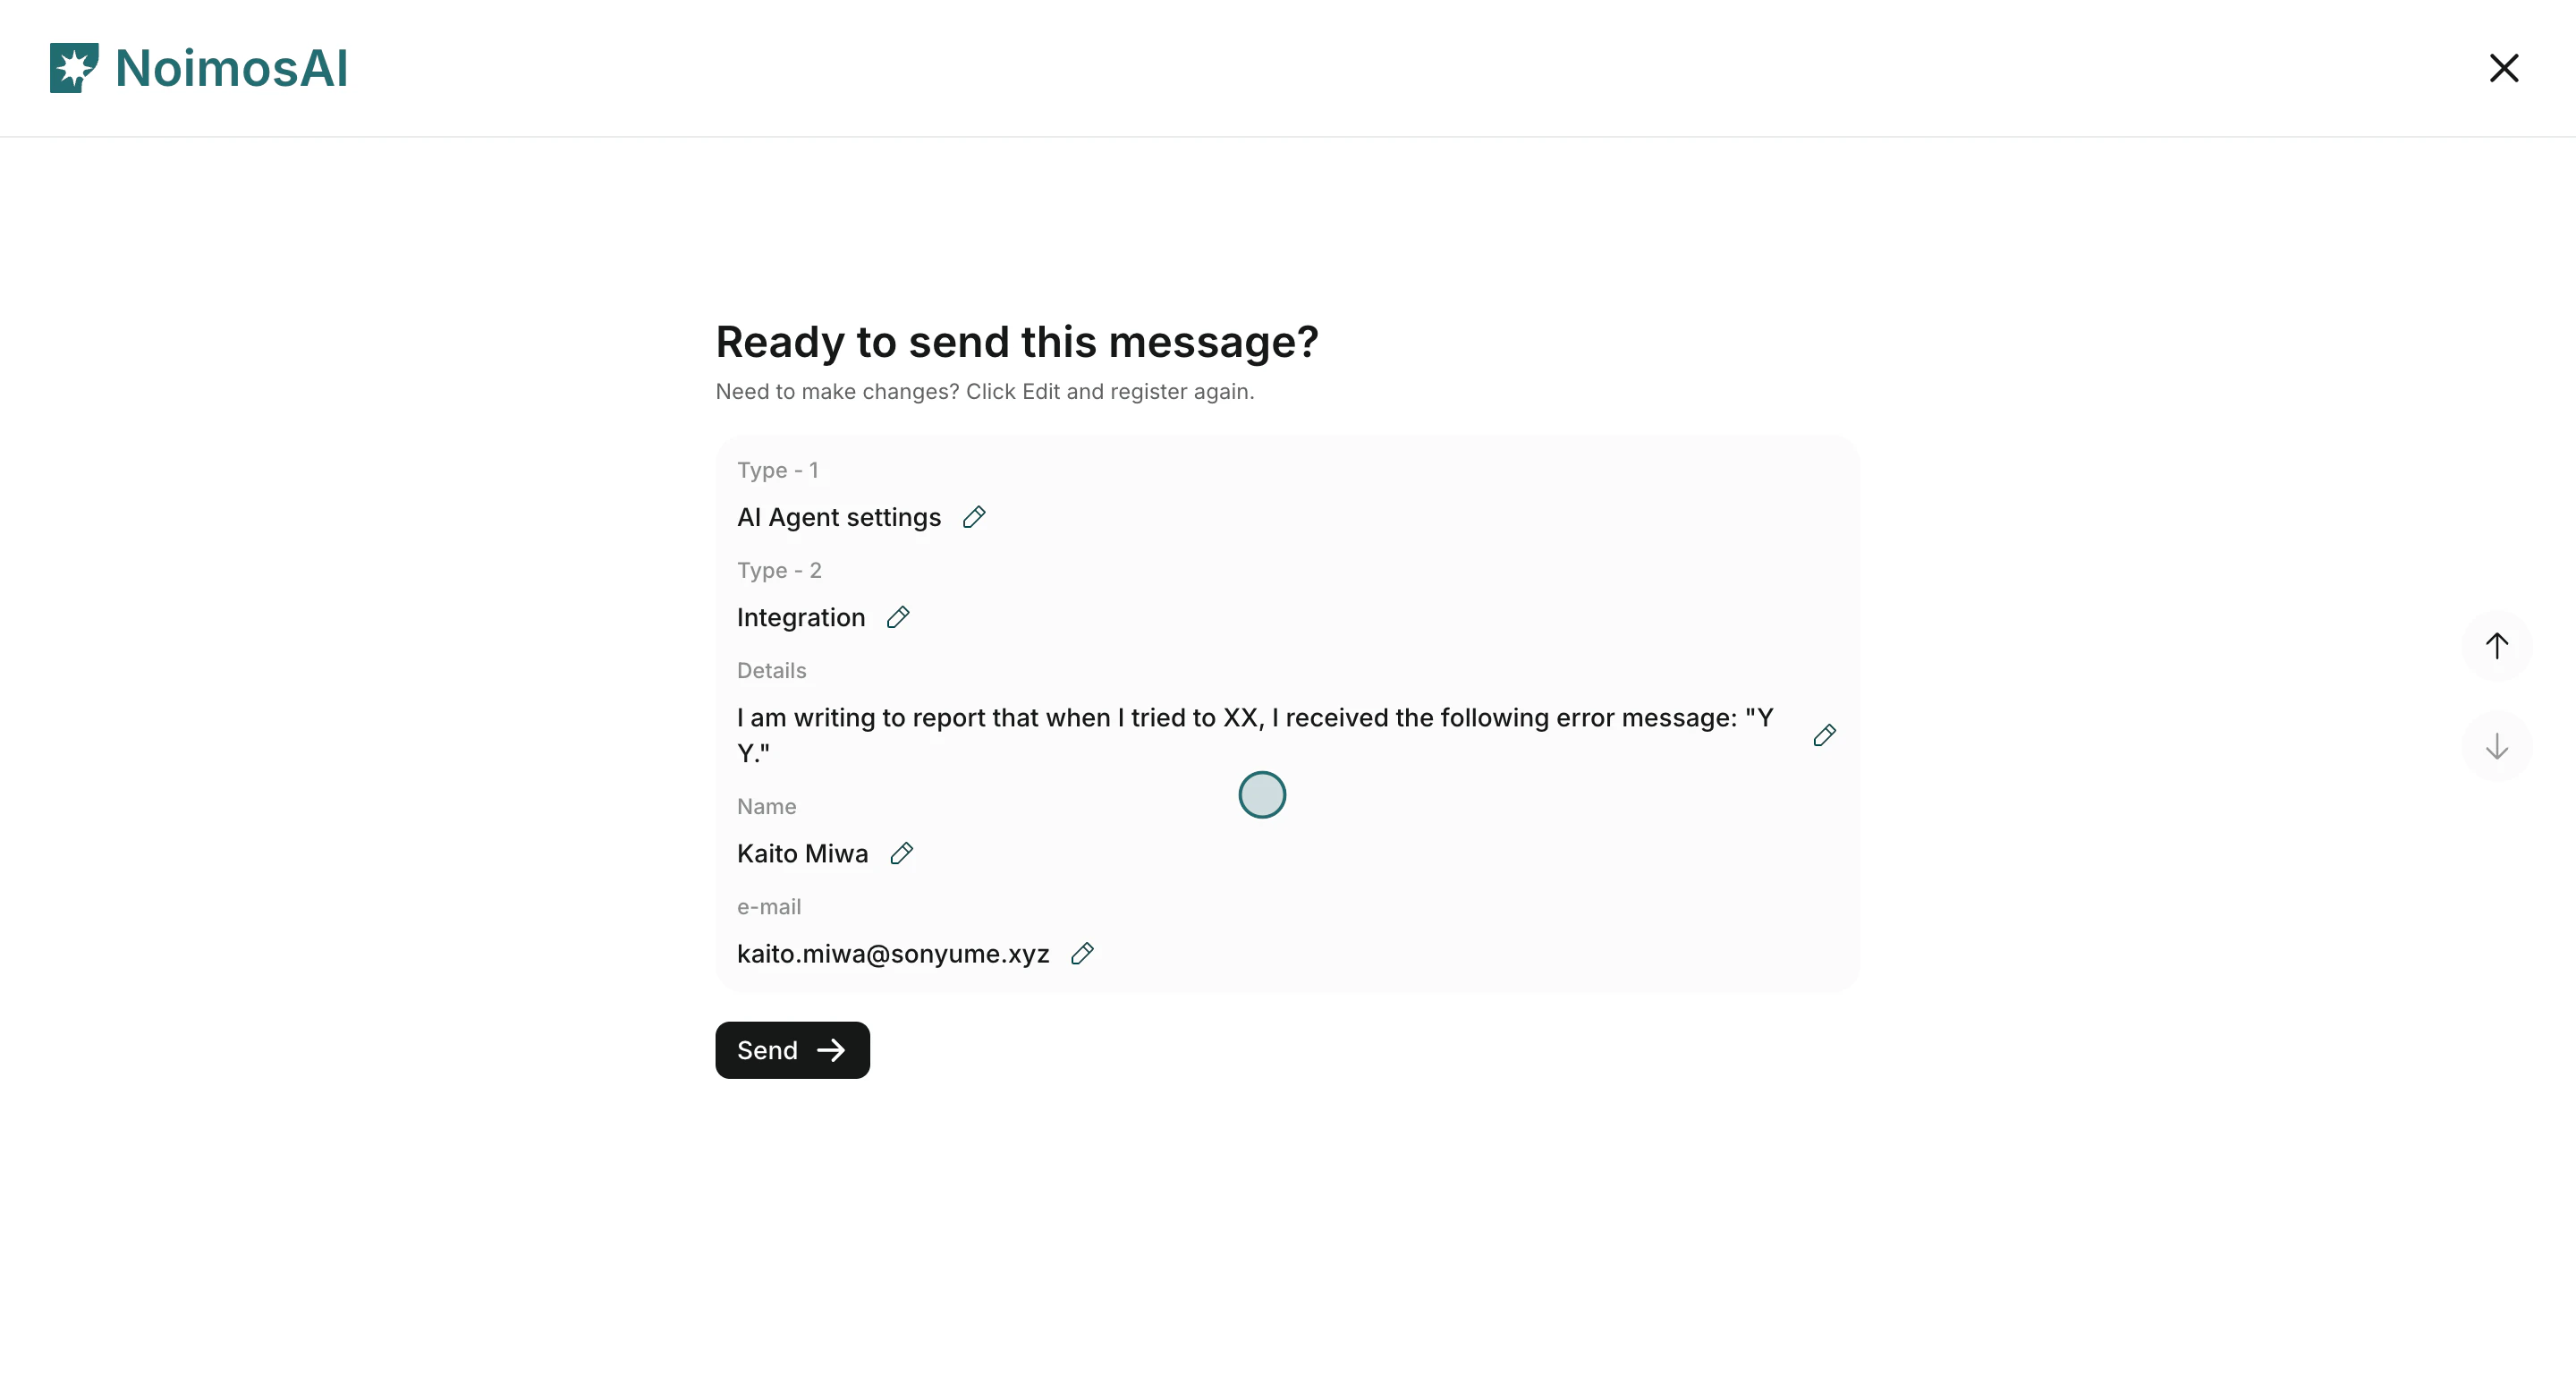
 5. Vérifiez l’écran de confirmation puis envoyez la demande.
 ## Ce qu’il faut inclure pour aller plus vite
* Où le problème s’est produit : équipe, espace de travail et fonctionnalité
* Ce que vous attendiez et ce qui s’est réellement passé
* Les étapes de reproduction et la fréquence
* Les identifiants utiles, comme l’ID d’exécution, les horodatages ou les noms de comptes concernés
## En rapport
* [Bases de l'agent IA](/fr/help-center/ai-team/ai-agent-basics)
* [Vérifier les résultats d'exécution de l'agent](/fr/help-center/ai-team/check-agent-execution-results)
* [Vérifier et télécharger l'historique des paiements](/fr/help-center/plans-and-billing/check-and-download-payment-history)
## Ce qu’il faut inclure pour aller plus vite
* Où le problème s’est produit : équipe, espace de travail et fonctionnalité
* Ce que vous attendiez et ce qui s’est réellement passé
* Les étapes de reproduction et la fréquence
* Les identifiants utiles, comme l’ID d’exécution, les horodatages ou les noms de comptes concernés
## En rapport
* [Bases de l'agent IA](/fr/help-center/ai-team/ai-agent-basics)
* [Vérifier les résultats d'exécution de l'agent](/fr/help-center/ai-team/check-agent-execution-results)
* [Vérifier et télécharger l'historique des paiements](/fr/help-center/plans-and-billing/check-and-download-payment-history)