> ## Documentation Index
> Fetch the complete documentation index at: https://docs.noimosai.com/llms.txt
> Use this file to discover all available pages before exploring further.
# शुरुआत से agent बनाएं
> Design conditions, instructions, and integrations from the beginning without using a template.
## सिंहावलोकन
Use `Create from scratch` when you need detailed control over execution conditions. It takes more setup than a template, but can be optimized for specific requirements.
## Steps
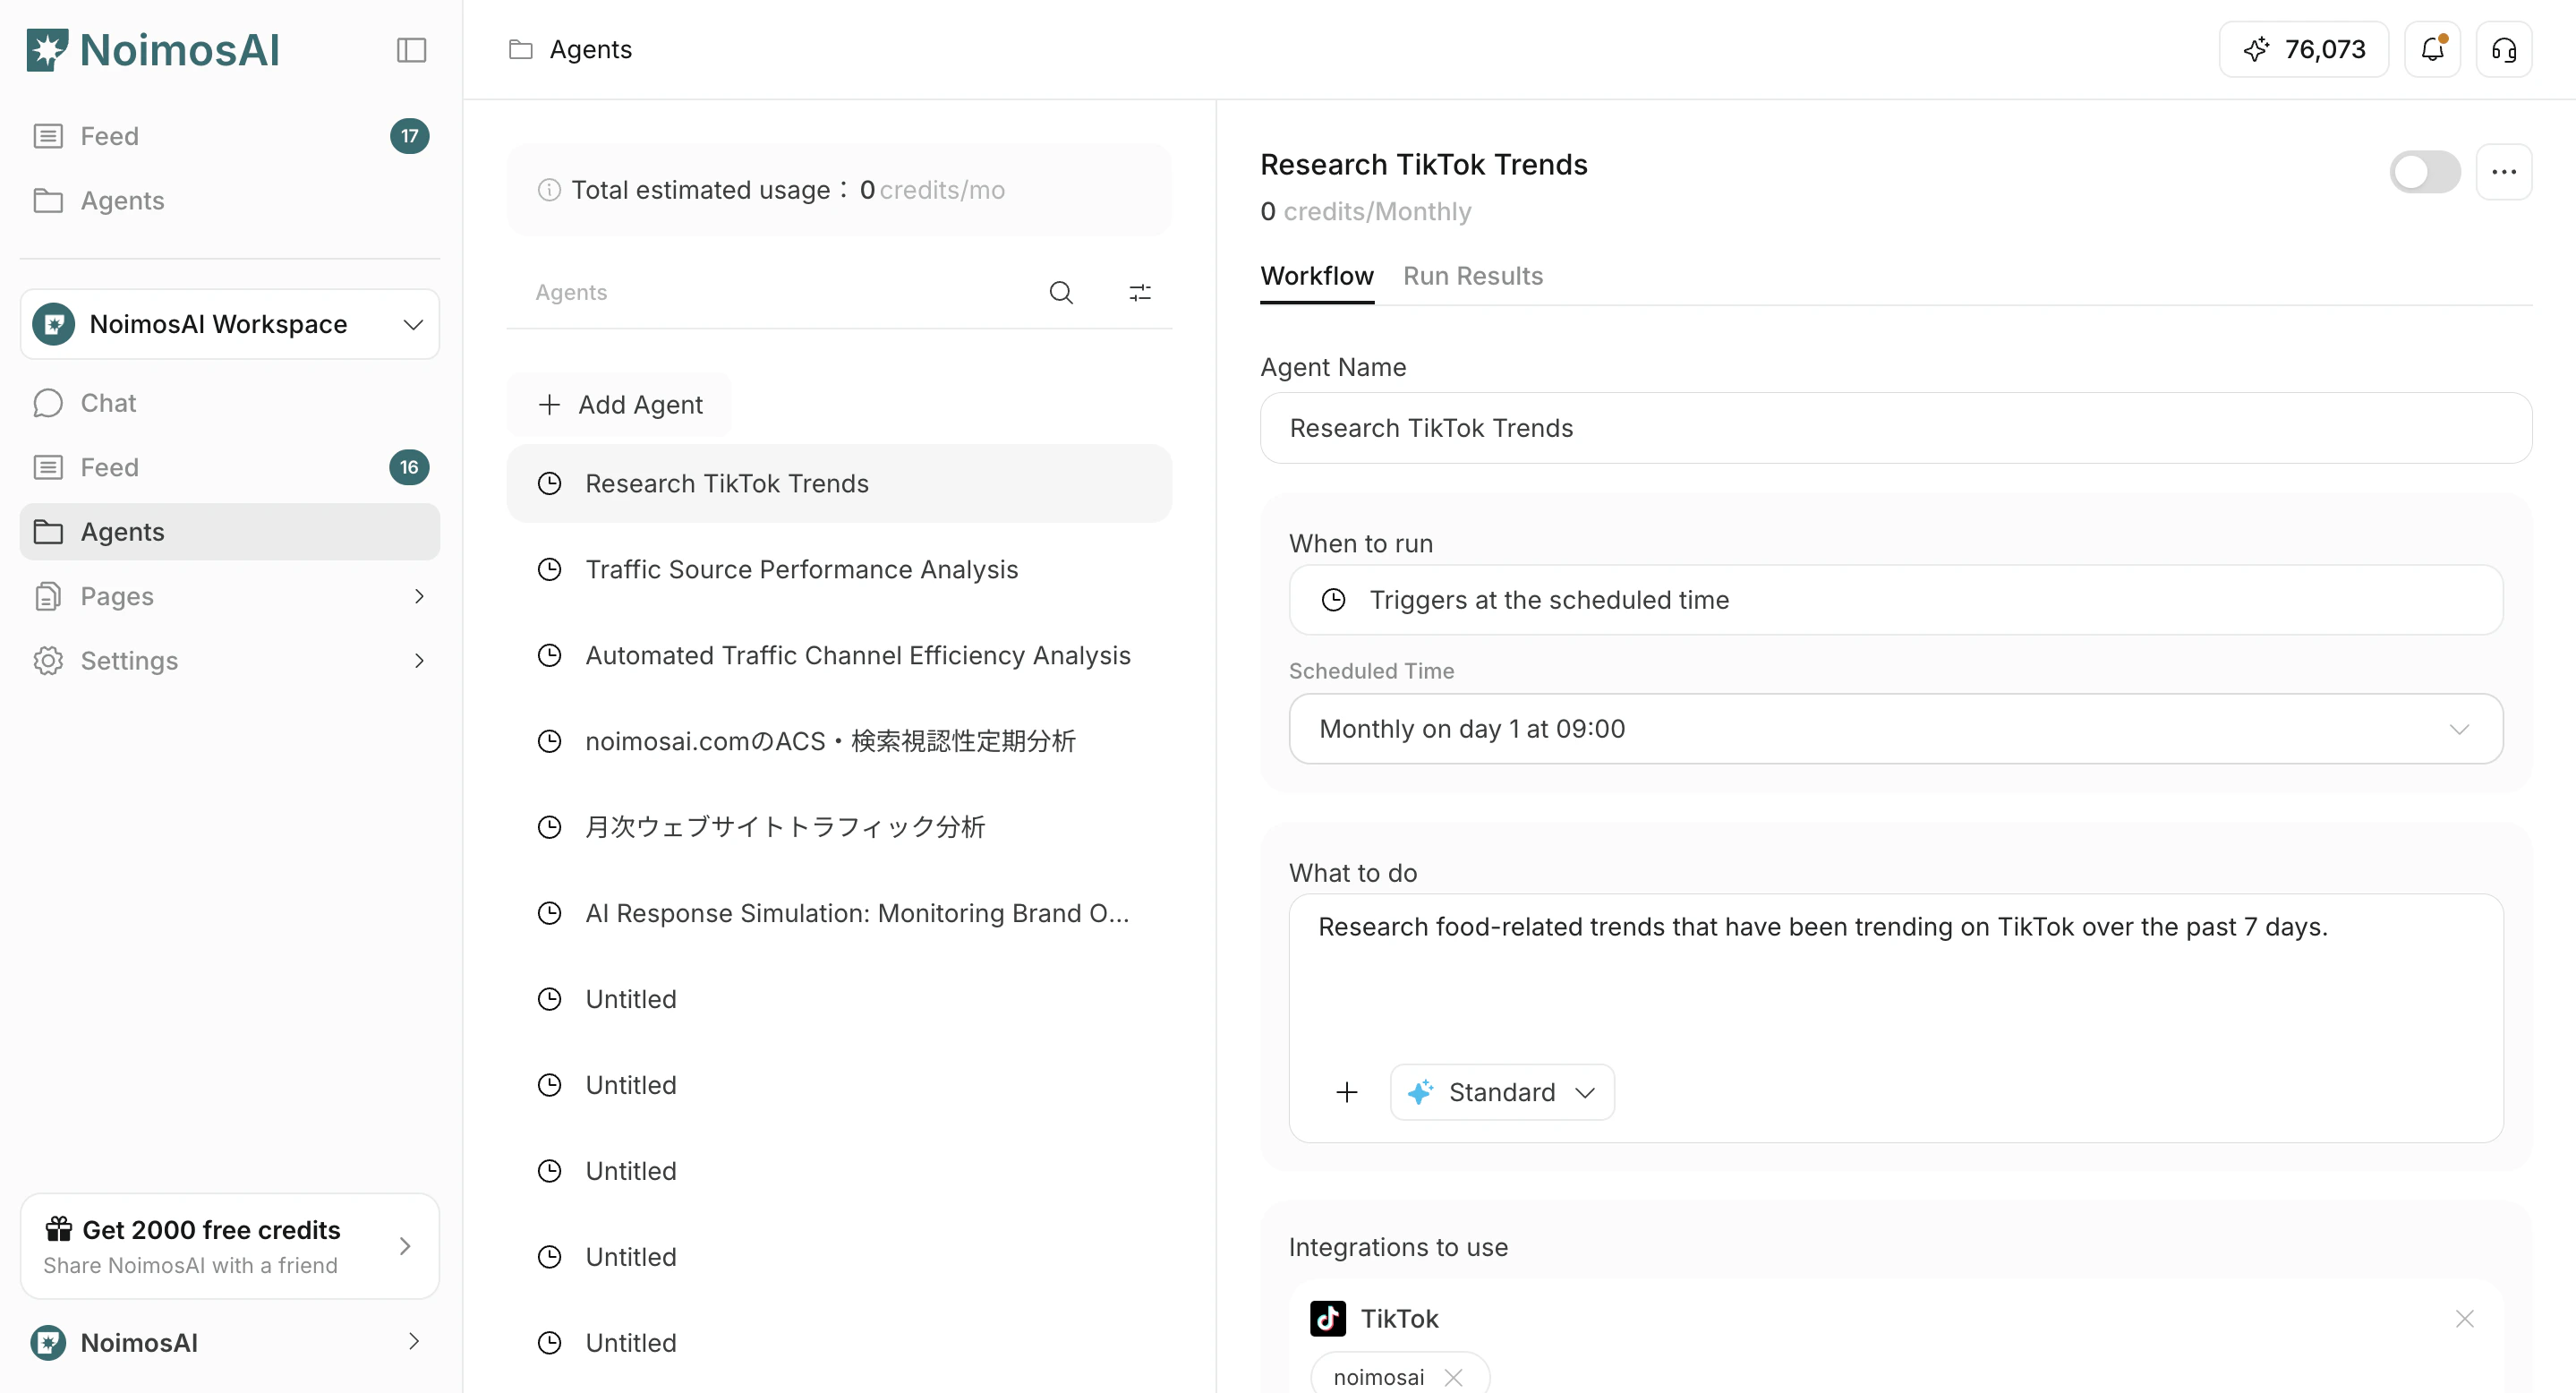
1. In `Agents`, click `Add Agent`
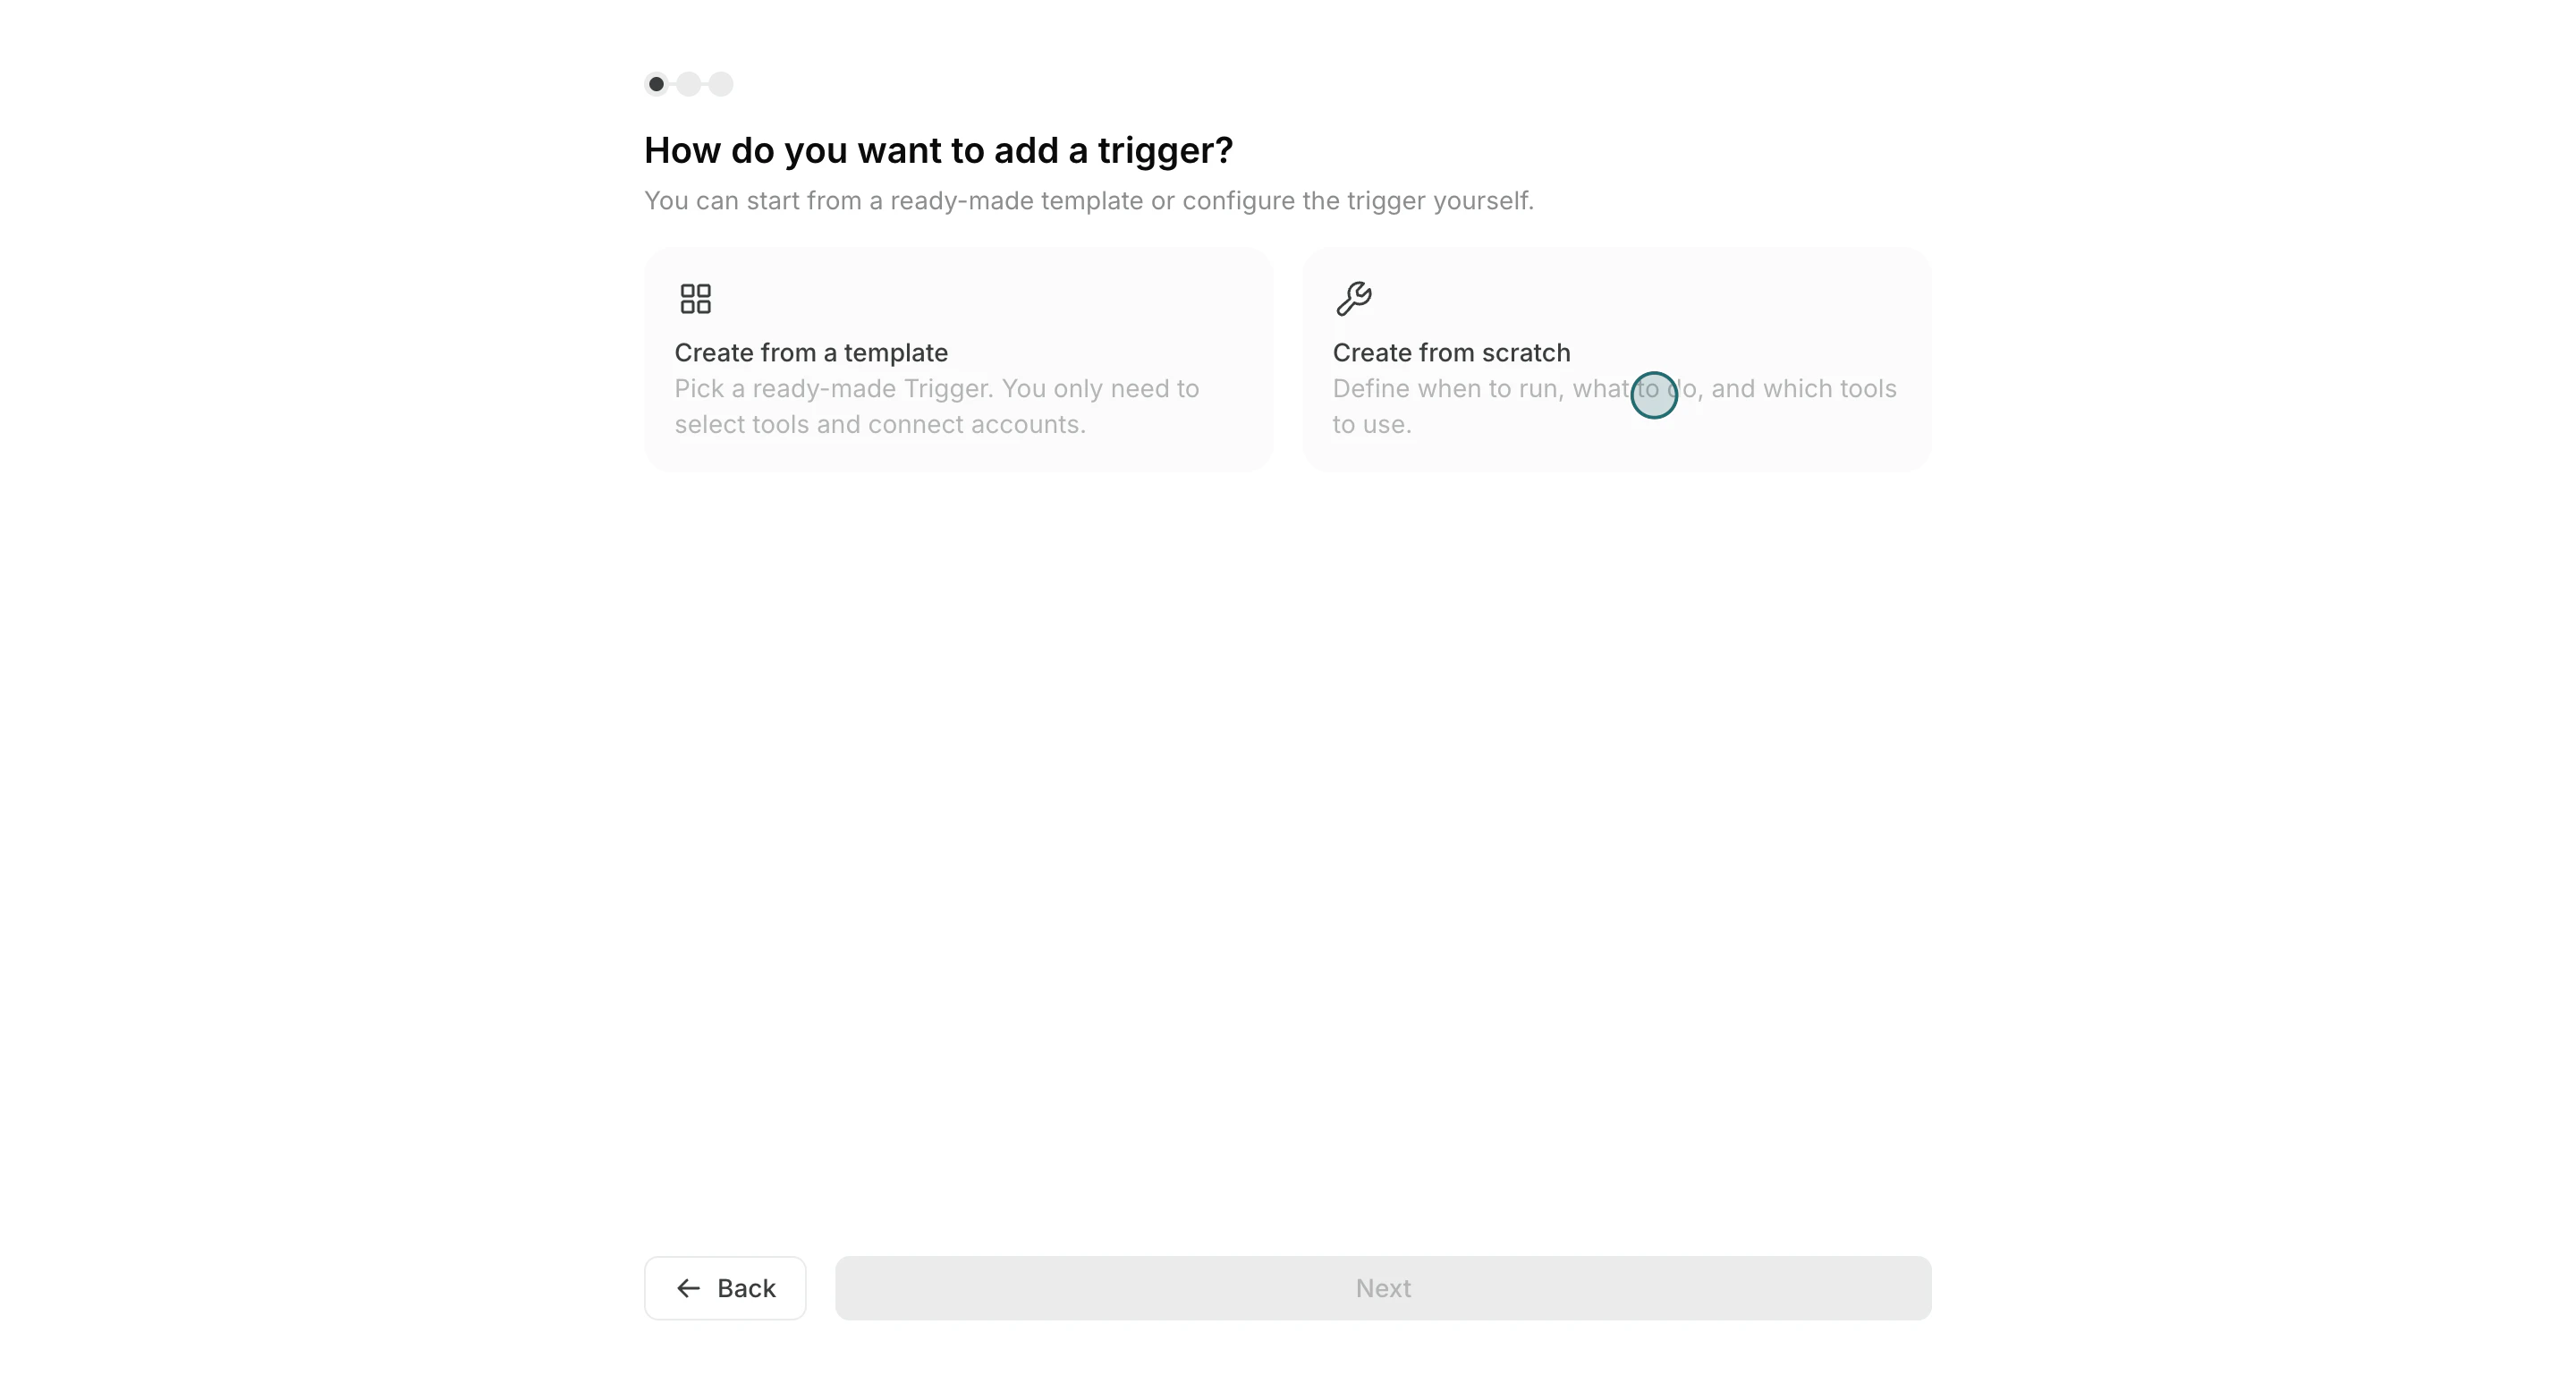
 2. Select `Create from scratch`
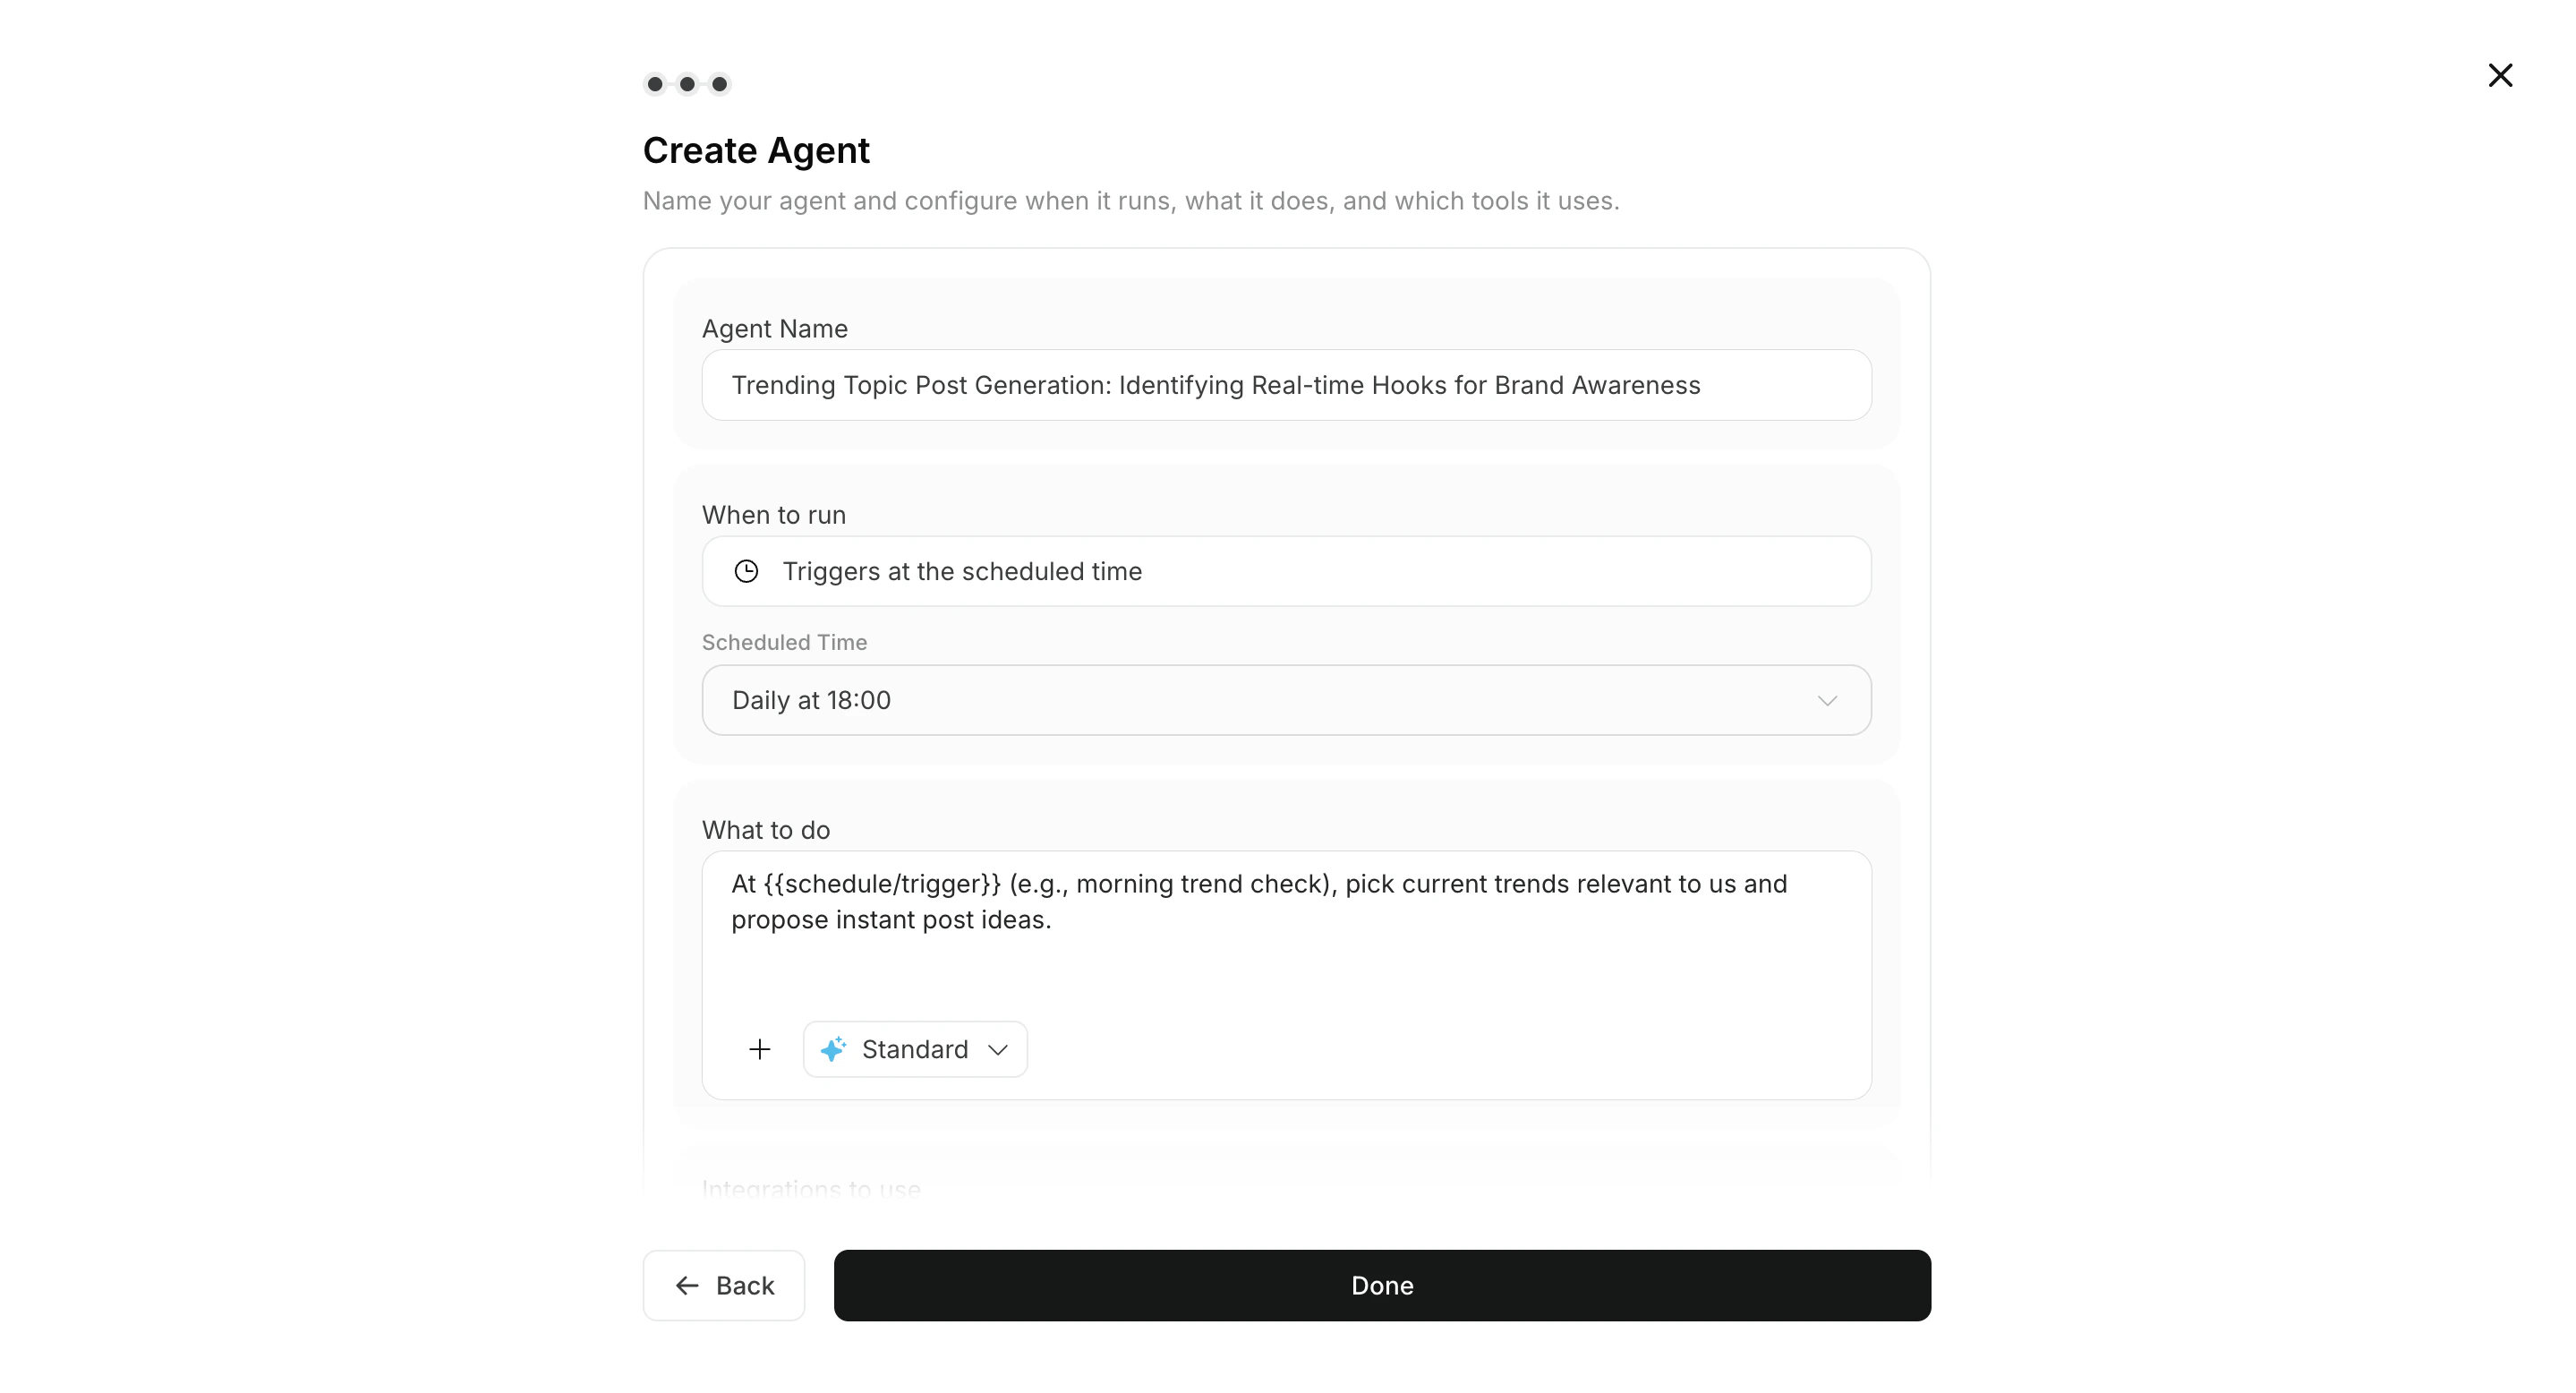
 3. `Run conditions`, `Workflow`, और optional `Destination` दर्ज करें
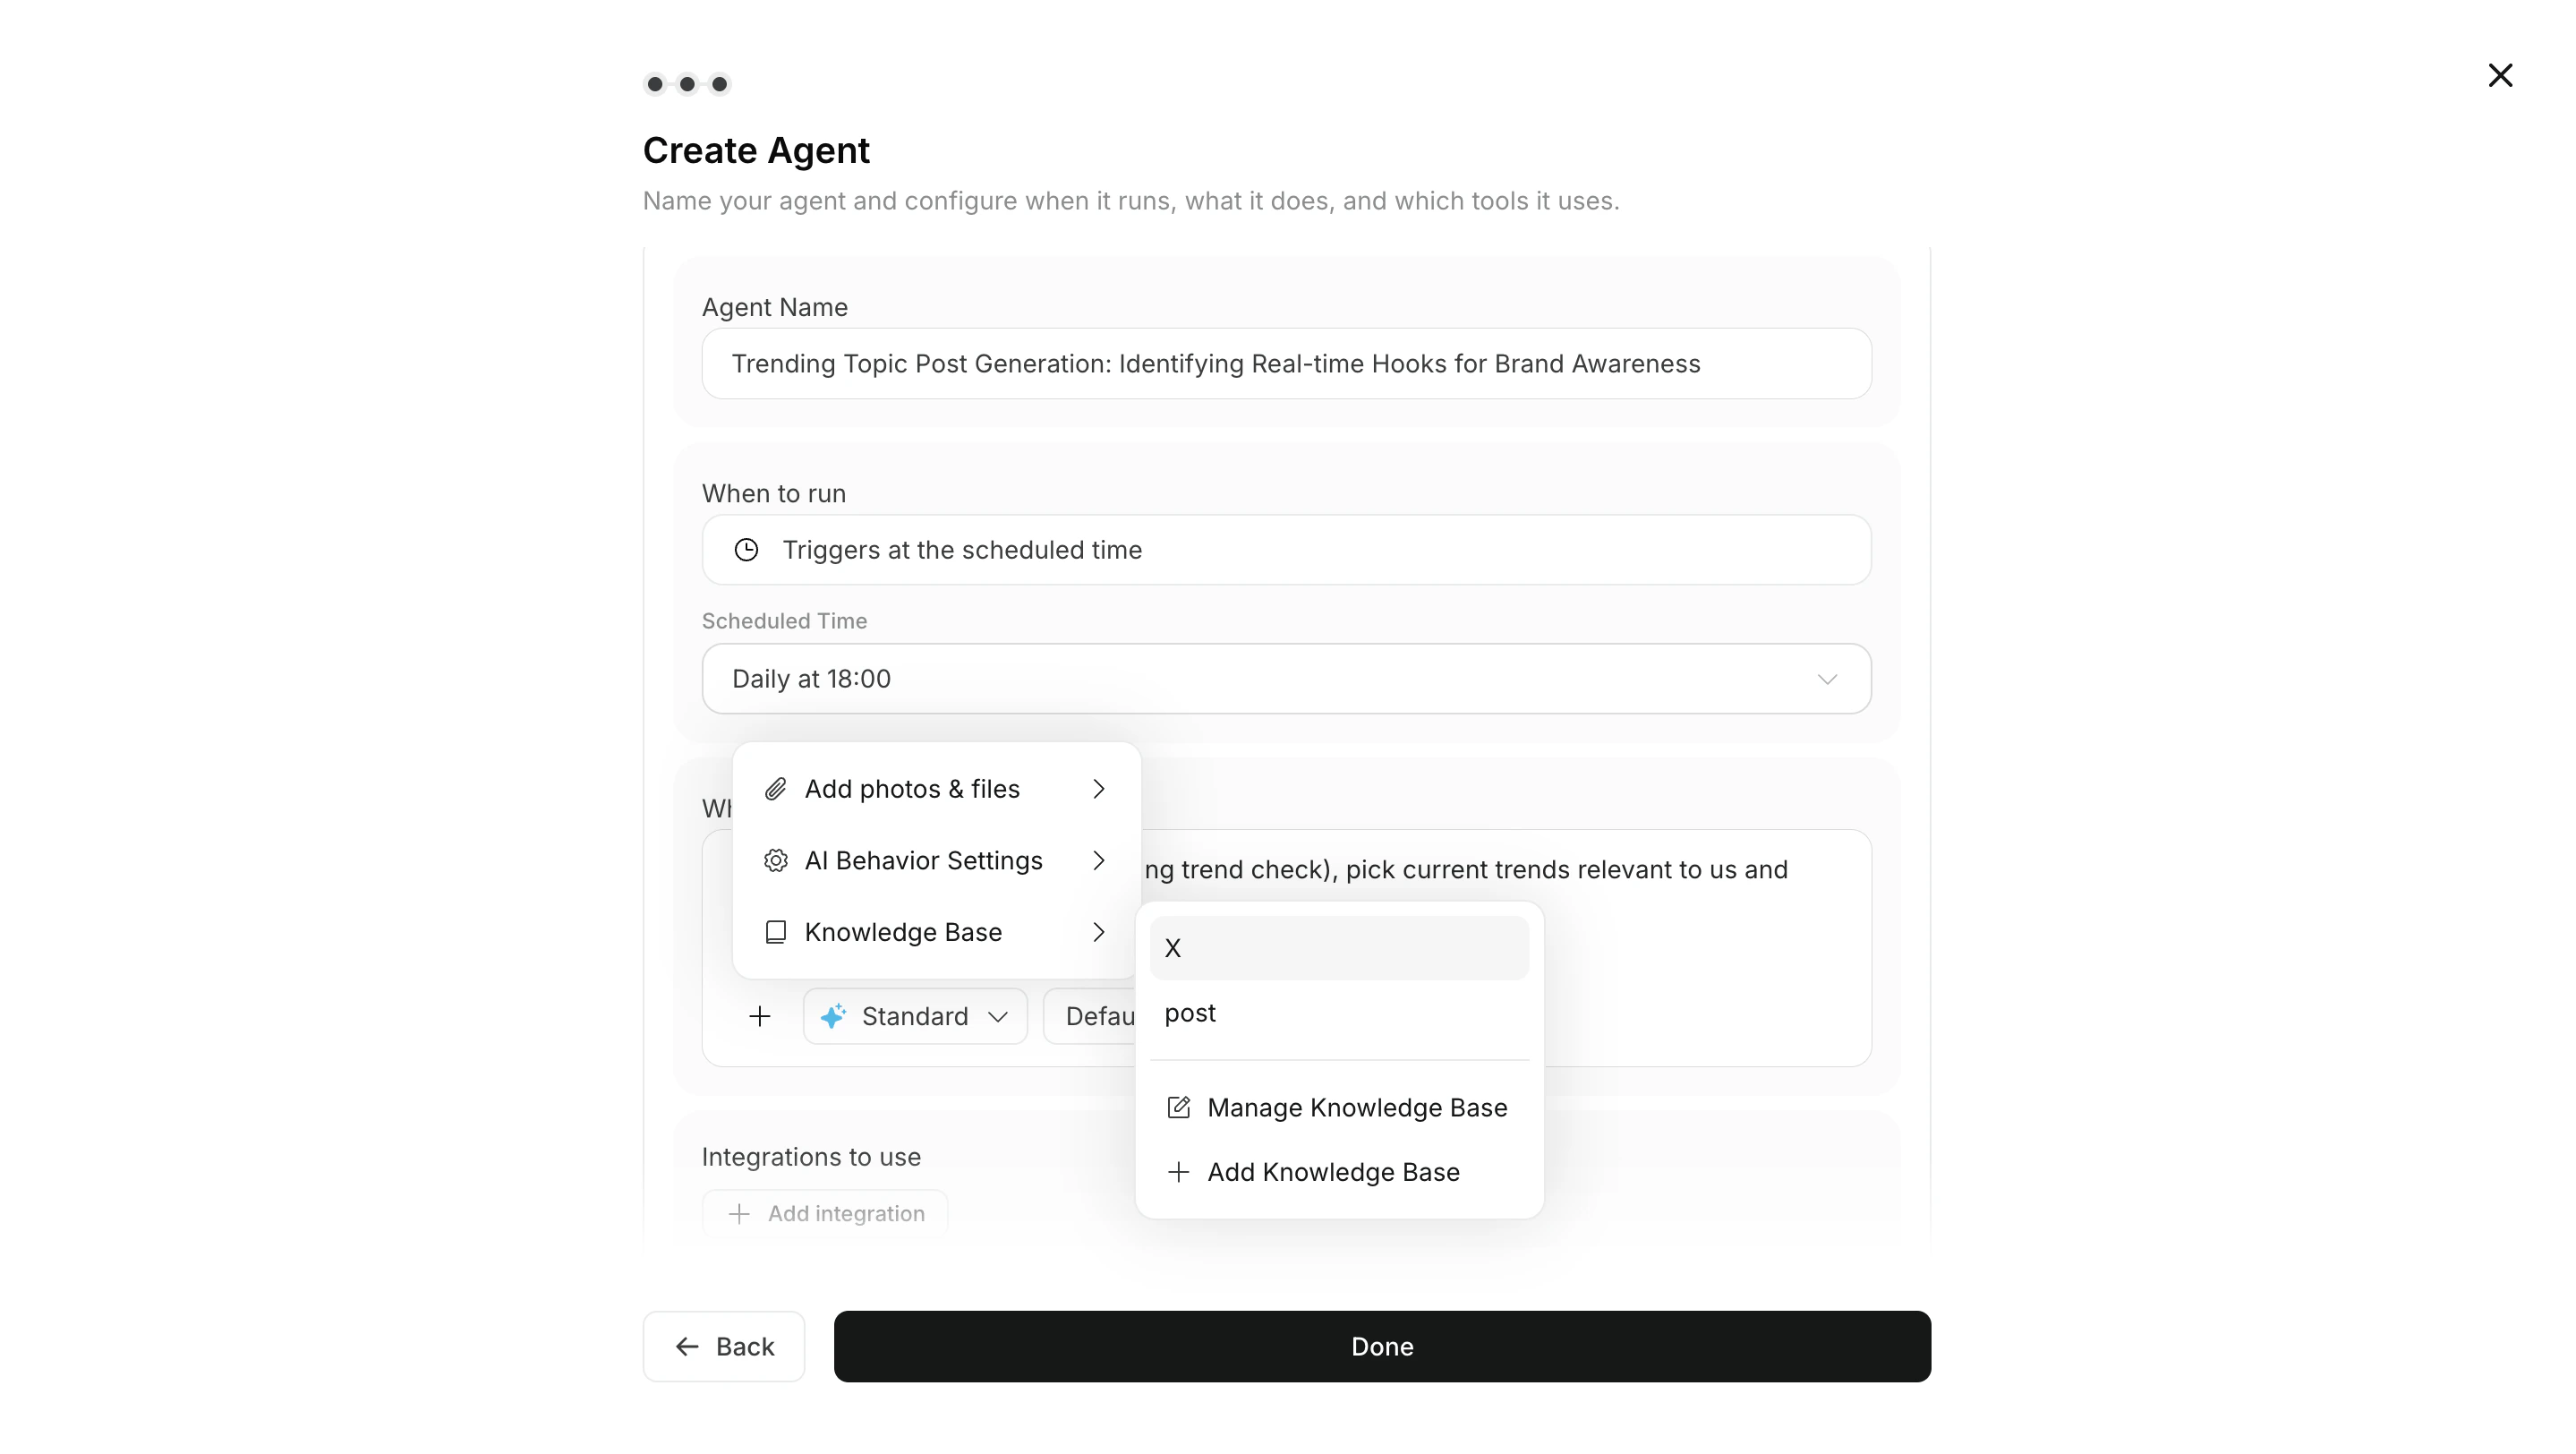
 4. ज़रूरत के अनुसार workflow में images या Knowledge Base अटैच करें
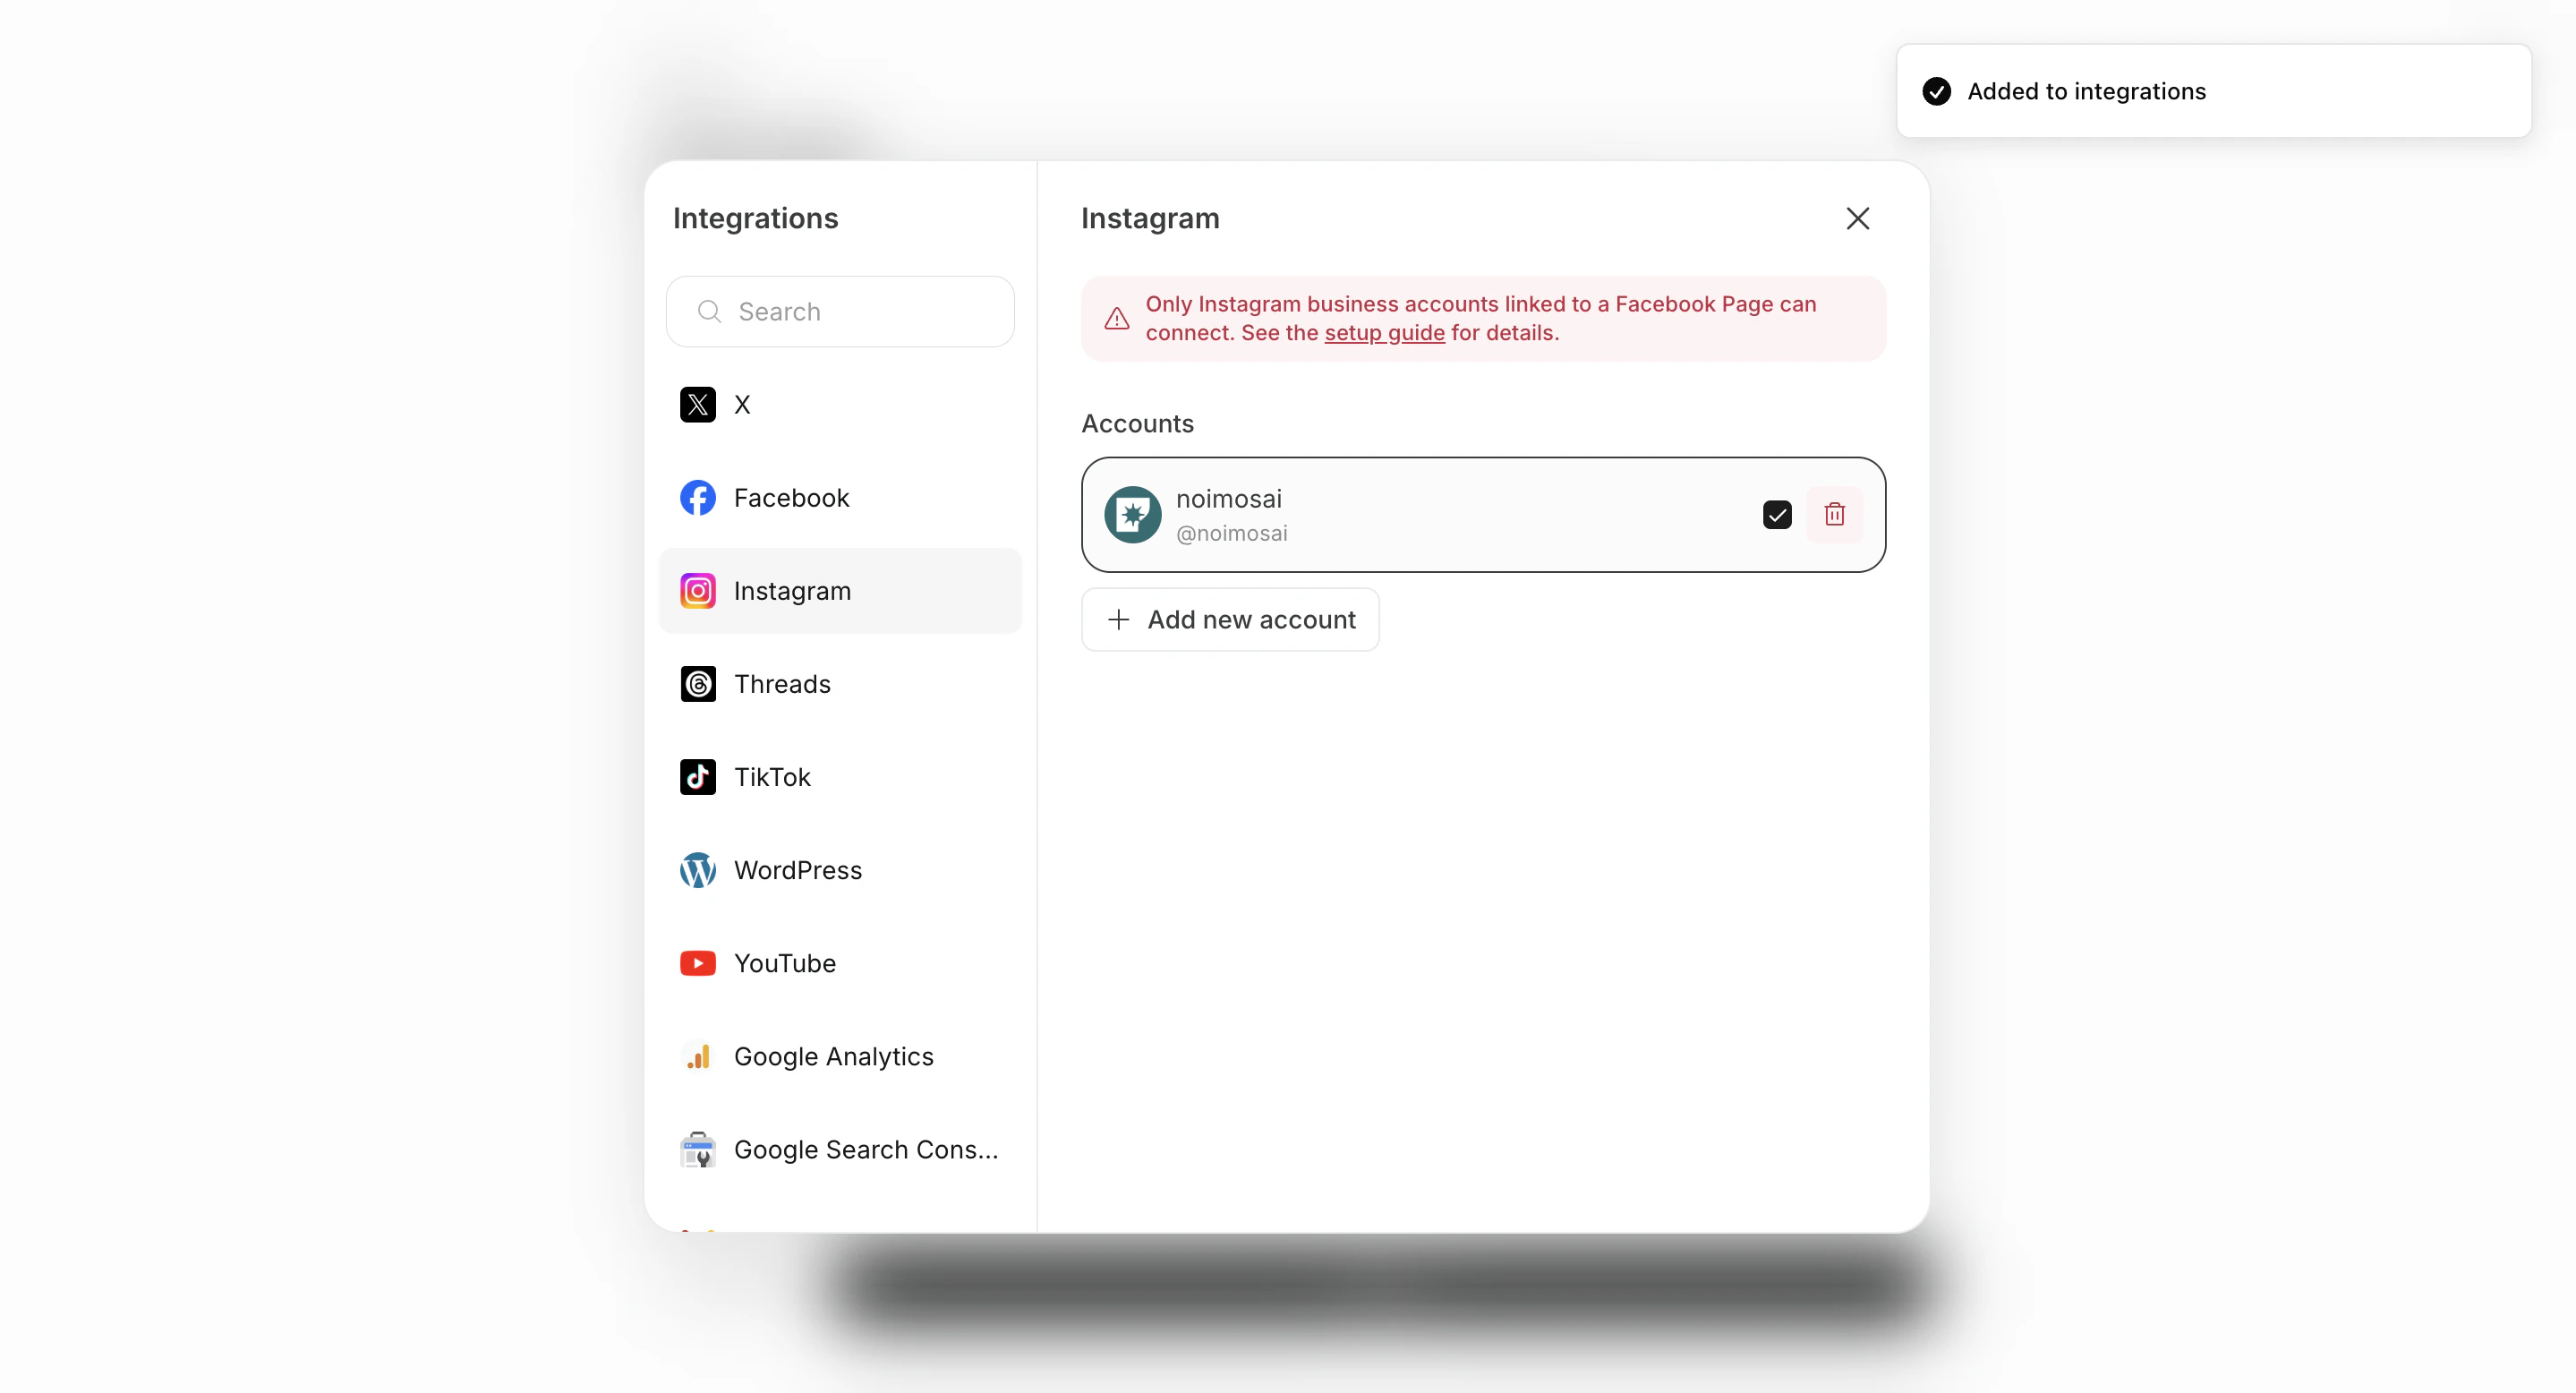
 5. Set integrations and connected accounts
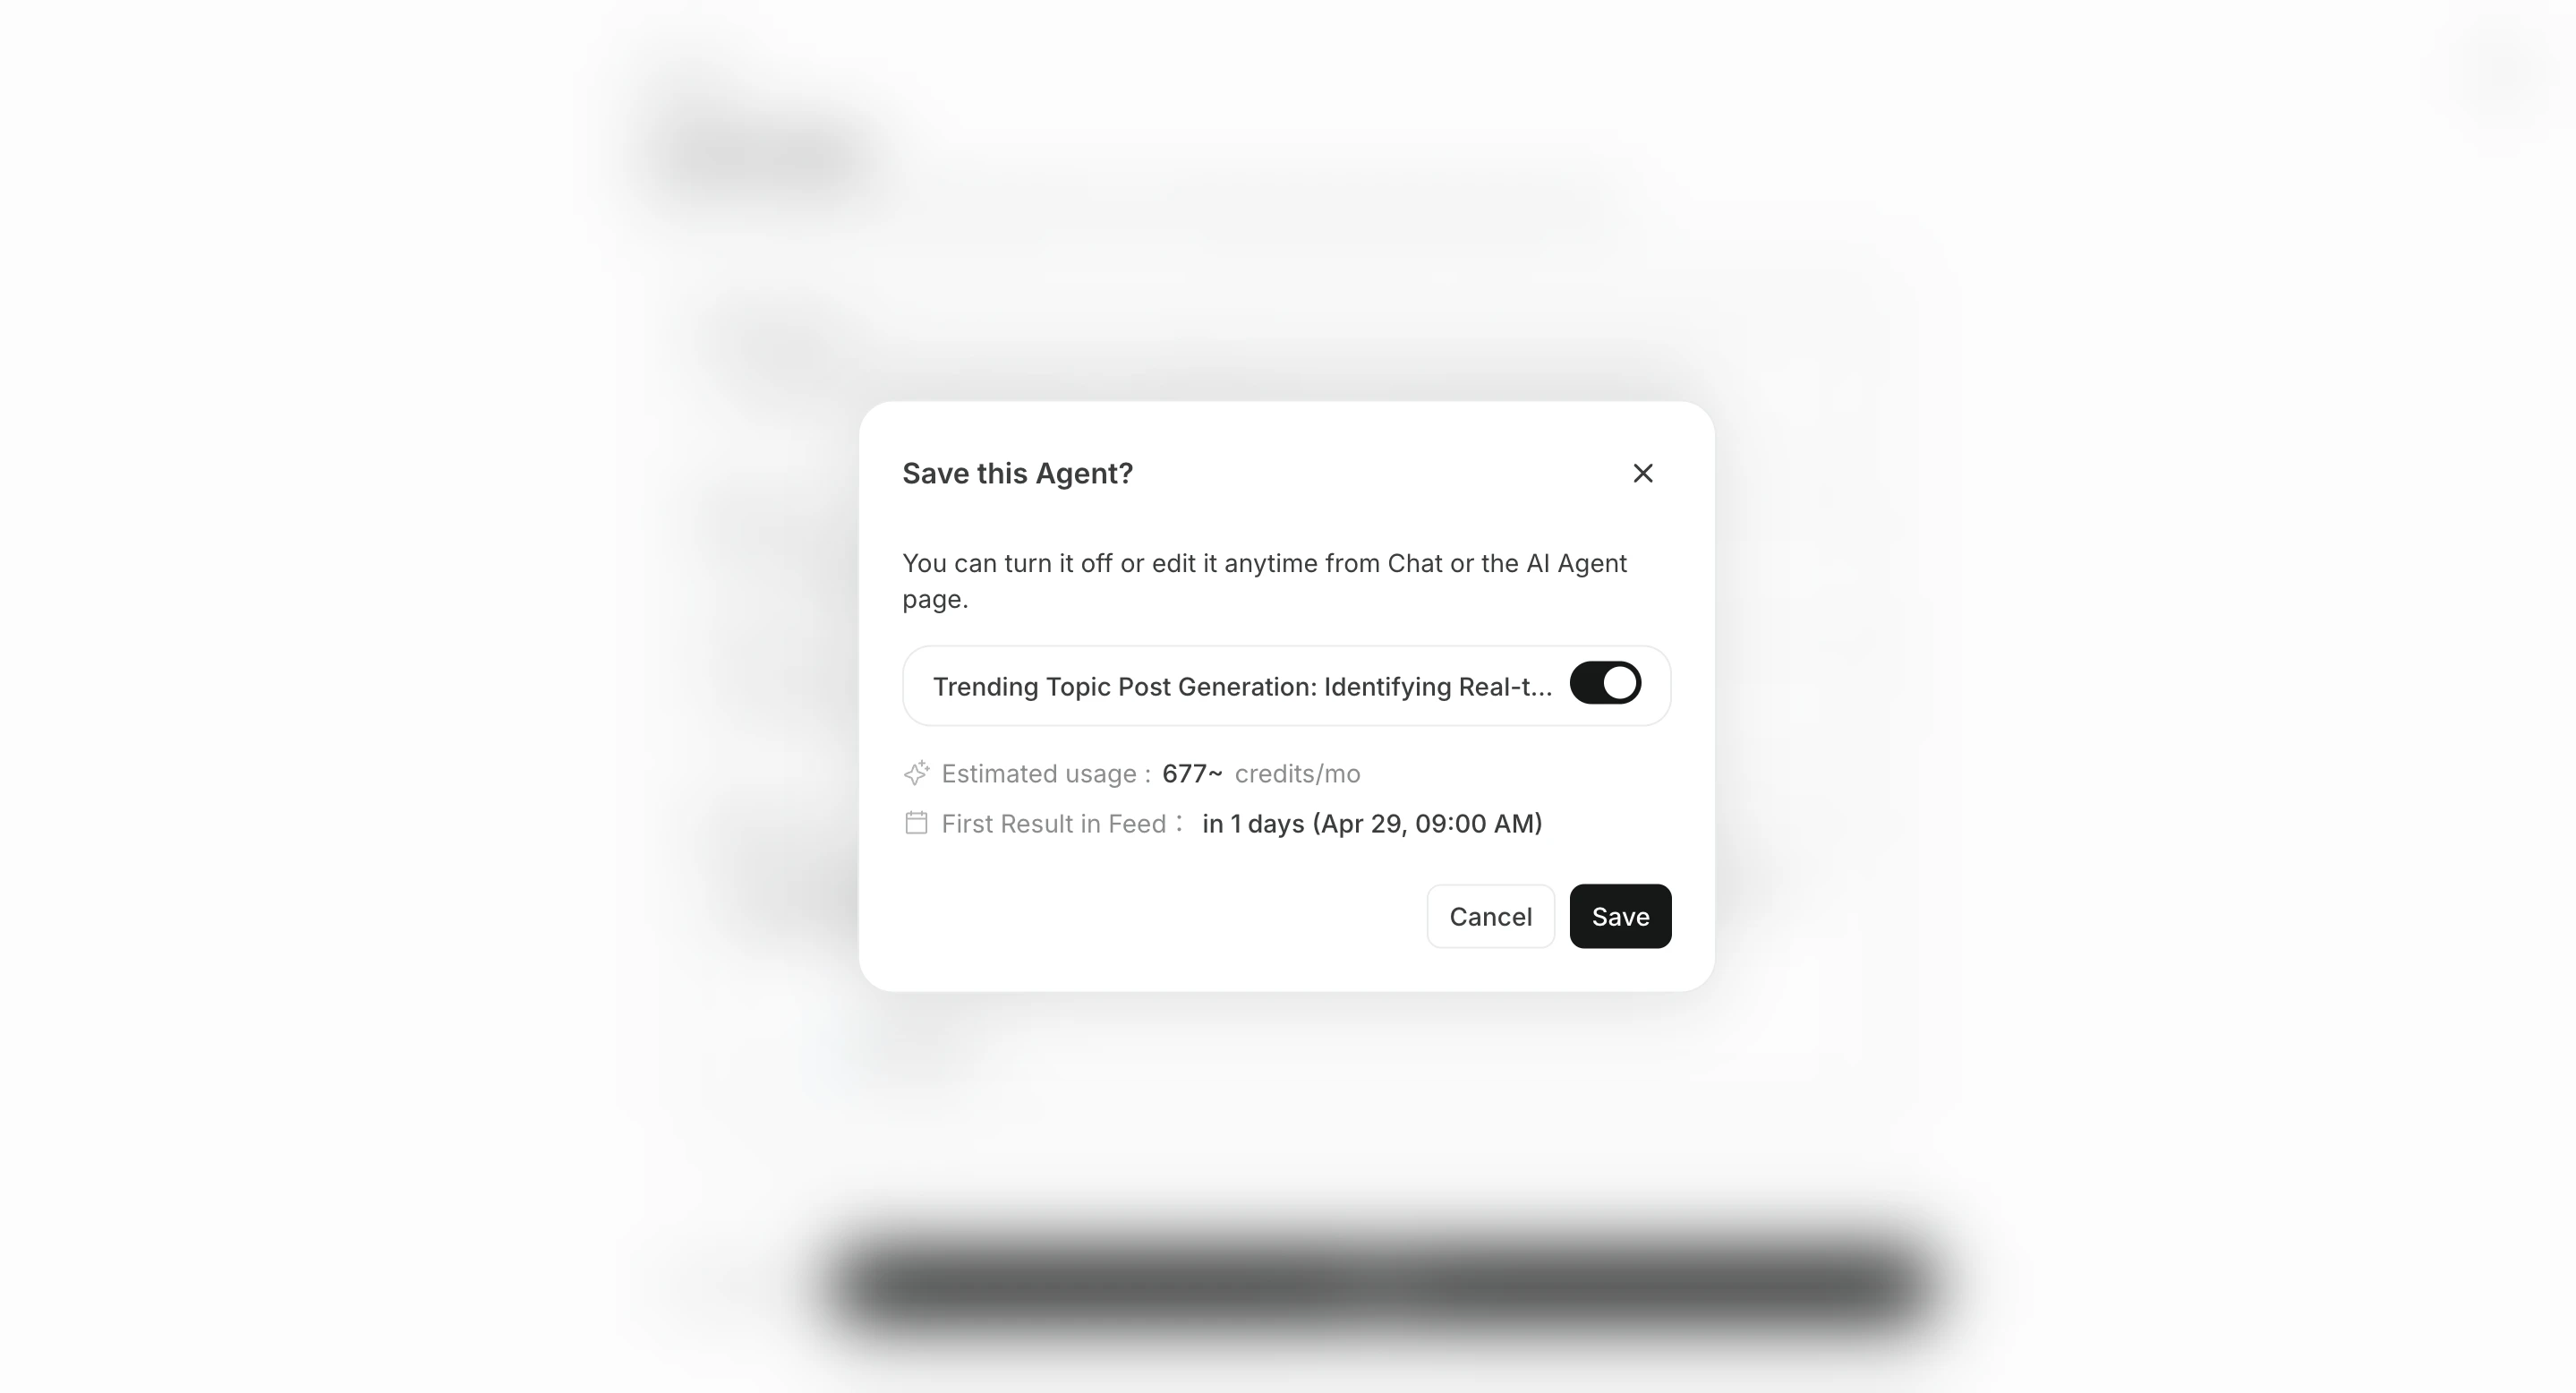
 6. Save, create, and enable if needed
 ## Destination सेट करें
`Destination` वैकल्पिक है। परिणाम संबंधित चैट सेशन में सहेजे जाते हैं और `सभी कार्य` से देखे जा सकते हैं, लेकिन notification या sharing की जरूरत हो तो destination जोड़ें।
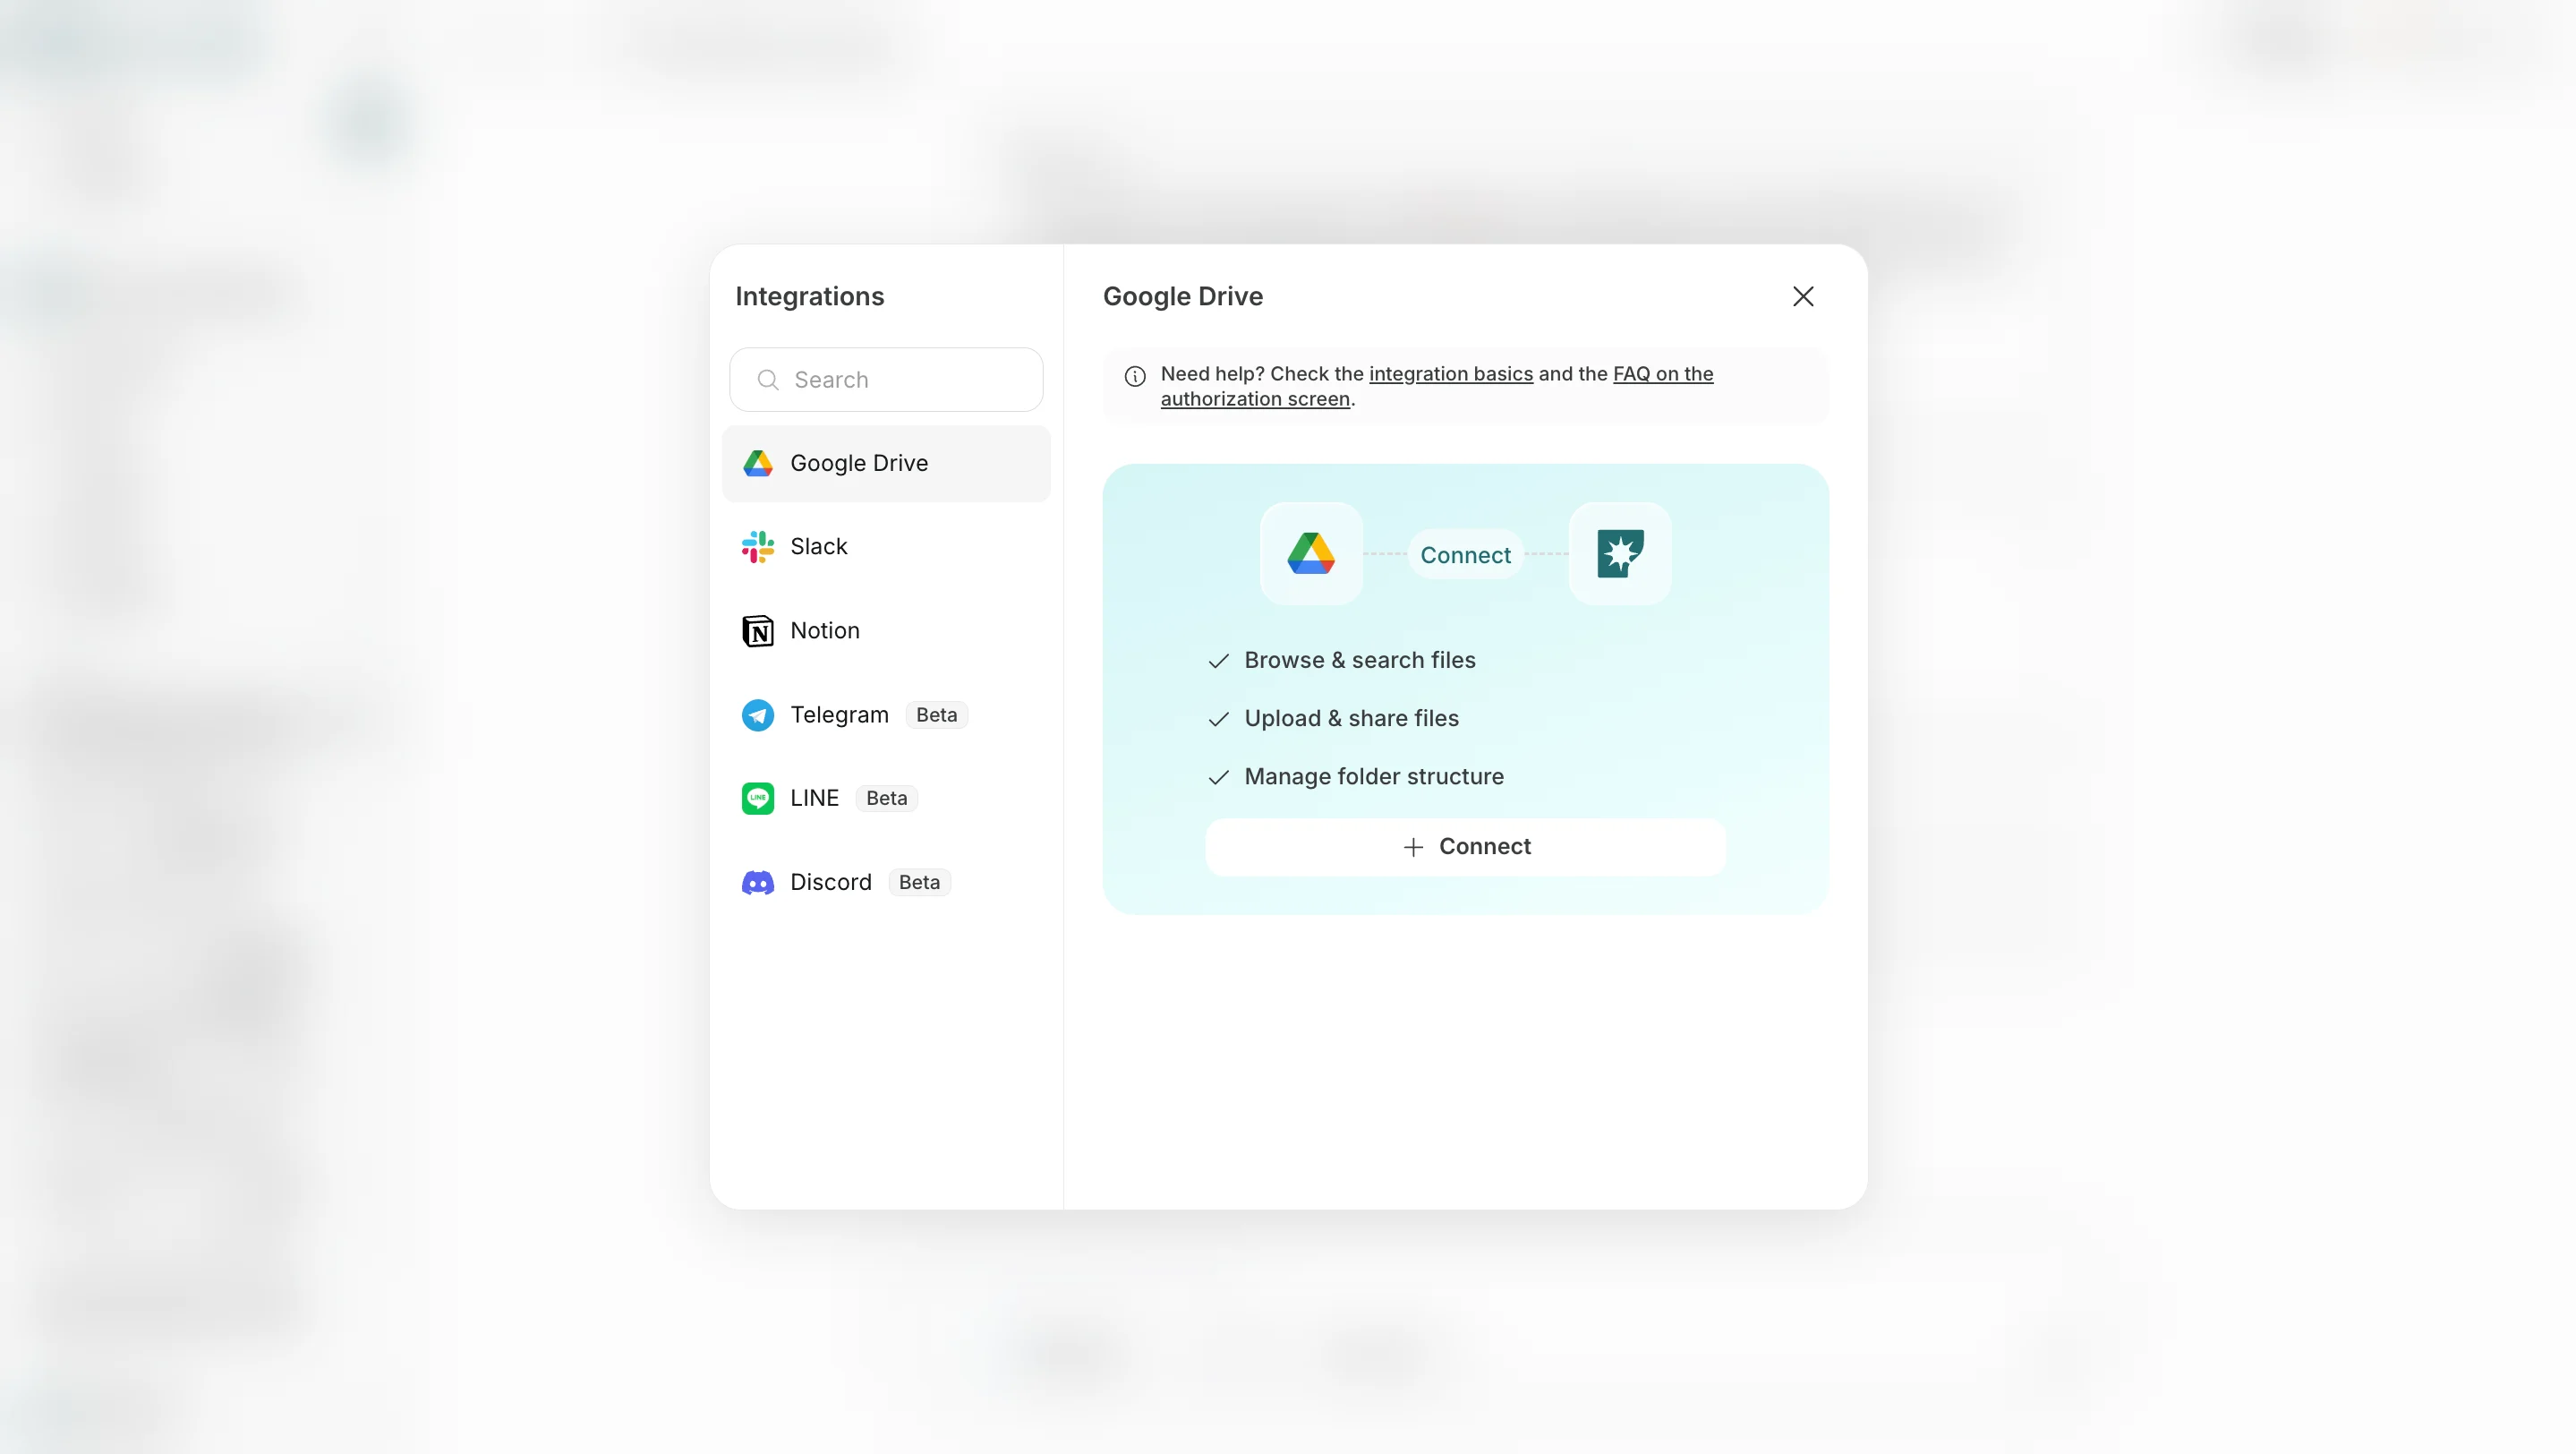
1. **Destination जोड़ें** में Slack, LINE, Discord, Telegram, WhatsApp, Notion, Google Drive जैसे connected app या storage destination चुनें।
## Destination सेट करें
`Destination` वैकल्पिक है। परिणाम संबंधित चैट सेशन में सहेजे जाते हैं और `सभी कार्य` से देखे जा सकते हैं, लेकिन notification या sharing की जरूरत हो तो destination जोड़ें।
1. **Destination जोड़ें** में Slack, LINE, Discord, Telegram, WhatsApp, Notion, Google Drive जैसे connected app या storage destination चुनें।
 2. **Email जोड़ें** में email address निर्दिष्ट करें ताकि परिणाम email से भी मिल सकें।
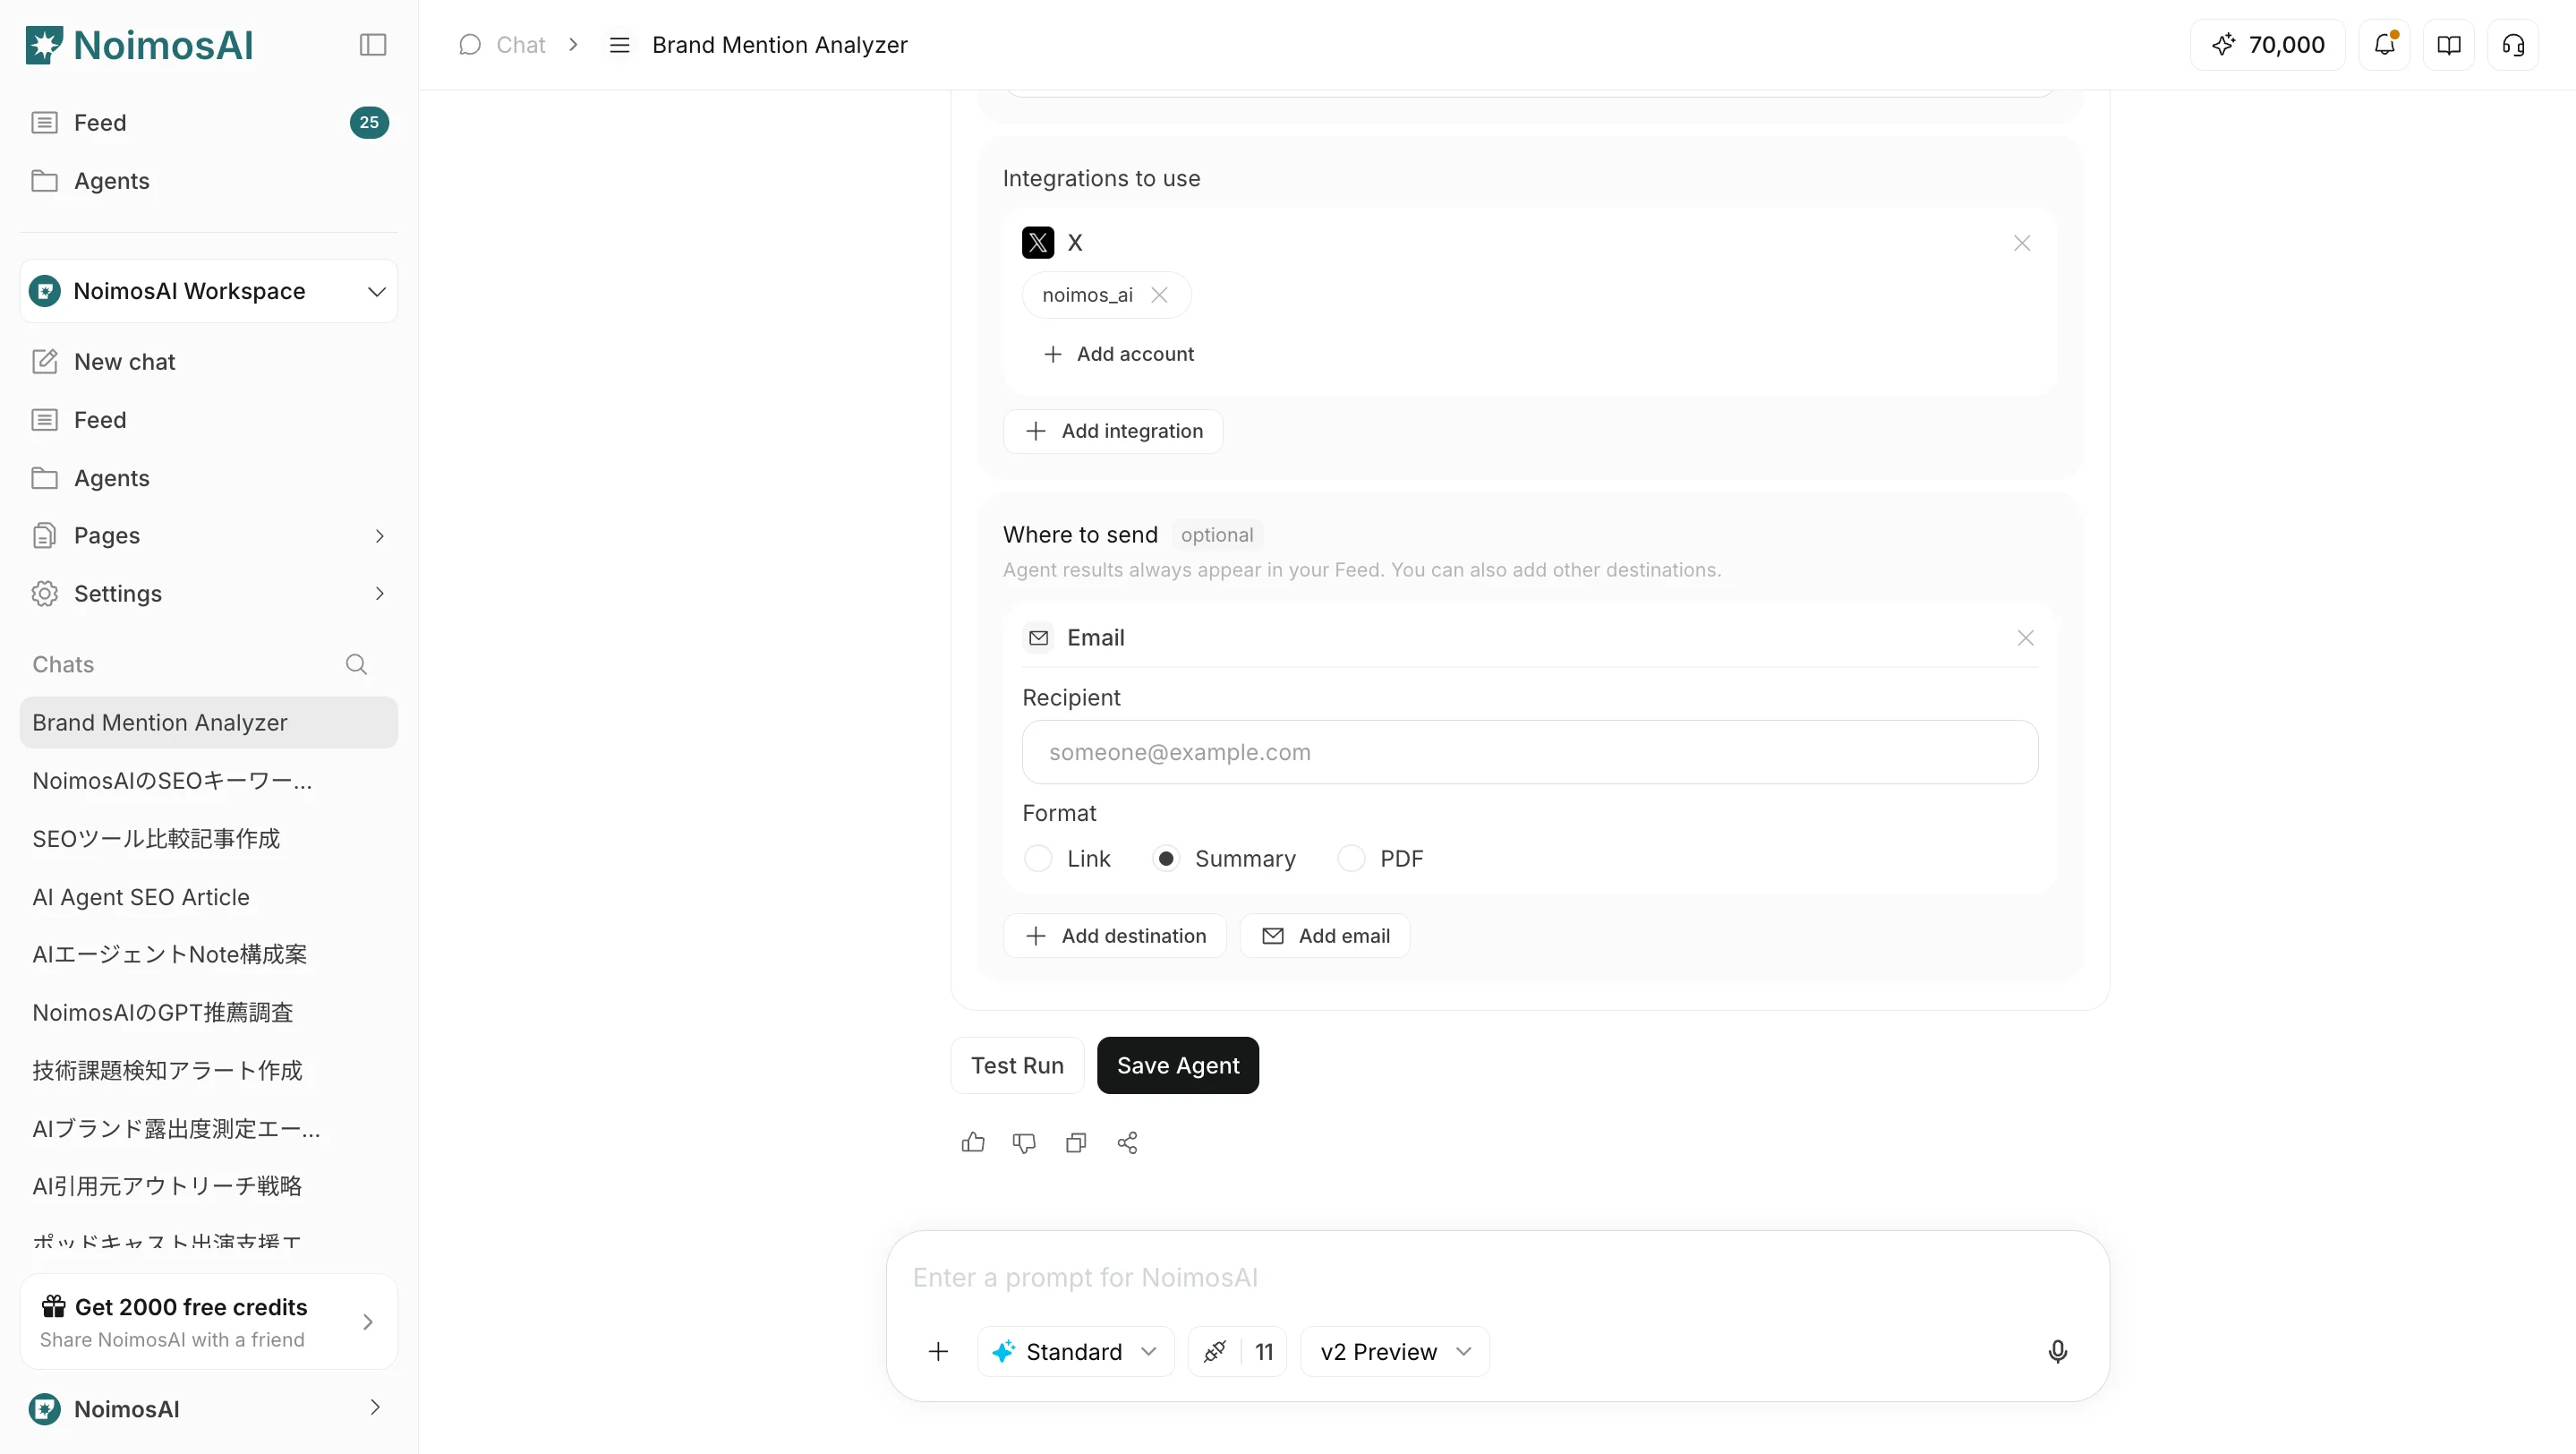 दोनों मामलों में भेजने का format `Link`, `Summary` या `PDF` से चुना जा सकता है।
## Operating tips
* Use a title that makes the purpose clear
* Include output format, review criteria, and prohibited actions in the instructions
* Start at a low frequency and adjust after reviewing results
## संबंधित पेज
* [Trigger types](/hi/help-center/ai-team/trigger-types)
दोनों मामलों में भेजने का format `Link`, `Summary` या `PDF` से चुना जा सकता है।
## Operating tips
* Use a title that makes the purpose clear
* Include output format, review criteria, and prohibited actions in the instructions
* Start at a low frequency and adjust after reviewing results
## संबंधित पेज
* [Trigger types](/hi/help-center/ai-team/trigger-types)