> ## Documentation Index
> Fetch the complete documentation index at: https://docs.noimosai.com/llms.txt
> Use this file to discover all available pages before exploring further.
# Creare un agente da un template
> Usa un template per creare rapidamente un agente, poi regola condizioni, istruzioni e integrazioni.
## Panoramica
`Create from template` è adatto quando vuoi iniziare rapidamente. Il template fornisce la configurazione iniziale, poi la adatti al tuo workspace.
## Passaggi
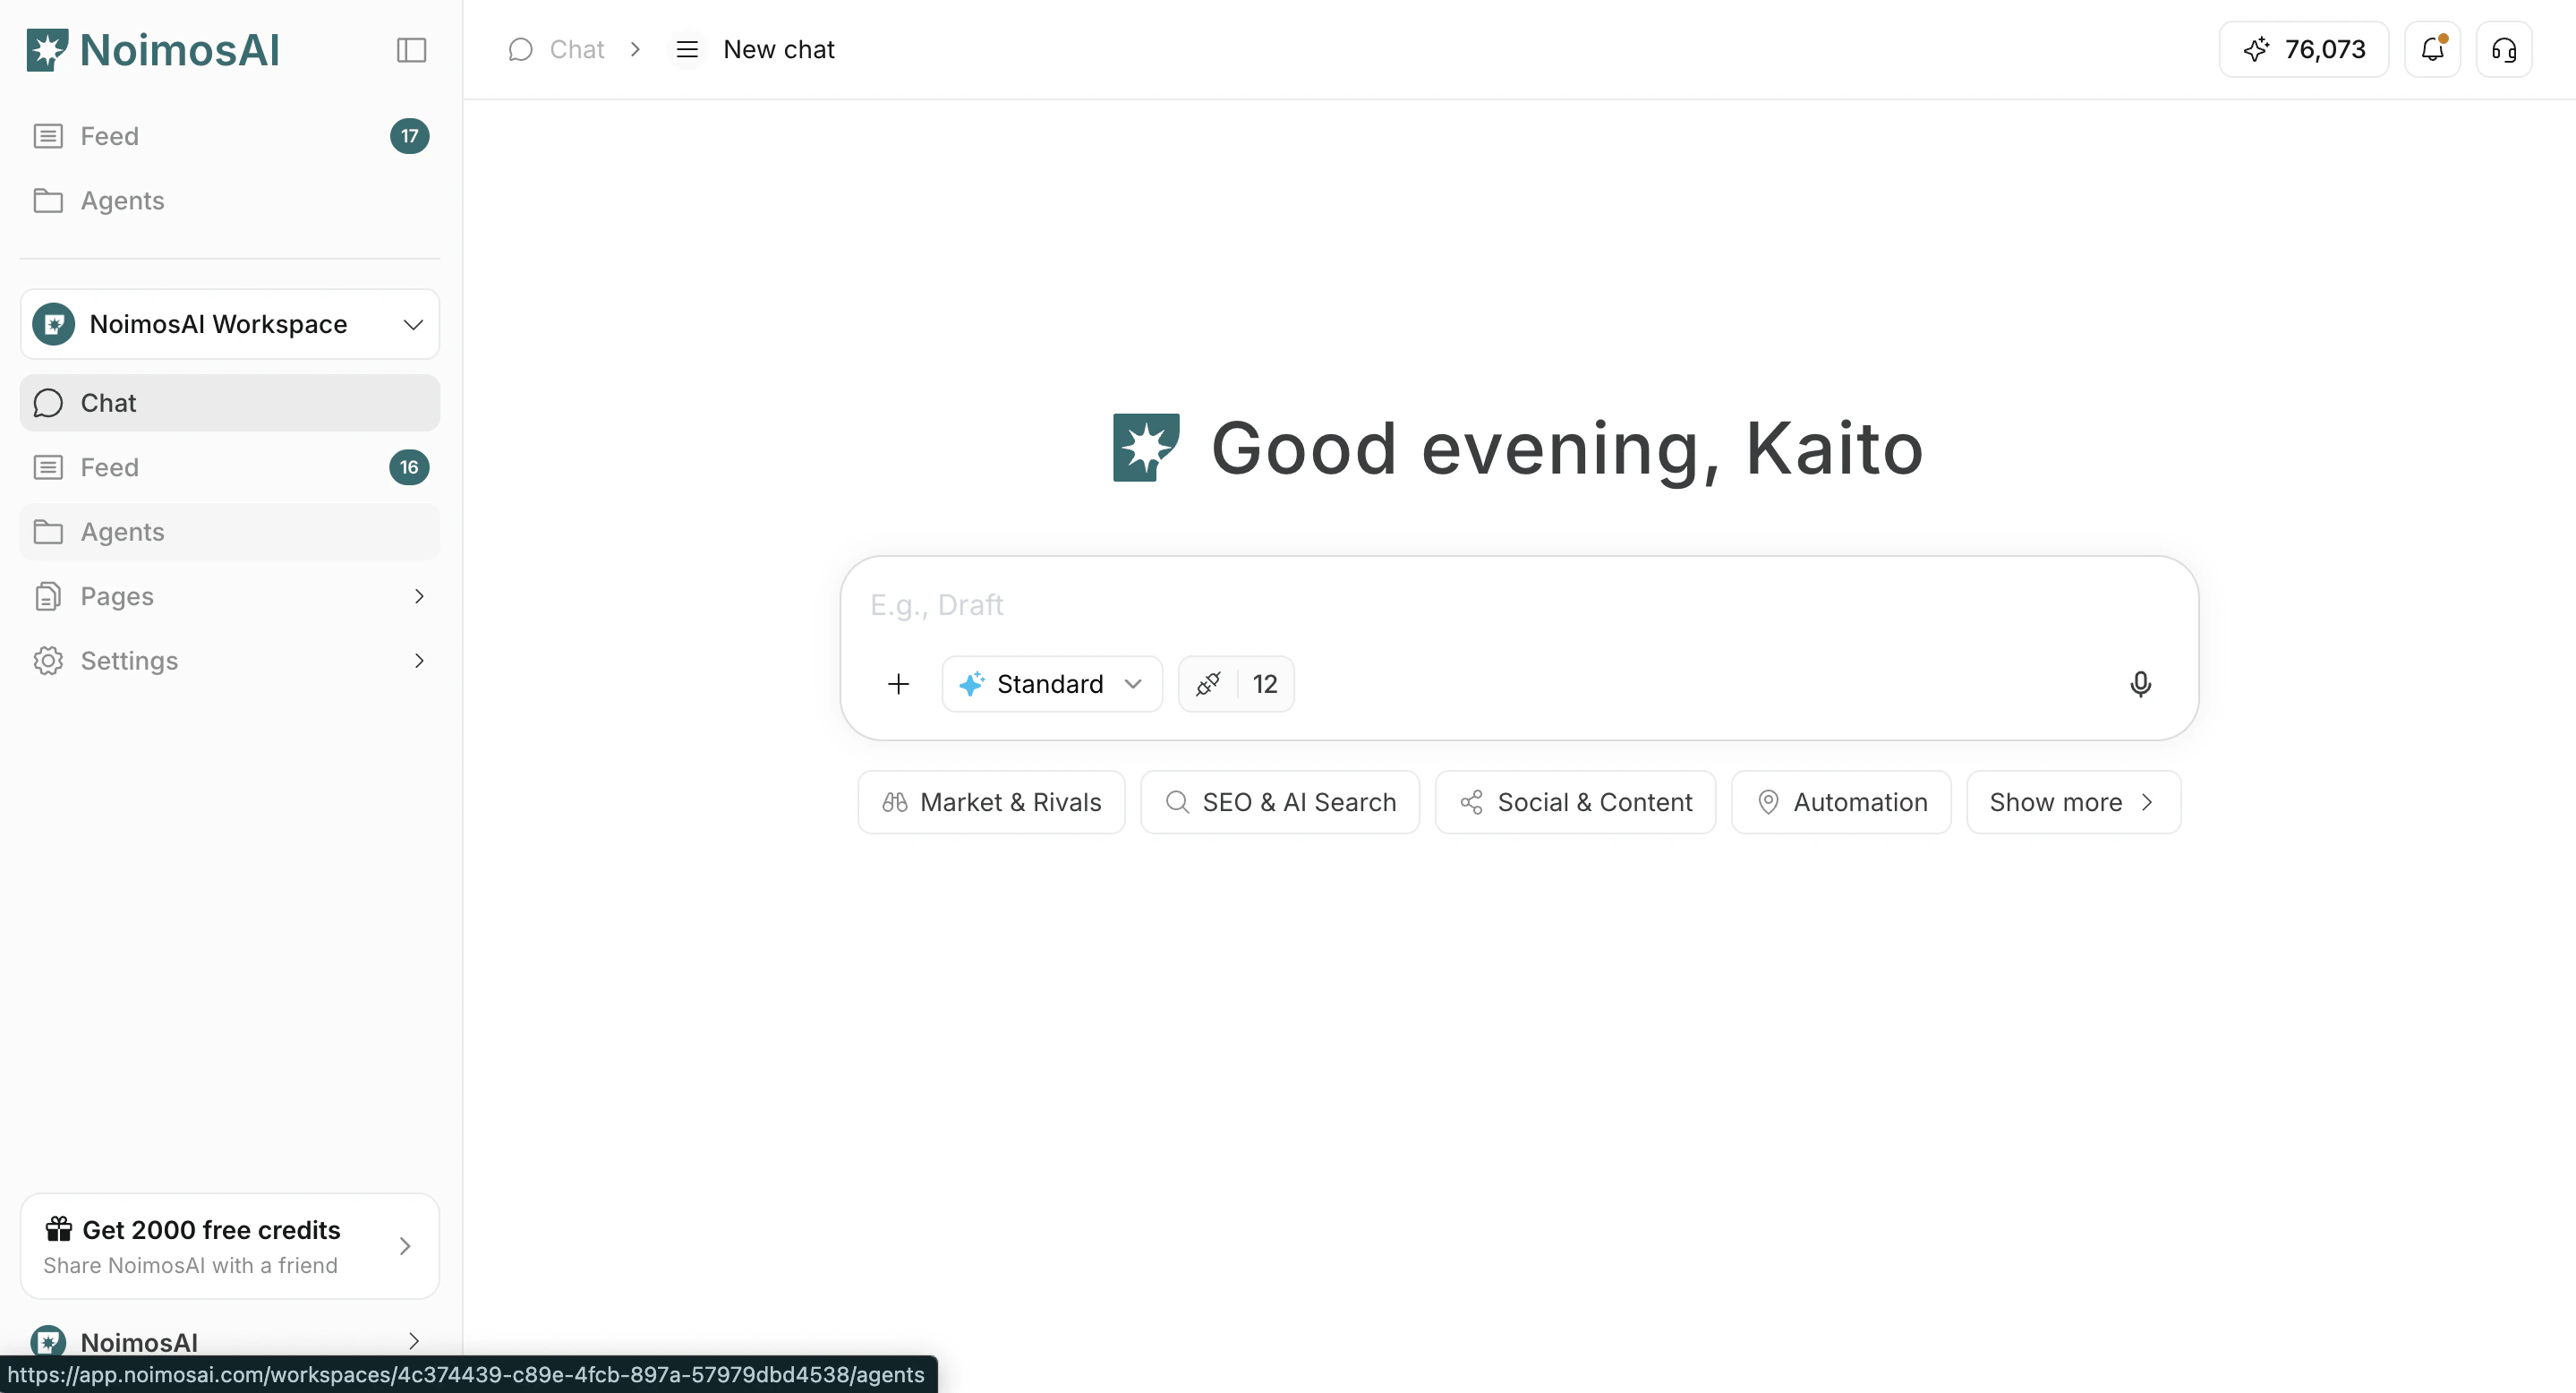
1. Apri `Agents`
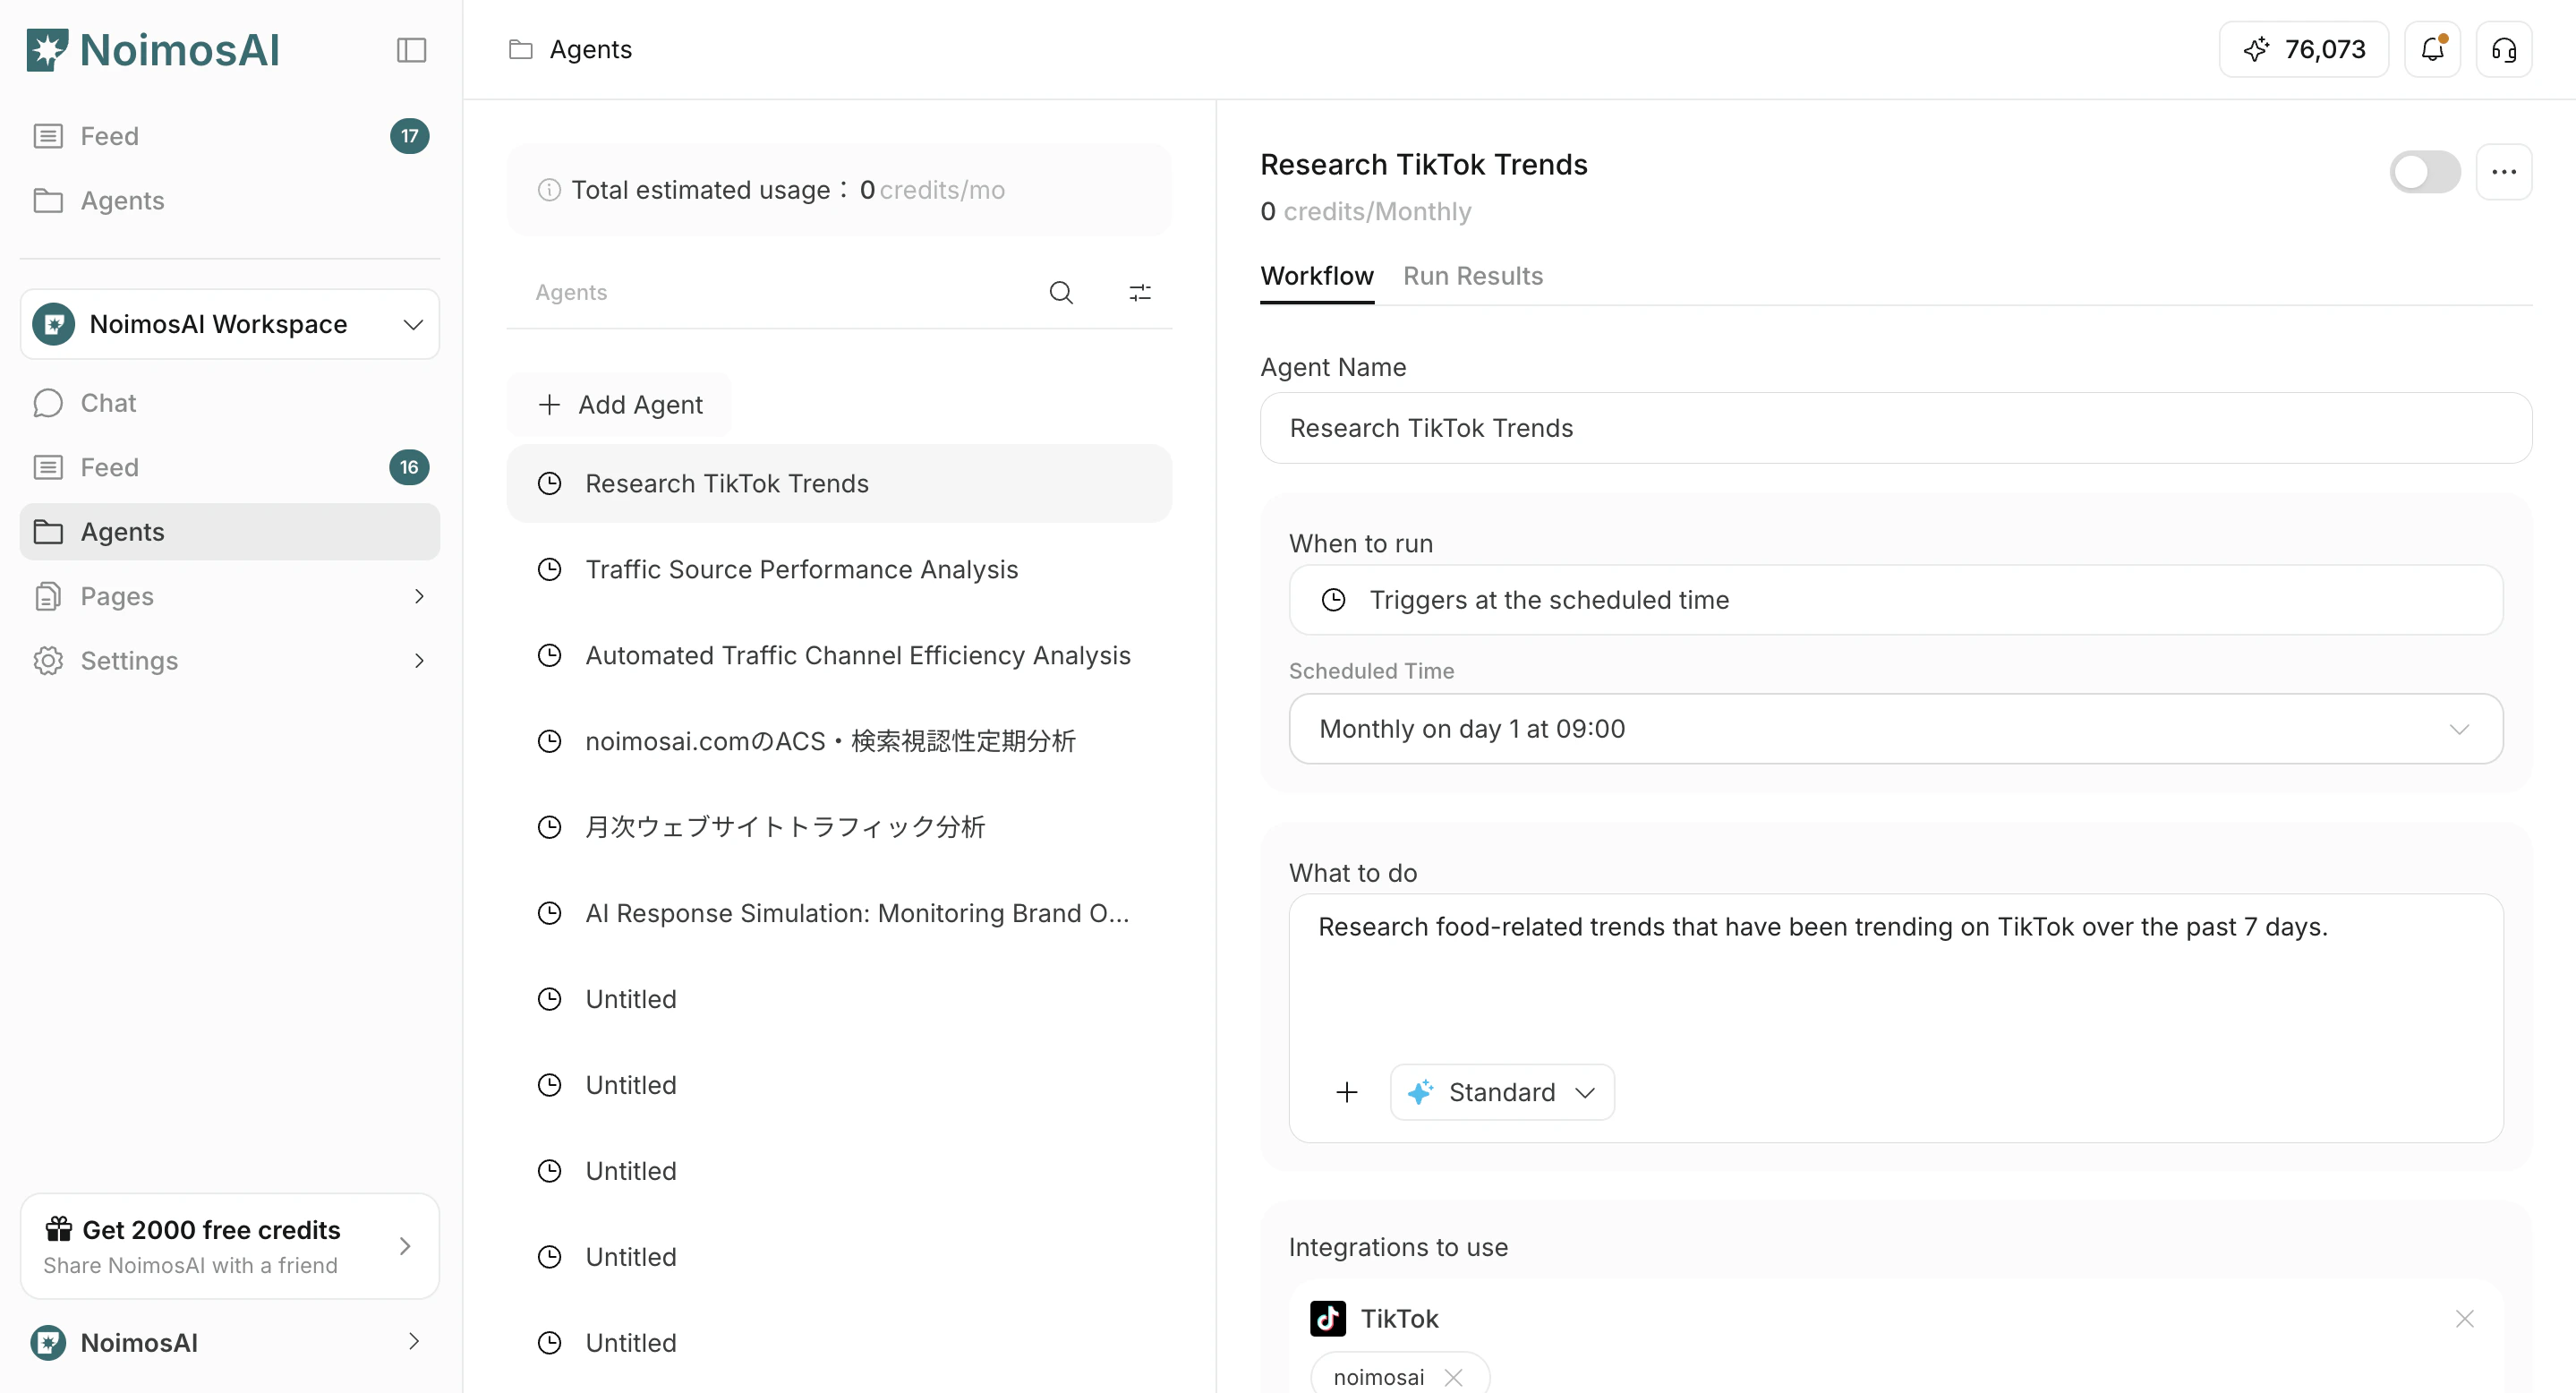
 2. Fai clic su `Add Agent`
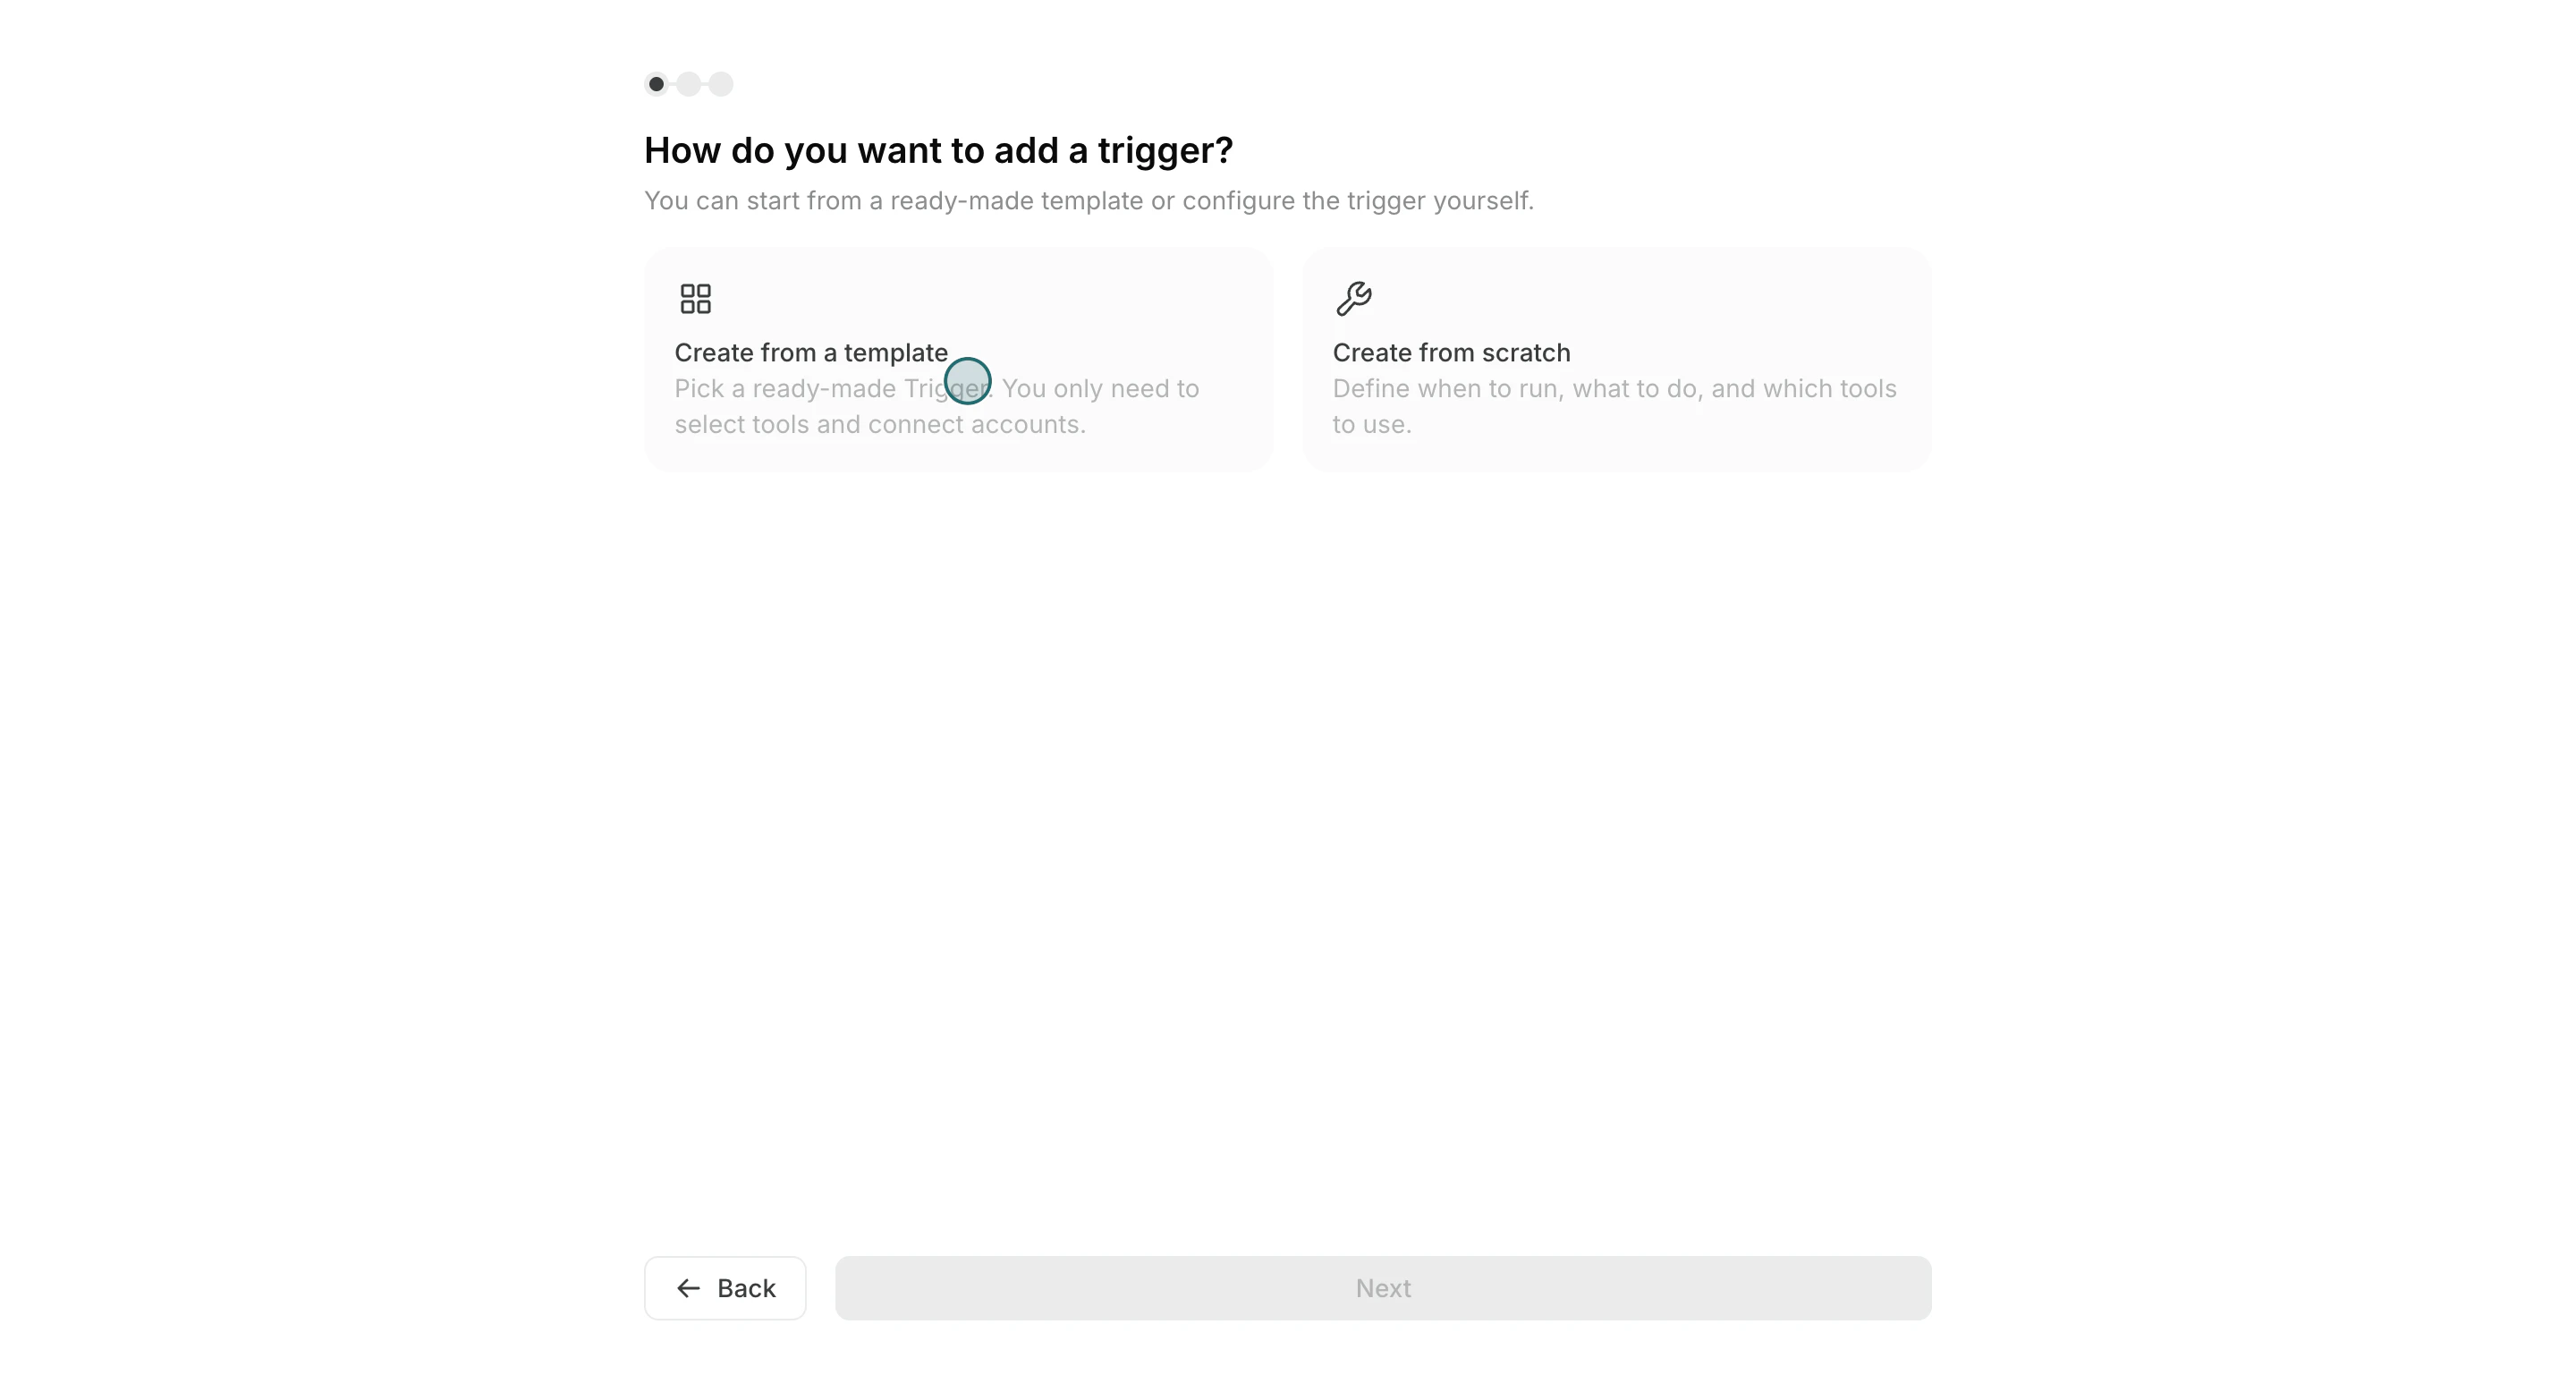
 3. Seleziona `Create from template`
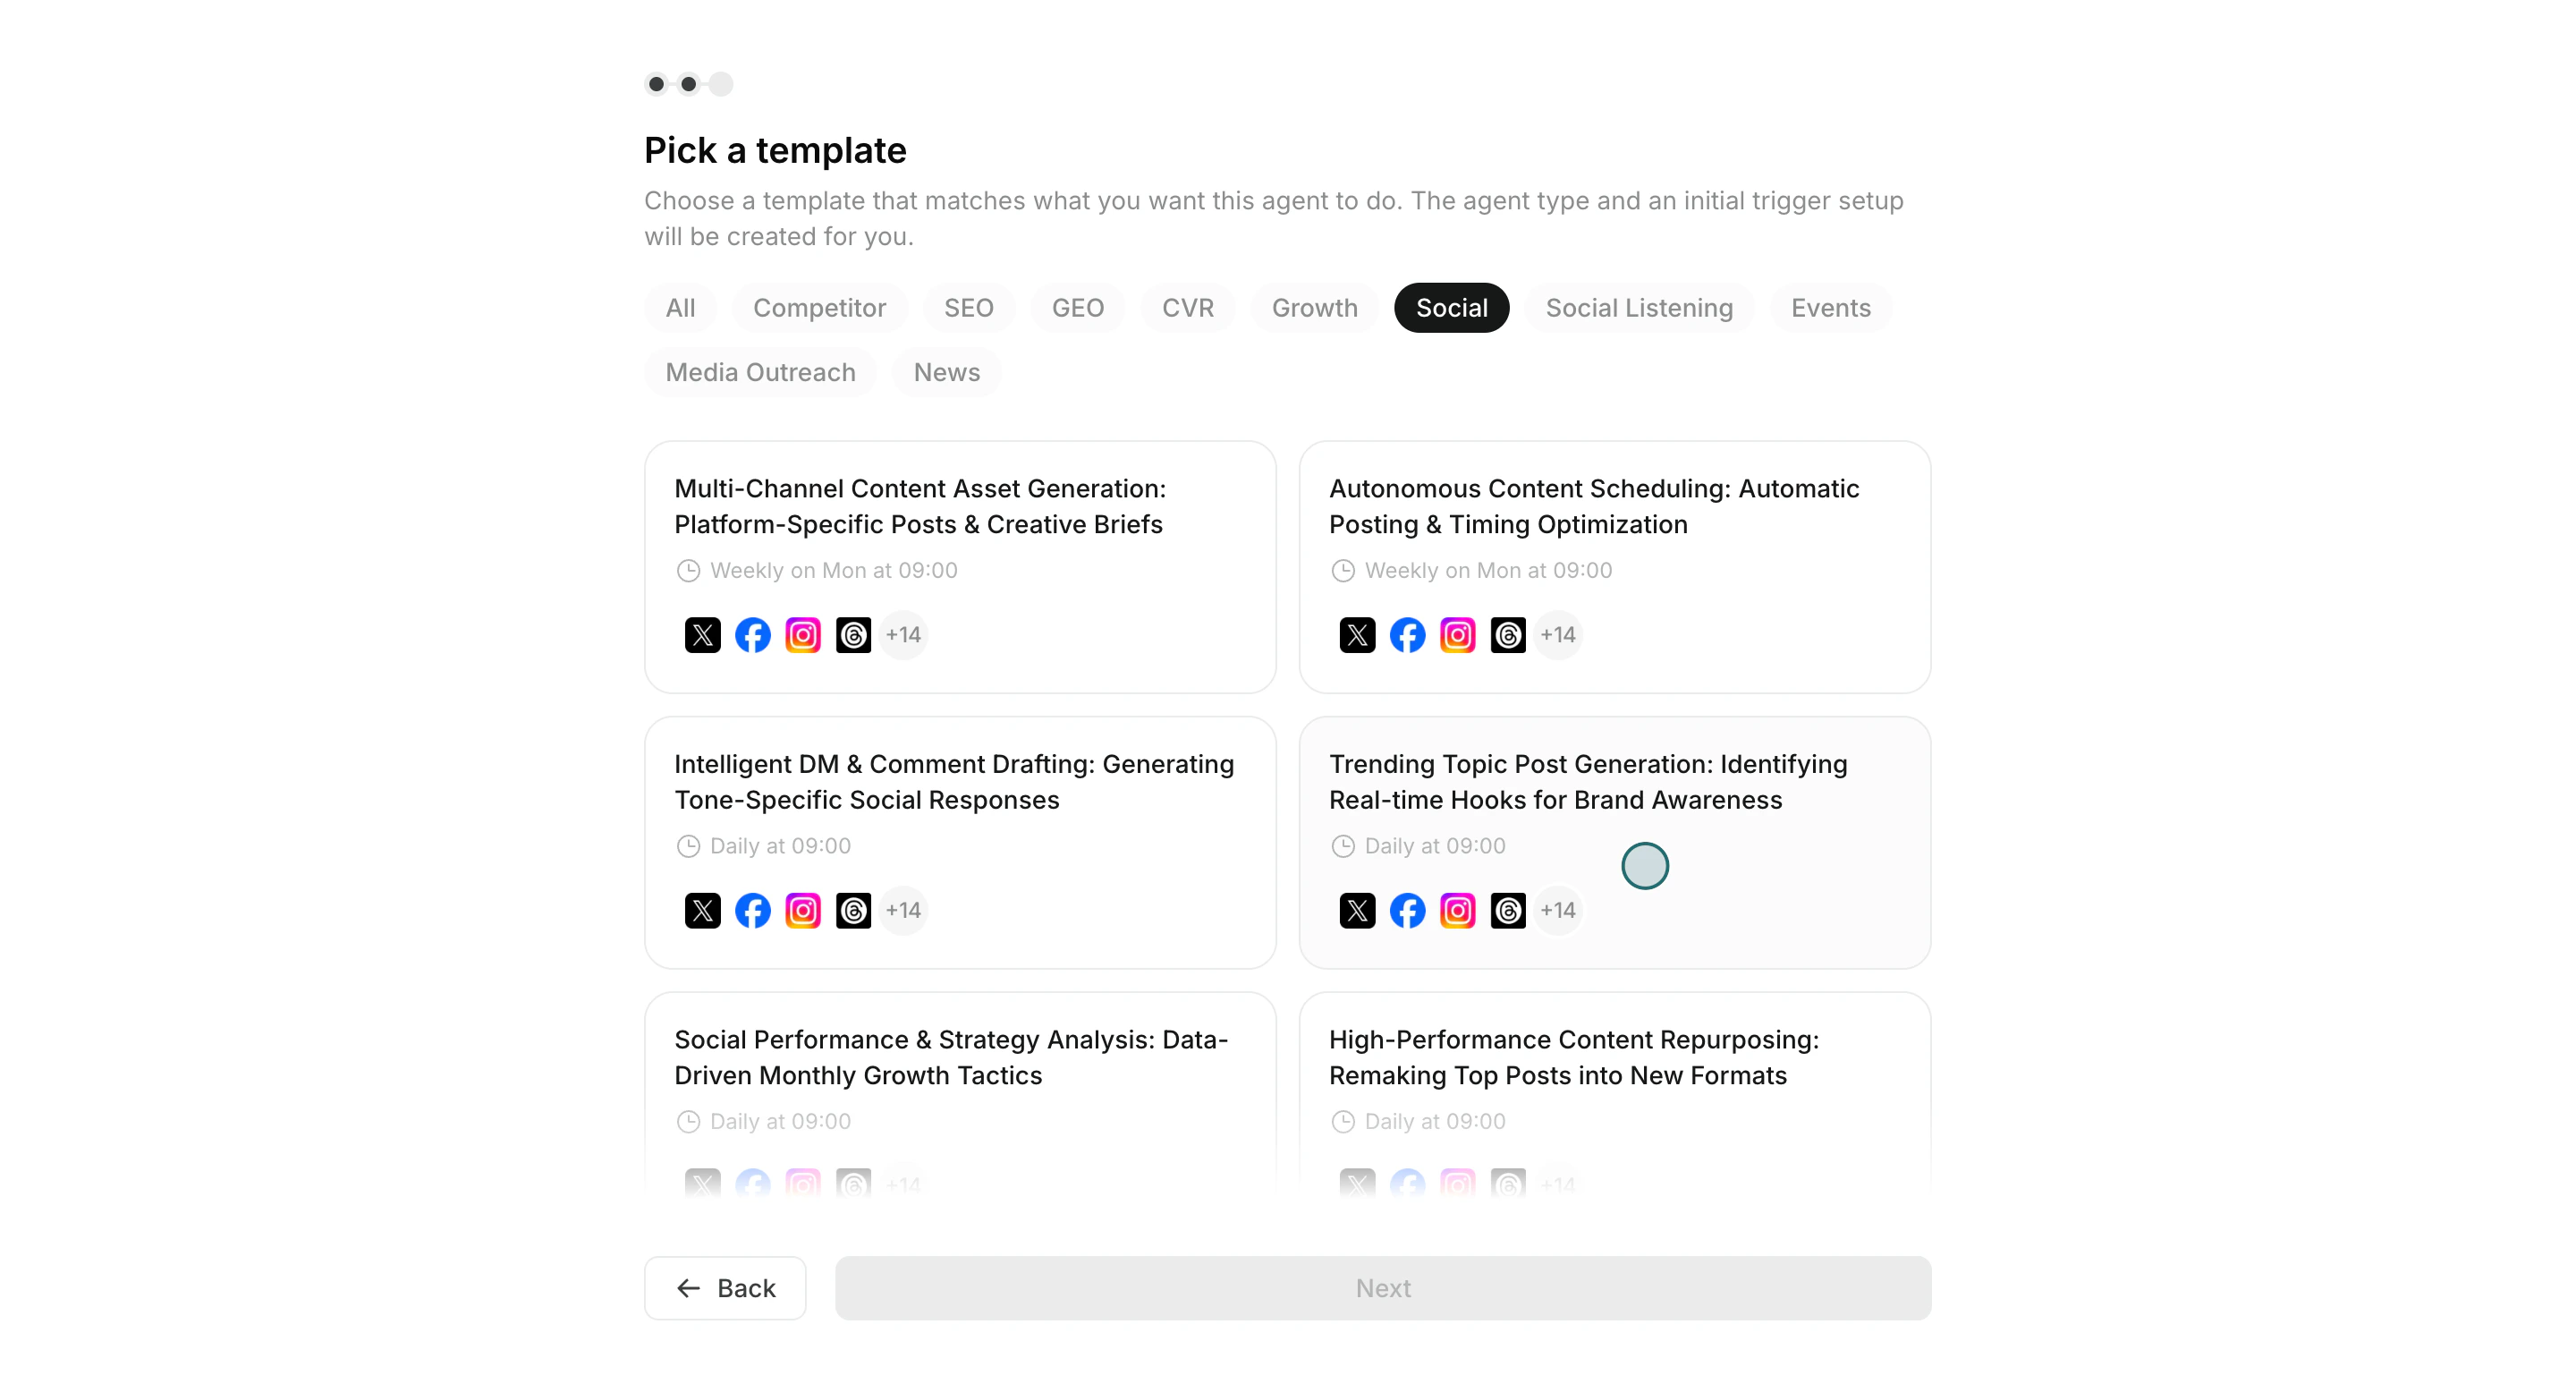
 4. Scegli un template vicino al tuo obiettivo
 5. Regola `Run conditions`, `Workflow` e `Destinations` (opzionale)
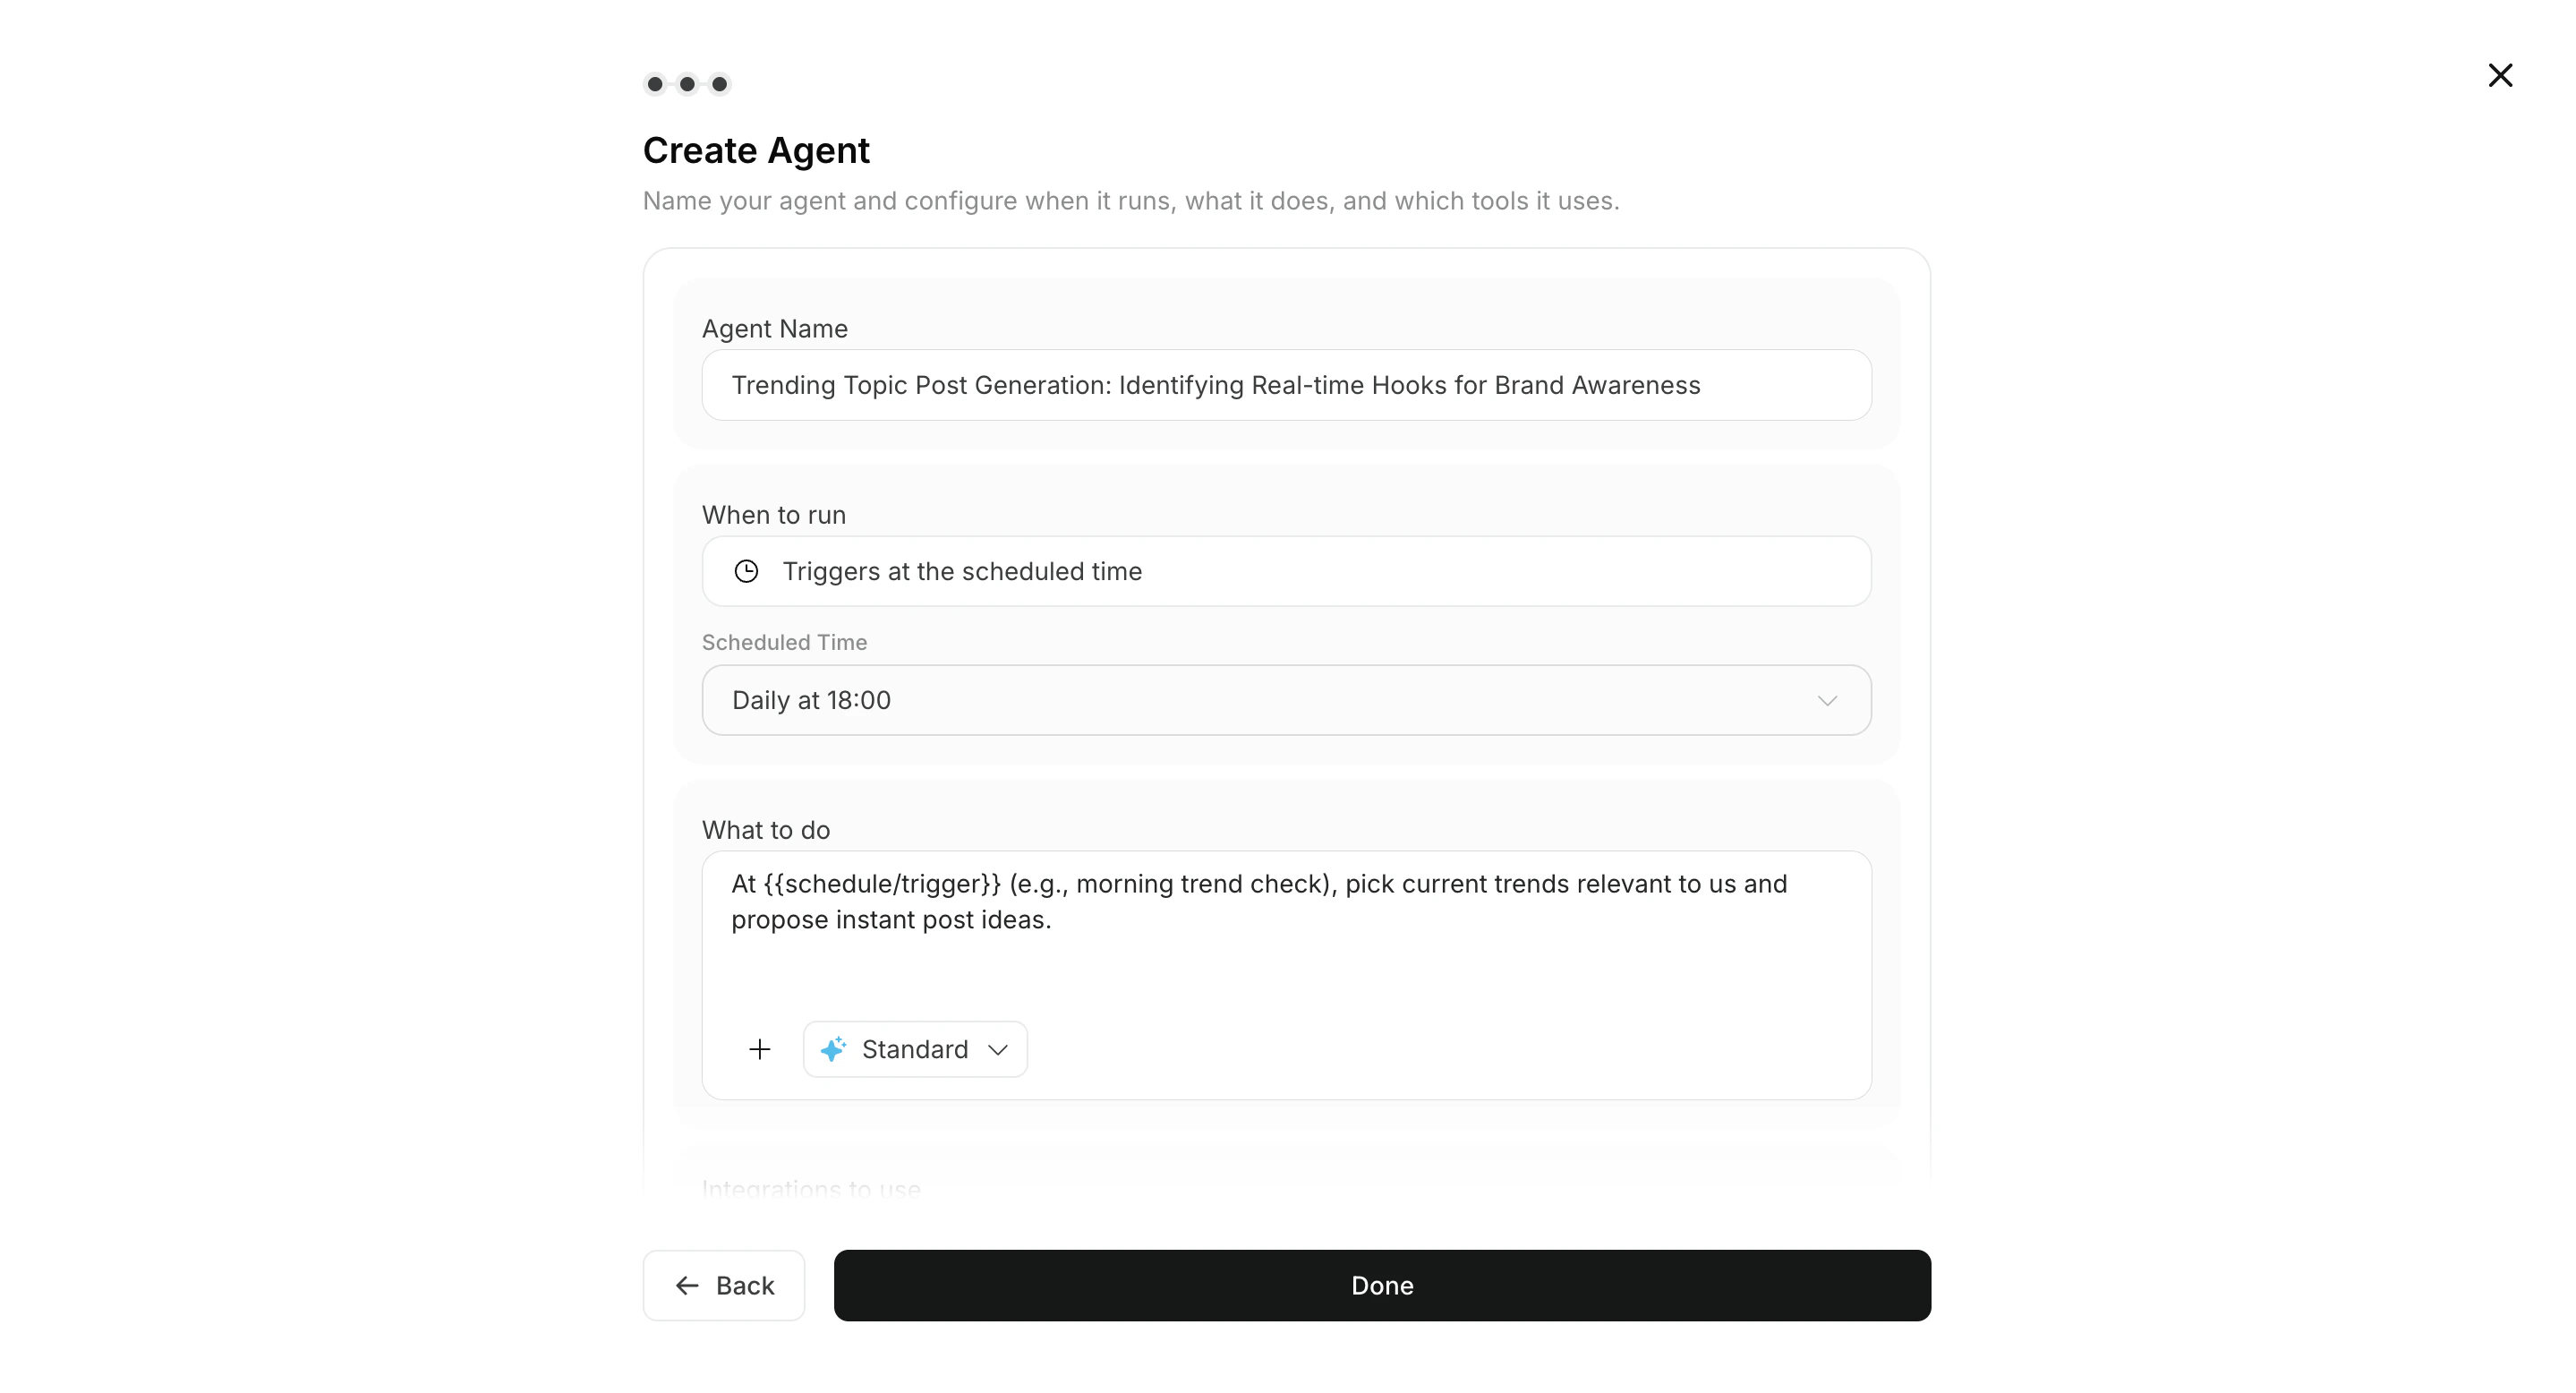 6. Se necessario, allega immagini o Knowledge Base al workflow
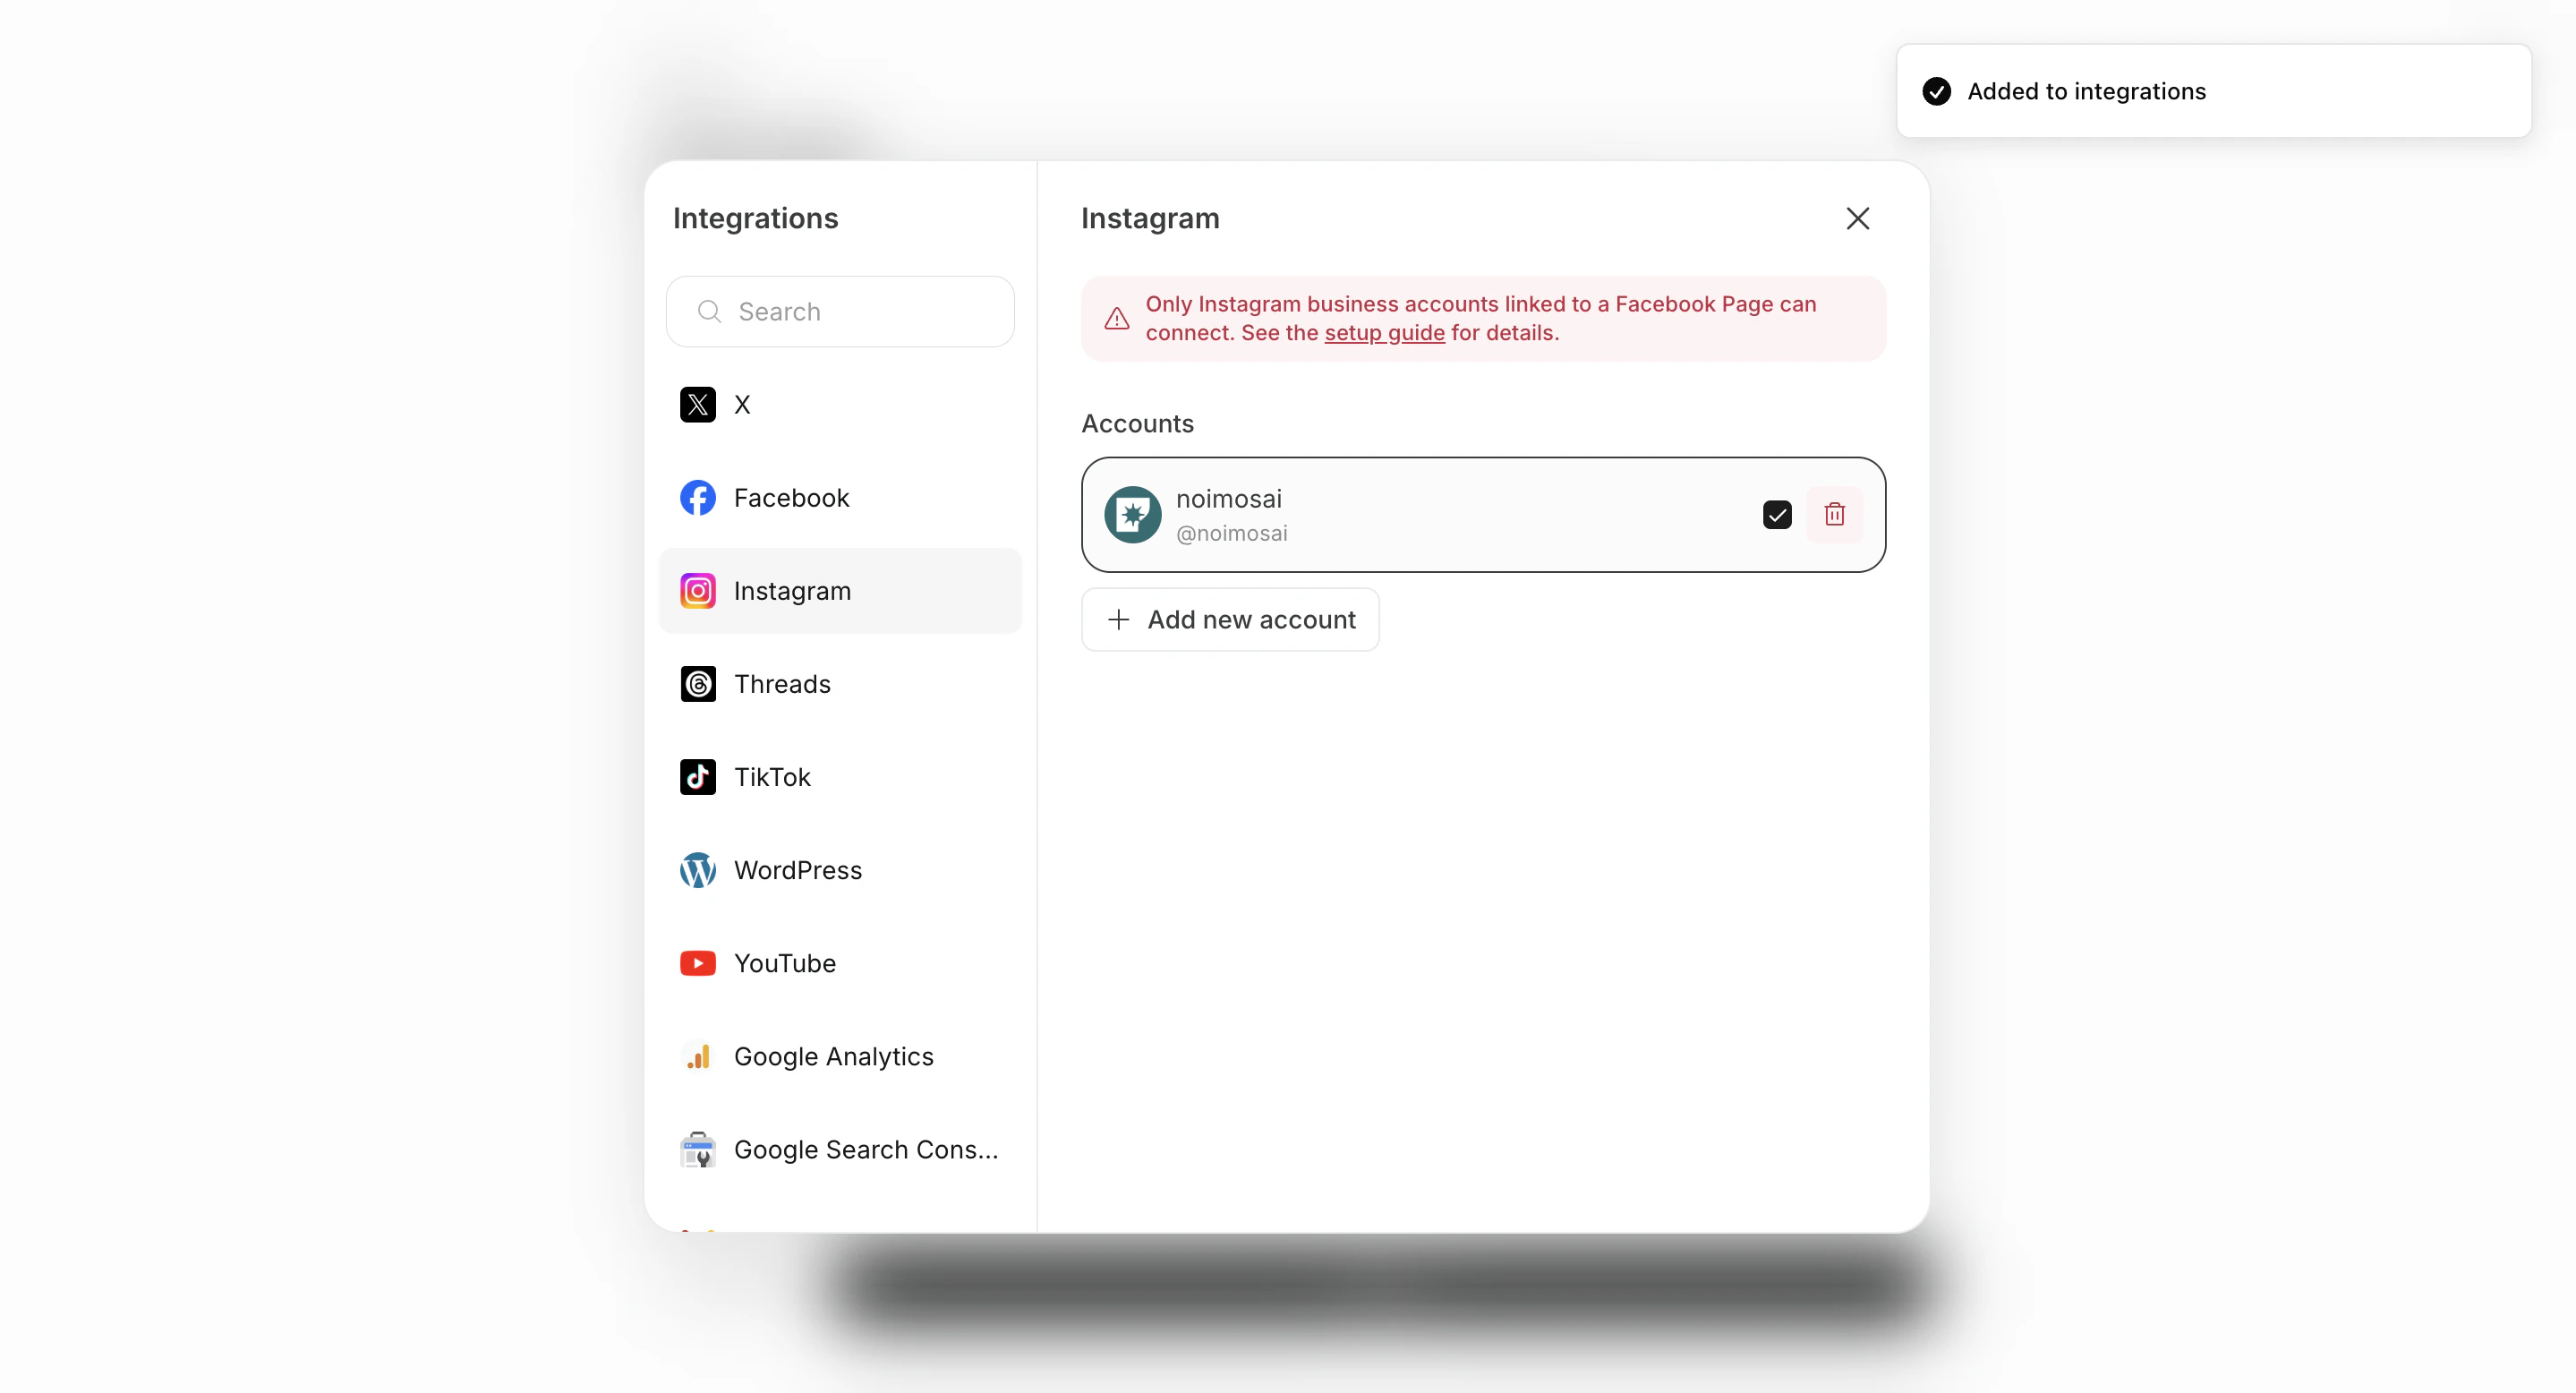
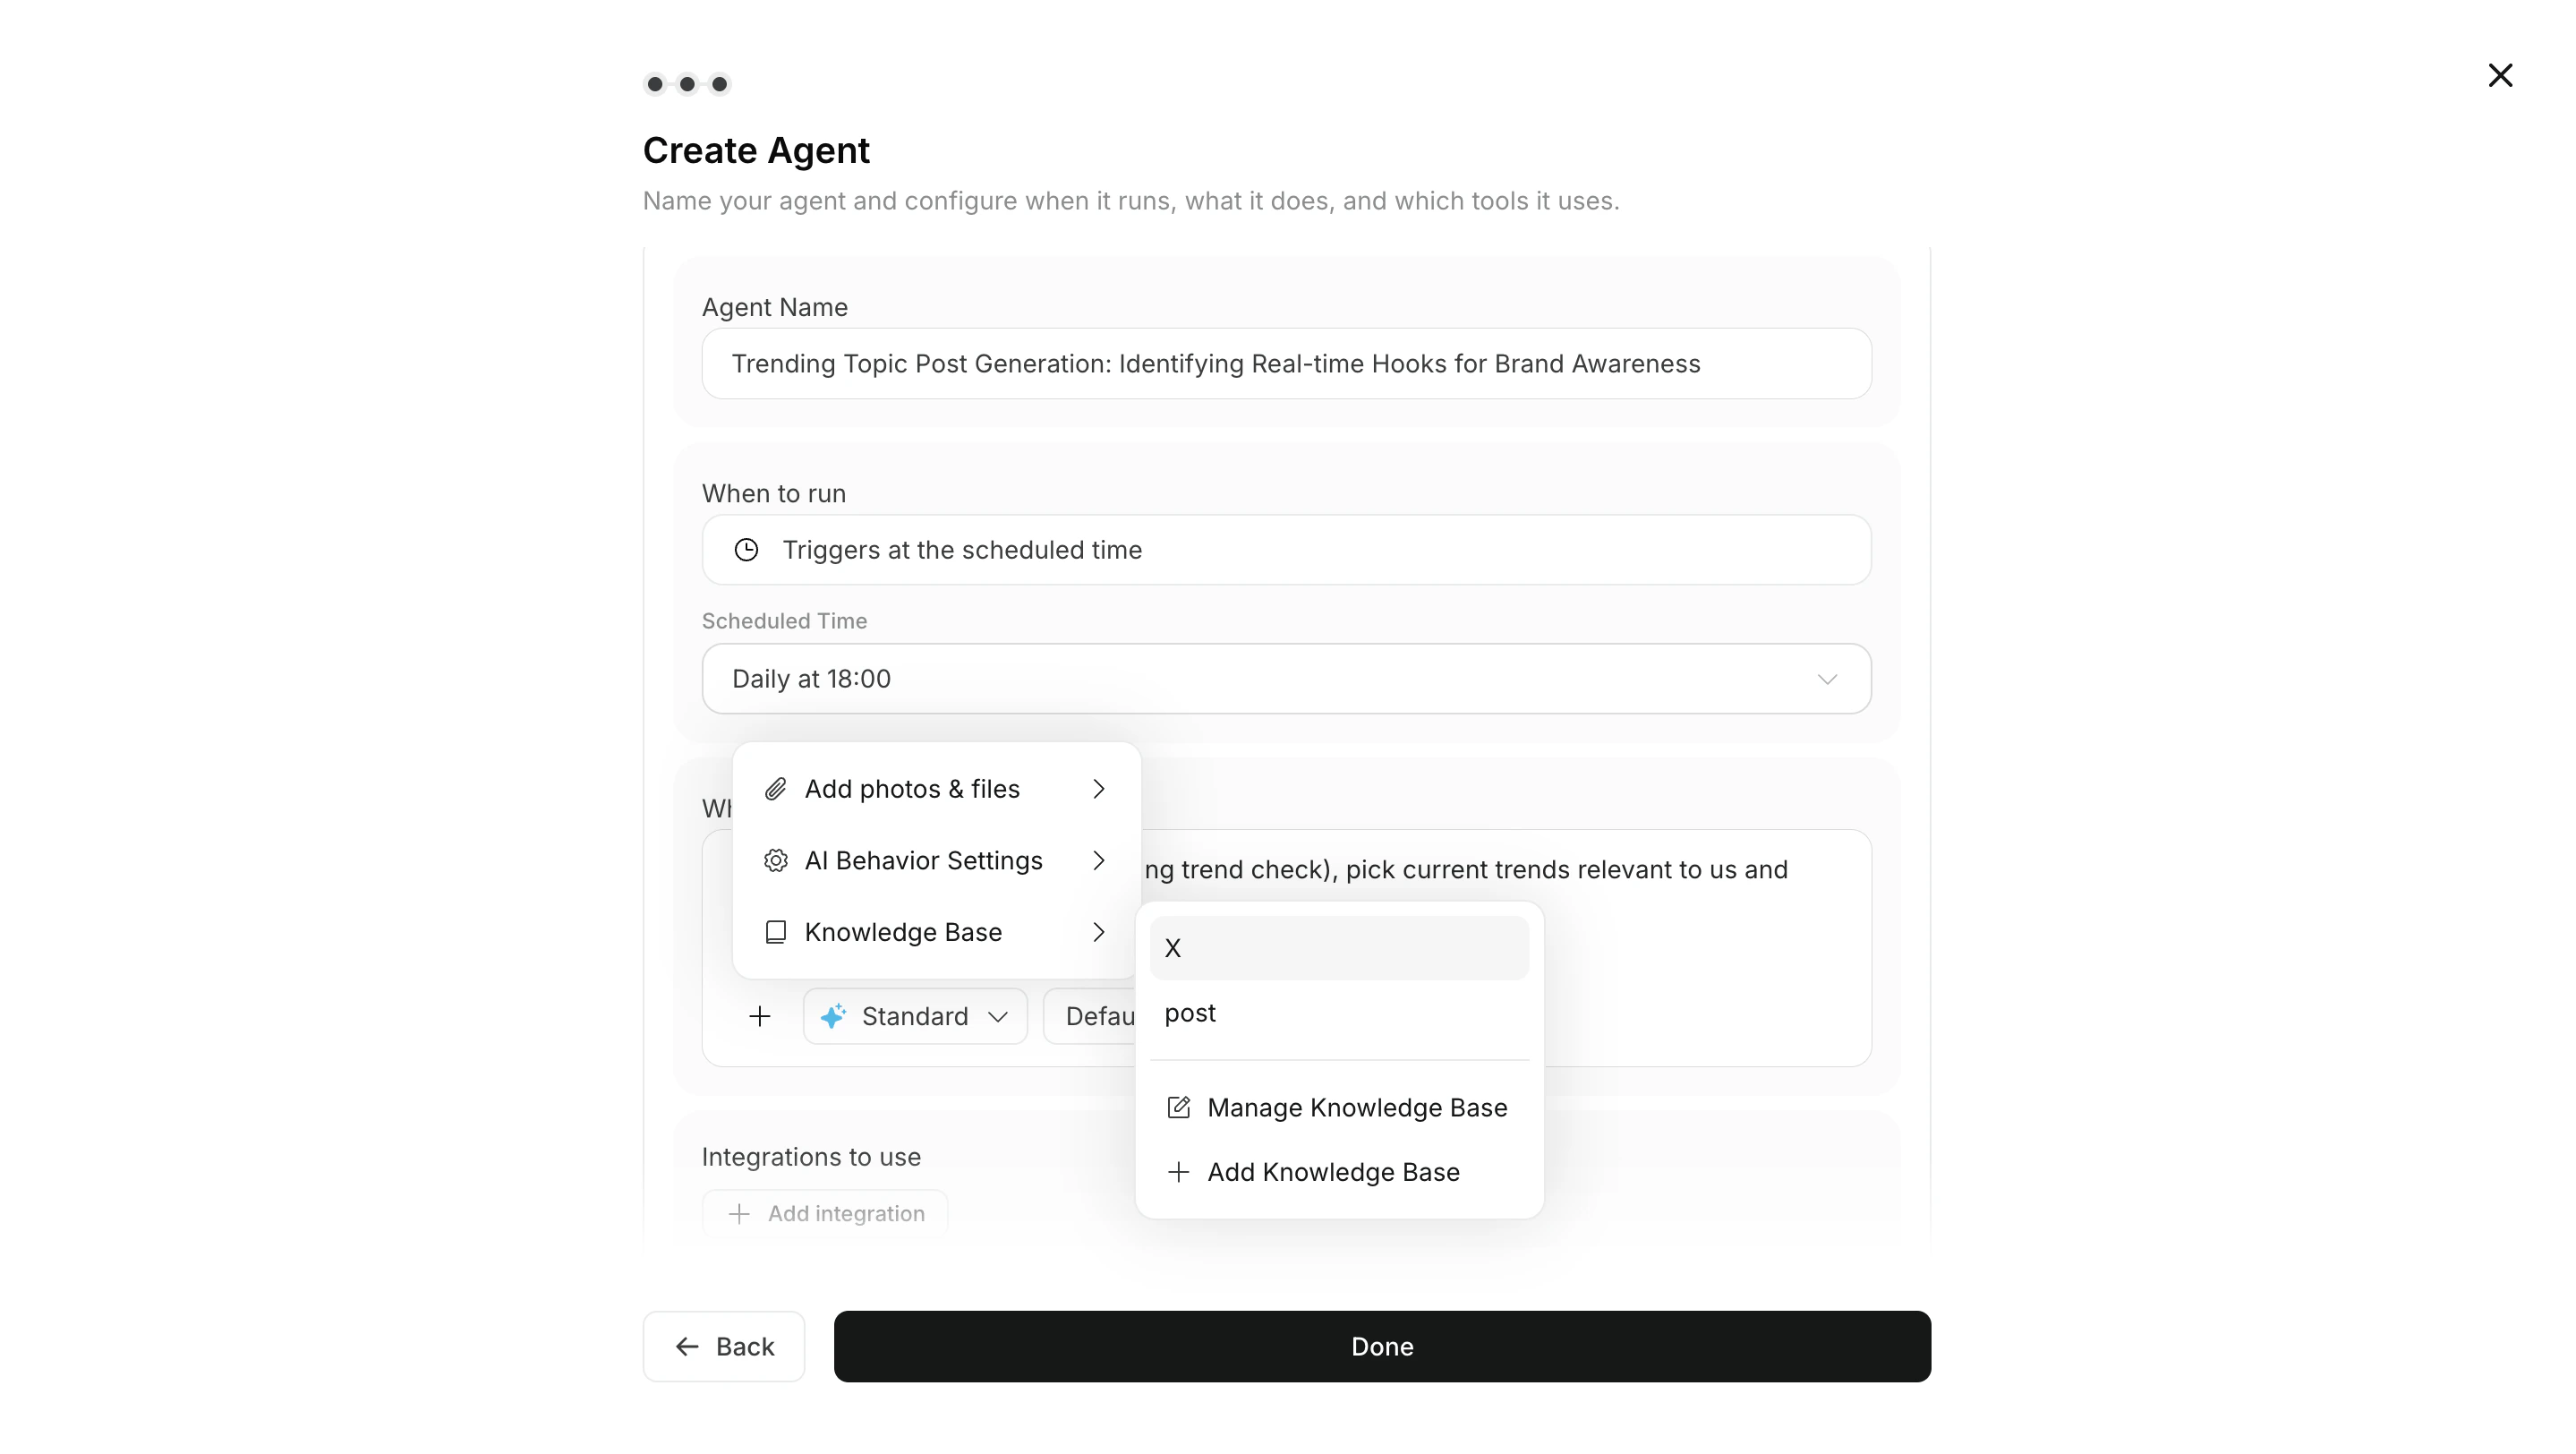 7. Imposta integrazioni e account connessi
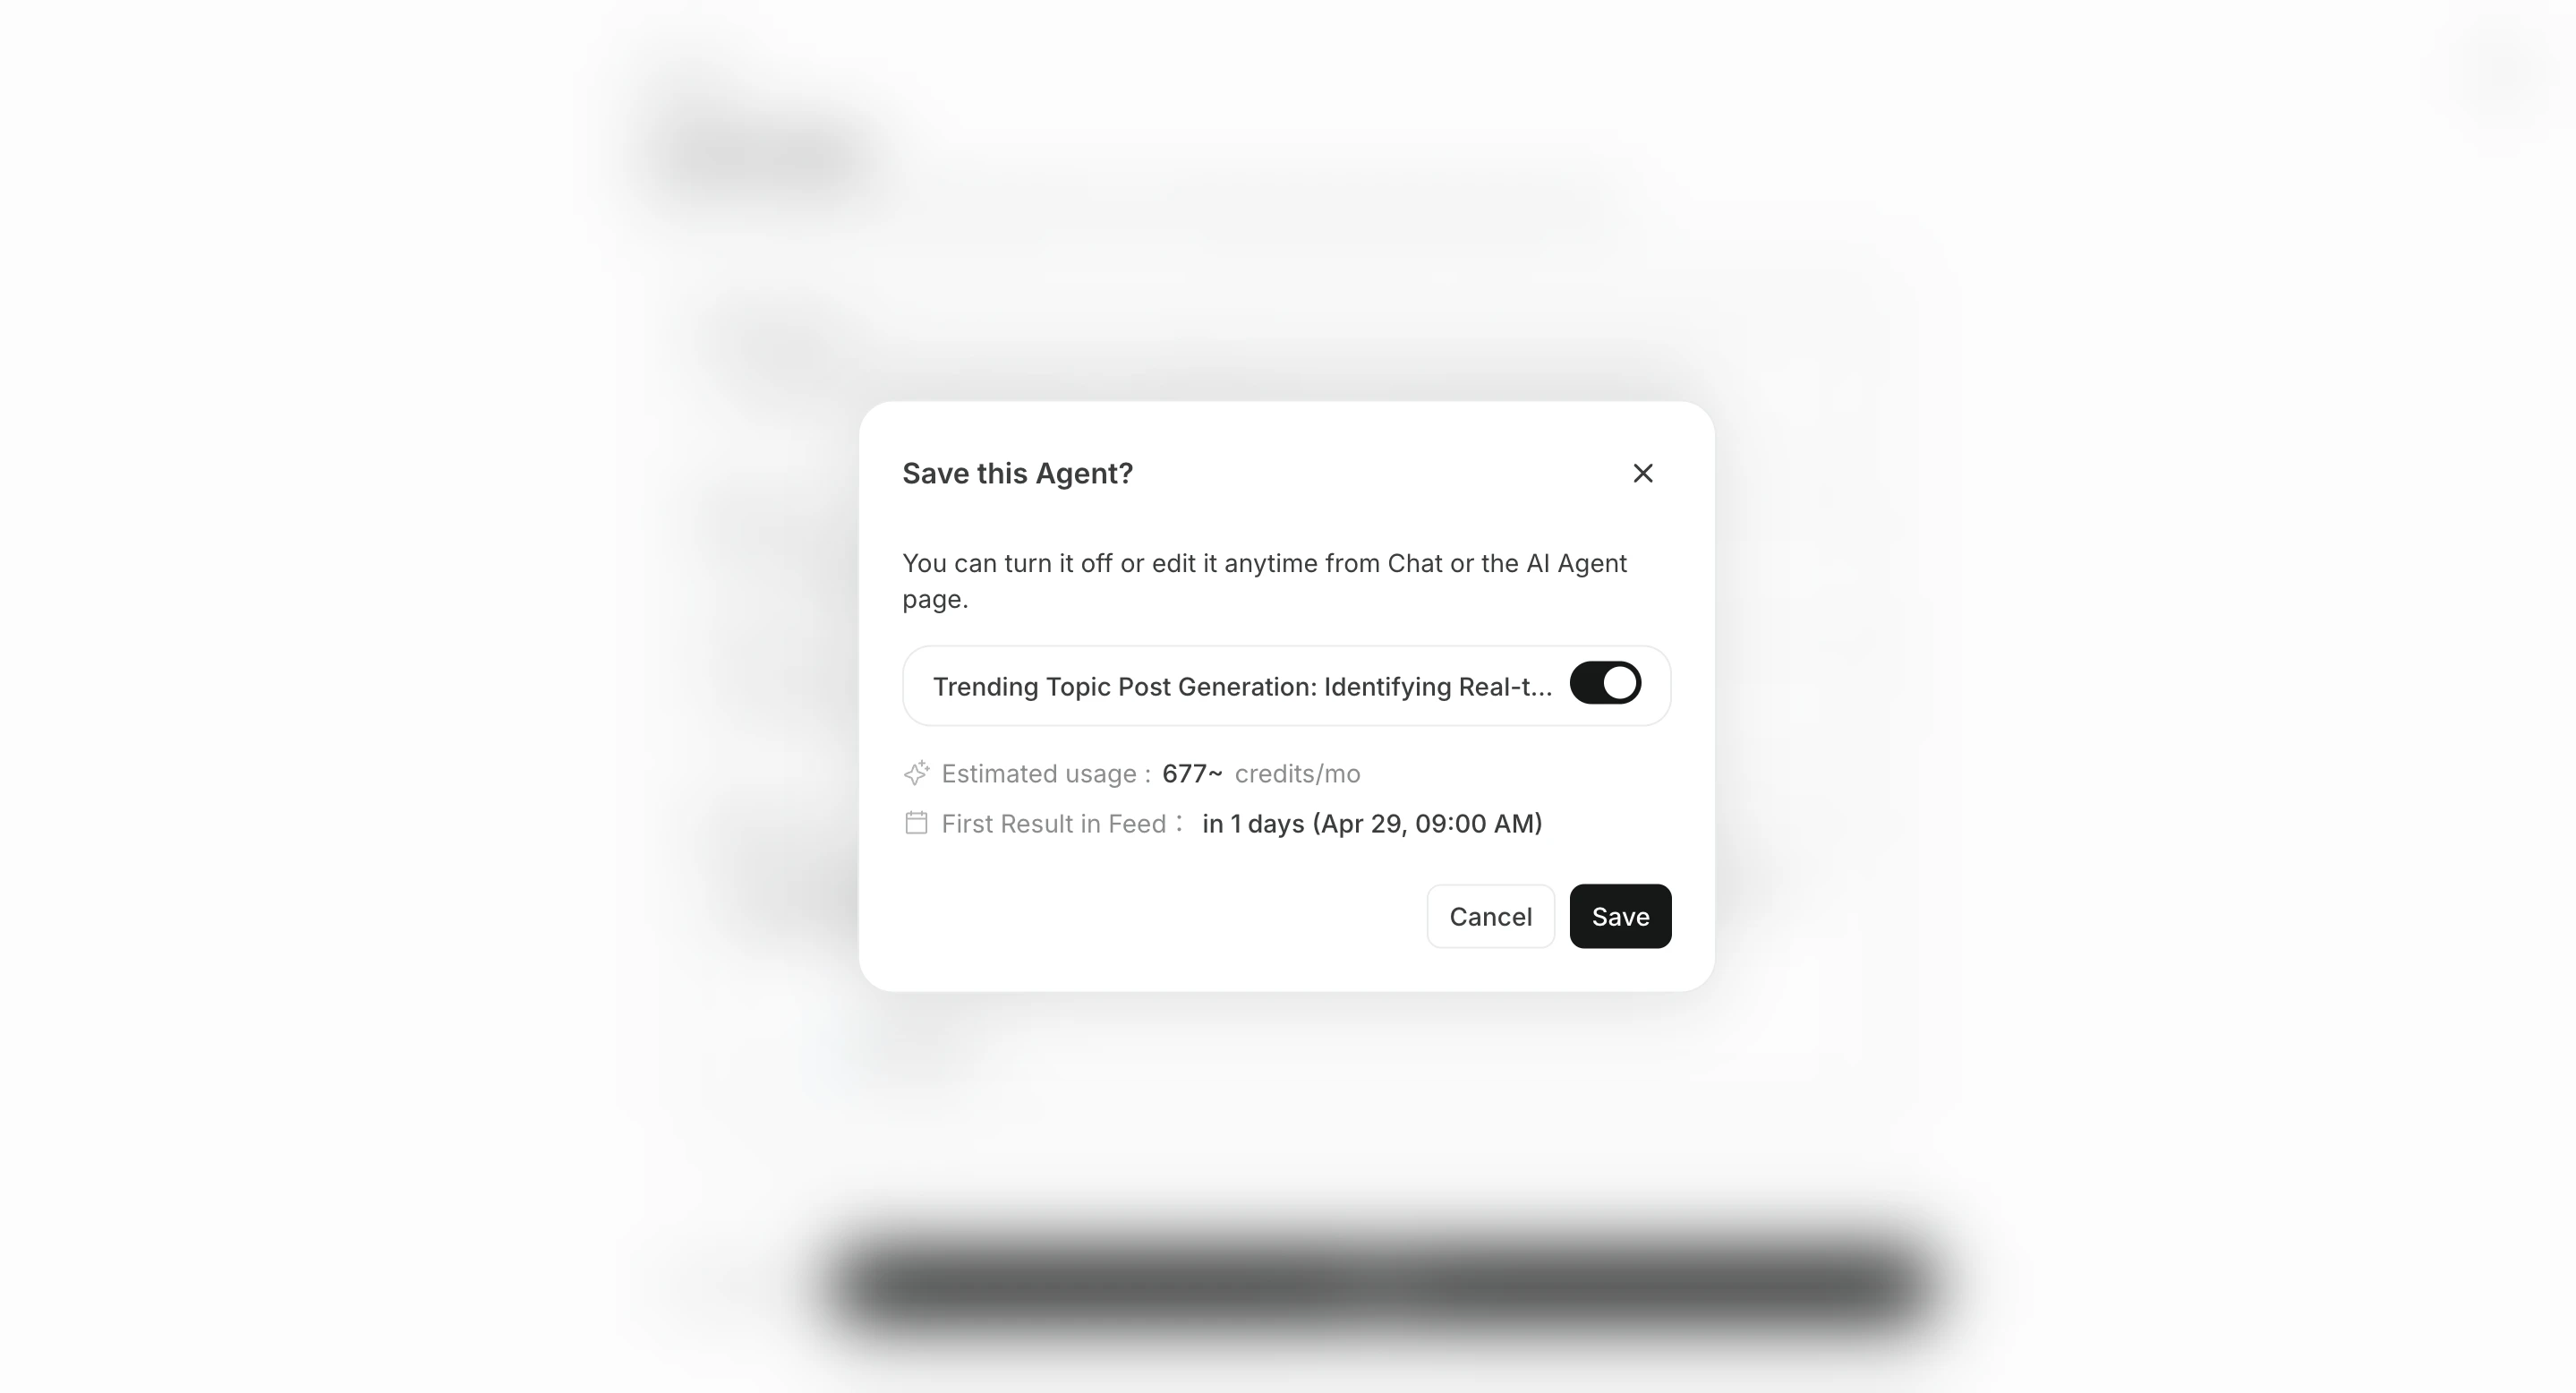
 8. Salva con `Create`, poi abilita l agente se necessario
 ## Configurare le destinazioni
Le `Destinations` sono opzionali. Puoi controllare i risultati nella sessione di chat correlata e in `Risultati di esecuzione`, ma aggiungi destinazioni quando vuoi ricevere notifiche o condividere output.
Ci sono due modi principali per aggiungere destinazioni.
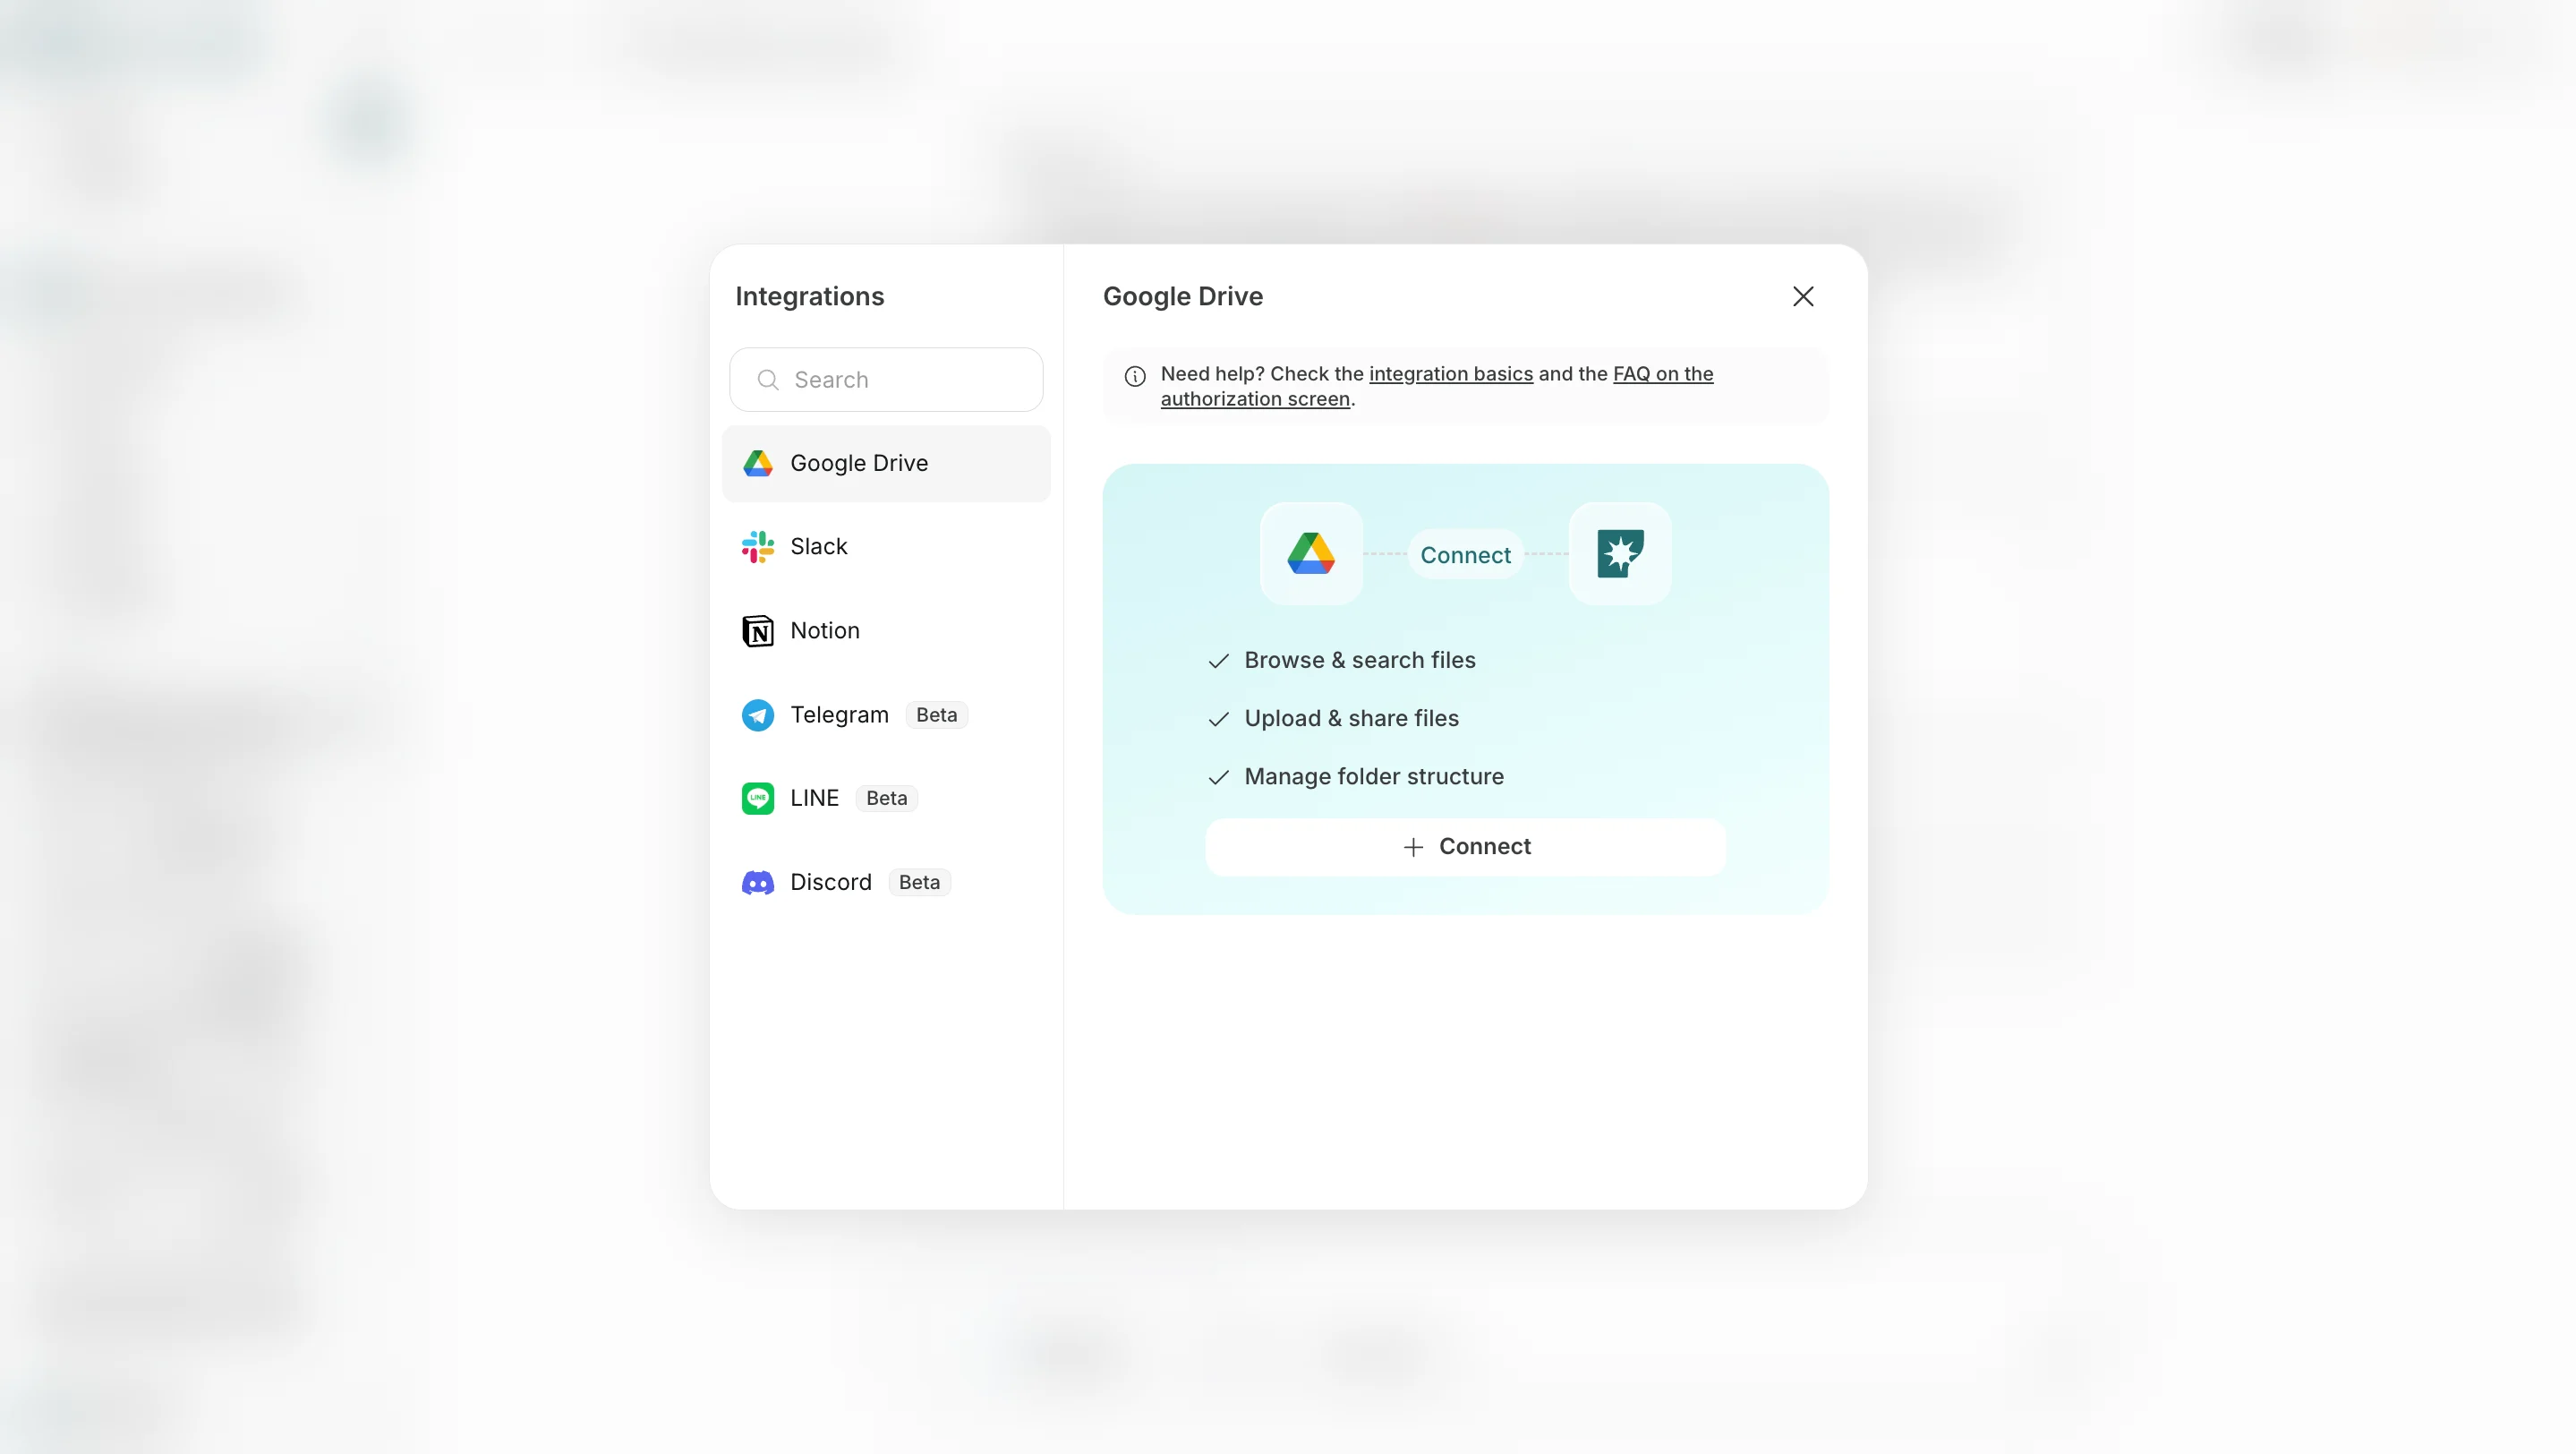
1. Con **Add destination**, scegli app collegate o posizioni di salvataggio come Slack, LINE, Discord, Telegram, WhatsApp, Notion o Google Drive.
## Configurare le destinazioni
Le `Destinations` sono opzionali. Puoi controllare i risultati nella sessione di chat correlata e in `Risultati di esecuzione`, ma aggiungi destinazioni quando vuoi ricevere notifiche o condividere output.
Ci sono due modi principali per aggiungere destinazioni.
1. Con **Add destination**, scegli app collegate o posizioni di salvataggio come Slack, LINE, Discord, Telegram, WhatsApp, Notion o Google Drive.
 2. Con **Add email**, indica un indirizzo email per ricevere i risultati anche via email.
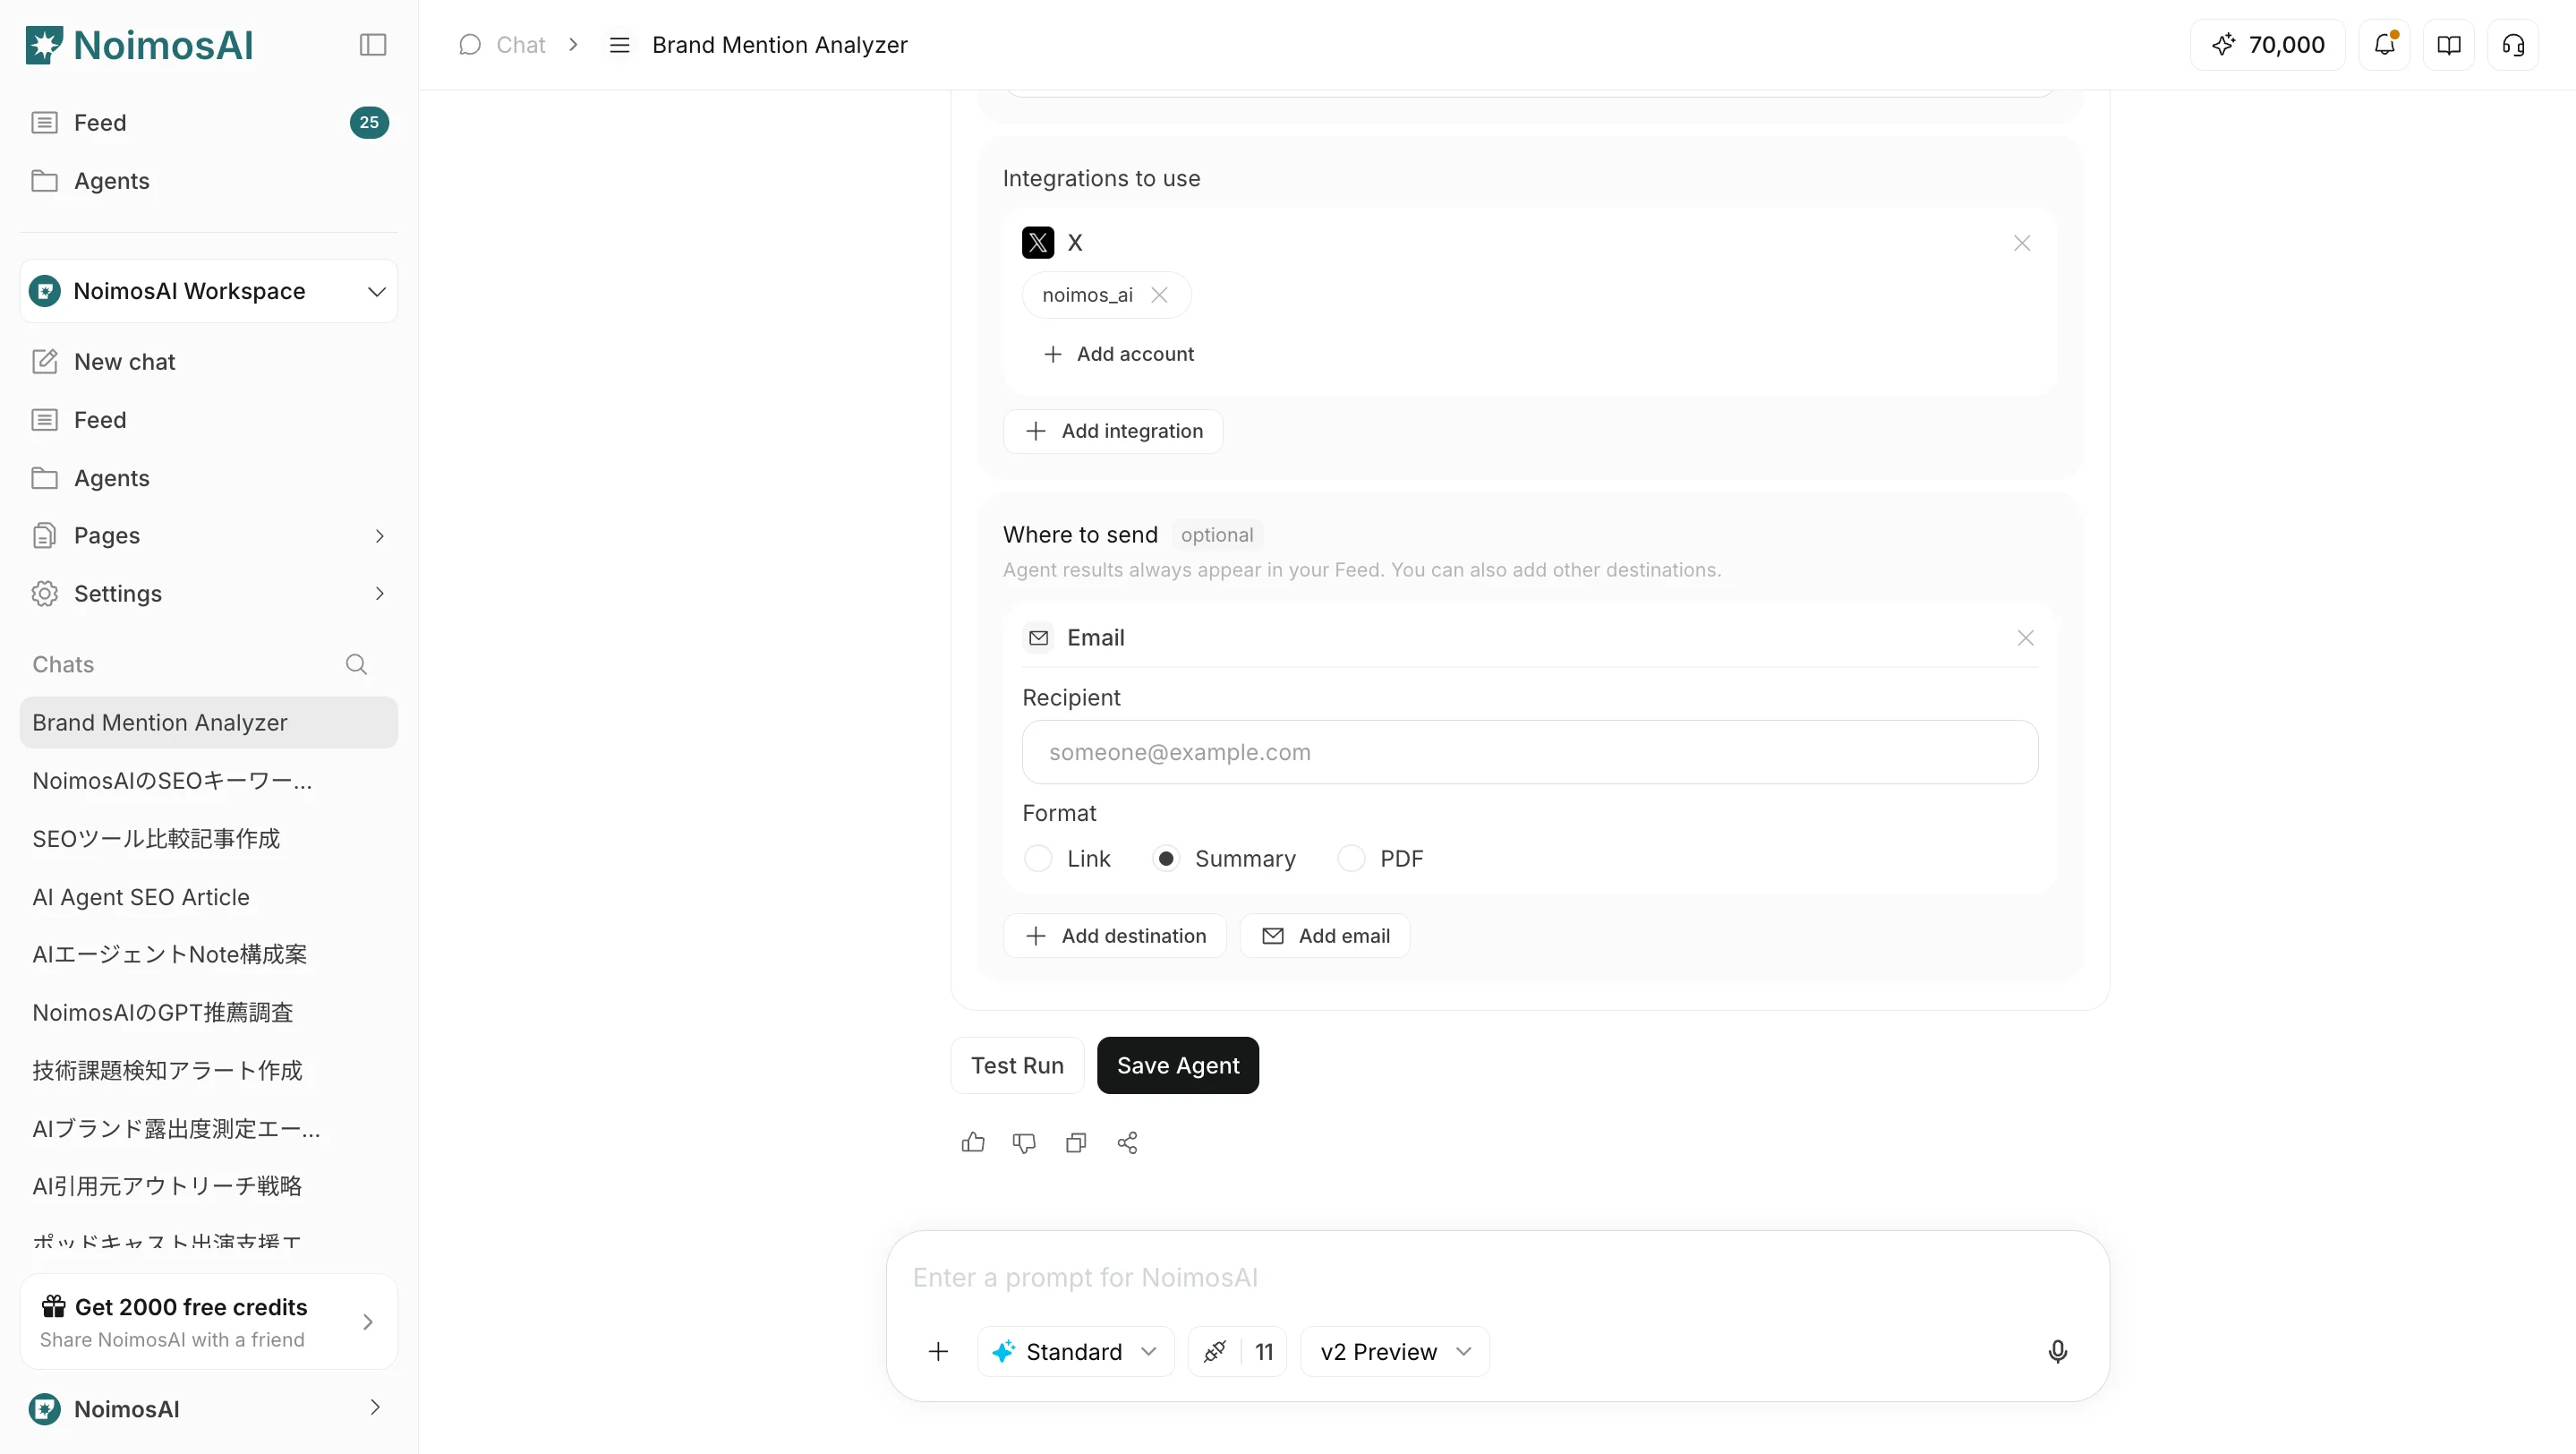 In entrambi i casi puoi scegliere il formato inviato: `Link`, `Summary` o `PDF`.
## Suggerimenti operativi
* Inizia con una frequenza bassa e controlla la qualità in `Risultati di esecuzione` prima di aumentarla
* Rendi le istruzioni specifiche su cosa restituire e in quale formato
## Pagine correlate
* [Creare un agente da zero](/it/help-center/ai-team/create-an-agent-from-scratch)
* [Modificare ed eliminare agenti](/it/help-center/ai-team/edit-add-and-delete-triggers)
In entrambi i casi puoi scegliere il formato inviato: `Link`, `Summary` o `PDF`.
## Suggerimenti operativi
* Inizia con una frequenza bassa e controlla la qualità in `Risultati di esecuzione` prima di aumentarla
* Rendi le istruzioni specifiche su cosa restituire e in quale formato
## Pagine correlate
* [Creare un agente da zero](/it/help-center/ai-team/create-an-agent-from-scratch)
* [Modificare ed eliminare agenti](/it/help-center/ai-team/edit-add-and-delete-triggers)