> ## Documentation Index
> Fetch the complete documentation index at: https://docs.noimosai.com/llms.txt
> Use this file to discover all available pages before exploring further.

# テンプレートからエージェントを作成する

> テンプレートを使ってエージェントを素早く作成し、実行条件・指示・連携を調整します。

## 概要

`テンプレートから作成`は、最短で運用を開始したいときに最適です。\
初期設定をテンプレートで作り、あなたのワークスペースに合わせて微調整します。

## 手順

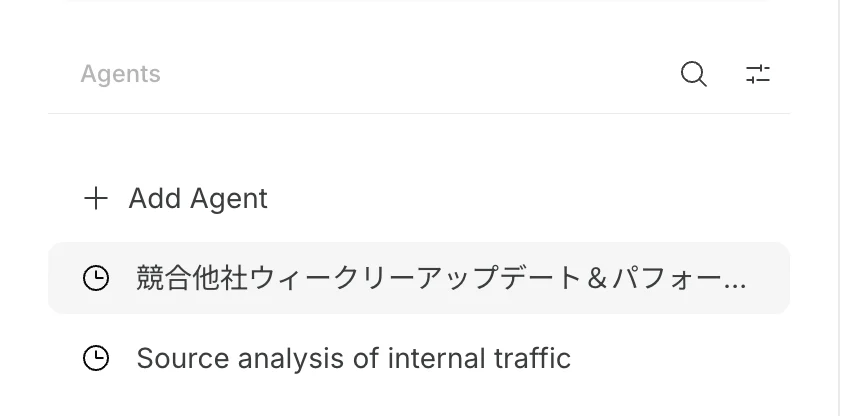
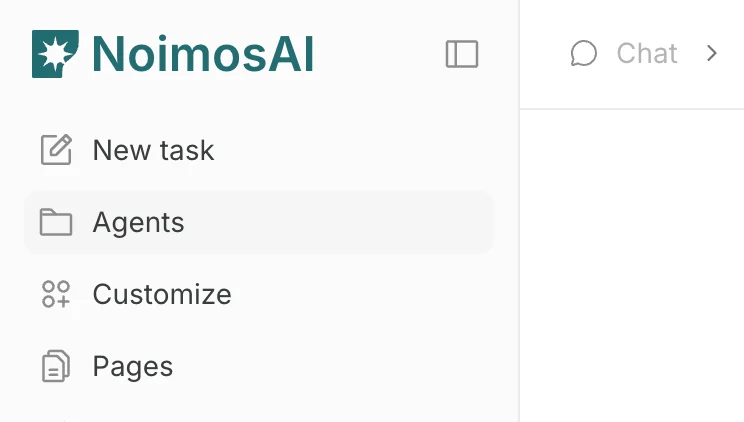
1. `エージェント`を開く
<img src="https://mintcdn.com/agoslabstechnologiesfzco/LPhU3Zr6jeMvQ4AZ/public/help-center/ai-team/create-an-agent-from-a-template/open-agents.png?fit=max&auto=format&n=LPhU3Zr6jeMvQ4AZ&q=85&s=fa902424b0a255f8954f792492e01579" alt="エージェント画面を開く" style={{ border: '1px solid #e5e7eb', borderRadius: '8px', marginBottom: '1rem' }} width="744" height="422" data-path="public/help-center/ai-team/create-an-agent-from-a-template/open-agents.png" />

2. `エージェントを追加`をクリック

<img src="https://mintcdn.com/agoslabstechnologiesfzco/LPhU3Zr6jeMvQ4AZ/public/help-center/ai-team/create-an-agent-from-a-template/add-agent.png?fit=max&auto=format&n=LPhU3Zr6jeMvQ4AZ&q=85&s=0d352894bda78d607adf084dbc2215d1" alt="エージェントを追加をクリック" style={{ border: '1px solid #e5e7eb', borderRadius: '8px', marginBottom: '1rem' }} width="842" height="416" data-path="public/help-center/ai-team/create-an-agent-from-a-template/add-agent.png" />

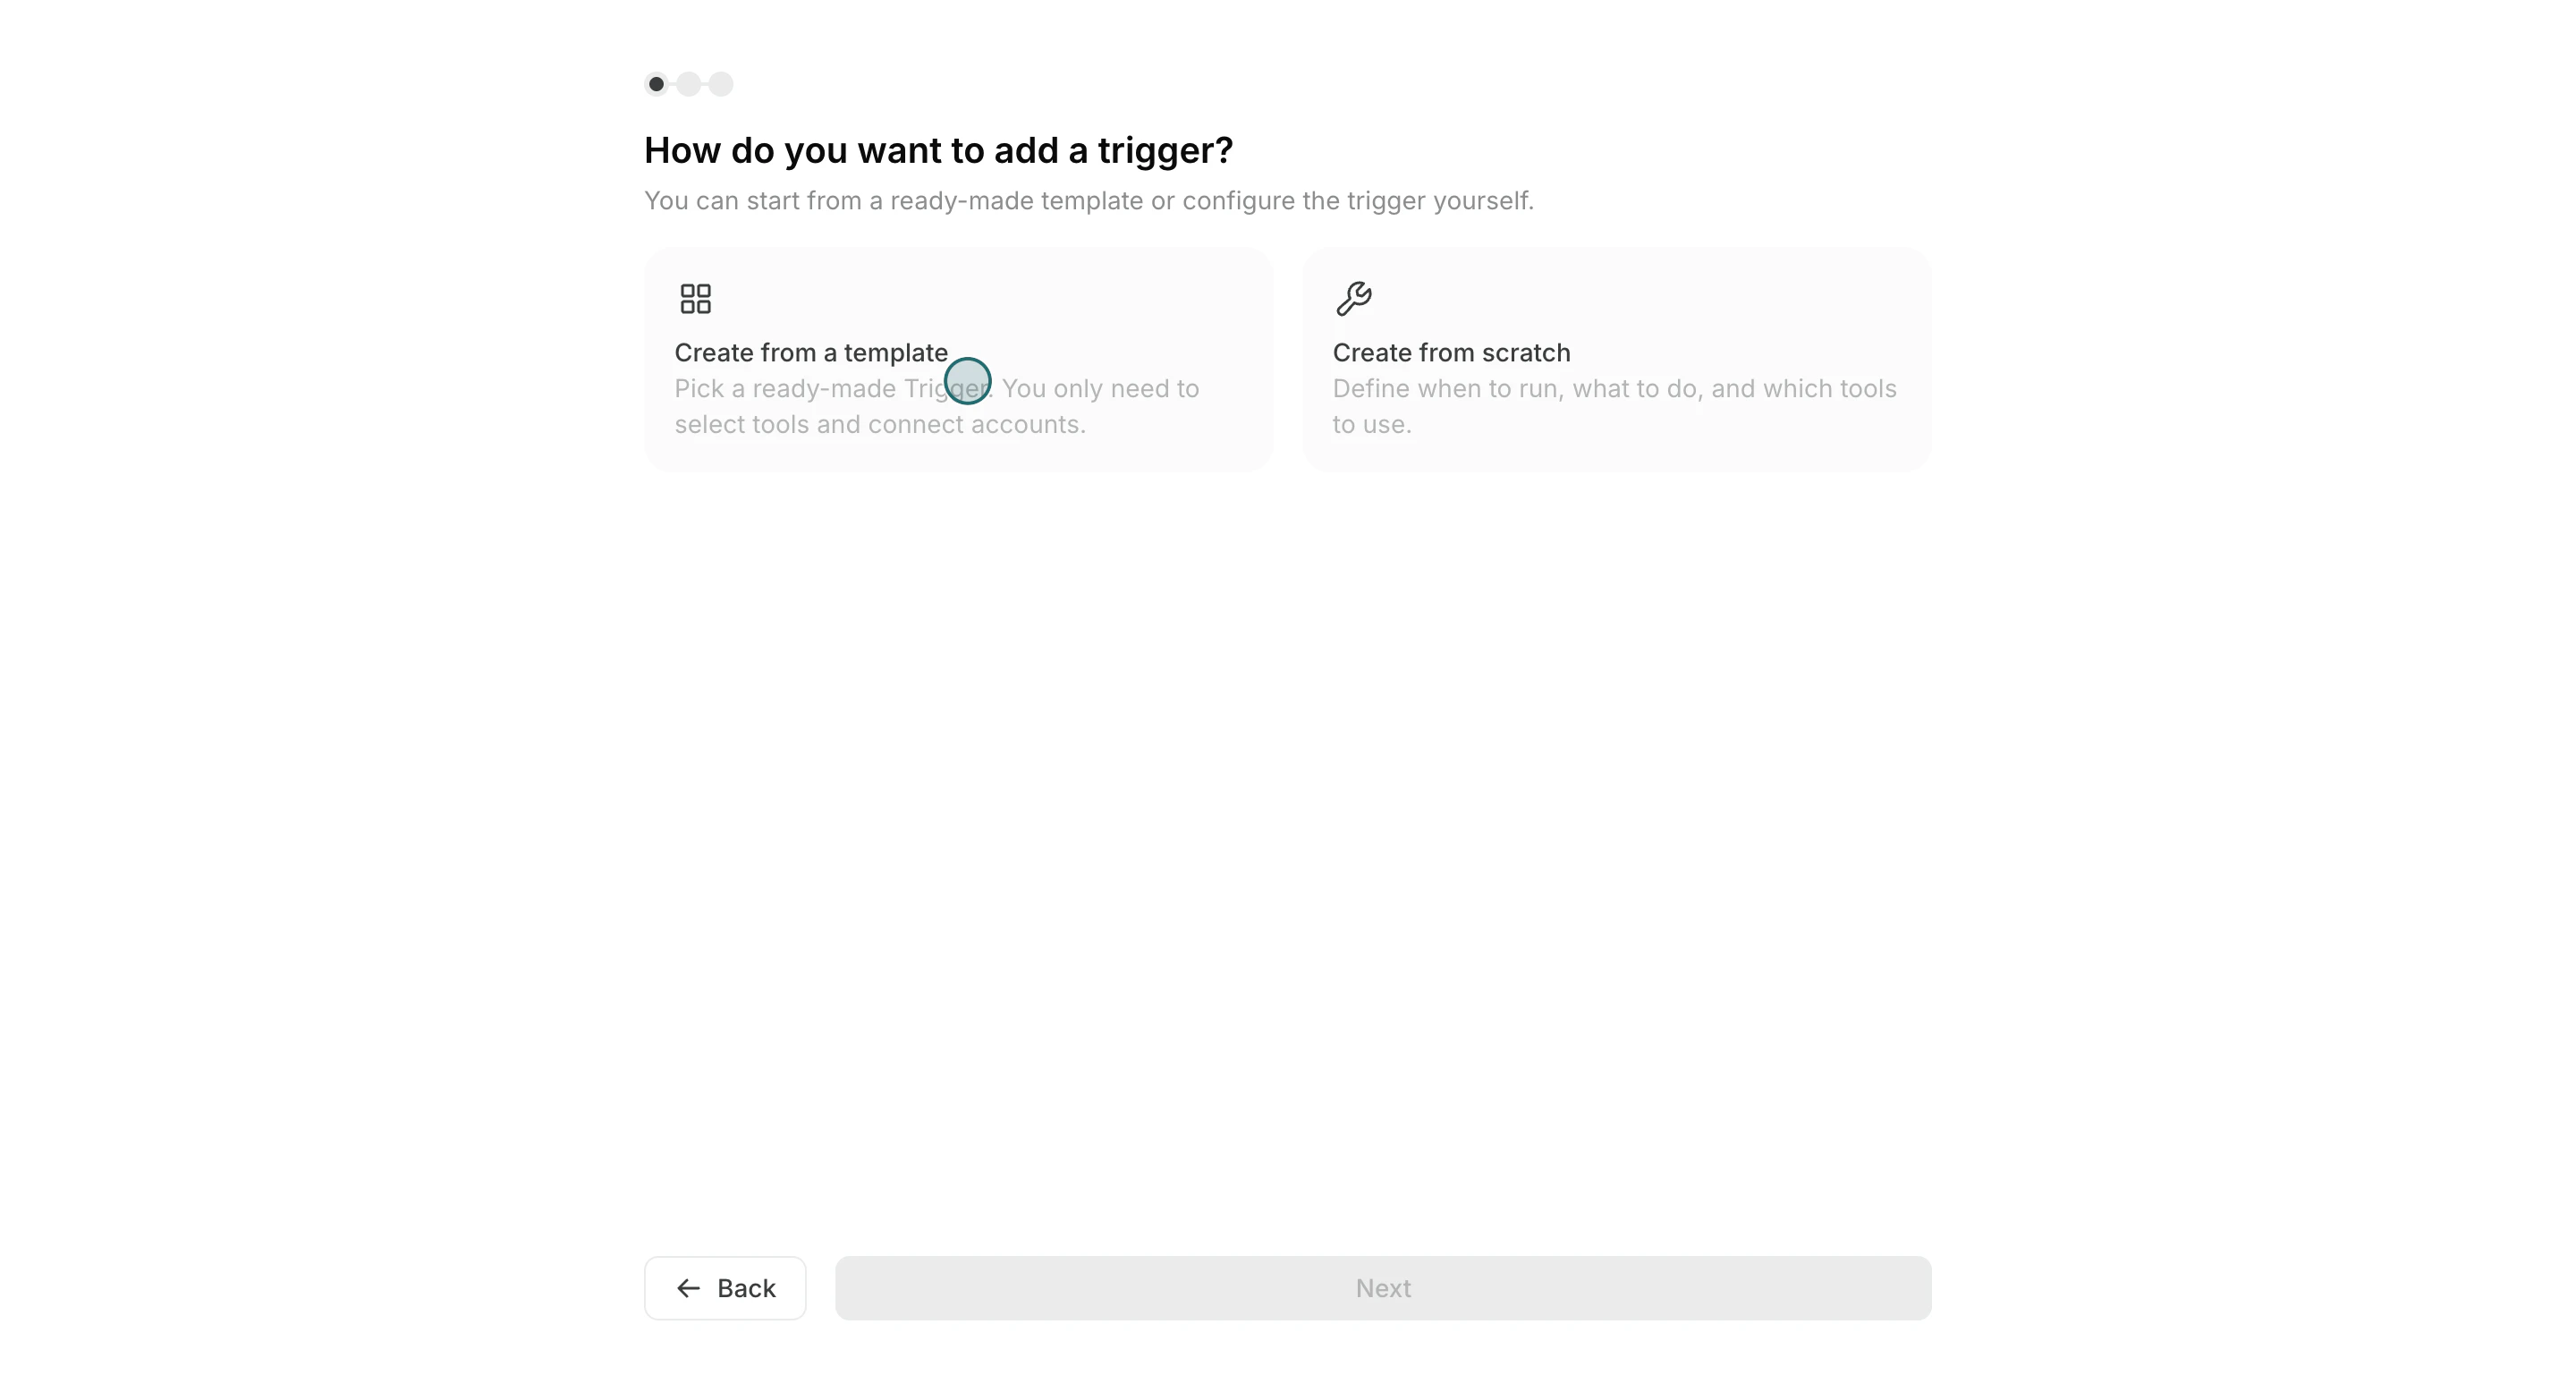
3. `テンプレートから作成`を選ぶ

<img src="https://mintcdn.com/agoslabstechnologiesfzco/Fp8XwoziZBVDha6p/public/help-center/arcade/ai-team/create-trigger-from-template/step-04.png?fit=max&auto=format&n=Fp8XwoziZBVDha6p&q=85&s=7c99640e8ddb4b9738f8bb59f3fa2837" alt="テンプレートから作成を選択" style={{ border: '1px solid #e5e7eb', borderRadius: '8px', marginBottom: '1rem' }} width="2880" height="1556" data-path="public/help-center/arcade/ai-team/create-trigger-from-template/step-04.png" />

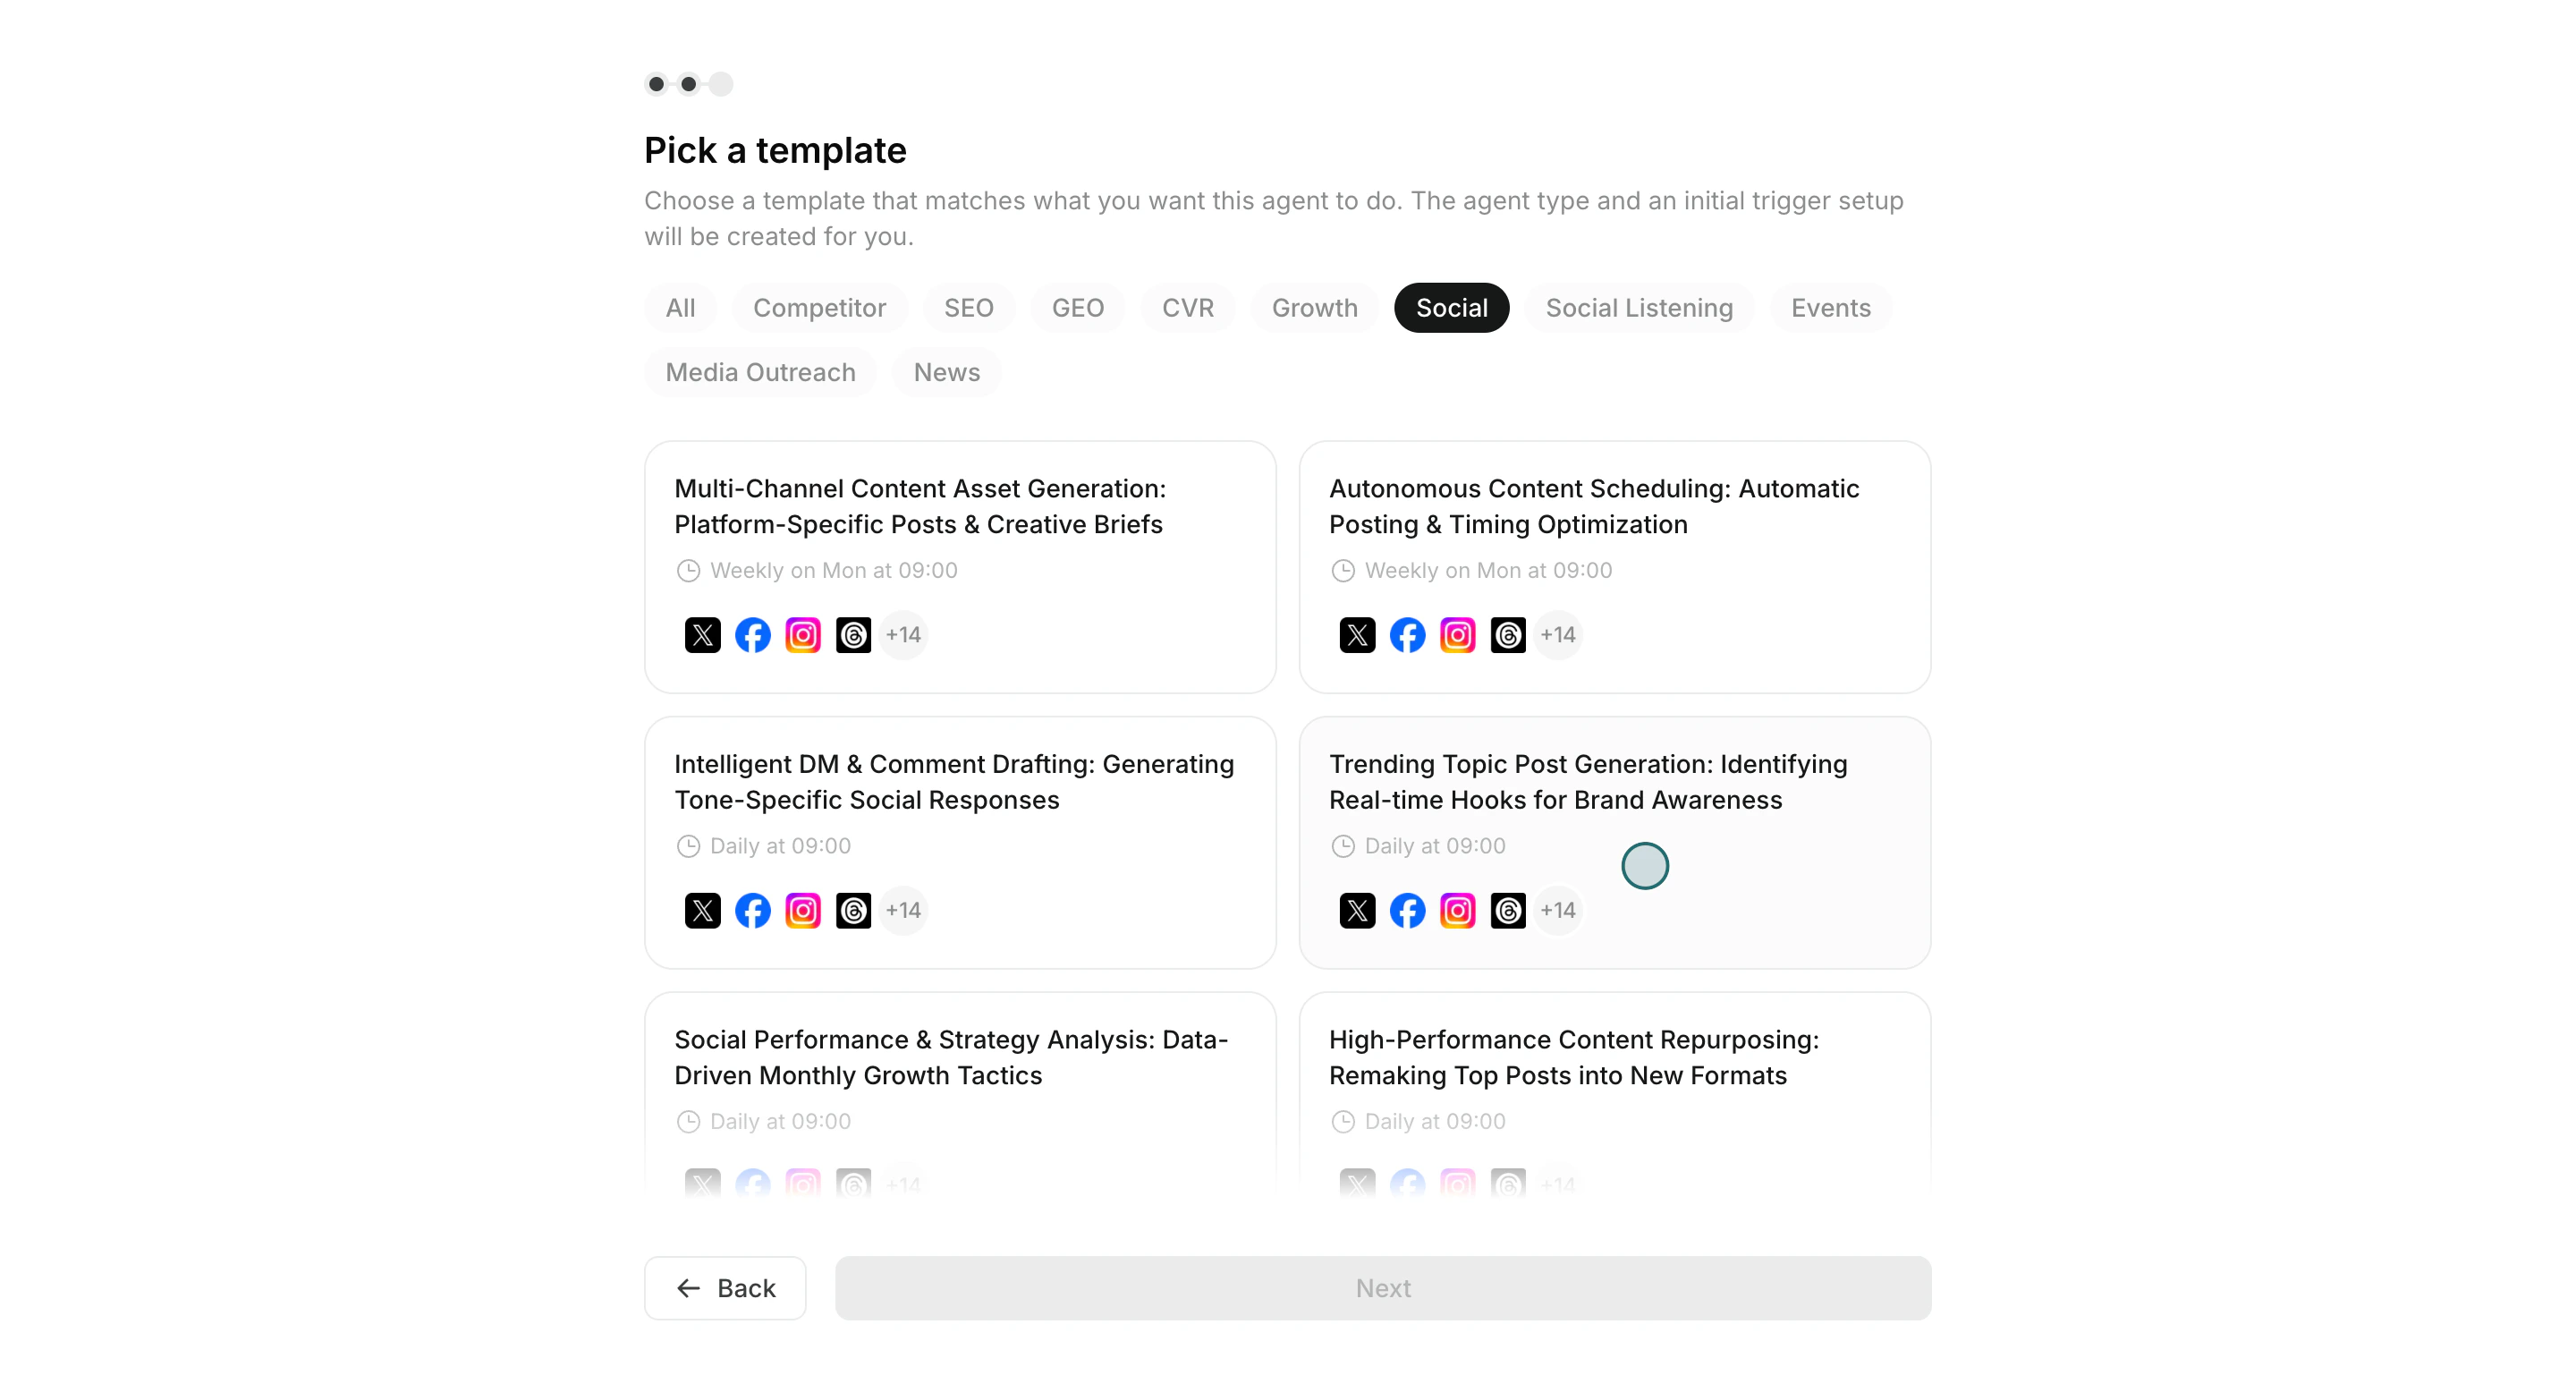
4. 目的に近いテンプレートを選択

<img src="https://mintcdn.com/agoslabstechnologiesfzco/okAbFobT9iaP0HDF/public/help-center/arcade/ai-team/create-trigger-from-template/step-07.png?fit=max&auto=format&n=okAbFobT9iaP0HDF&q=85&s=f020fb5cb5e7599ea630b70df1c2257c" alt="テンプレートを選択" style={{ border: '1px solid #e5e7eb', borderRadius: '8px', marginBottom: '1rem' }} width="2880" height="1556" data-path="public/help-center/arcade/ai-team/create-trigger-from-template/step-07.png" />

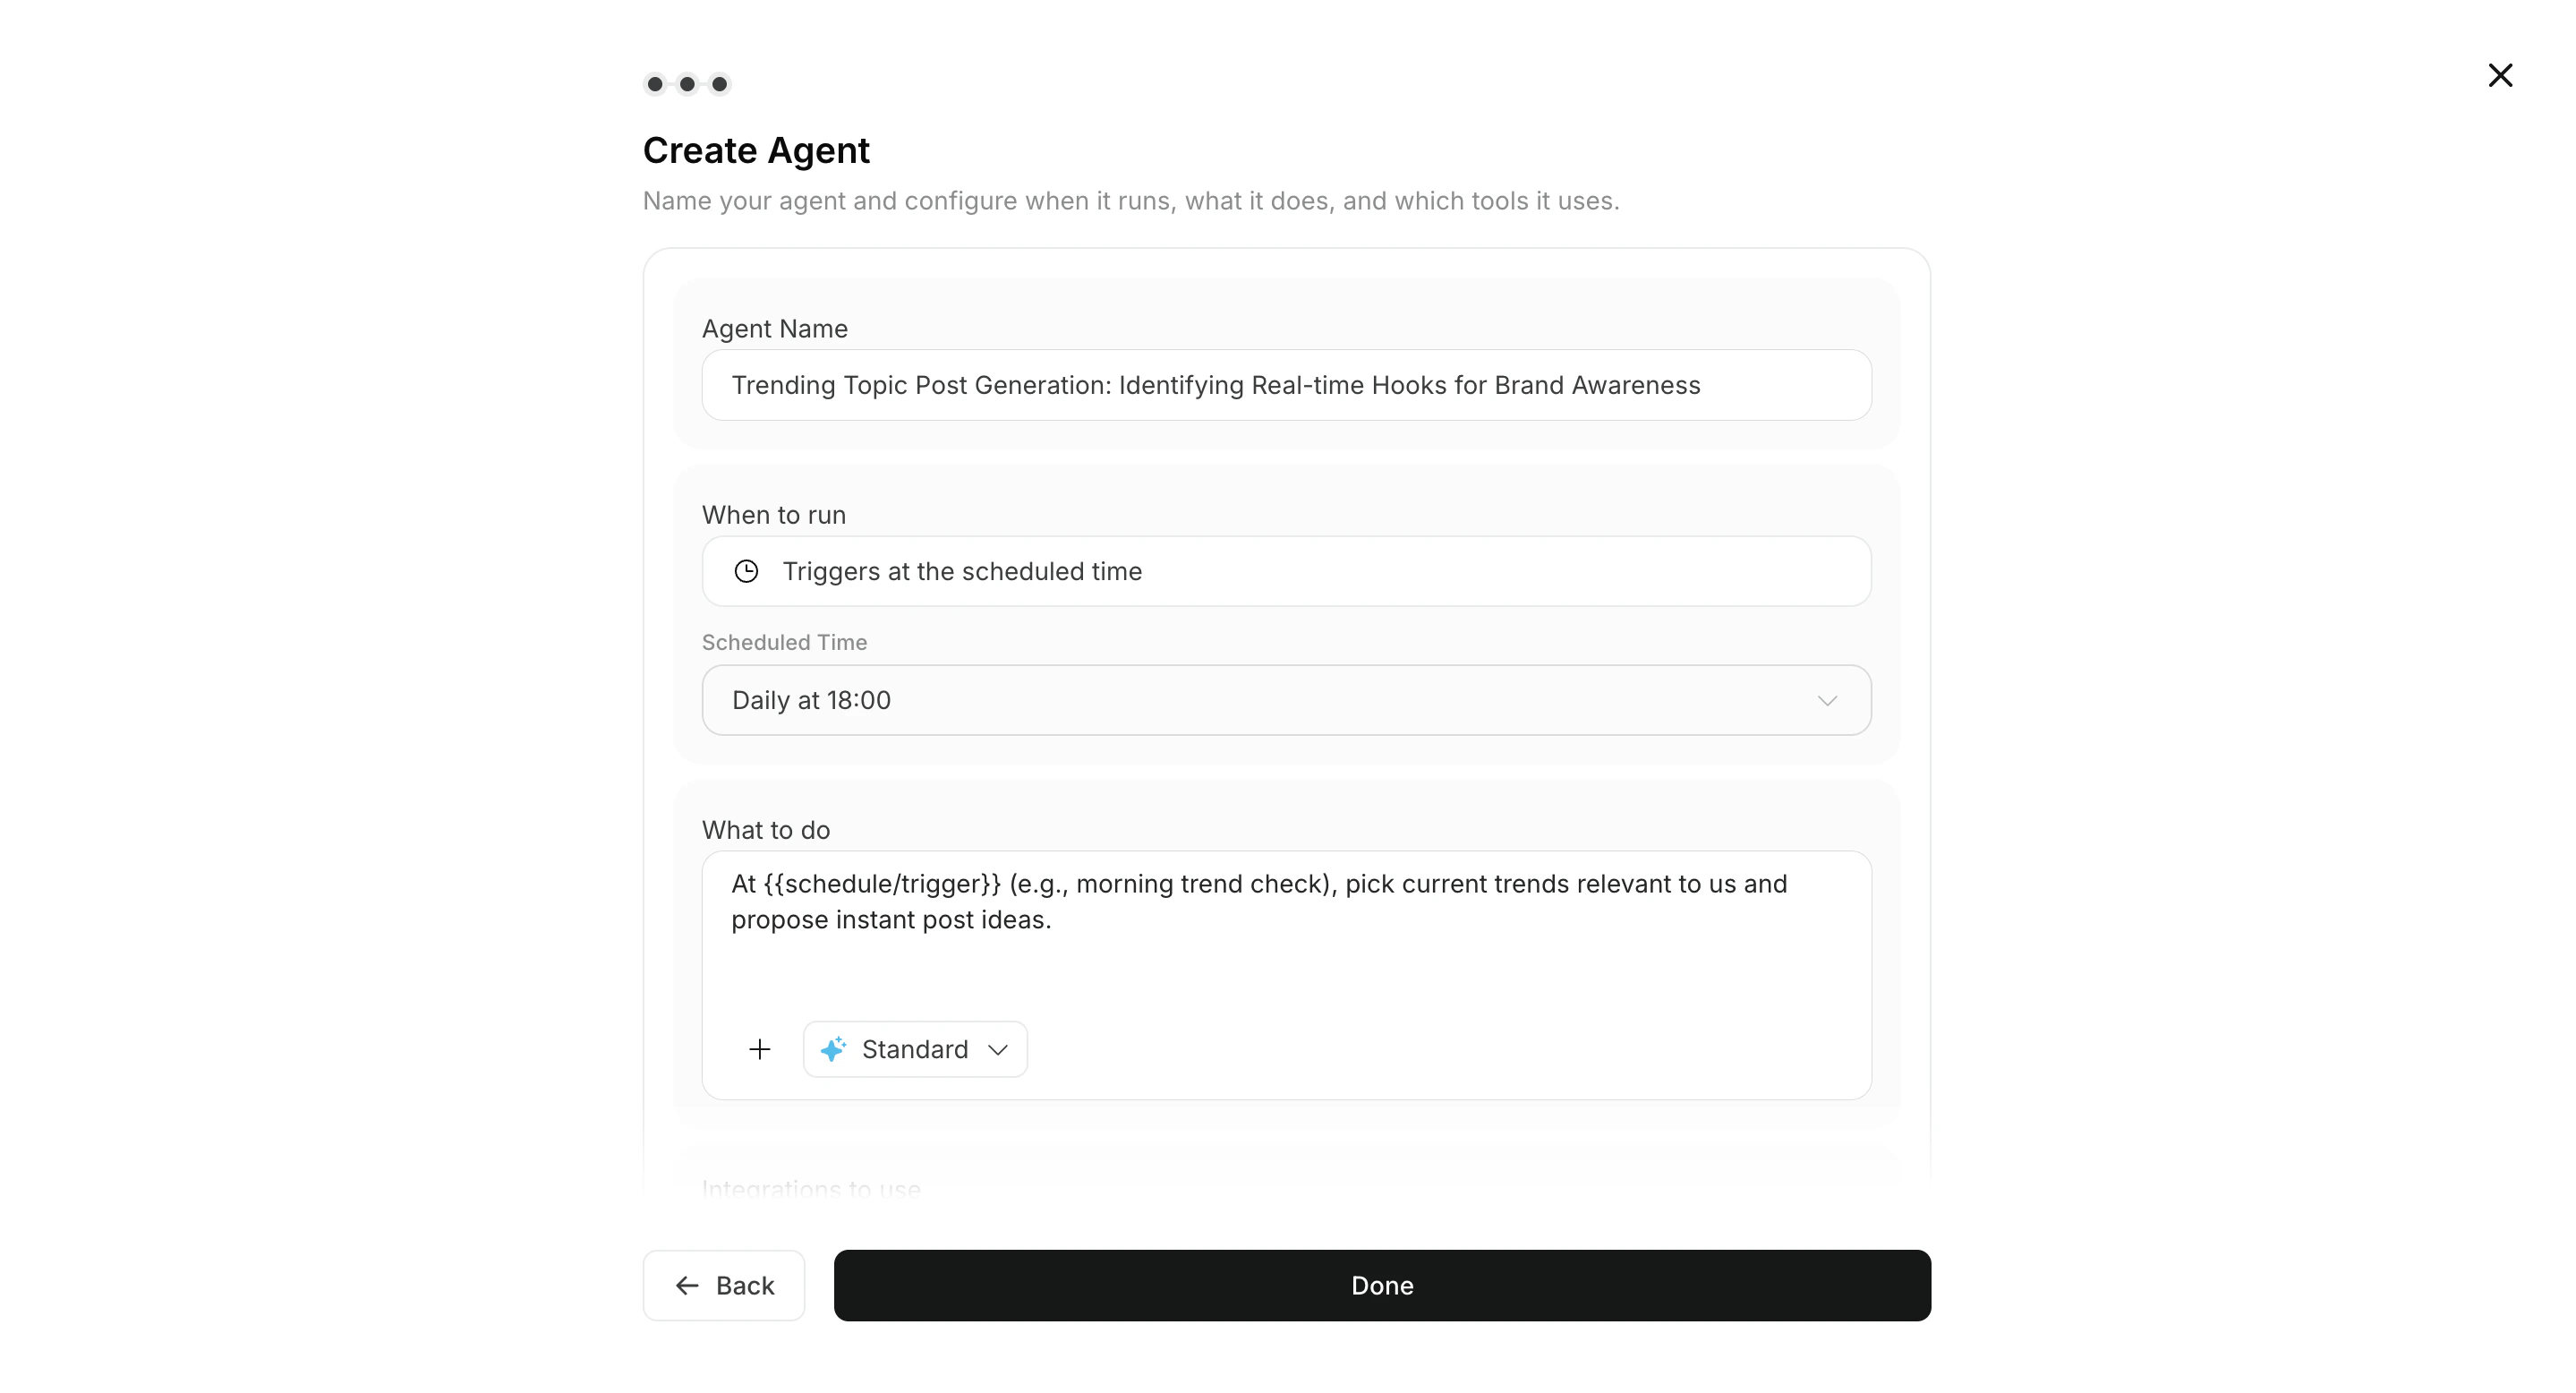
5. `実行条件`、`実行内容`、`送信先（任意）`を調整

<img src="https://mintcdn.com/agoslabstechnologiesfzco/vjbeim587jrR_hCh/public/help-center/arcade/ai-team/create-trigger-from-template/step-12.png?fit=max&auto=format&n=vjbeim587jrR_hCh&q=85&s=612649204820db434696360ad3bac3dd" alt="スケジュールと指示を調整" style={{ border: '1px solid #e5e7eb', borderRadius: '8px', marginBottom: '1rem' }} width="2878" height="1556" data-path="public/help-center/arcade/ai-team/create-trigger-from-template/step-12.png" />

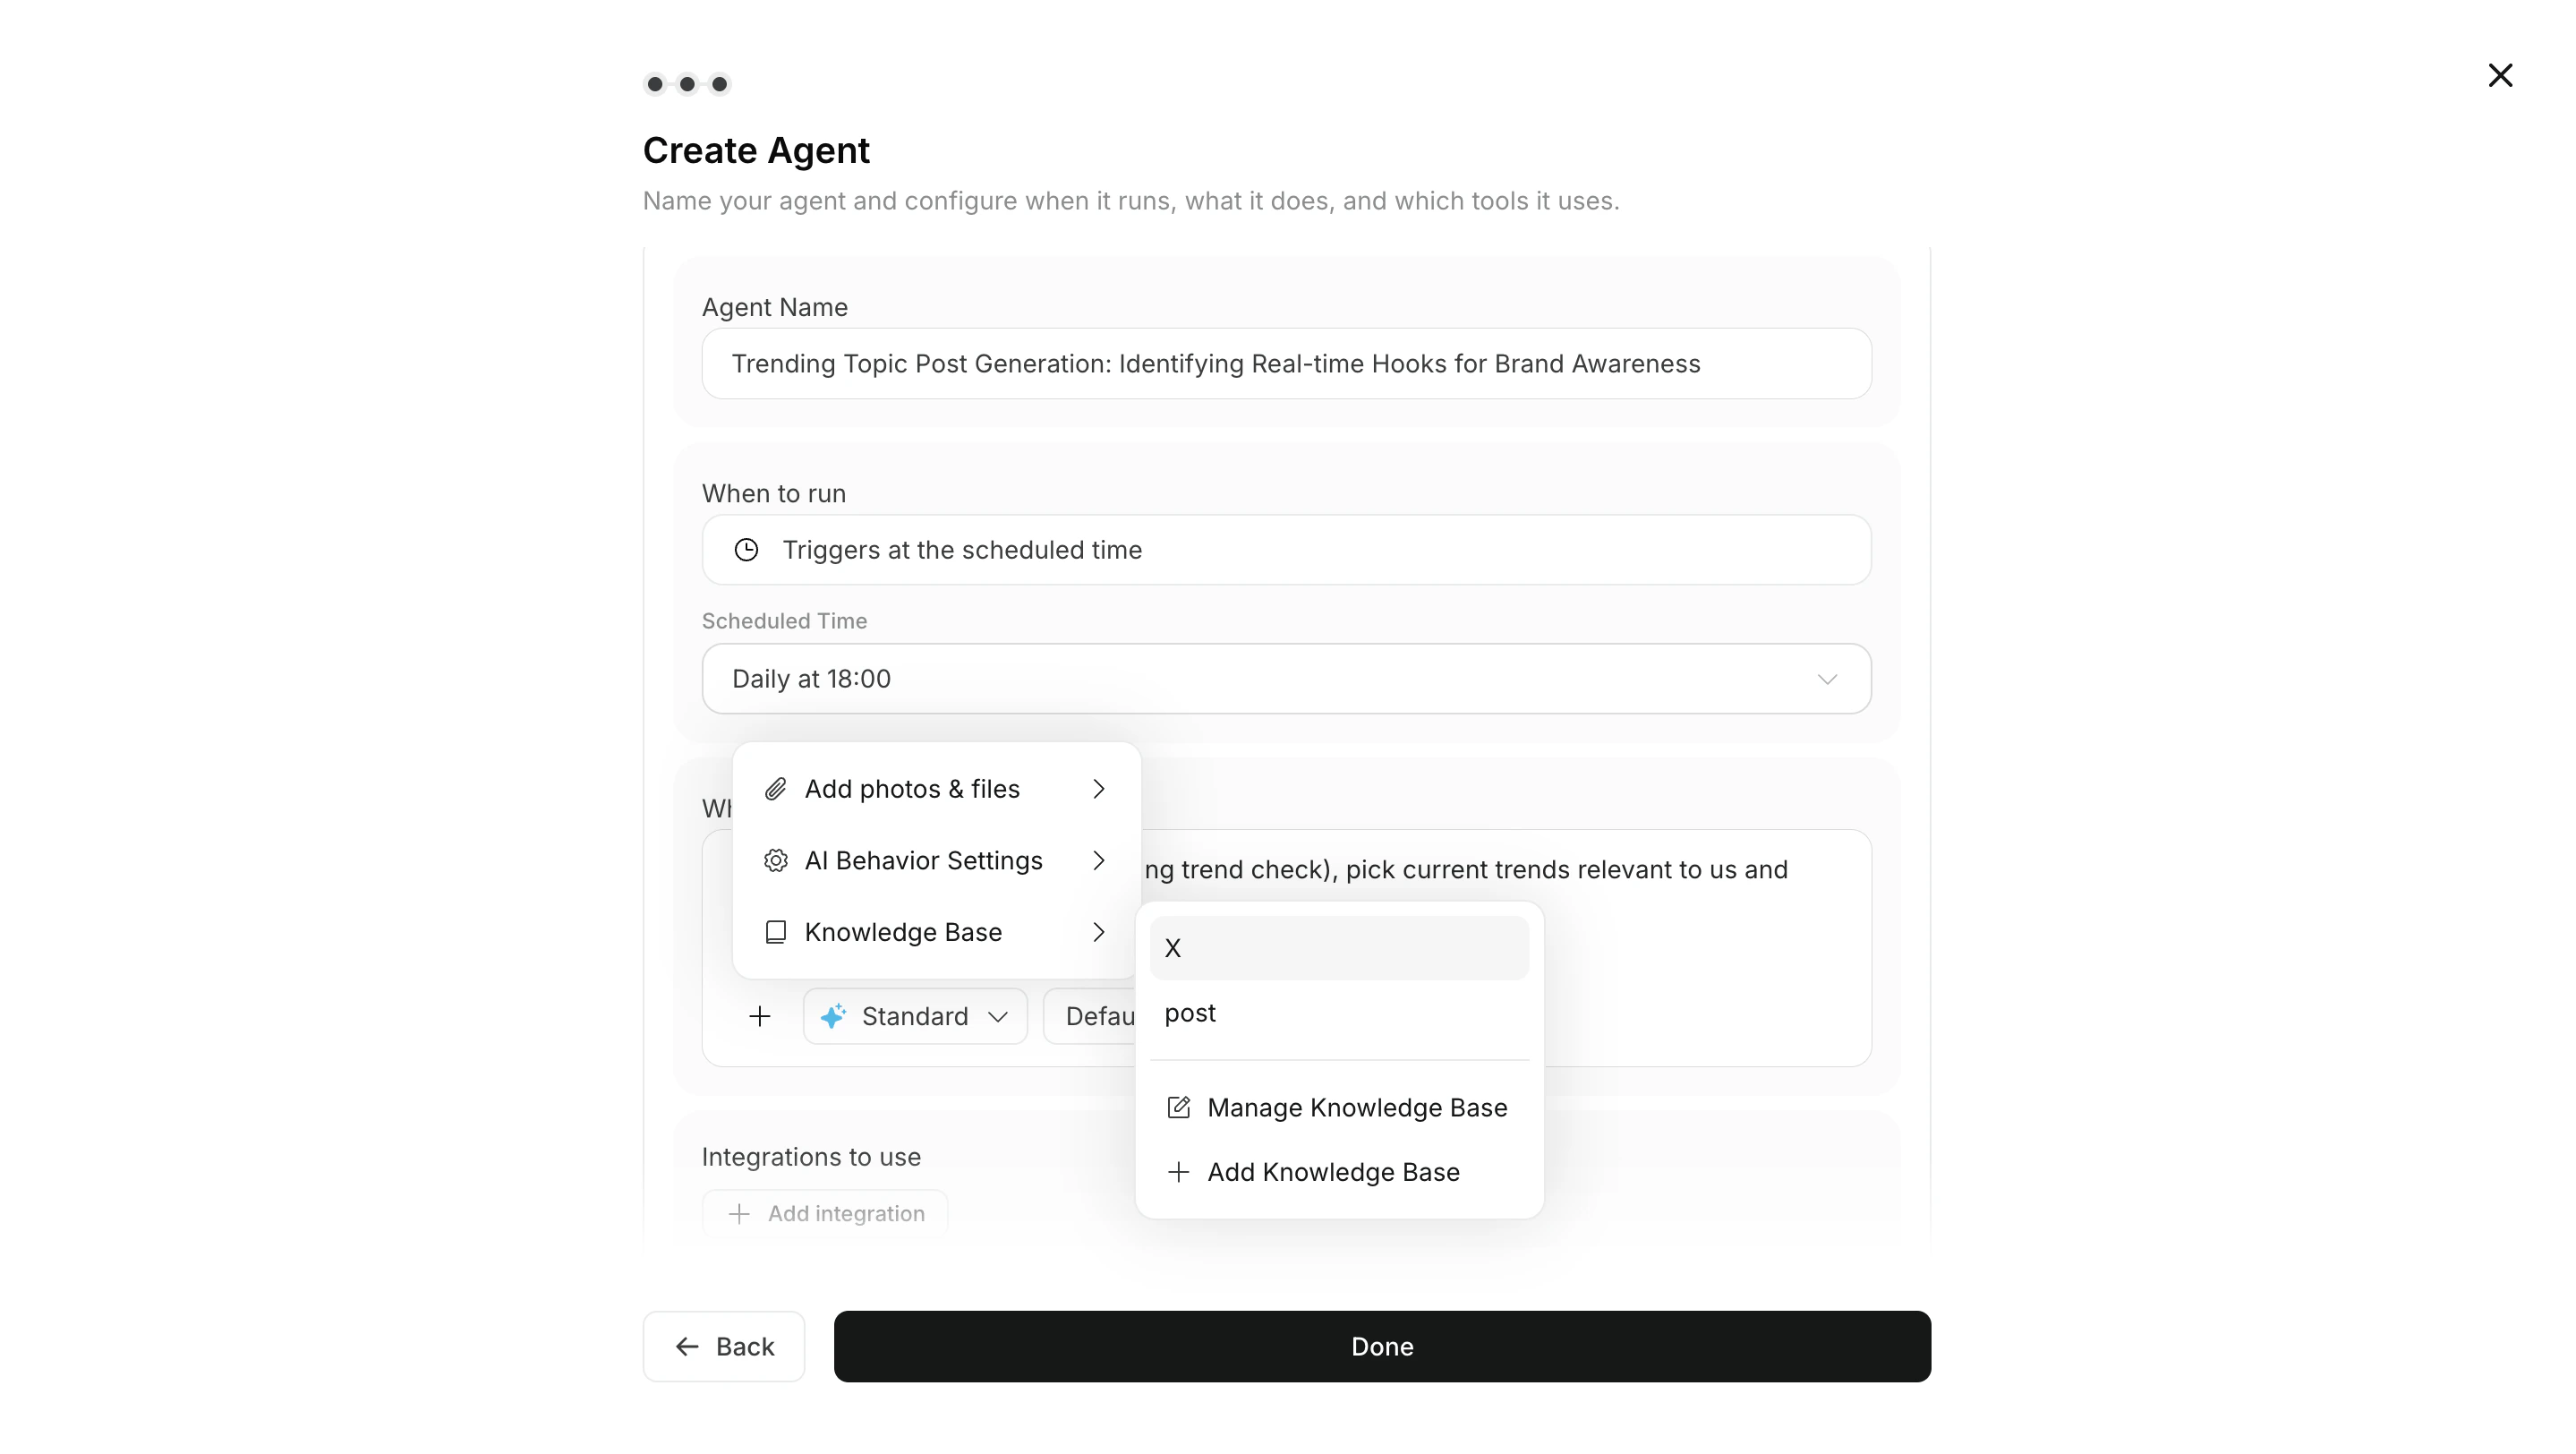
6. 必要に応じて、ワークフローに画像やナレッジベースを添付

<img src="https://mintcdn.com/agoslabstechnologiesfzco/Xa0ytaJcNHhSum5F/public/help-center/ai-team/agent-workflow-attachments.png?fit=max&auto=format&n=Xa0ytaJcNHhSum5F&q=85&s=2d0b5d22611c846a4b7851a1ce8129bd" alt="ワークフローに画像やナレッジベースを添付する設定" style={{ border: '1px solid #e5e7eb', borderRadius: '8px', marginBottom: '1rem' }} width="2878" height="1624" data-path="public/help-center/ai-team/agent-workflow-attachments.png" />

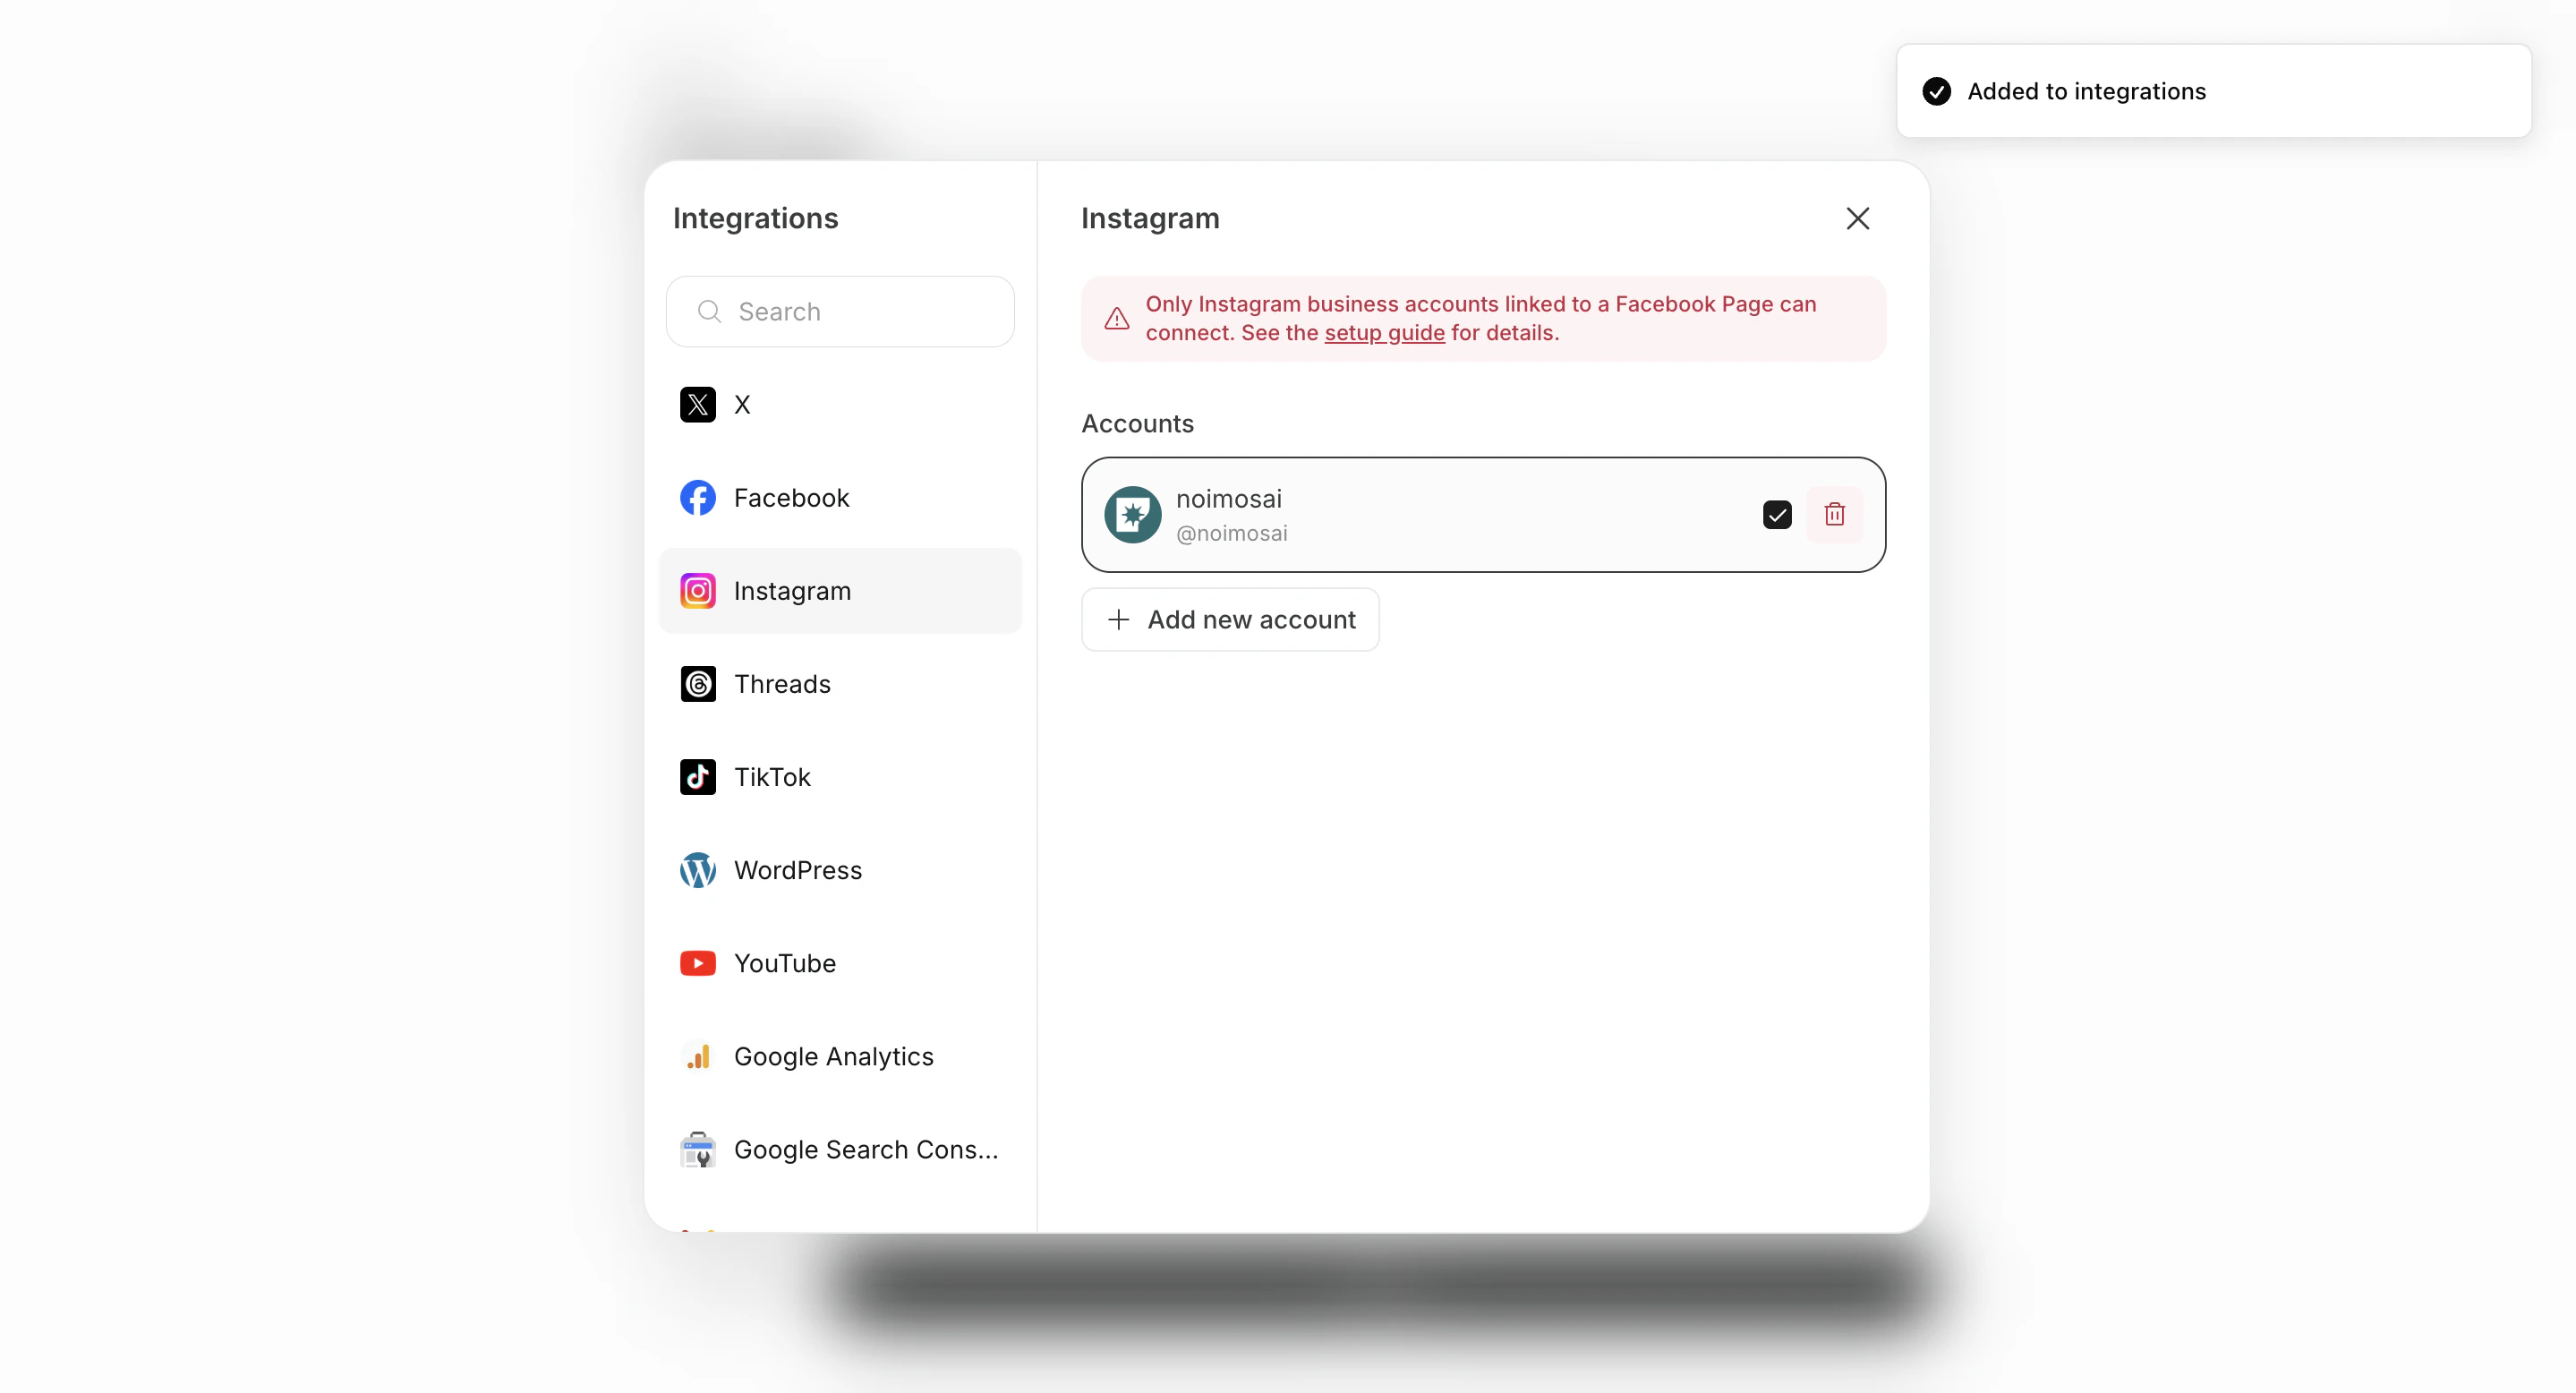
7. `連携`と接続アカウントを設定

<img src="https://mintcdn.com/agoslabstechnologiesfzco/O_z-4_xsRkHd_wIv/public/help-center/arcade/ai-team/create-trigger-from-template/step-14.png?fit=max&auto=format&n=O_z-4_xsRkHd_wIv&q=85&s=600da341d064691dd9c3c510d4697a79" alt="連携とアカウントを設定" style={{ border: '1px solid #e5e7eb', borderRadius: '8px', marginBottom: '1rem' }} width="2878" height="1556" data-path="public/help-center/arcade/ai-team/create-trigger-from-template/step-14.png" />

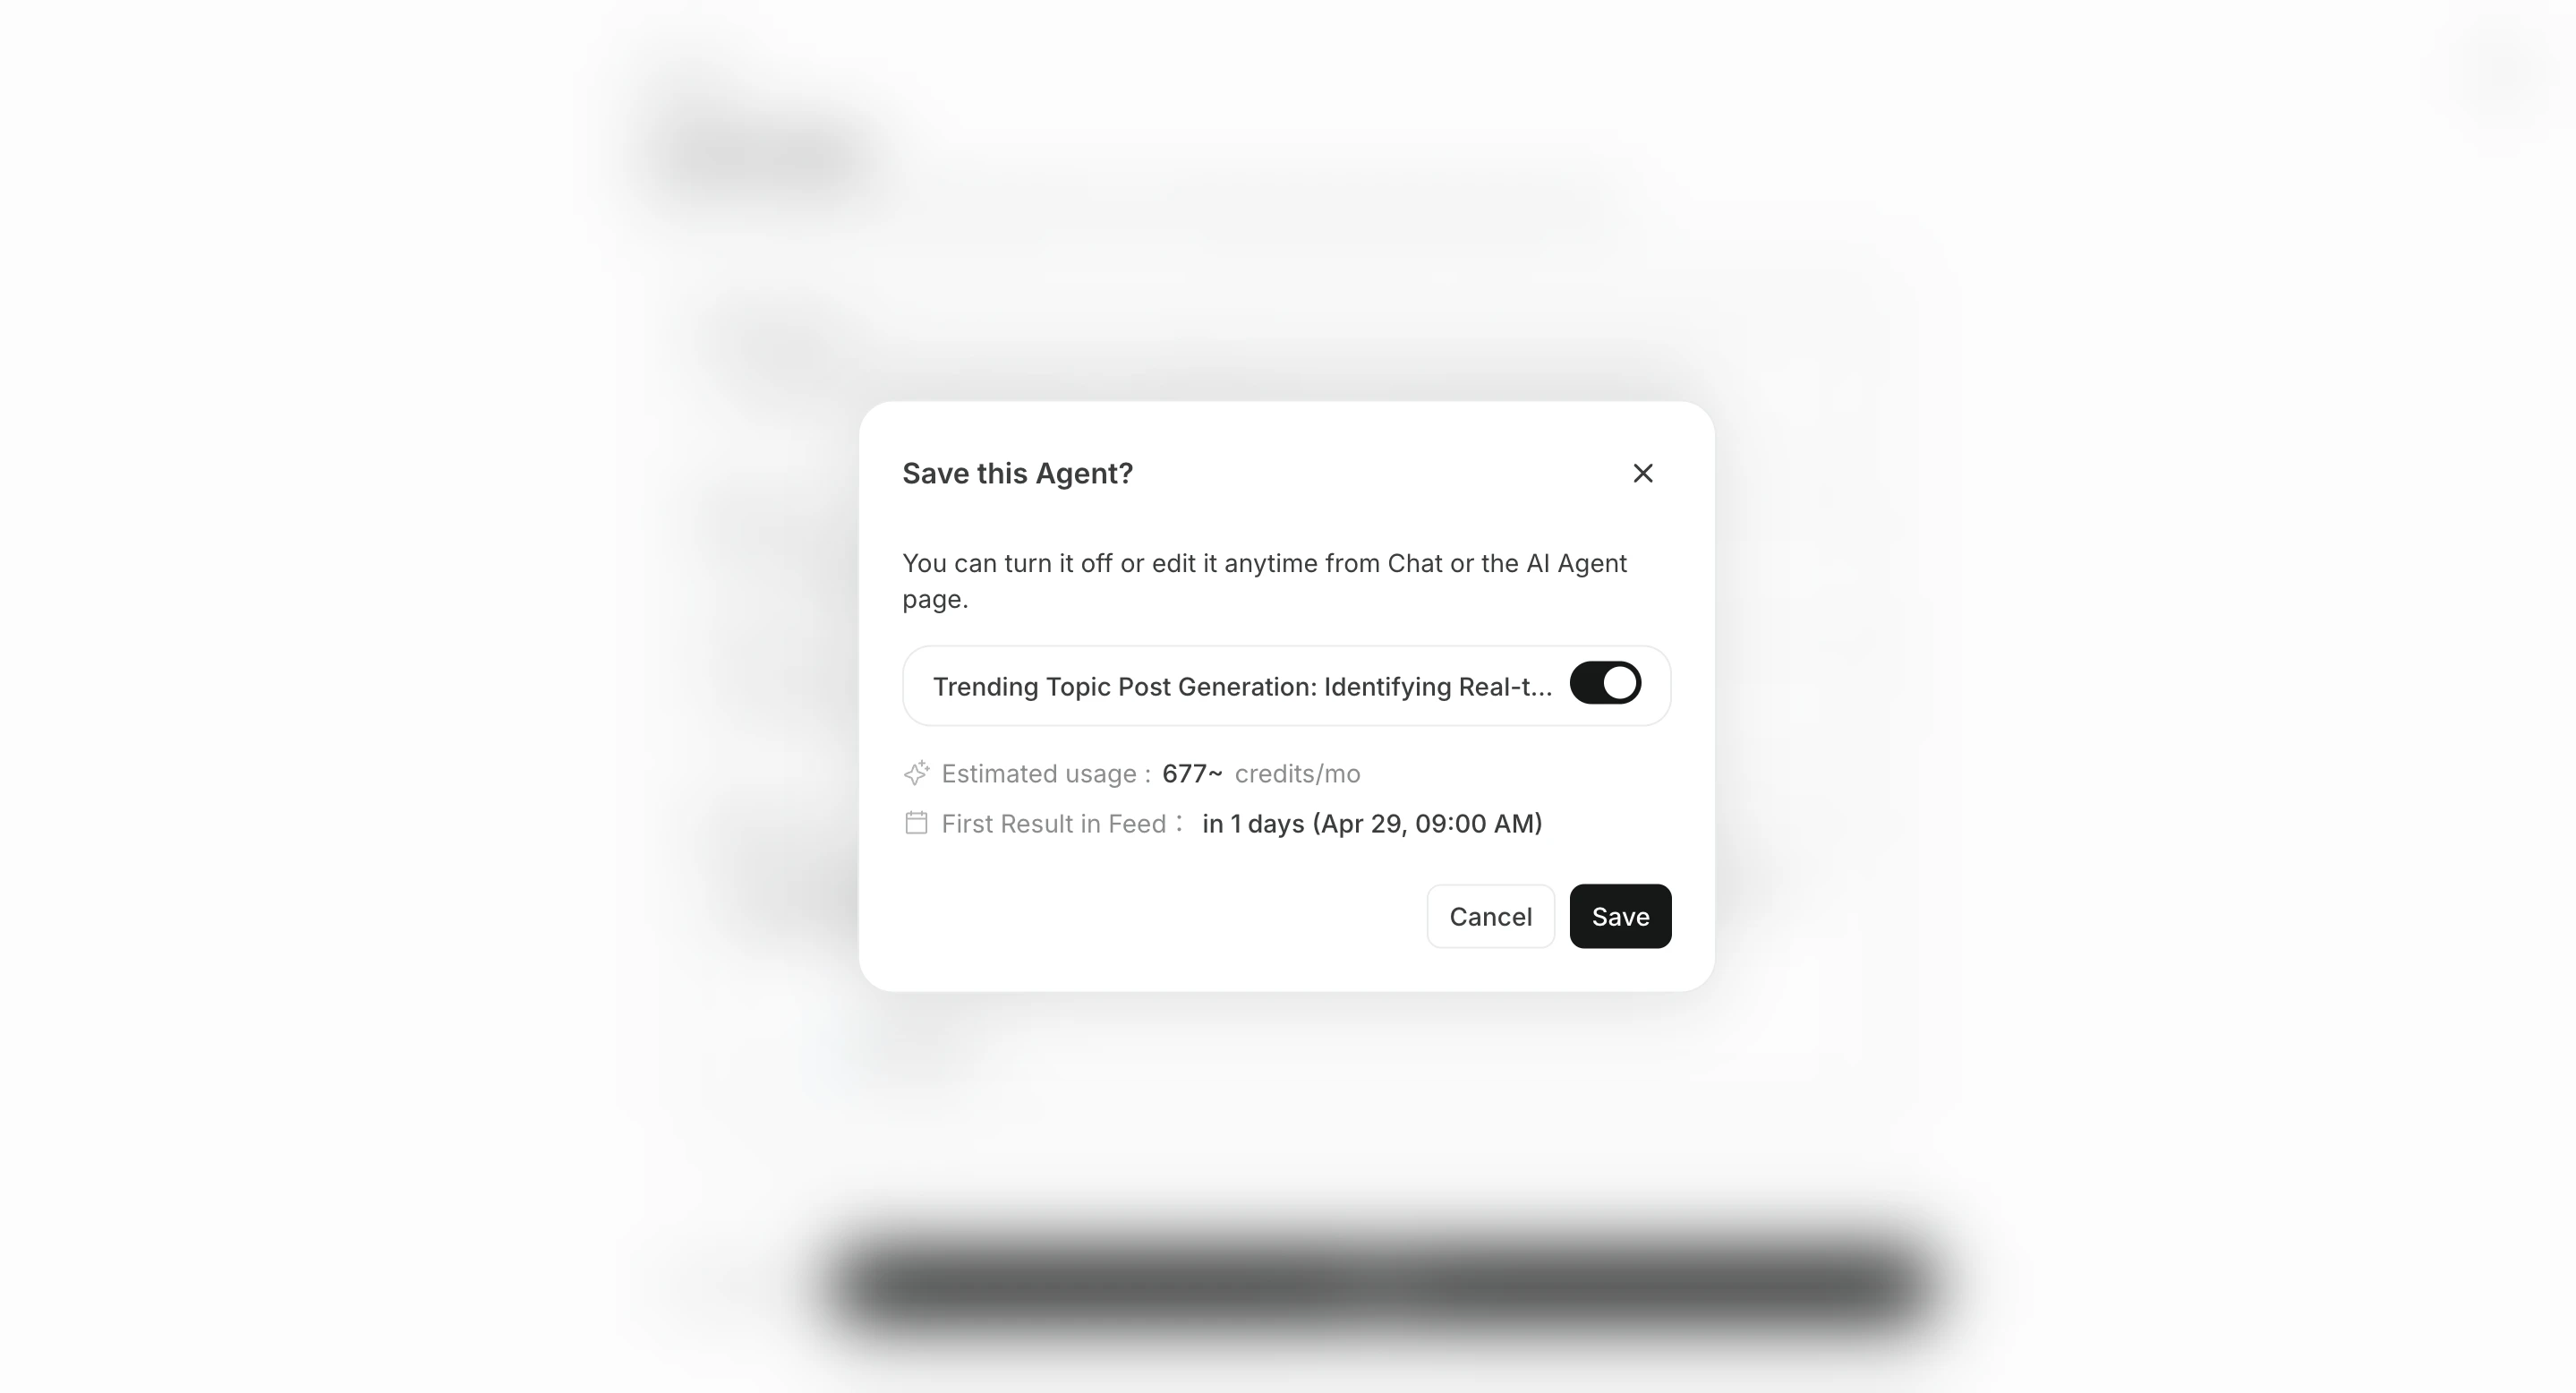
8. `作成`で保存し、必要なら有効化

<img src="https://mintcdn.com/agoslabstechnologiesfzco/O_z-4_xsRkHd_wIv/public/help-center/arcade/ai-team/create-trigger-from-template/step-19.png?fit=max&auto=format&n=O_z-4_xsRkHd_wIv&q=85&s=275461ca32f4791b01a61e62c160821e" alt="エージェントを作成" style={{ border: '1px solid #e5e7eb', borderRadius: '8px', marginBottom: '1rem' }} width="2878" height="1556" data-path="public/help-center/arcade/ai-team/create-trigger-from-template/step-19.png" />

## 送信先を設定する

`送信先`は任意です。結果は関連するチャットセッションで確認できますが、通知や共有も行いたい場合は送信先を追加します。

送信先の追加方法は、主に次の2種類です。

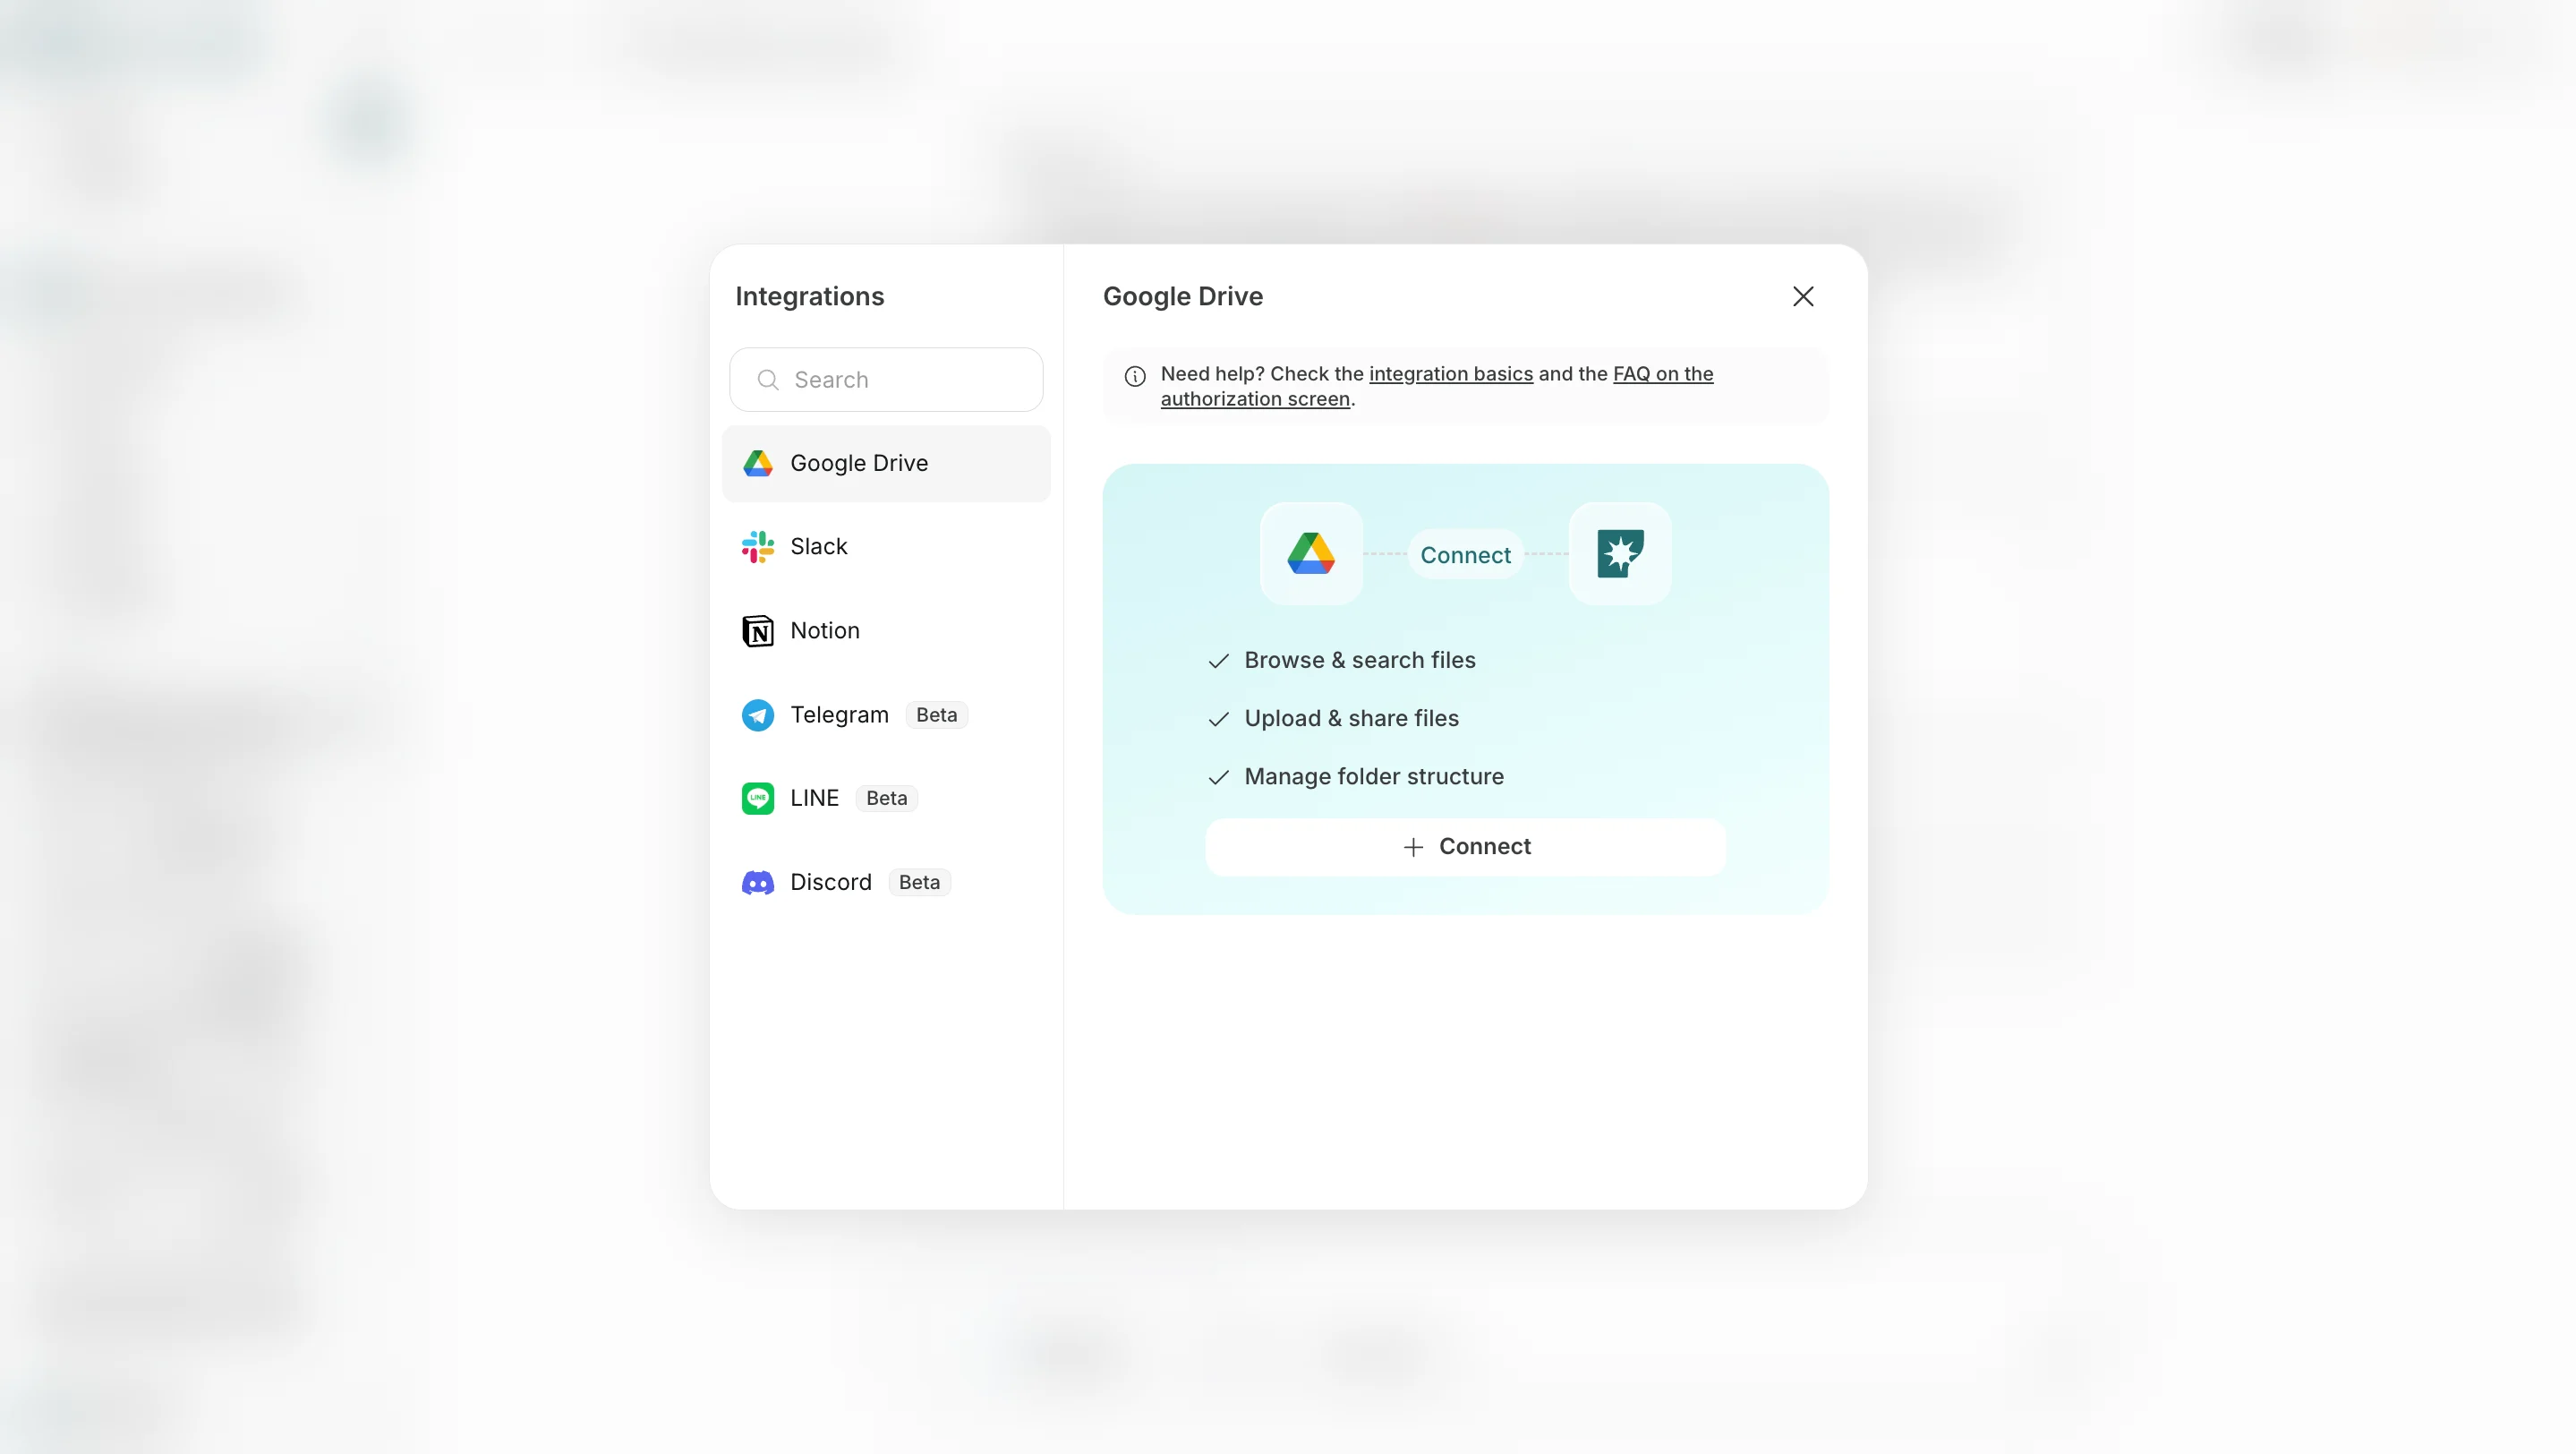
1. **送信先を追加**では、Slack、LINE、Discord、Telegram、WhatsApp、Notion、Google Driveなど、連携済みのアプリや保存先を選びます。
<img src="https://mintcdn.com/agoslabstechnologiesfzco/FJKw6eZ1ZQ6W2xoq/public/help-center/ai-team/agent-output-destination.png?fit=max&auto=format&n=FJKw6eZ1ZQ6W2xoq&q=85&s=33b172d6df5dd38e302900d7e6694670" alt="送信先を追加する画面" style={{ border: '1px solid #e5e7eb', borderRadius: '8px', marginBottom: '1rem' }} width="2878" height="1624" data-path="public/help-center/ai-team/agent-output-destination.png" />

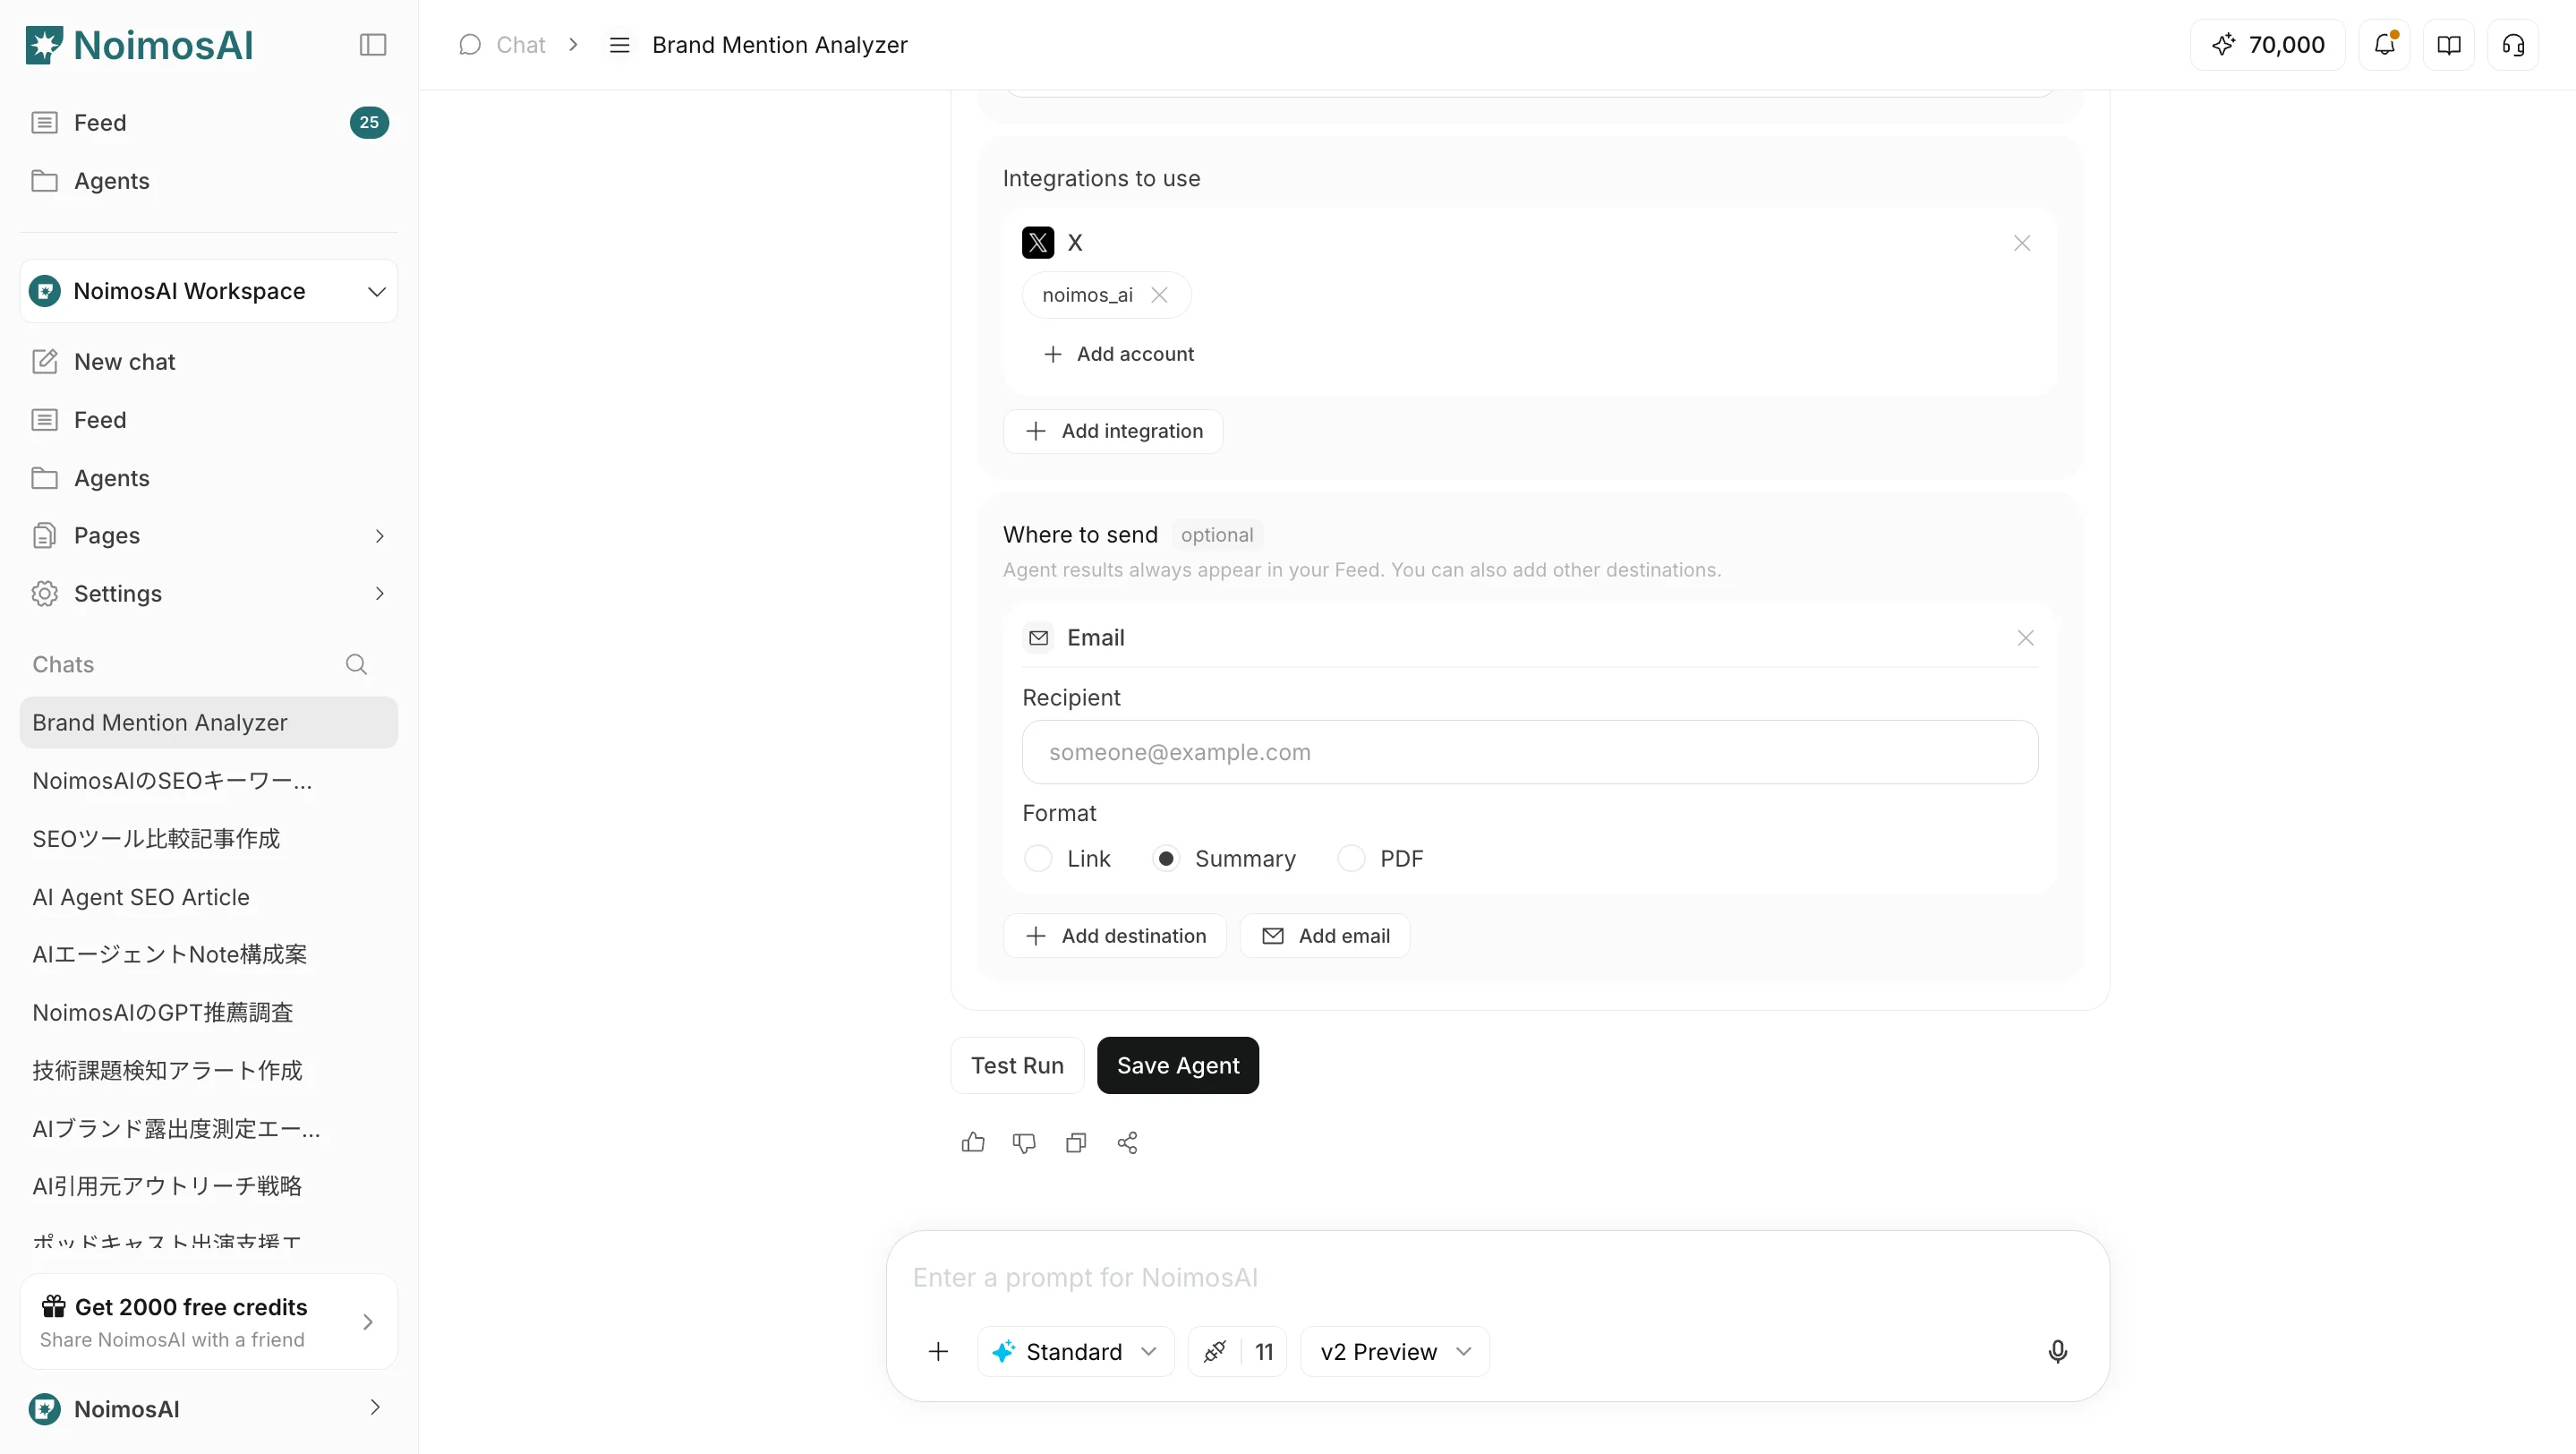
2. **メールを追加**では、メールアドレスを指定して、結果をメールでも受け取れるようにします。
<img src="https://mintcdn.com/agoslabstechnologiesfzco/FJKw6eZ1ZQ6W2xoq/public/help-center/ai-team/agent-output-email.png?fit=max&auto=format&n=FJKw6eZ1ZQ6W2xoq&q=85&s=43468fe34f49dde63d0e960b7b141049" alt="メールを追加する画面" style={{ border: '1px solid #e5e7eb', borderRadius: '8px', marginBottom: '1rem' }} width="2878" height="1624" data-path="public/help-center/ai-team/agent-output-email.png" />

どちらの場合も、送信する形式は`リンク`、`要約`、`PDF`から選択できます。

## 運用のポイント

* まずは低頻度で開始し、`実行結果`で品質を確認してから頻度を上げる
* 指示は「何を、どの形式で返すか」まで具体化する

## 関連ページ

* [ゼロからエージェントを作成する](/ja/help-center/ai-team/create-an-agent-from-scratch)
* [エージェントを編集・追加・削除する](/ja/help-center/ai-team/edit-add-and-delete-triggers)