> ## Documentation Index
> Fetch the complete documentation index at: https://docs.noimosai.com/llms.txt
> Use this file to discover all available pages before exploring further.

# 템플릿에서 에이전트 만들기

> 템플릿을 사용해 에이전트를 빠르게 만들고 실행 조건, 지시, 연동을 조정합니다.

## 개요

`Create from template`은 빠르게 운영을 시작하고 싶을 때 적합합니다.
템플릿으로 초기 설정을 만들고 워크스페이스에 맞게 조정합니다.

## 단계

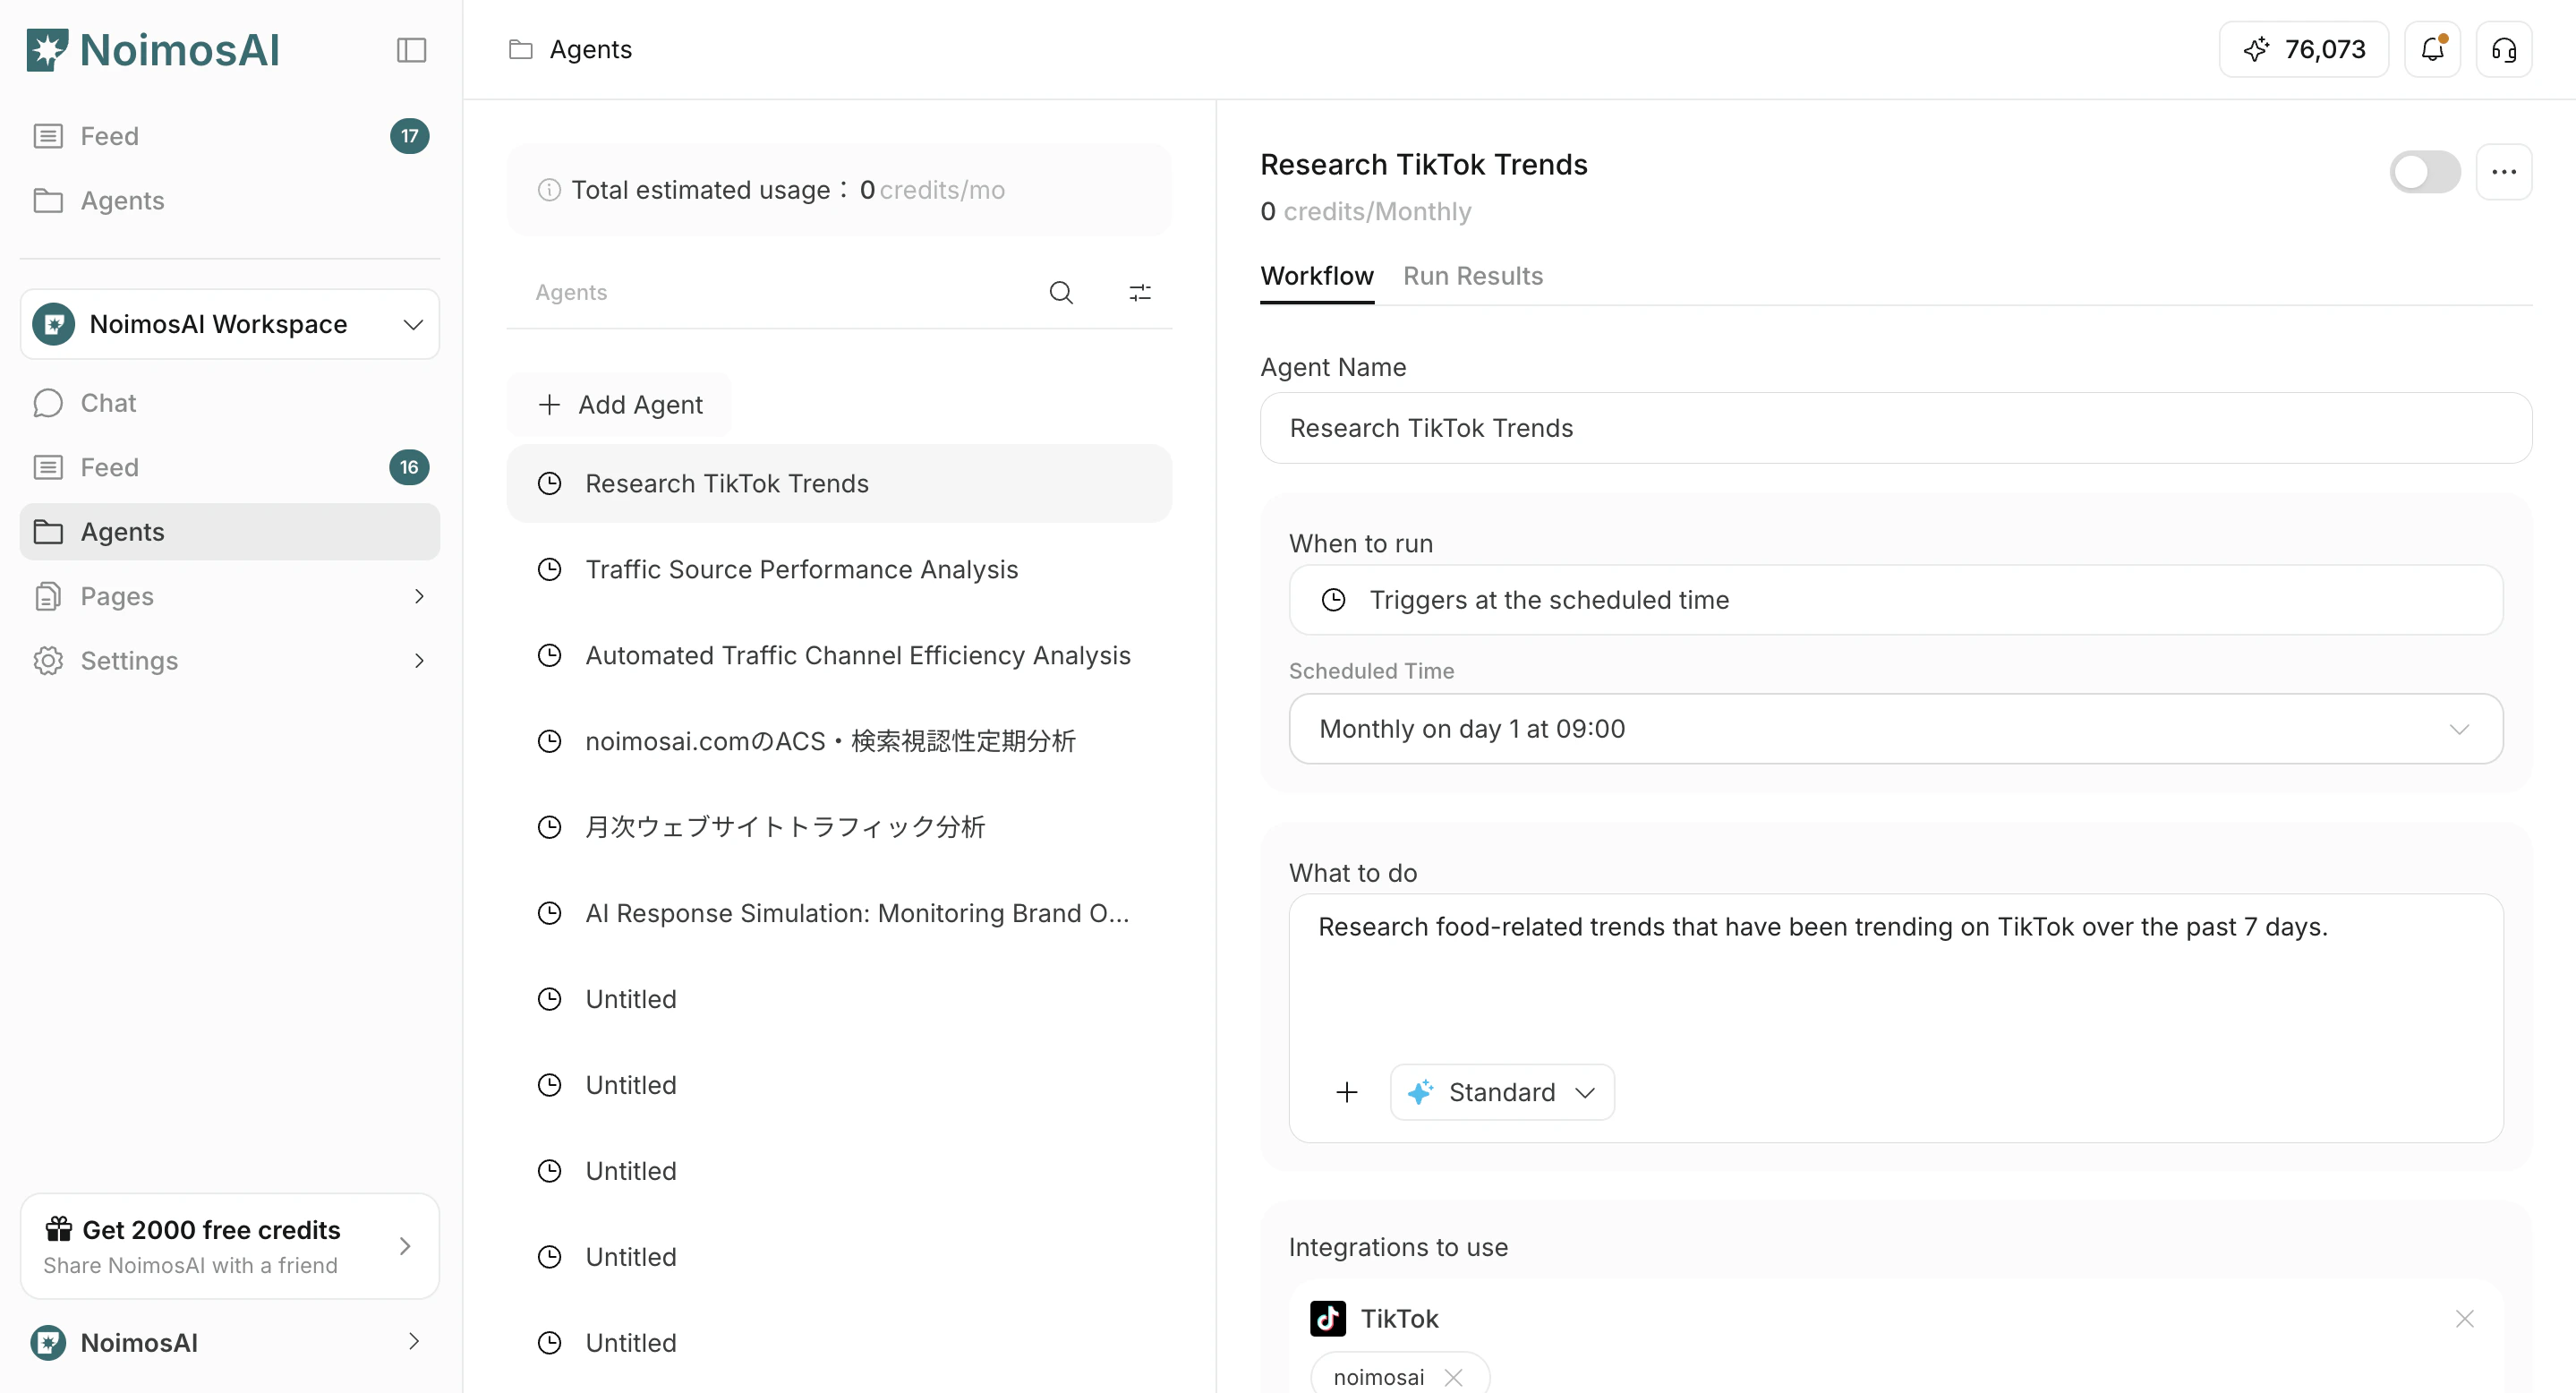
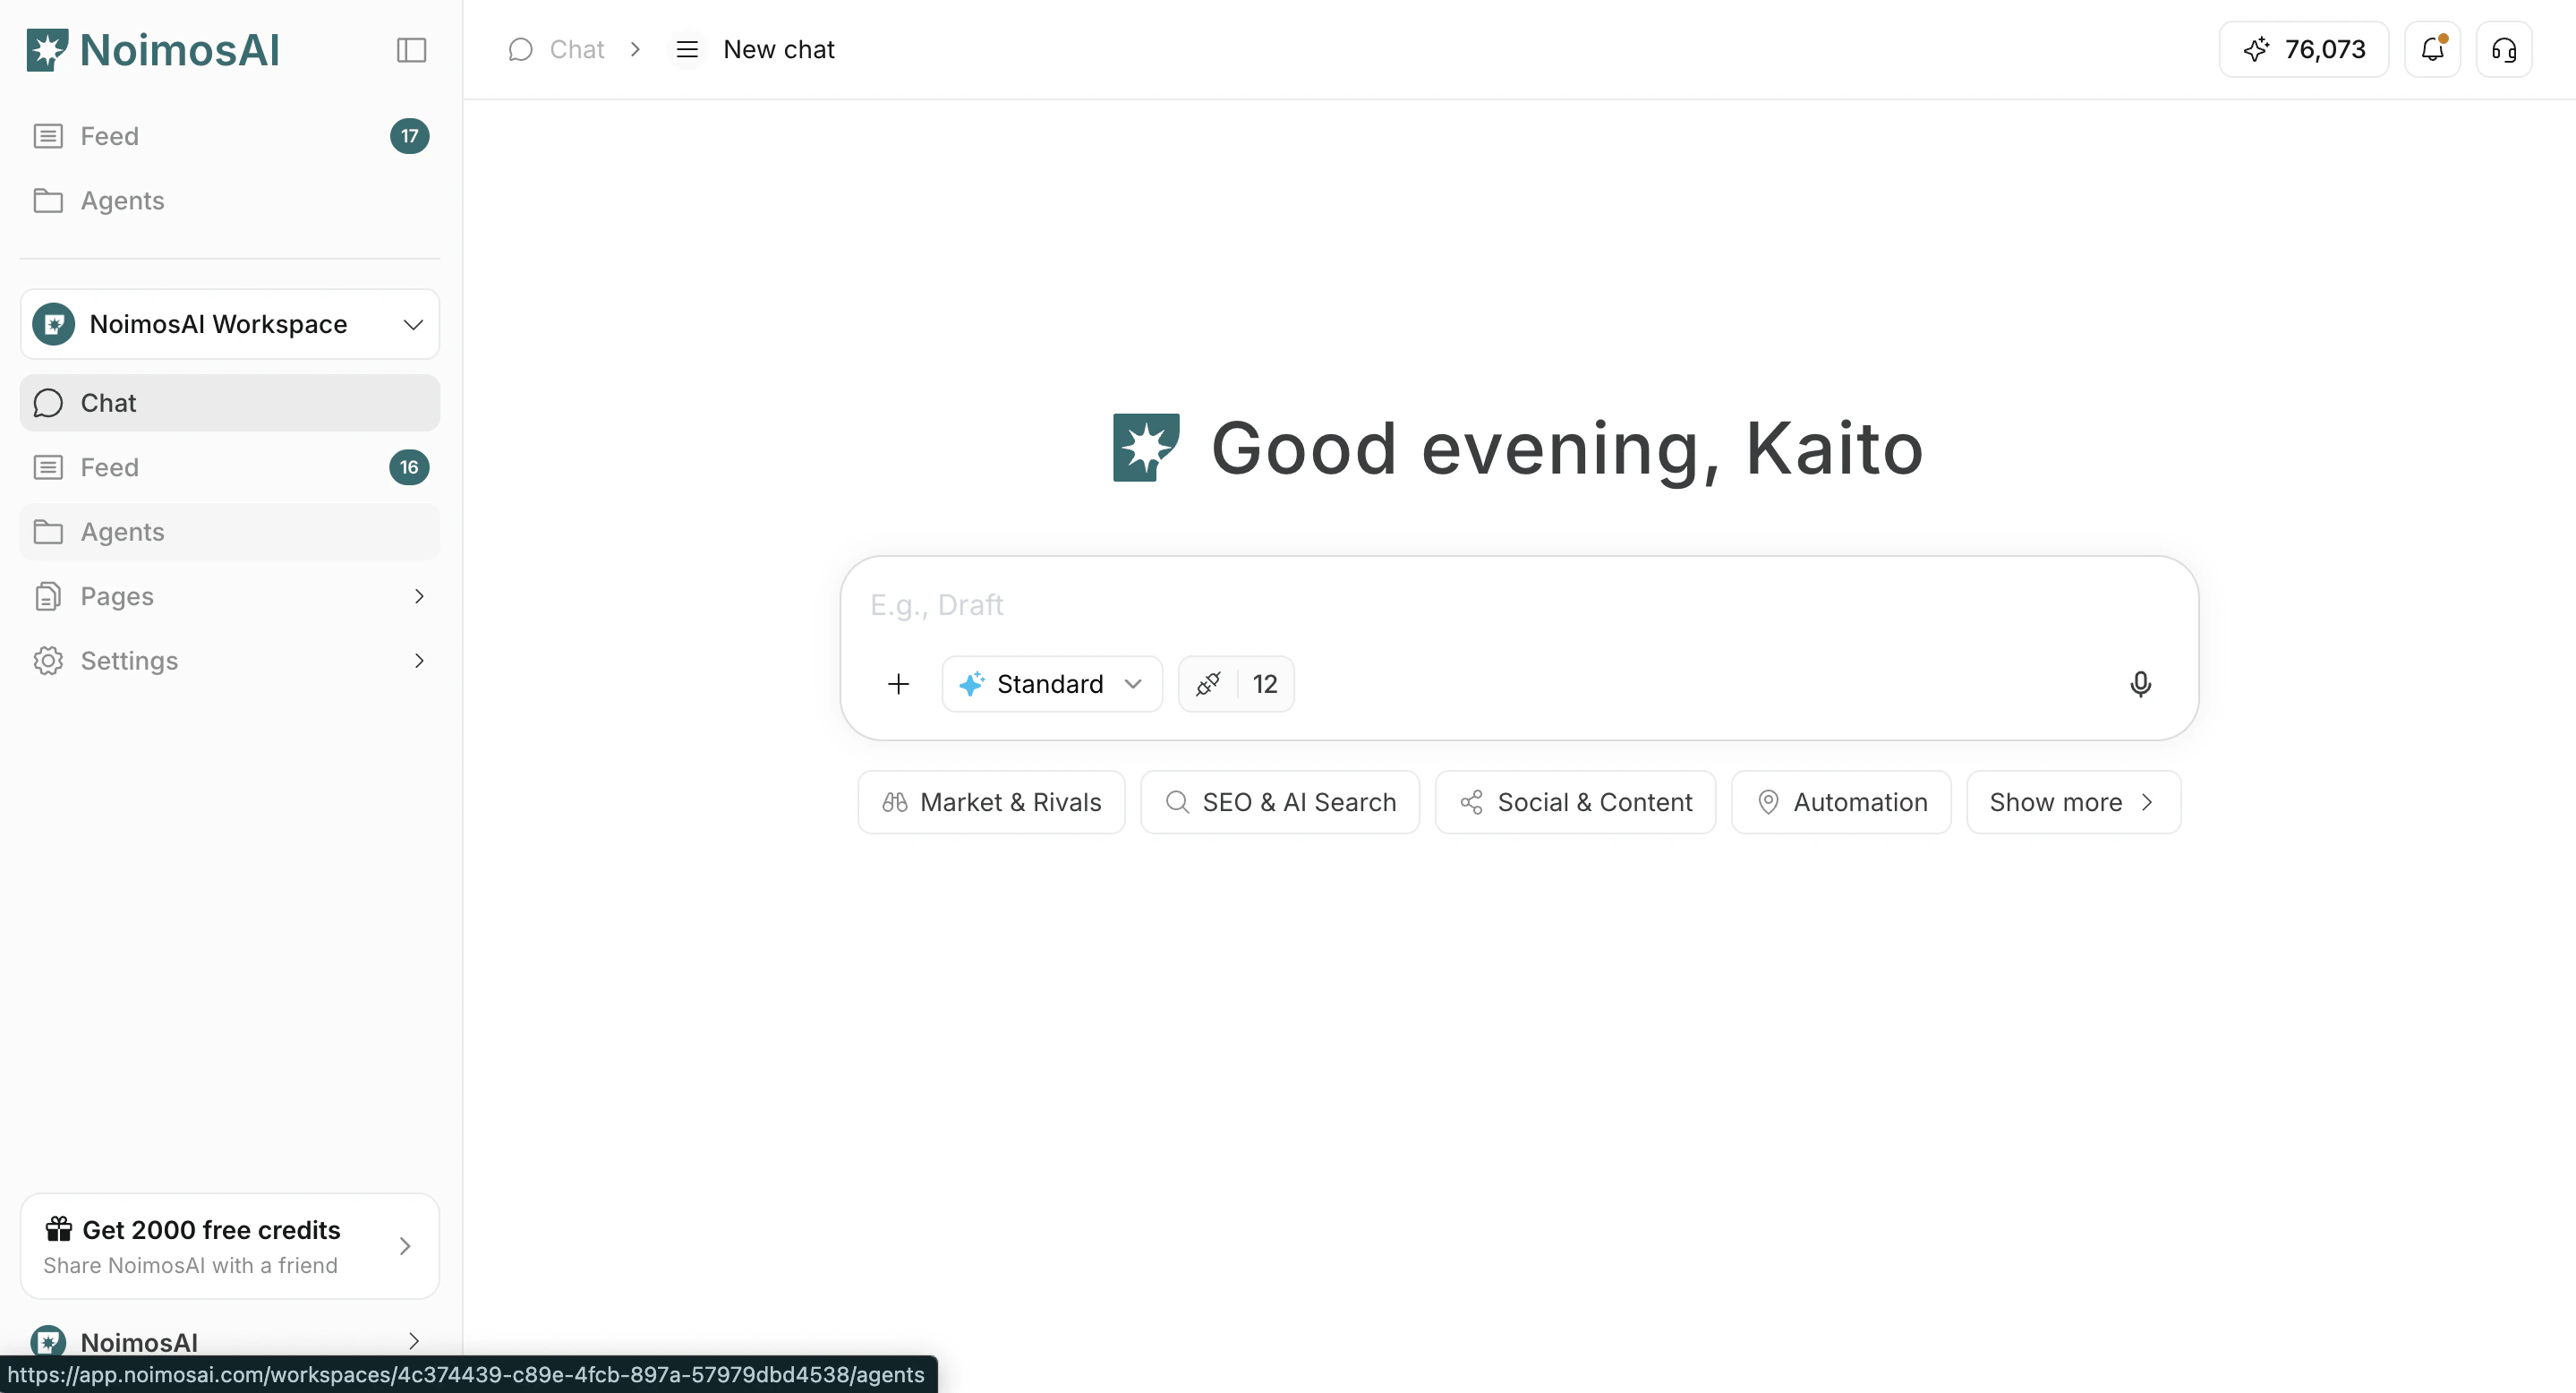
1. `Agents`를 엽니다.
<img src="https://mintcdn.com/agoslabstechnologiesfzco/vjbeim587jrR_hCh/public/help-center/arcade/ai-team/create-trigger-from-template/step-02.png?fit=max&auto=format&n=vjbeim587jrR_hCh&q=85&s=fb7b360a0b6016018103a30c39f1357c" alt="에이전트 화면 열기" style={{ border: '1px solid #e5e7eb', borderRadius: '8px', marginBottom: '1rem' }} width="2878" height="1556" data-path="public/help-center/arcade/ai-team/create-trigger-from-template/step-02.png" />

2. `Add agent`를 클릭합니다.

<img src="https://mintcdn.com/agoslabstechnologiesfzco/vjbeim587jrR_hCh/public/help-center/arcade/ai-team/create-trigger-from-template/step-03.png?fit=max&auto=format&n=vjbeim587jrR_hCh&q=85&s=7102987233a3b9c6709d4ecebe28b961" alt="Add agent 클릭" style={{ border: '1px solid #e5e7eb', borderRadius: '8px', marginBottom: '1rem' }} width="2878" height="1556" data-path="public/help-center/arcade/ai-team/create-trigger-from-template/step-03.png" />

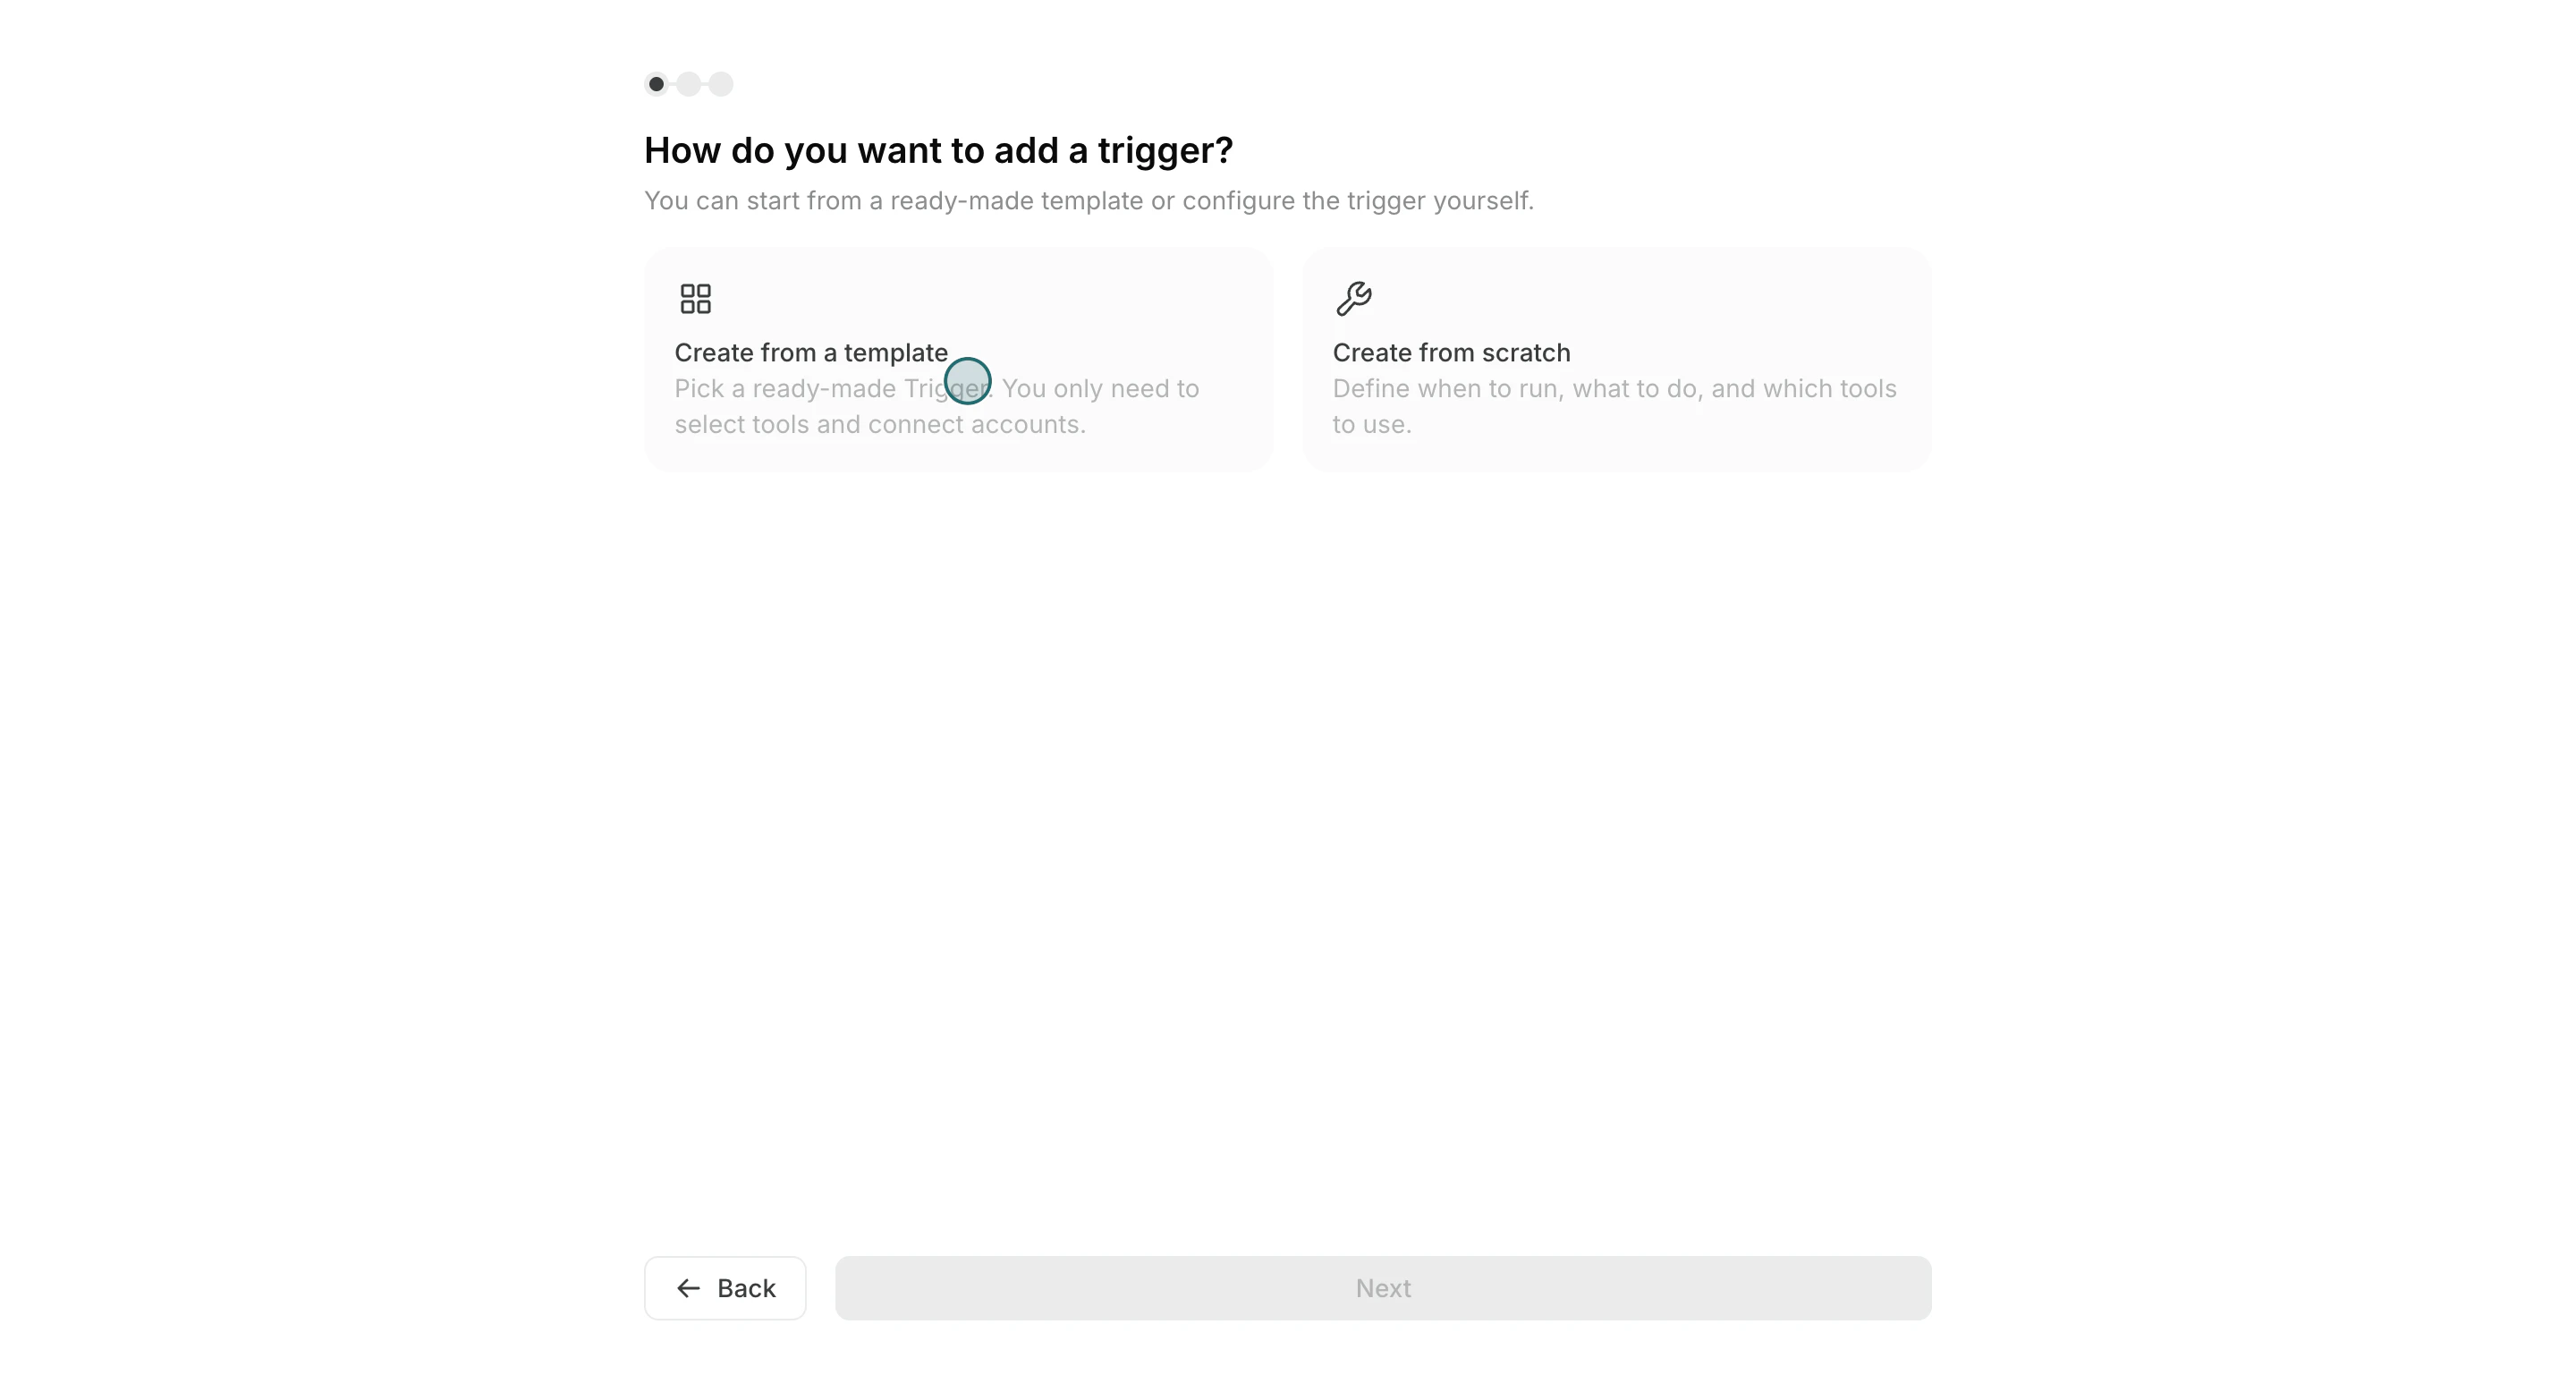
3. `Create from template`을 선택합니다.

<img src="https://mintcdn.com/agoslabstechnologiesfzco/Fp8XwoziZBVDha6p/public/help-center/arcade/ai-team/create-trigger-from-template/step-04.png?fit=max&auto=format&n=Fp8XwoziZBVDha6p&q=85&s=7c99640e8ddb4b9738f8bb59f3fa2837" alt="Create from template 선택" style={{ border: '1px solid #e5e7eb', borderRadius: '8px', marginBottom: '1rem' }} width="2880" height="1556" data-path="public/help-center/arcade/ai-team/create-trigger-from-template/step-04.png" />

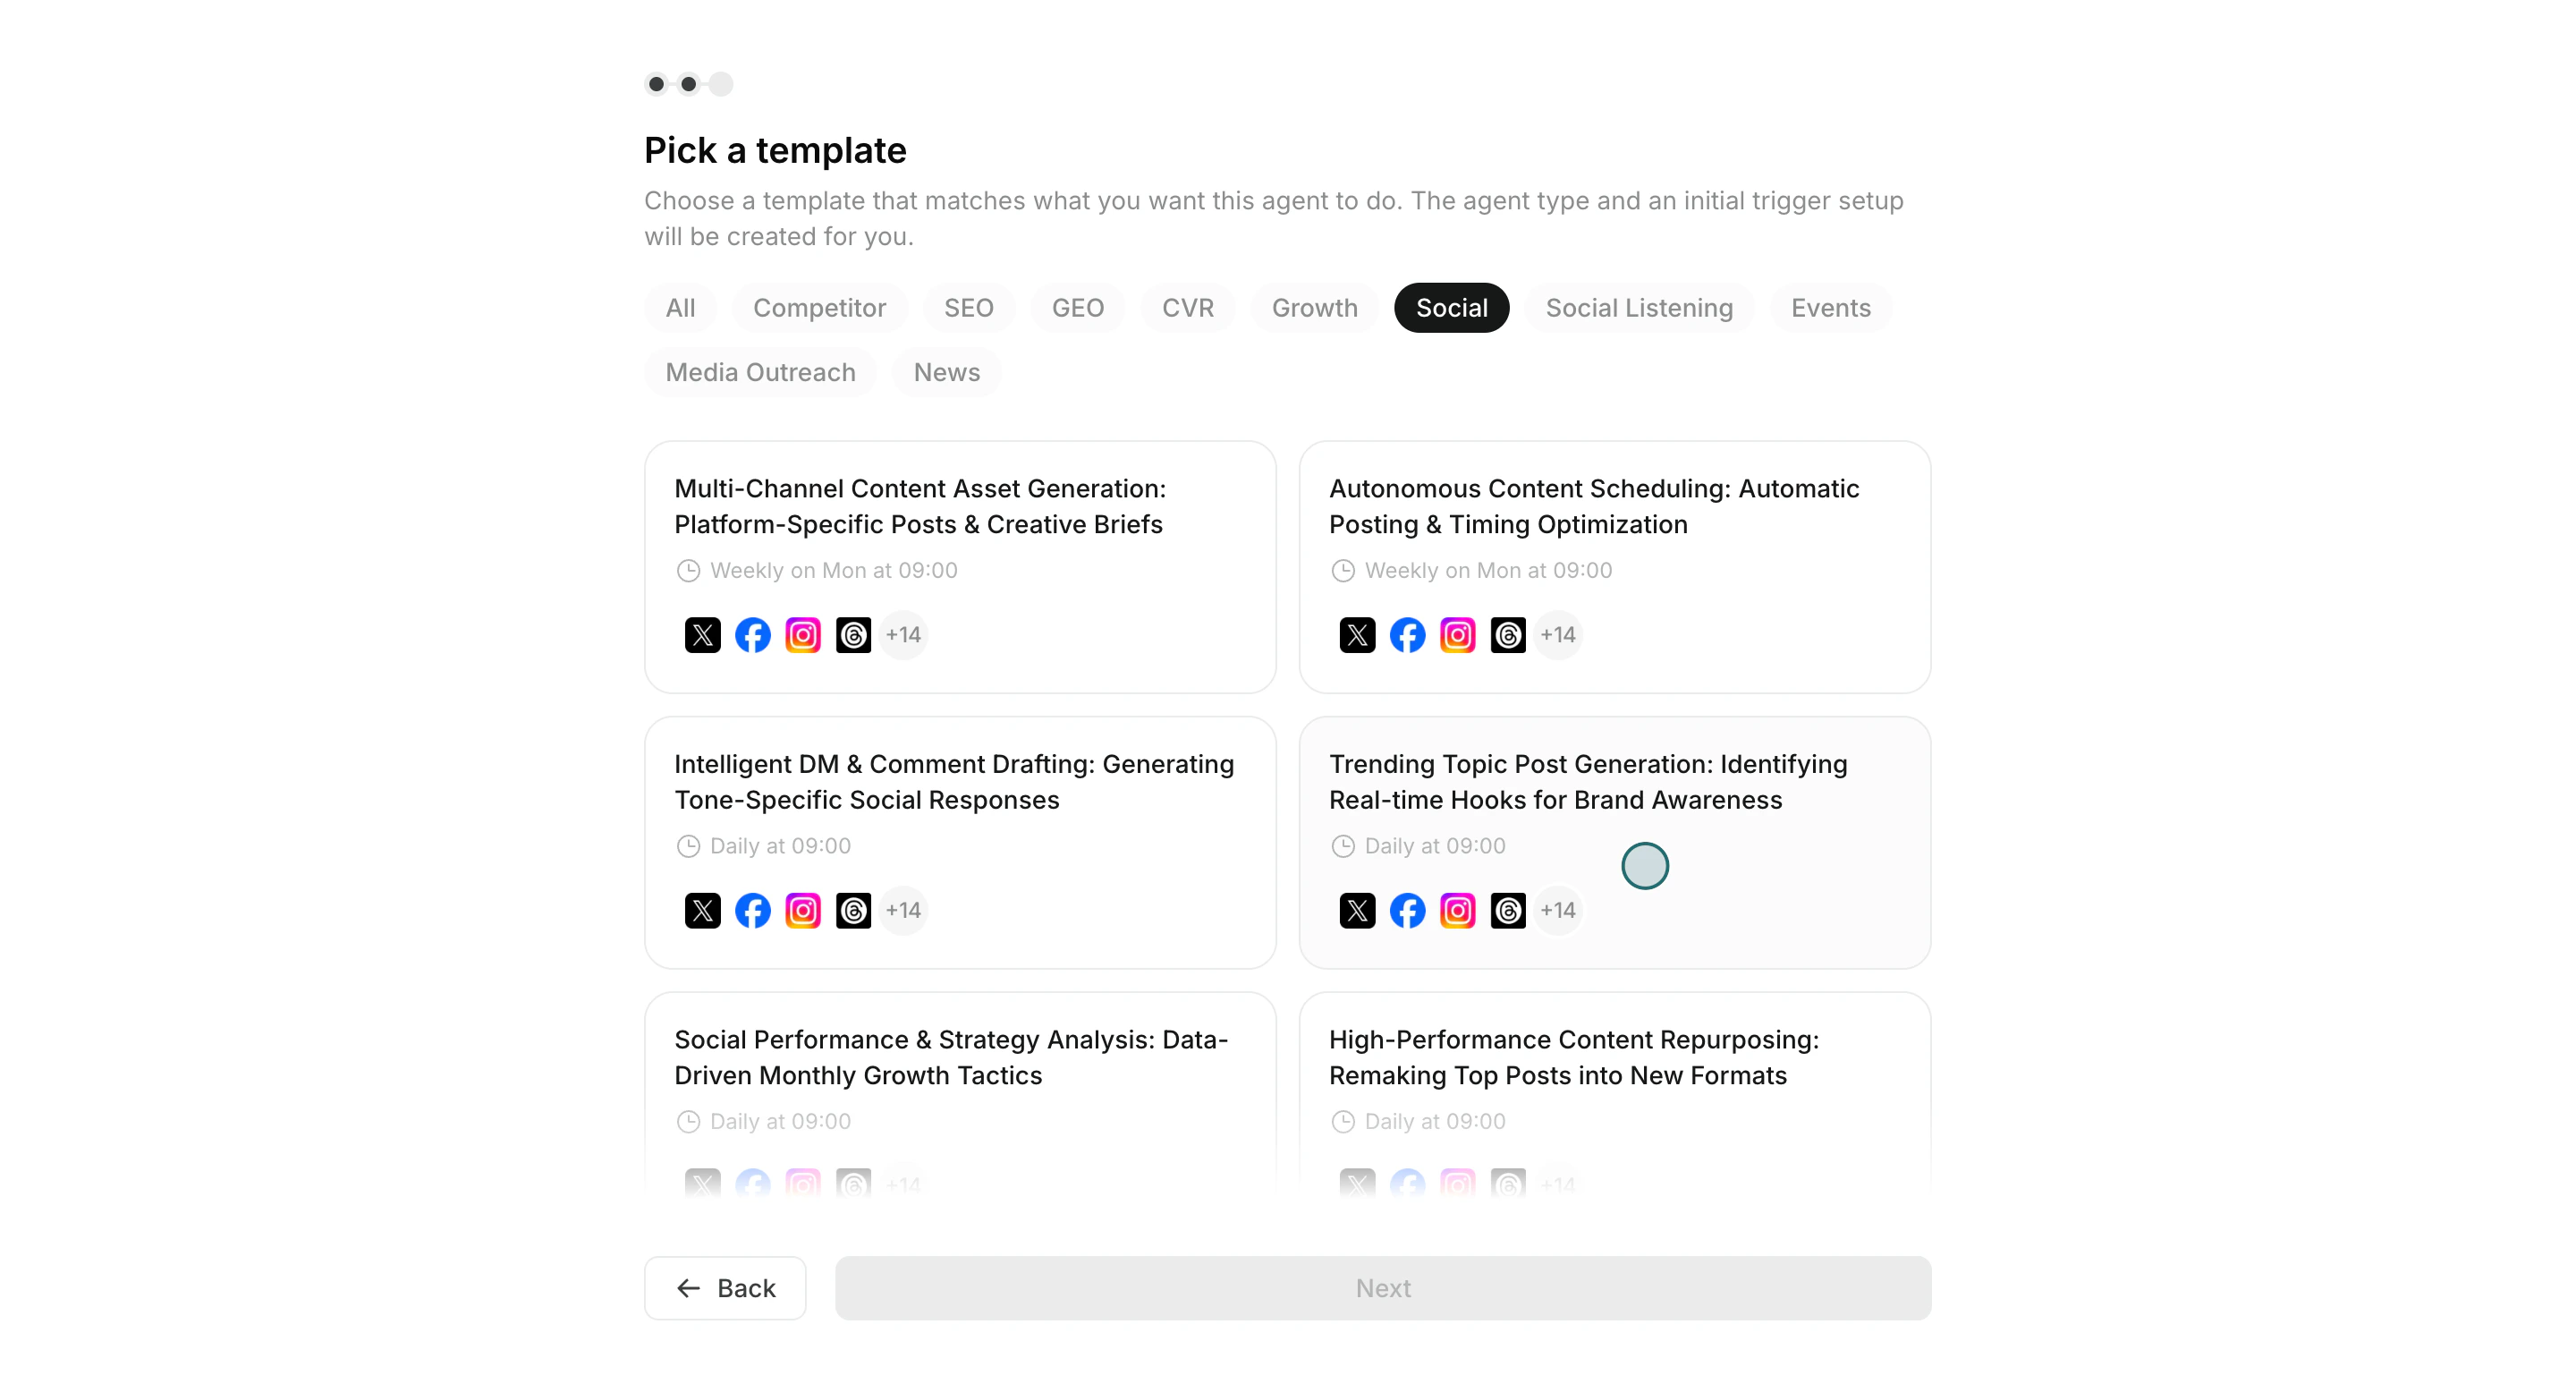
4. 목적에 가까운 템플릿을 선택합니다.

<img src="https://mintcdn.com/agoslabstechnologiesfzco/okAbFobT9iaP0HDF/public/help-center/arcade/ai-team/create-trigger-from-template/step-07.png?fit=max&auto=format&n=okAbFobT9iaP0HDF&q=85&s=f020fb5cb5e7599ea630b70df1c2257c" alt="템플릿 선택" style={{ border: '1px solid #e5e7eb', borderRadius: '8px', marginBottom: '1rem' }} width="2880" height="1556" data-path="public/help-center/arcade/ai-team/create-trigger-from-template/step-07.png" />

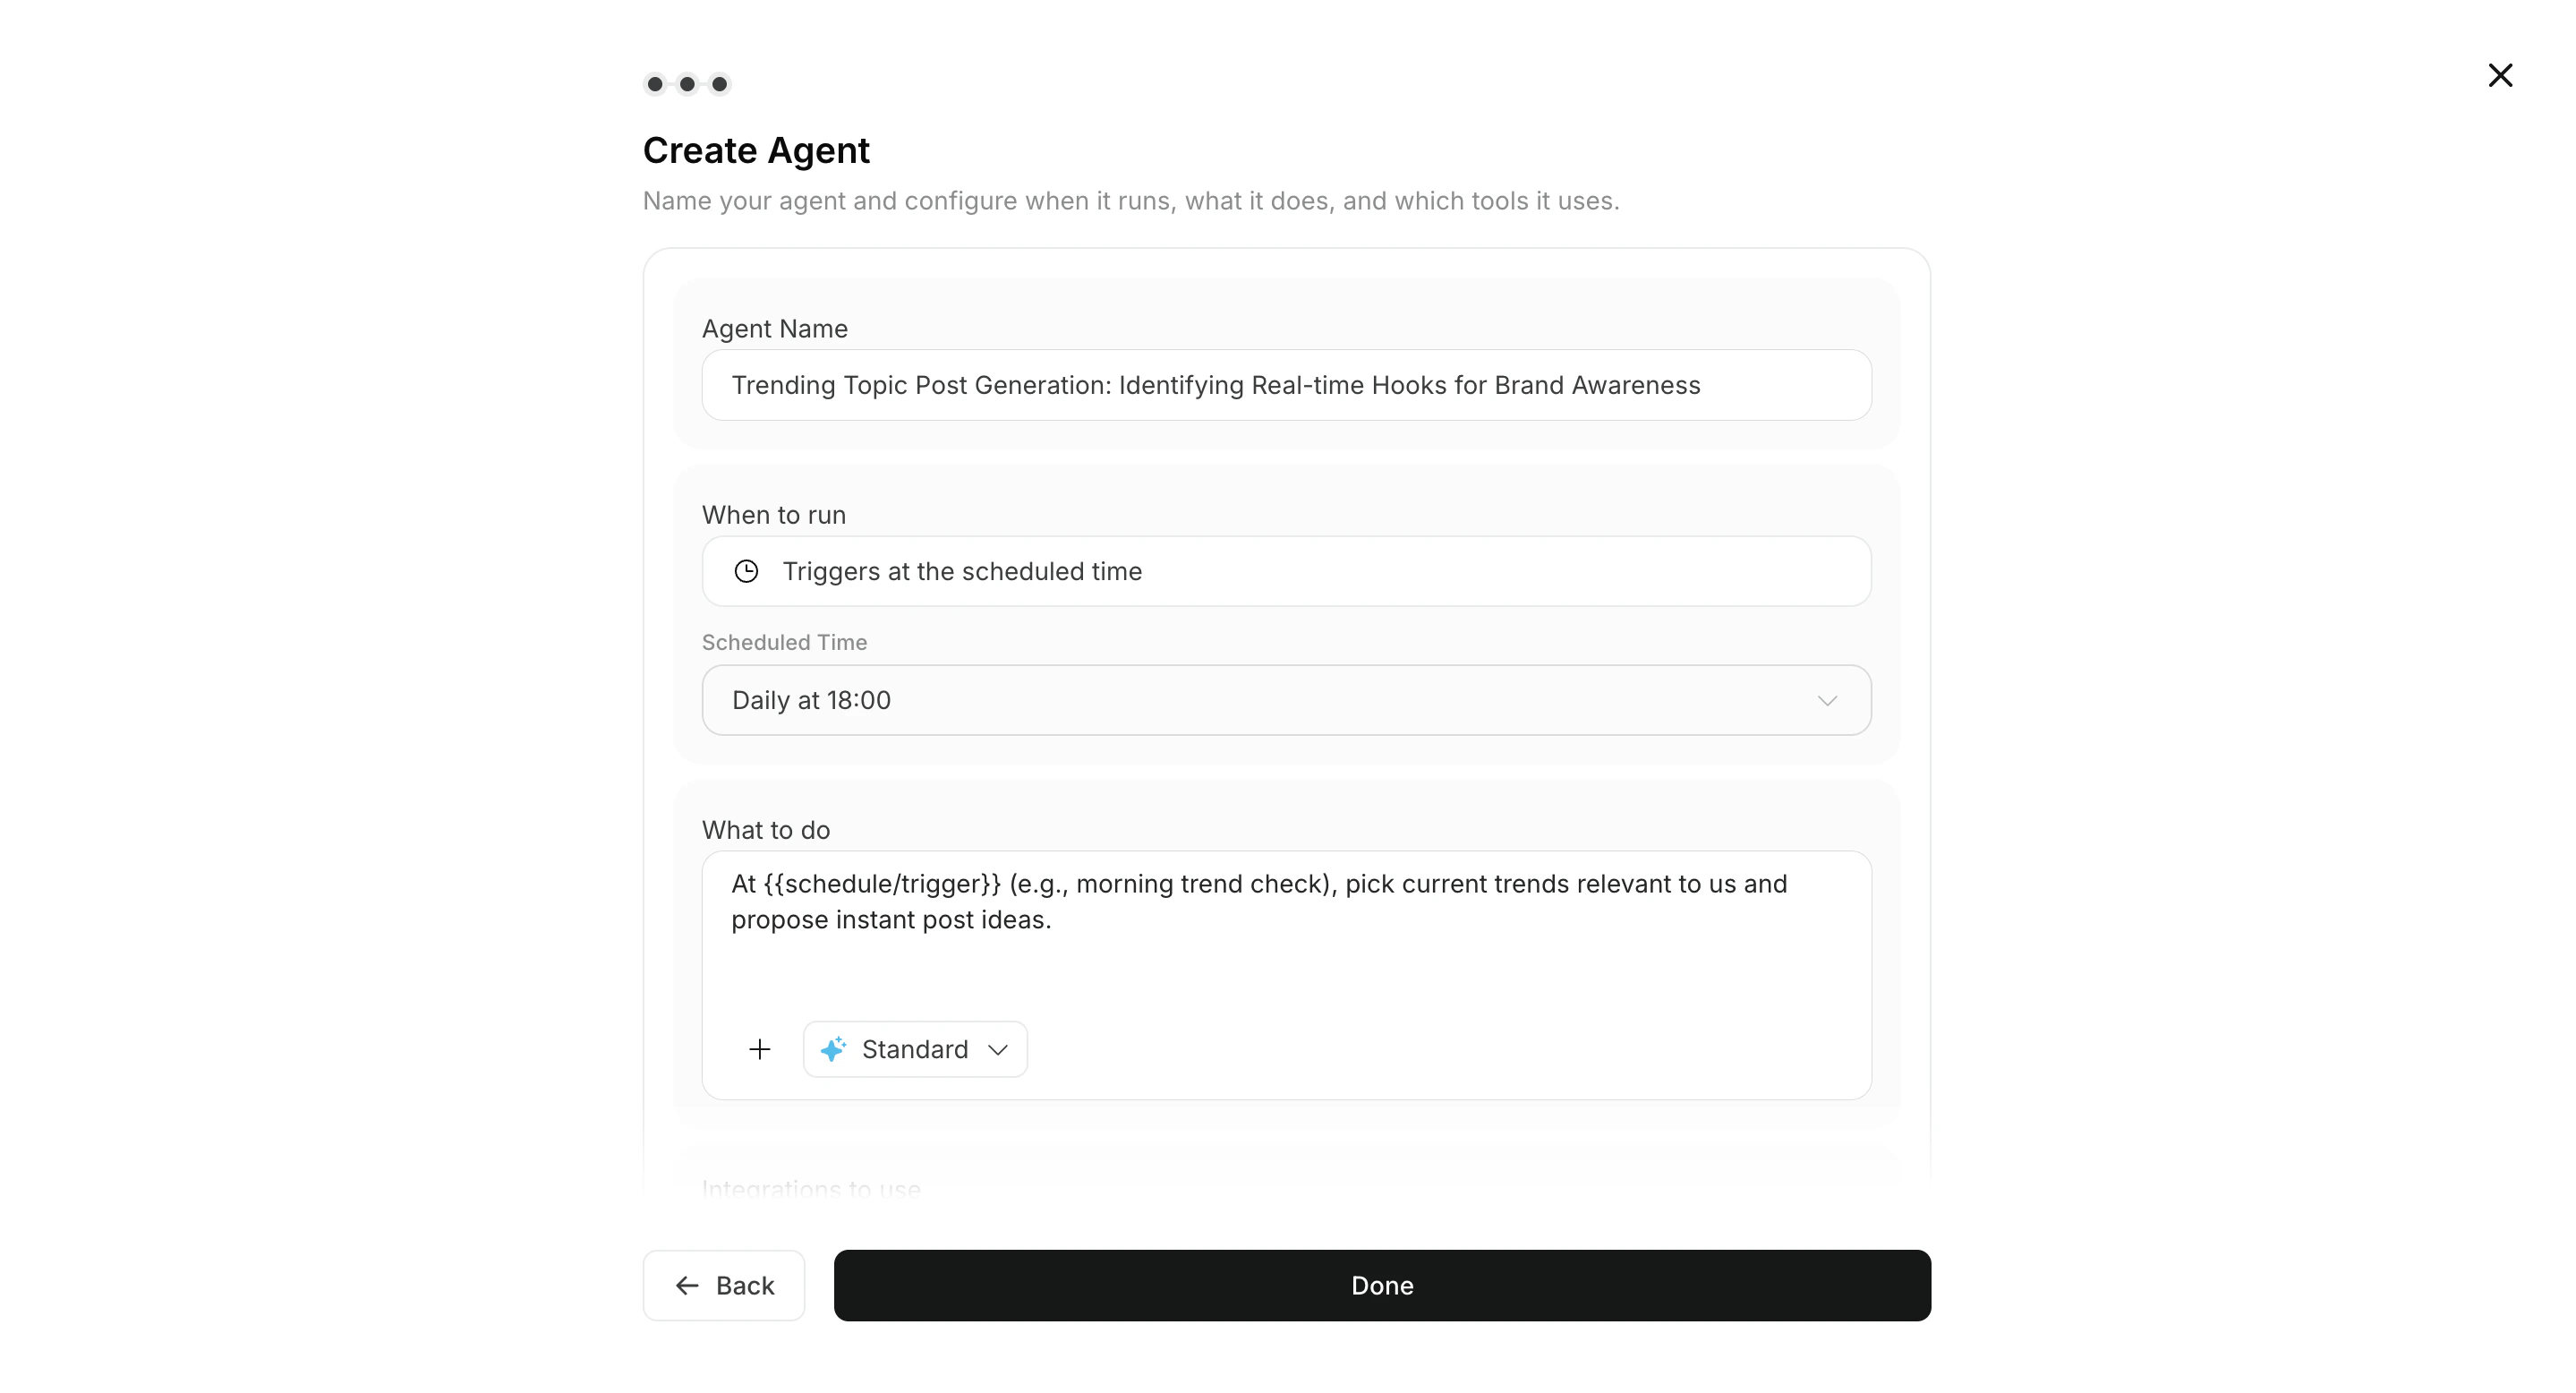
5. `Trigger`와 `Workflow`를 조정합니다.

<img src="https://mintcdn.com/agoslabstechnologiesfzco/vjbeim587jrR_hCh/public/help-center/arcade/ai-team/create-trigger-from-template/step-12.png?fit=max&auto=format&n=vjbeim587jrR_hCh&q=85&s=612649204820db434696360ad3bac3dd" alt="일정과 지시 조정" style={{ border: '1px solid #e5e7eb', borderRadius: '8px', marginBottom: '1rem' }} width="2878" height="1556" data-path="public/help-center/arcade/ai-team/create-trigger-from-template/step-12.png" />

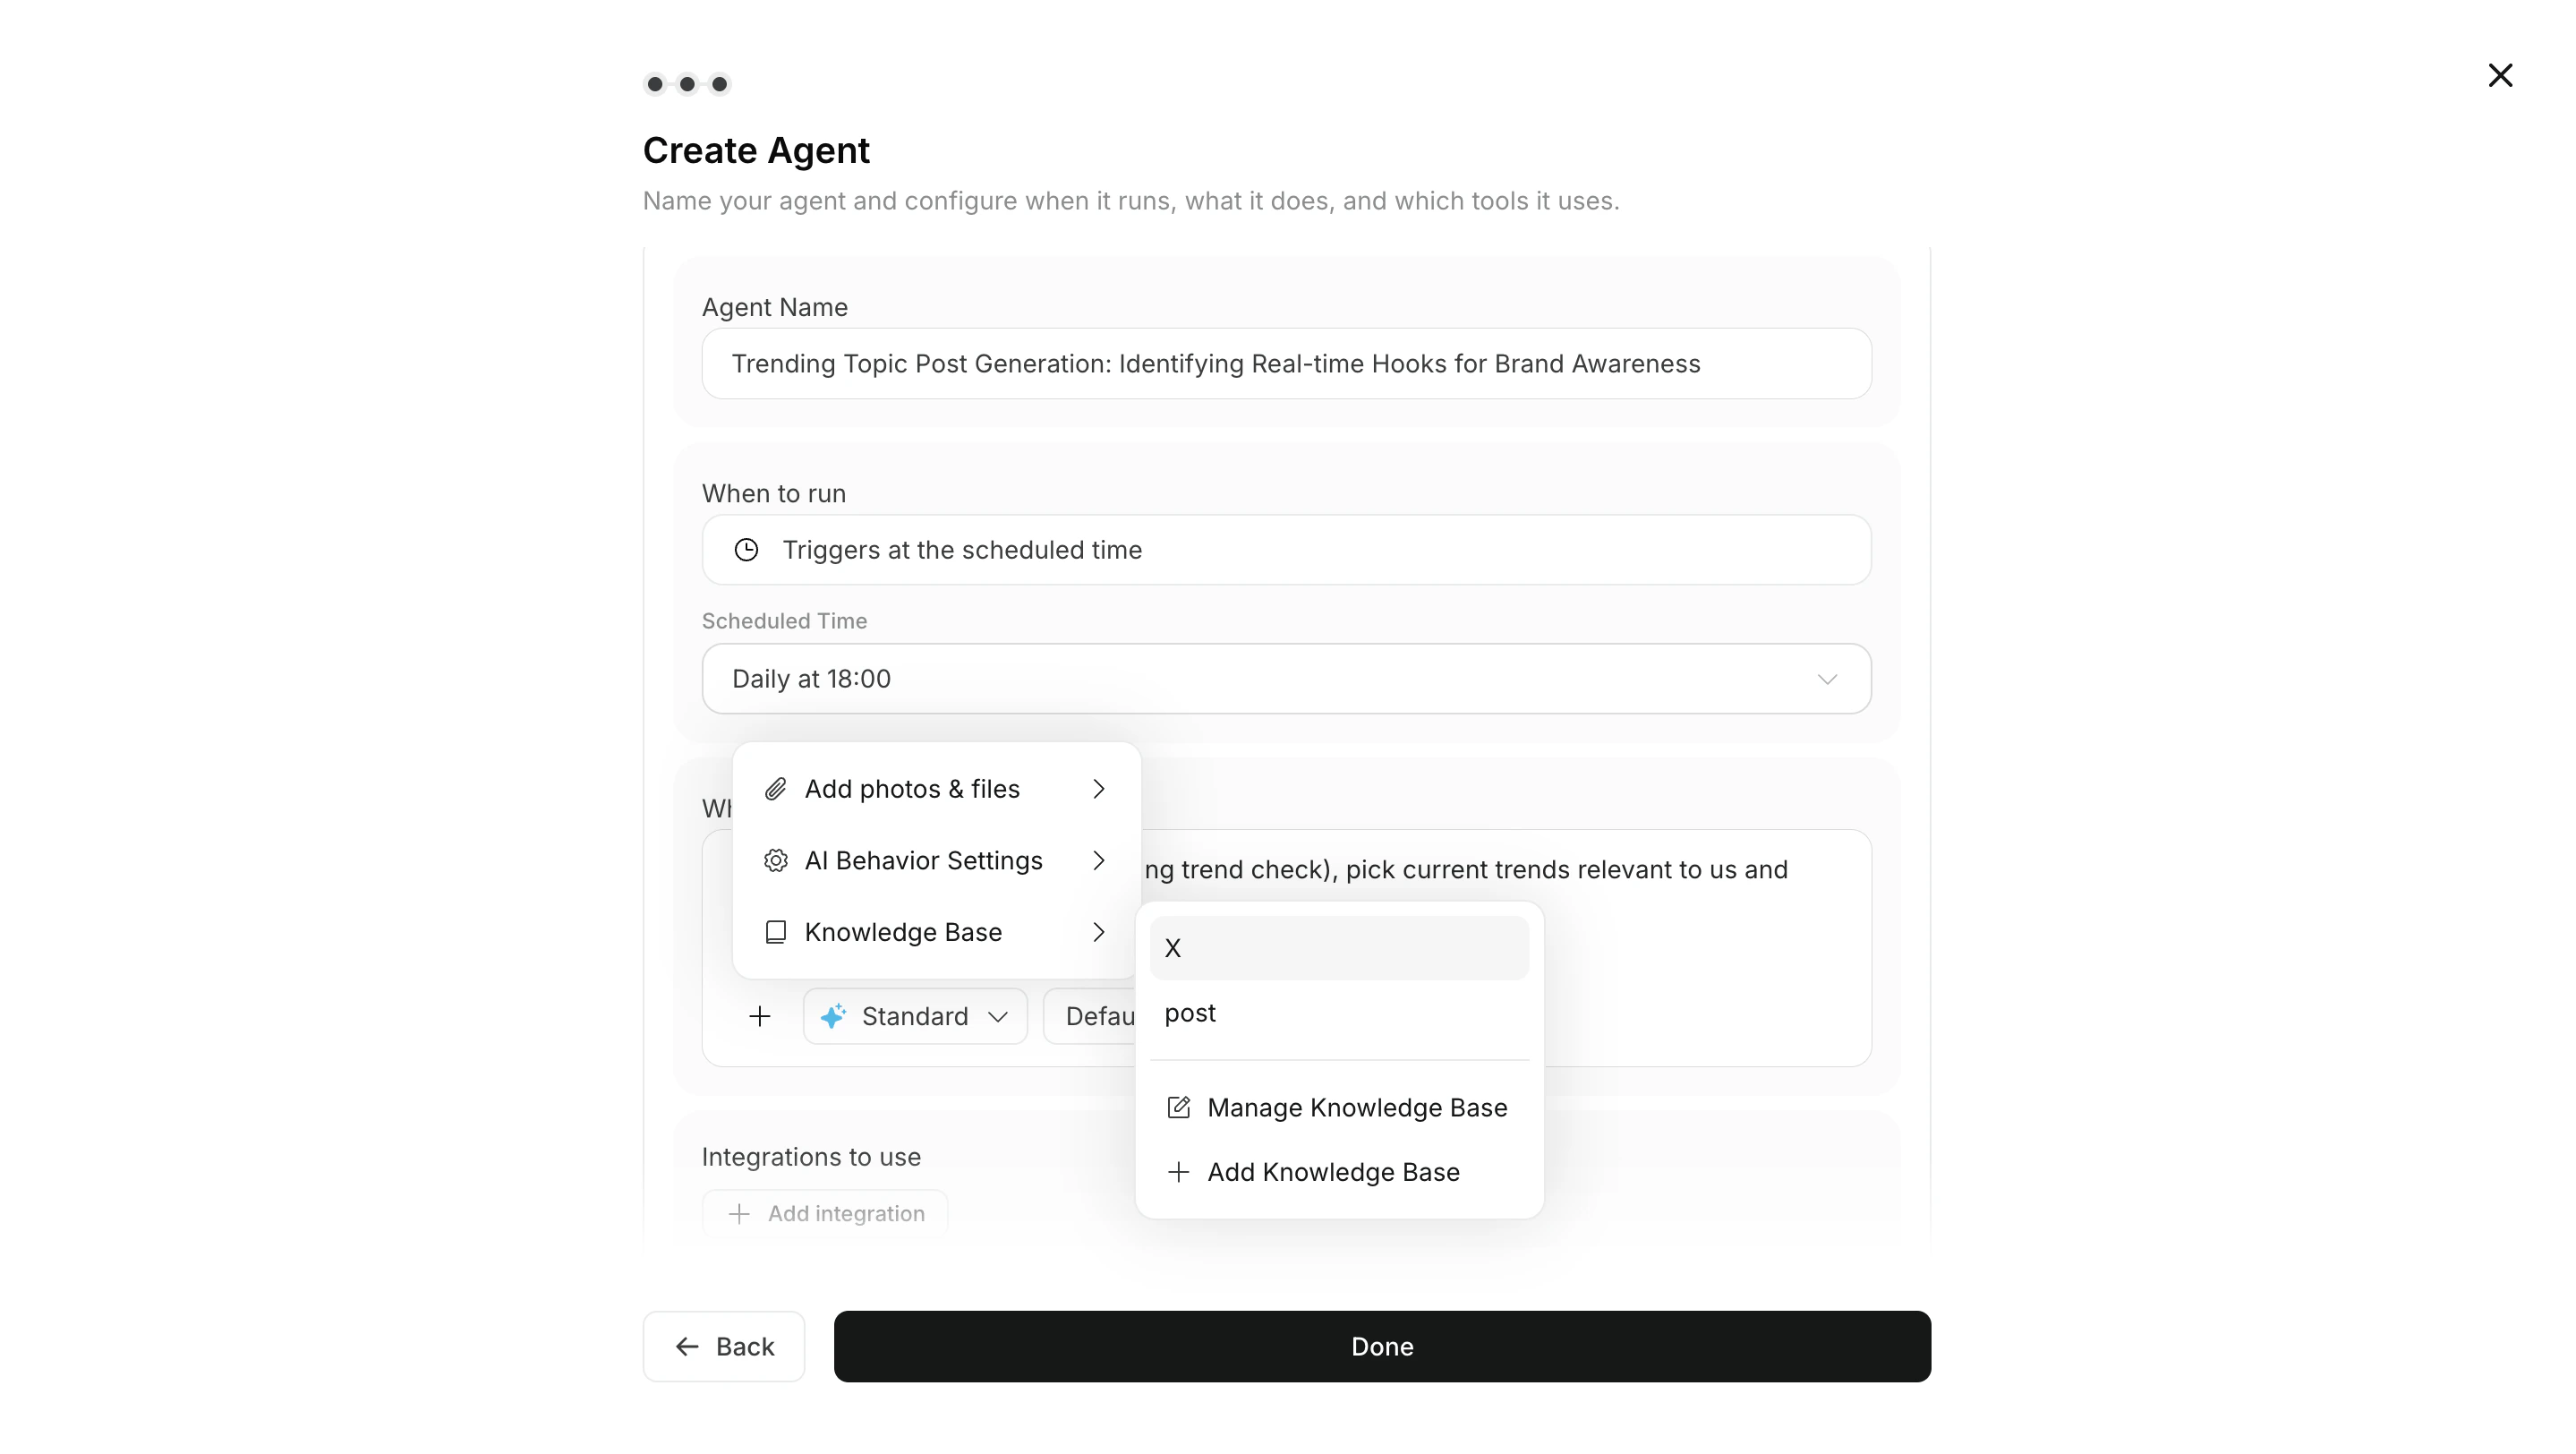
6. 필요한 경우 워크플로우에 이미지나 Knowledge Base를 첨부합니다.
<img src="https://mintcdn.com/agoslabstechnologiesfzco/Xa0ytaJcNHhSum5F/public/help-center/ai-team/agent-workflow-attachments.png?fit=max&auto=format&n=Xa0ytaJcNHhSum5F&q=85&s=2d0b5d22611c846a4b7851a1ce8129bd" alt="워크플로우에 이미지나 Knowledge Base 첨부" style={{ border: '1px solid #e5e7eb', borderRadius: '8px', marginBottom: '1rem' }} width="2878" height="1624" data-path="public/help-center/ai-team/agent-workflow-attachments.png" />

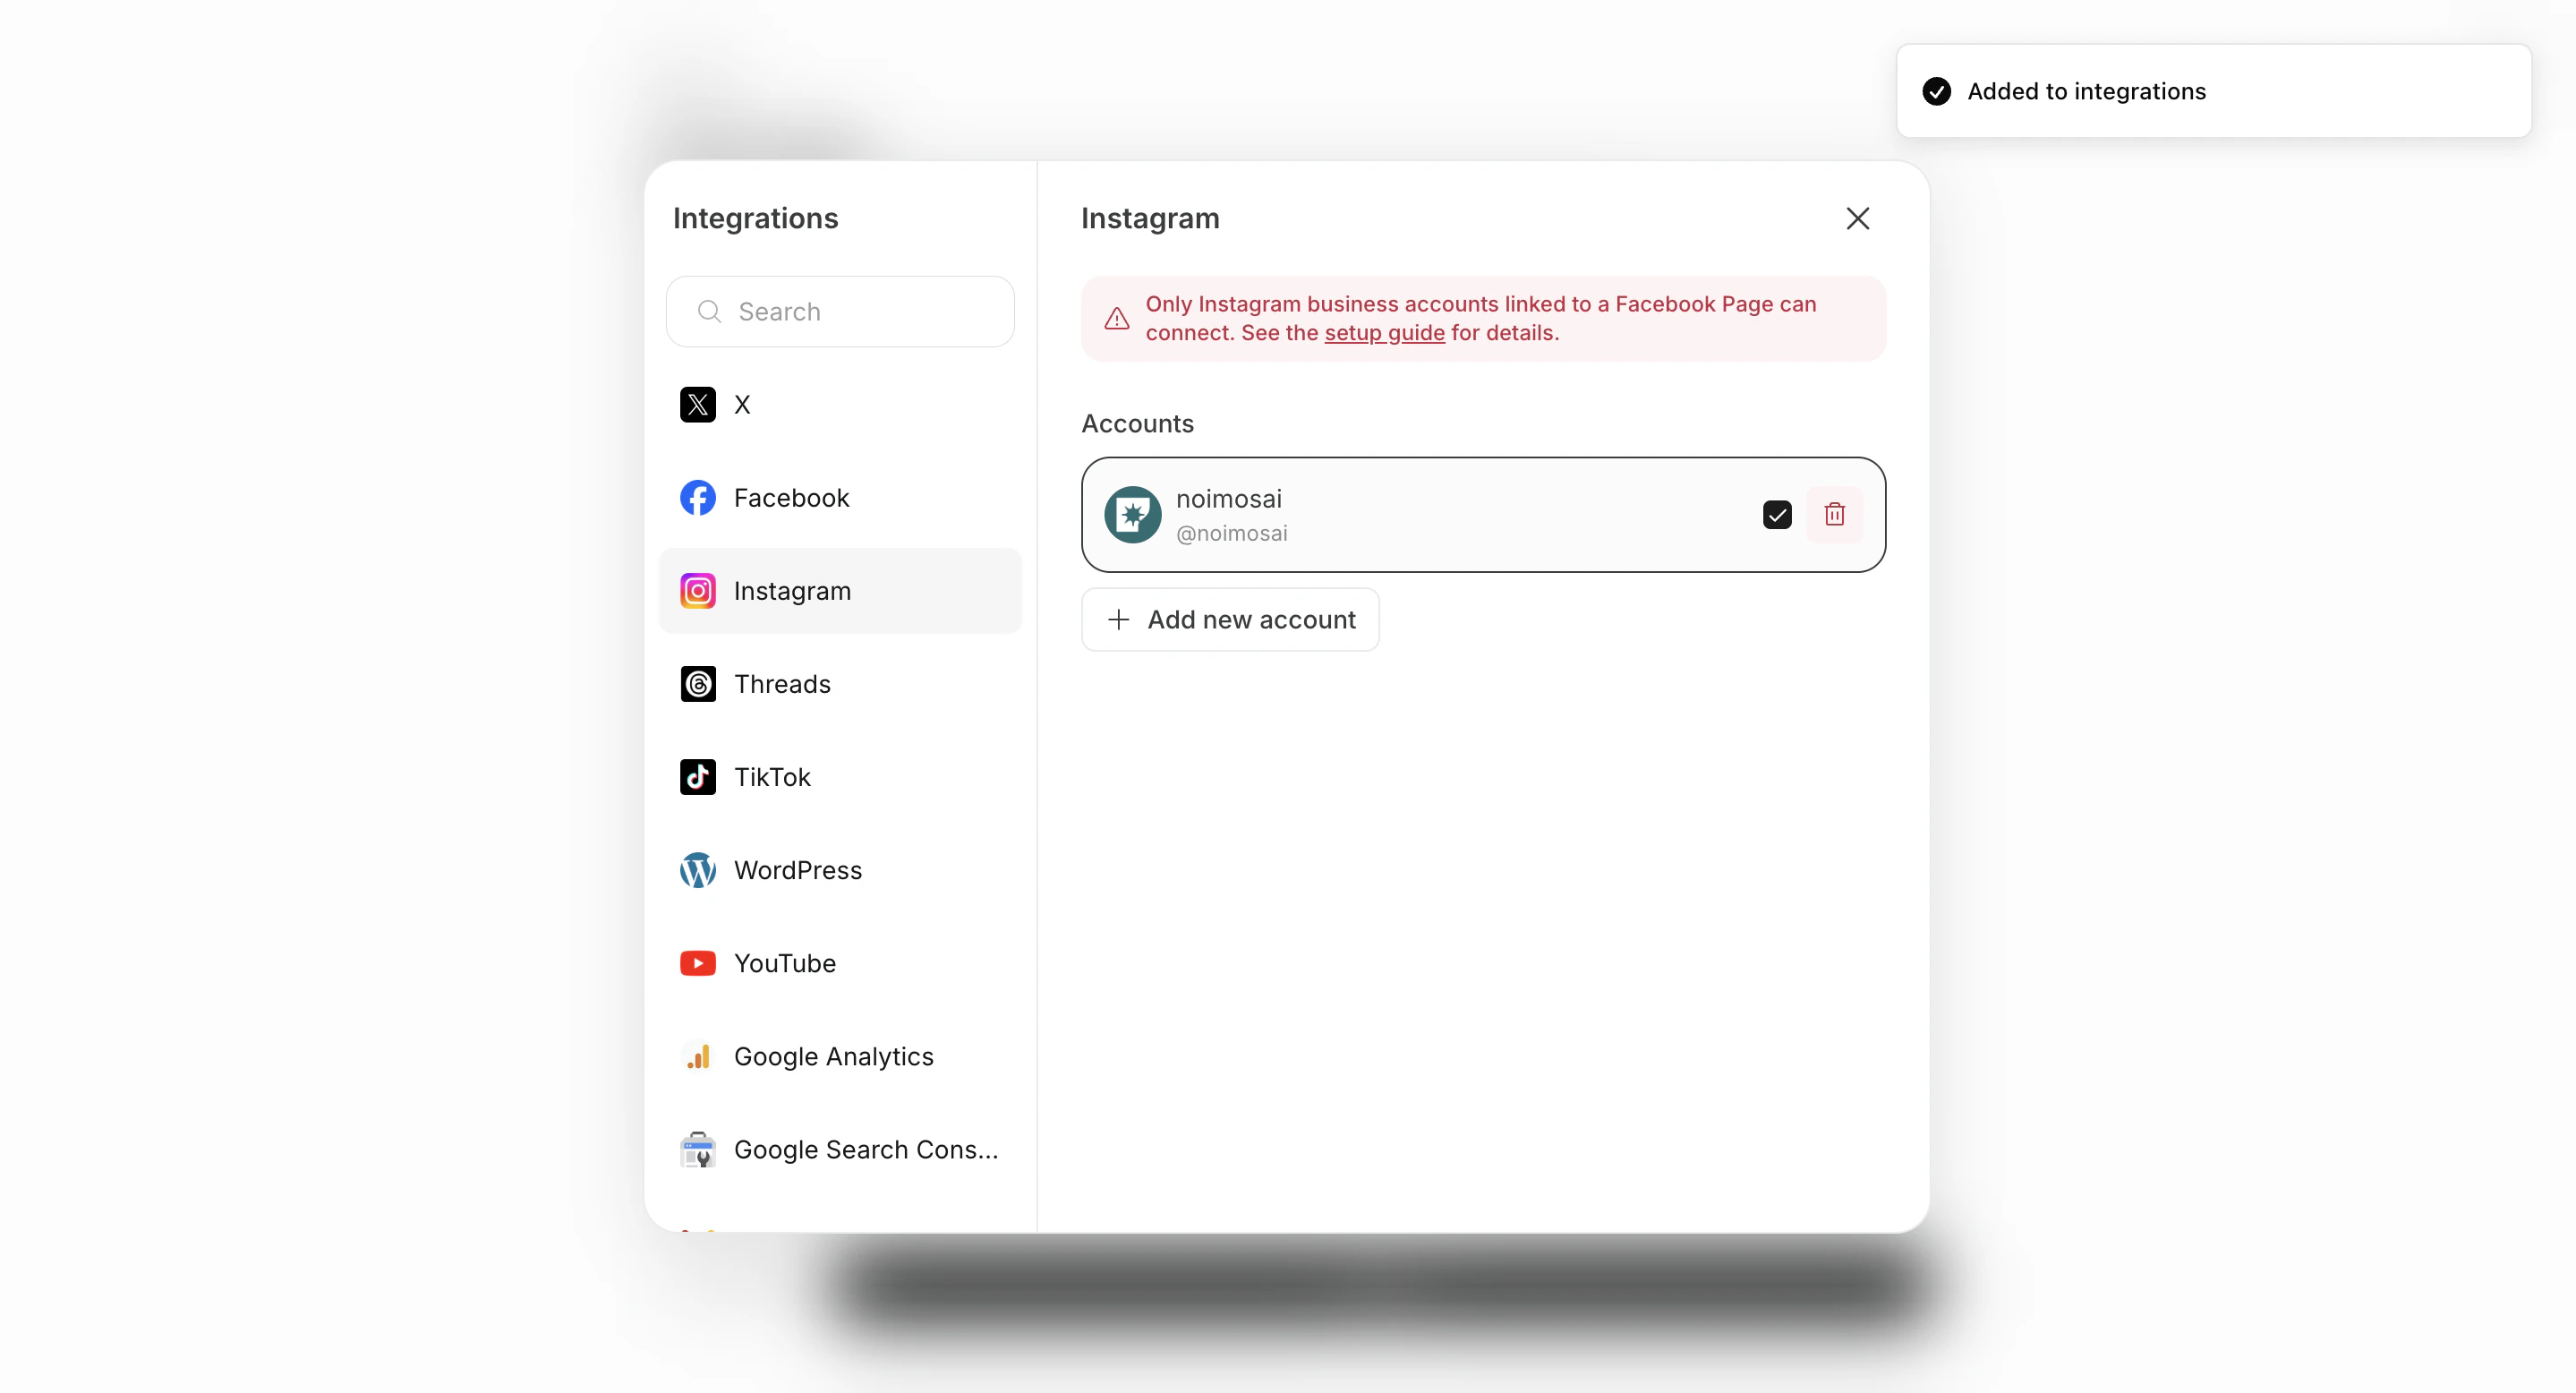
7. `Integrations`와 연결 계정을 설정합니다.

<img src="https://mintcdn.com/agoslabstechnologiesfzco/O_z-4_xsRkHd_wIv/public/help-center/arcade/ai-team/create-trigger-from-template/step-14.png?fit=max&auto=format&n=O_z-4_xsRkHd_wIv&q=85&s=600da341d064691dd9c3c510d4697a79" alt="연동과 계정 설정" style={{ border: '1px solid #e5e7eb', borderRadius: '8px', marginBottom: '1rem' }} width="2878" height="1556" data-path="public/help-center/arcade/ai-team/create-trigger-from-template/step-14.png" />

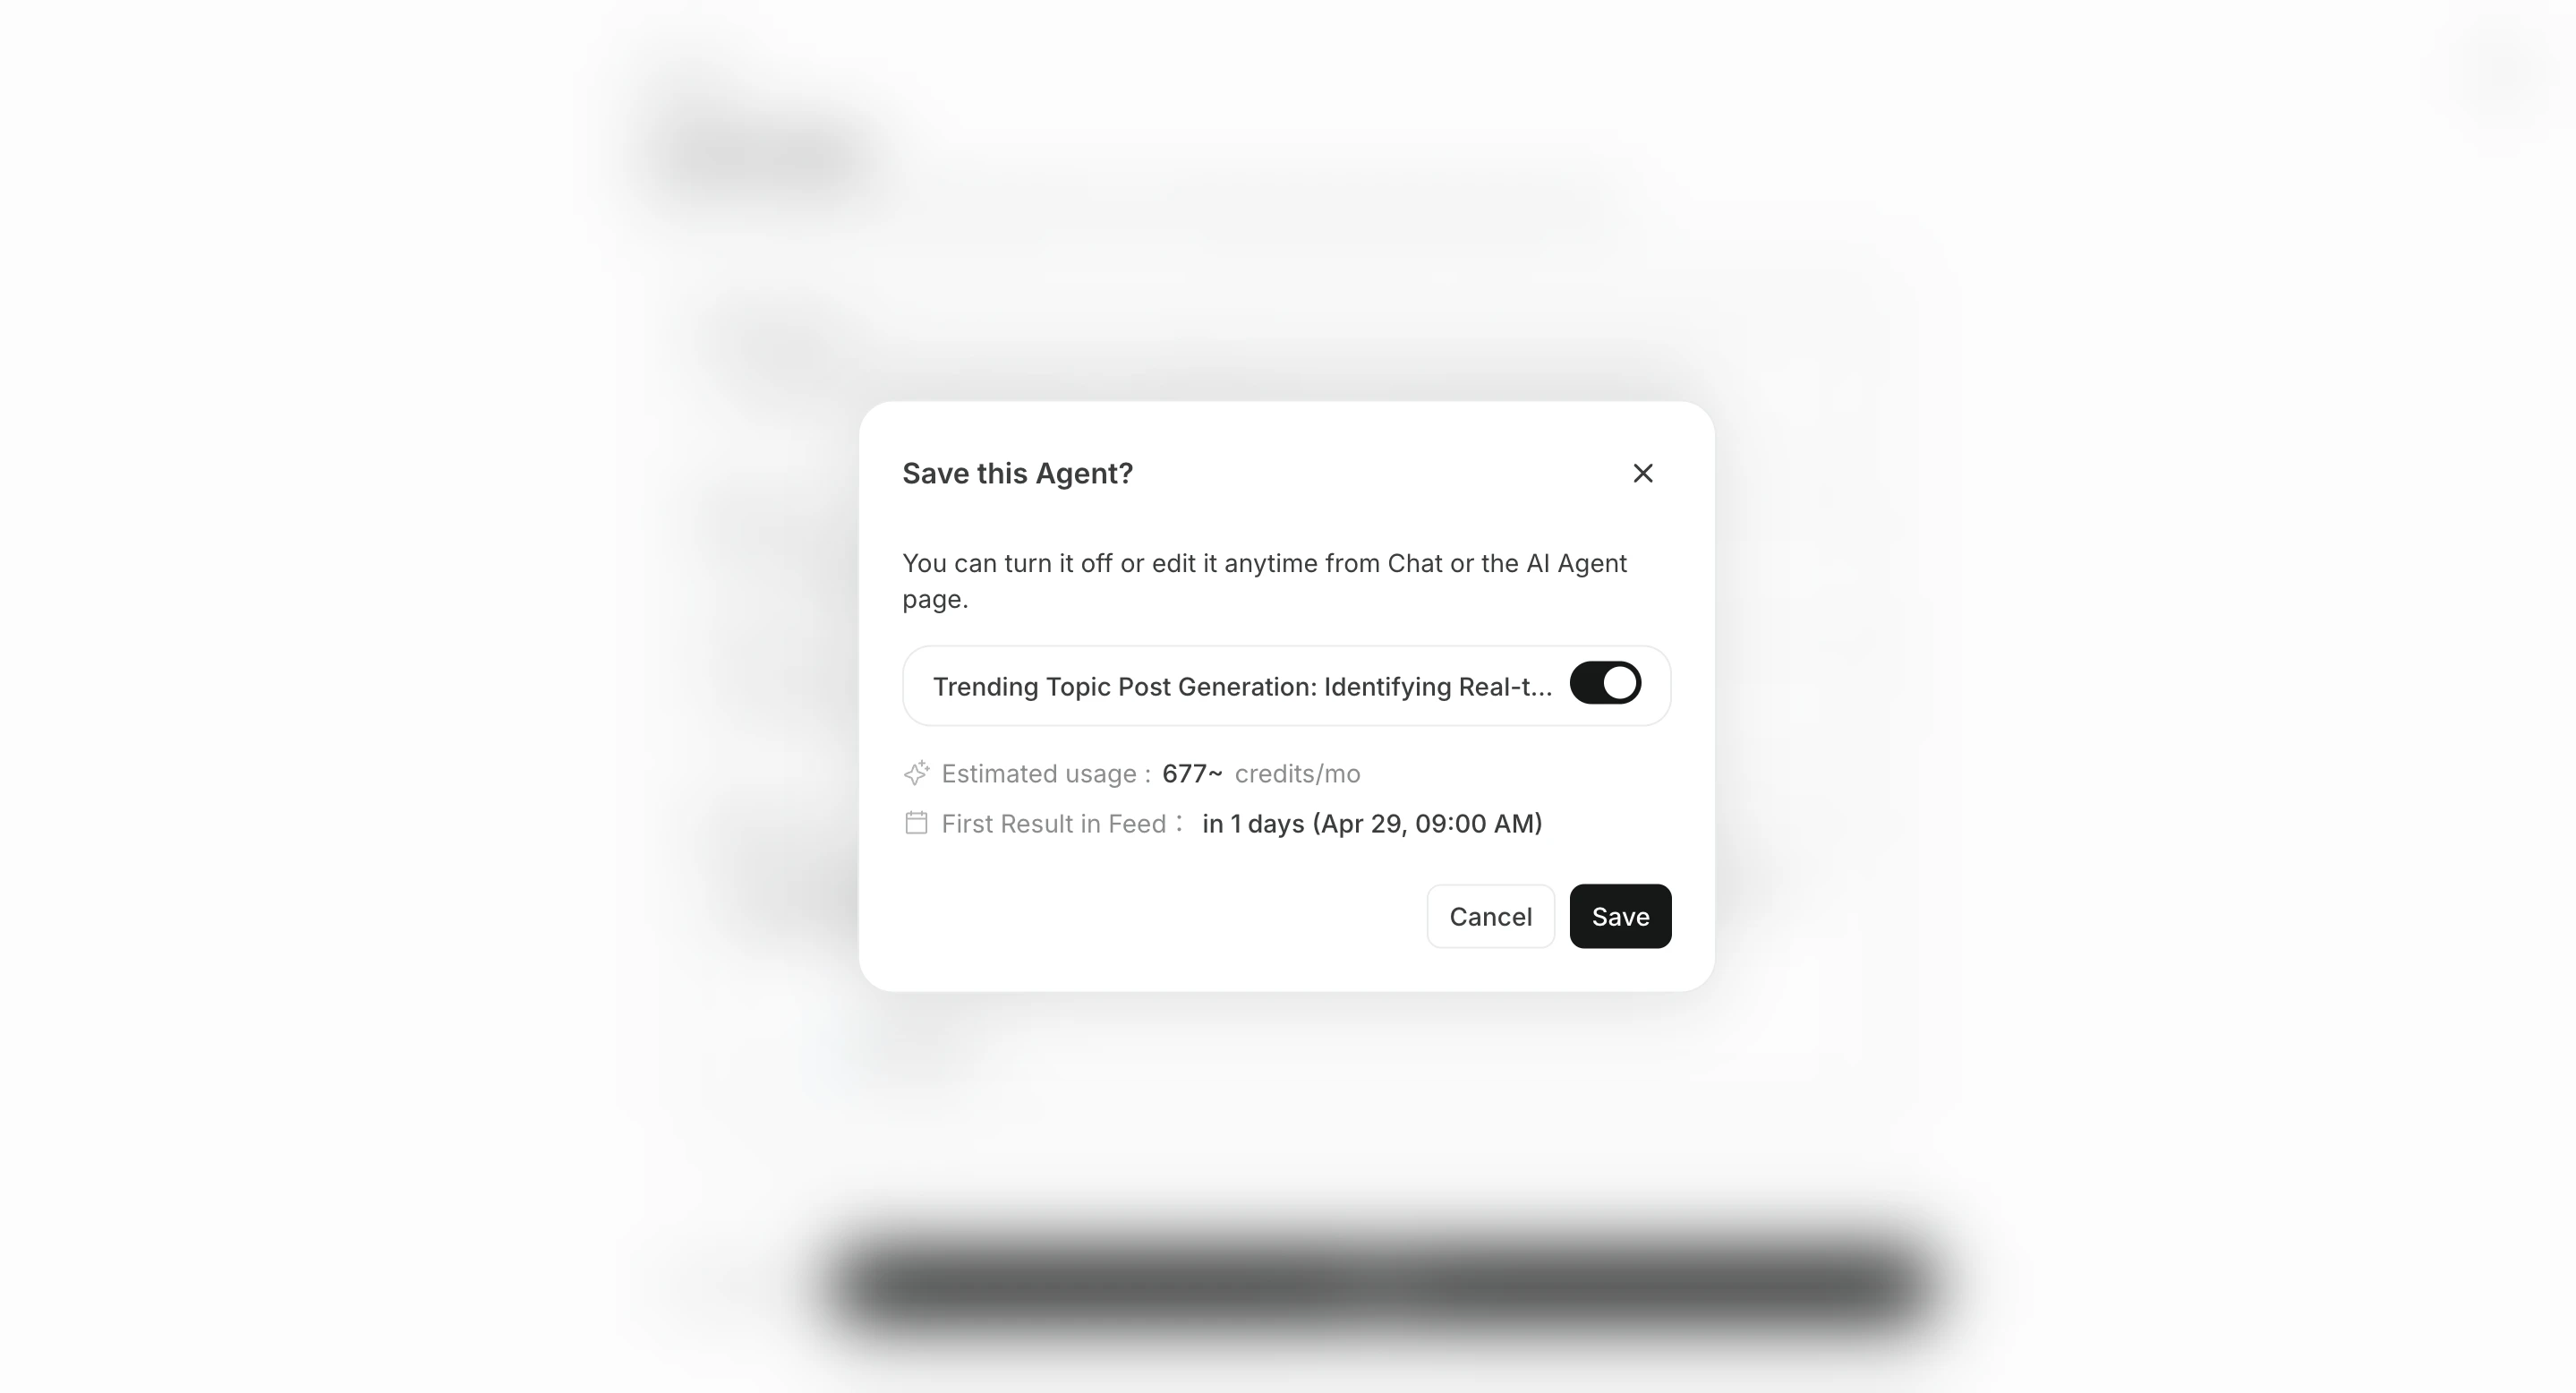
8. `Create`로 저장하고 필요하면 활성화합니다.

<img src="https://mintcdn.com/agoslabstechnologiesfzco/O_z-4_xsRkHd_wIv/public/help-center/arcade/ai-team/create-trigger-from-template/step-19.png?fit=max&auto=format&n=O_z-4_xsRkHd_wIv&q=85&s=275461ca32f4791b01a61e62c160821e" alt="에이전트 만들기" style={{ border: '1px solid #e5e7eb', borderRadius: '8px', marginBottom: '1rem' }} width="2878" height="1556" data-path="public/help-center/arcade/ai-team/create-trigger-from-template/step-19.png" />

## 운영 포인트

* 먼저 낮은 빈도로 시작하고 `모든 작업`에서 품질을 확인한 뒤 빈도를 높입니다.
* 지시에는 무엇을 어떤 형식으로 반환할지 구체적으로 적습니다.

## 송신 대상 설정하기

`송신 대상`은 선택 사항입니다. 결과는 기본적으로 `모든 작업`에서 확인할 수 있지만, 알림이나 공유가 필요하면 송신 대상을 추가합니다.

송신 대상은 주로 두 가지 방식으로 추가합니다.

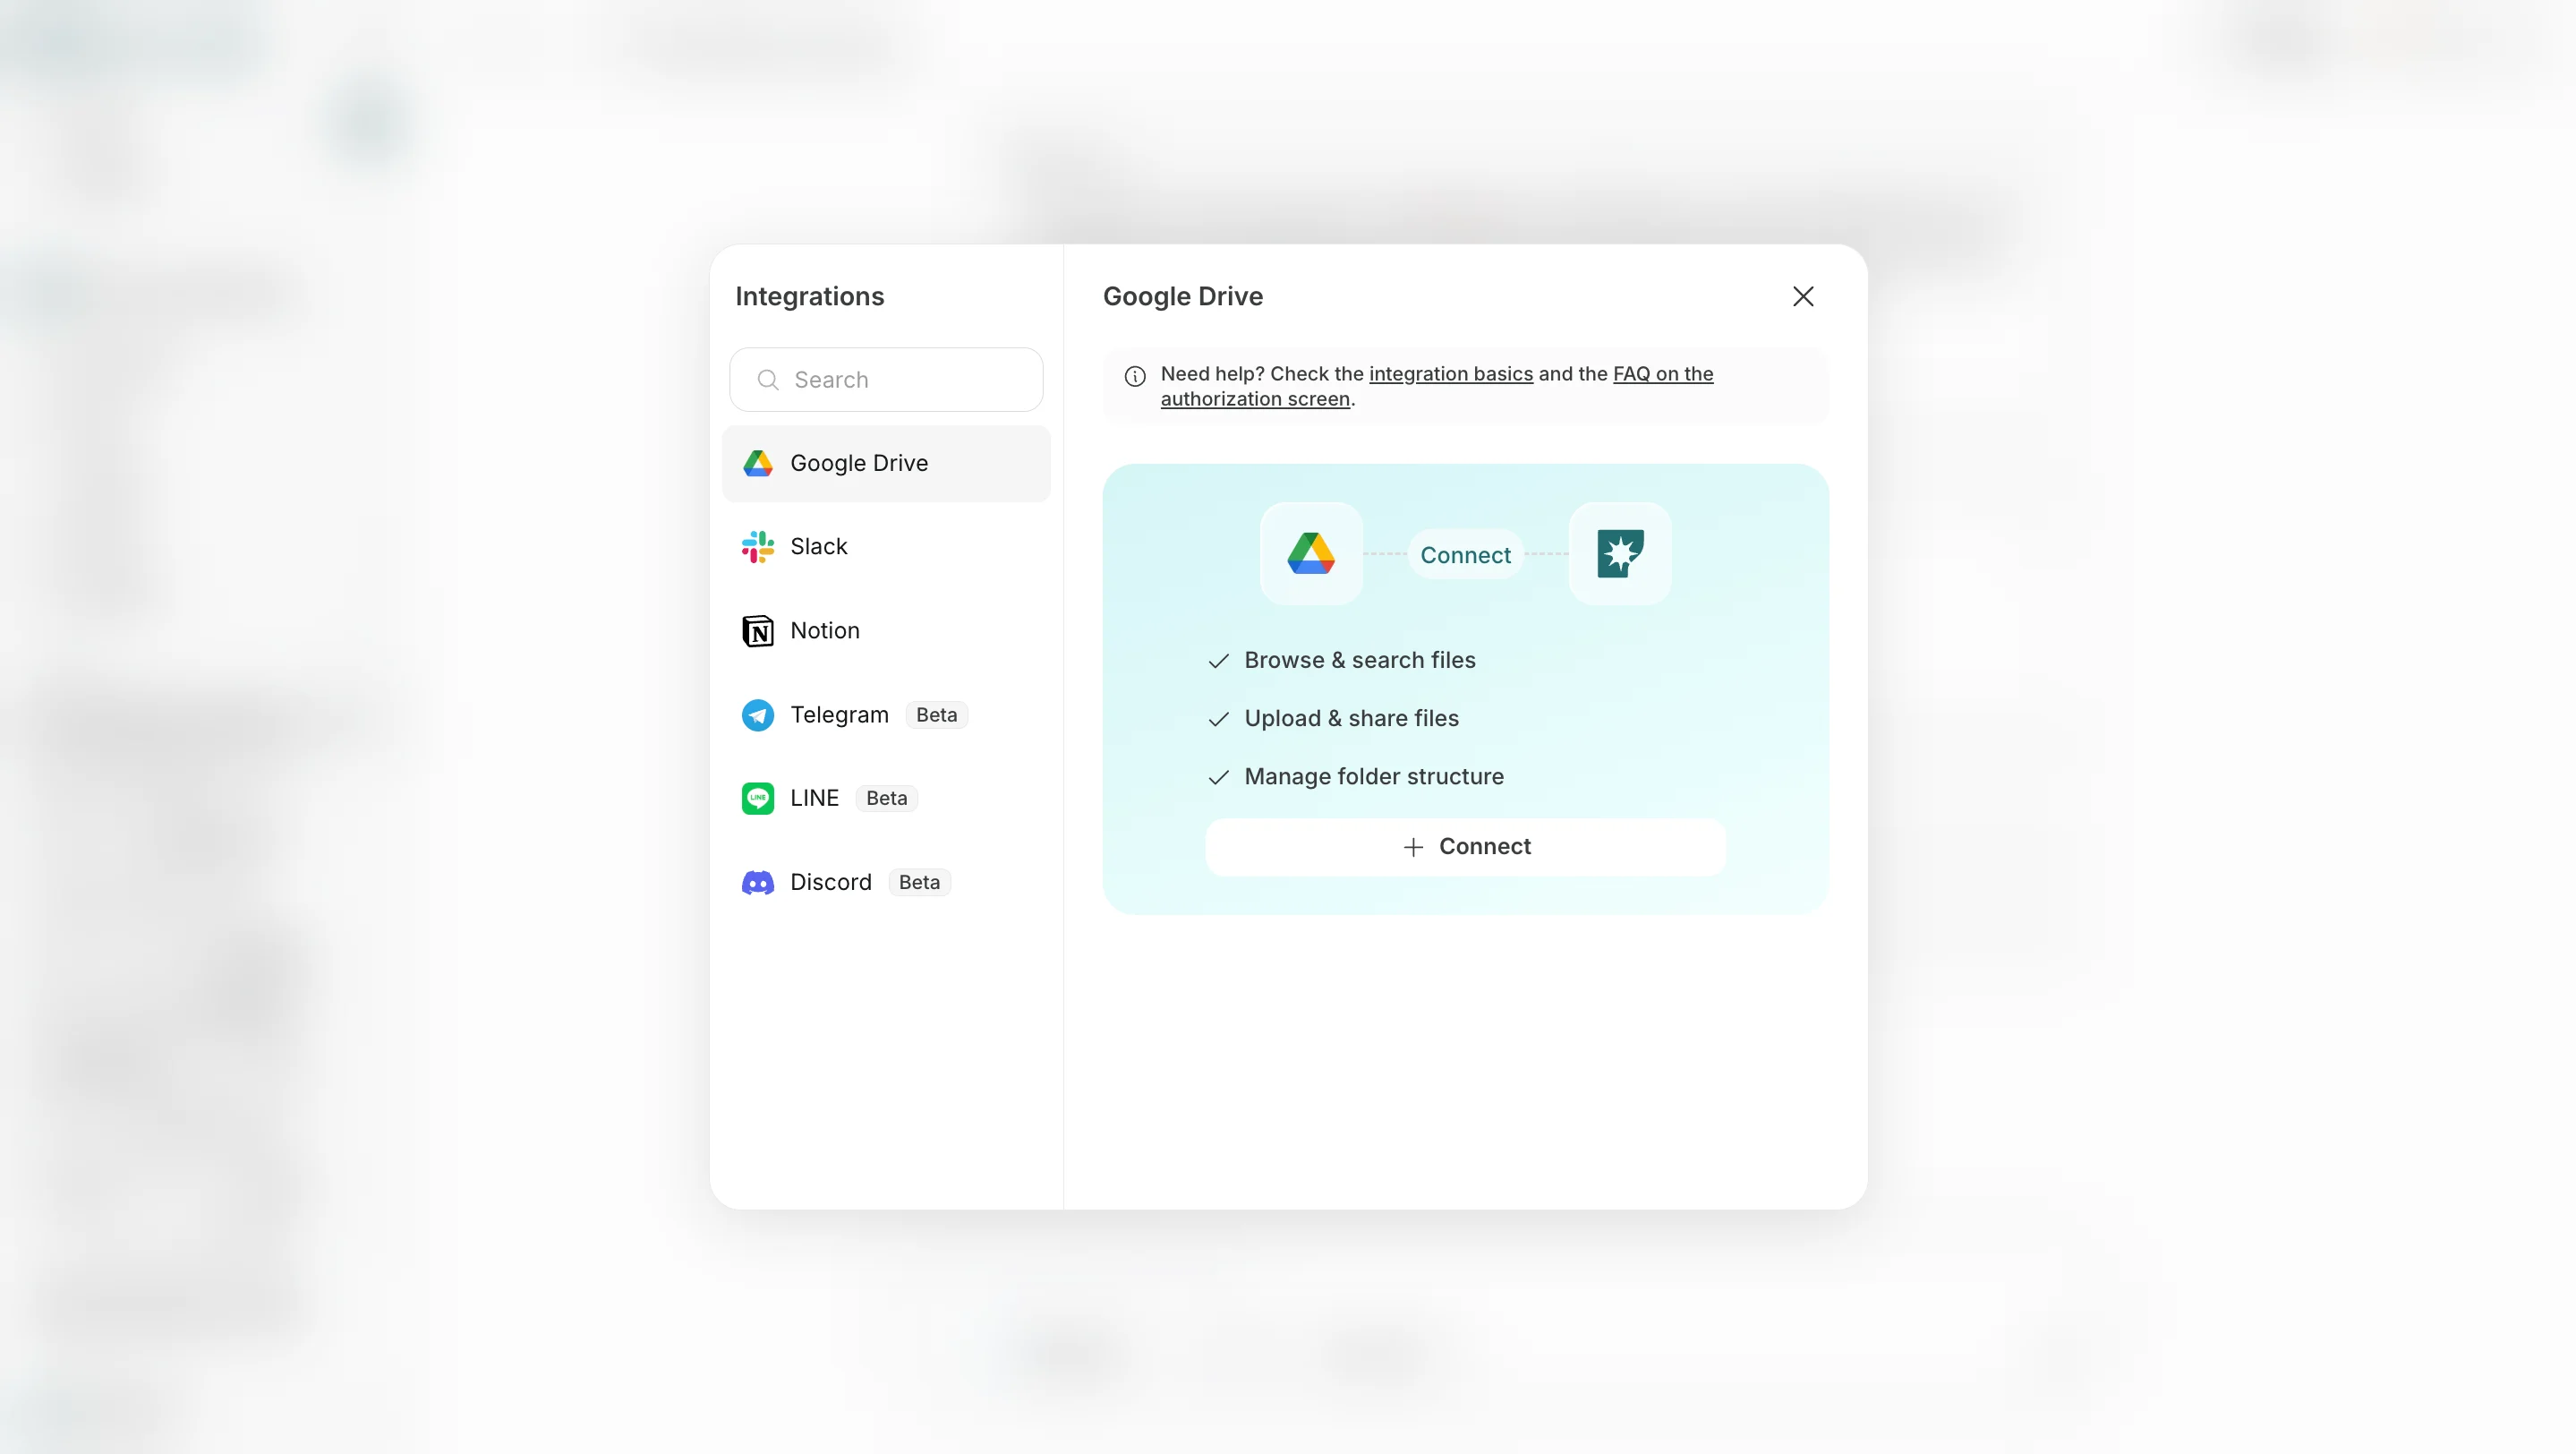
1. **송신 대상 추가**에서는 Slack, LINE, Discord, Telegram, WhatsApp, Notion, Google Drive 등 연동된 앱이나 저장 위치를 선택합니다.
<img src="https://mintcdn.com/agoslabstechnologiesfzco/FJKw6eZ1ZQ6W2xoq/public/help-center/ai-team/agent-output-destination.png?fit=max&auto=format&n=FJKw6eZ1ZQ6W2xoq&q=85&s=33b172d6df5dd38e302900d7e6694670" alt="송신 대상을 추가하는 화면" style={{ border: '1px solid #e5e7eb', borderRadius: '8px', marginBottom: '1rem' }} width="2878" height="1624" data-path="public/help-center/ai-team/agent-output-destination.png" />

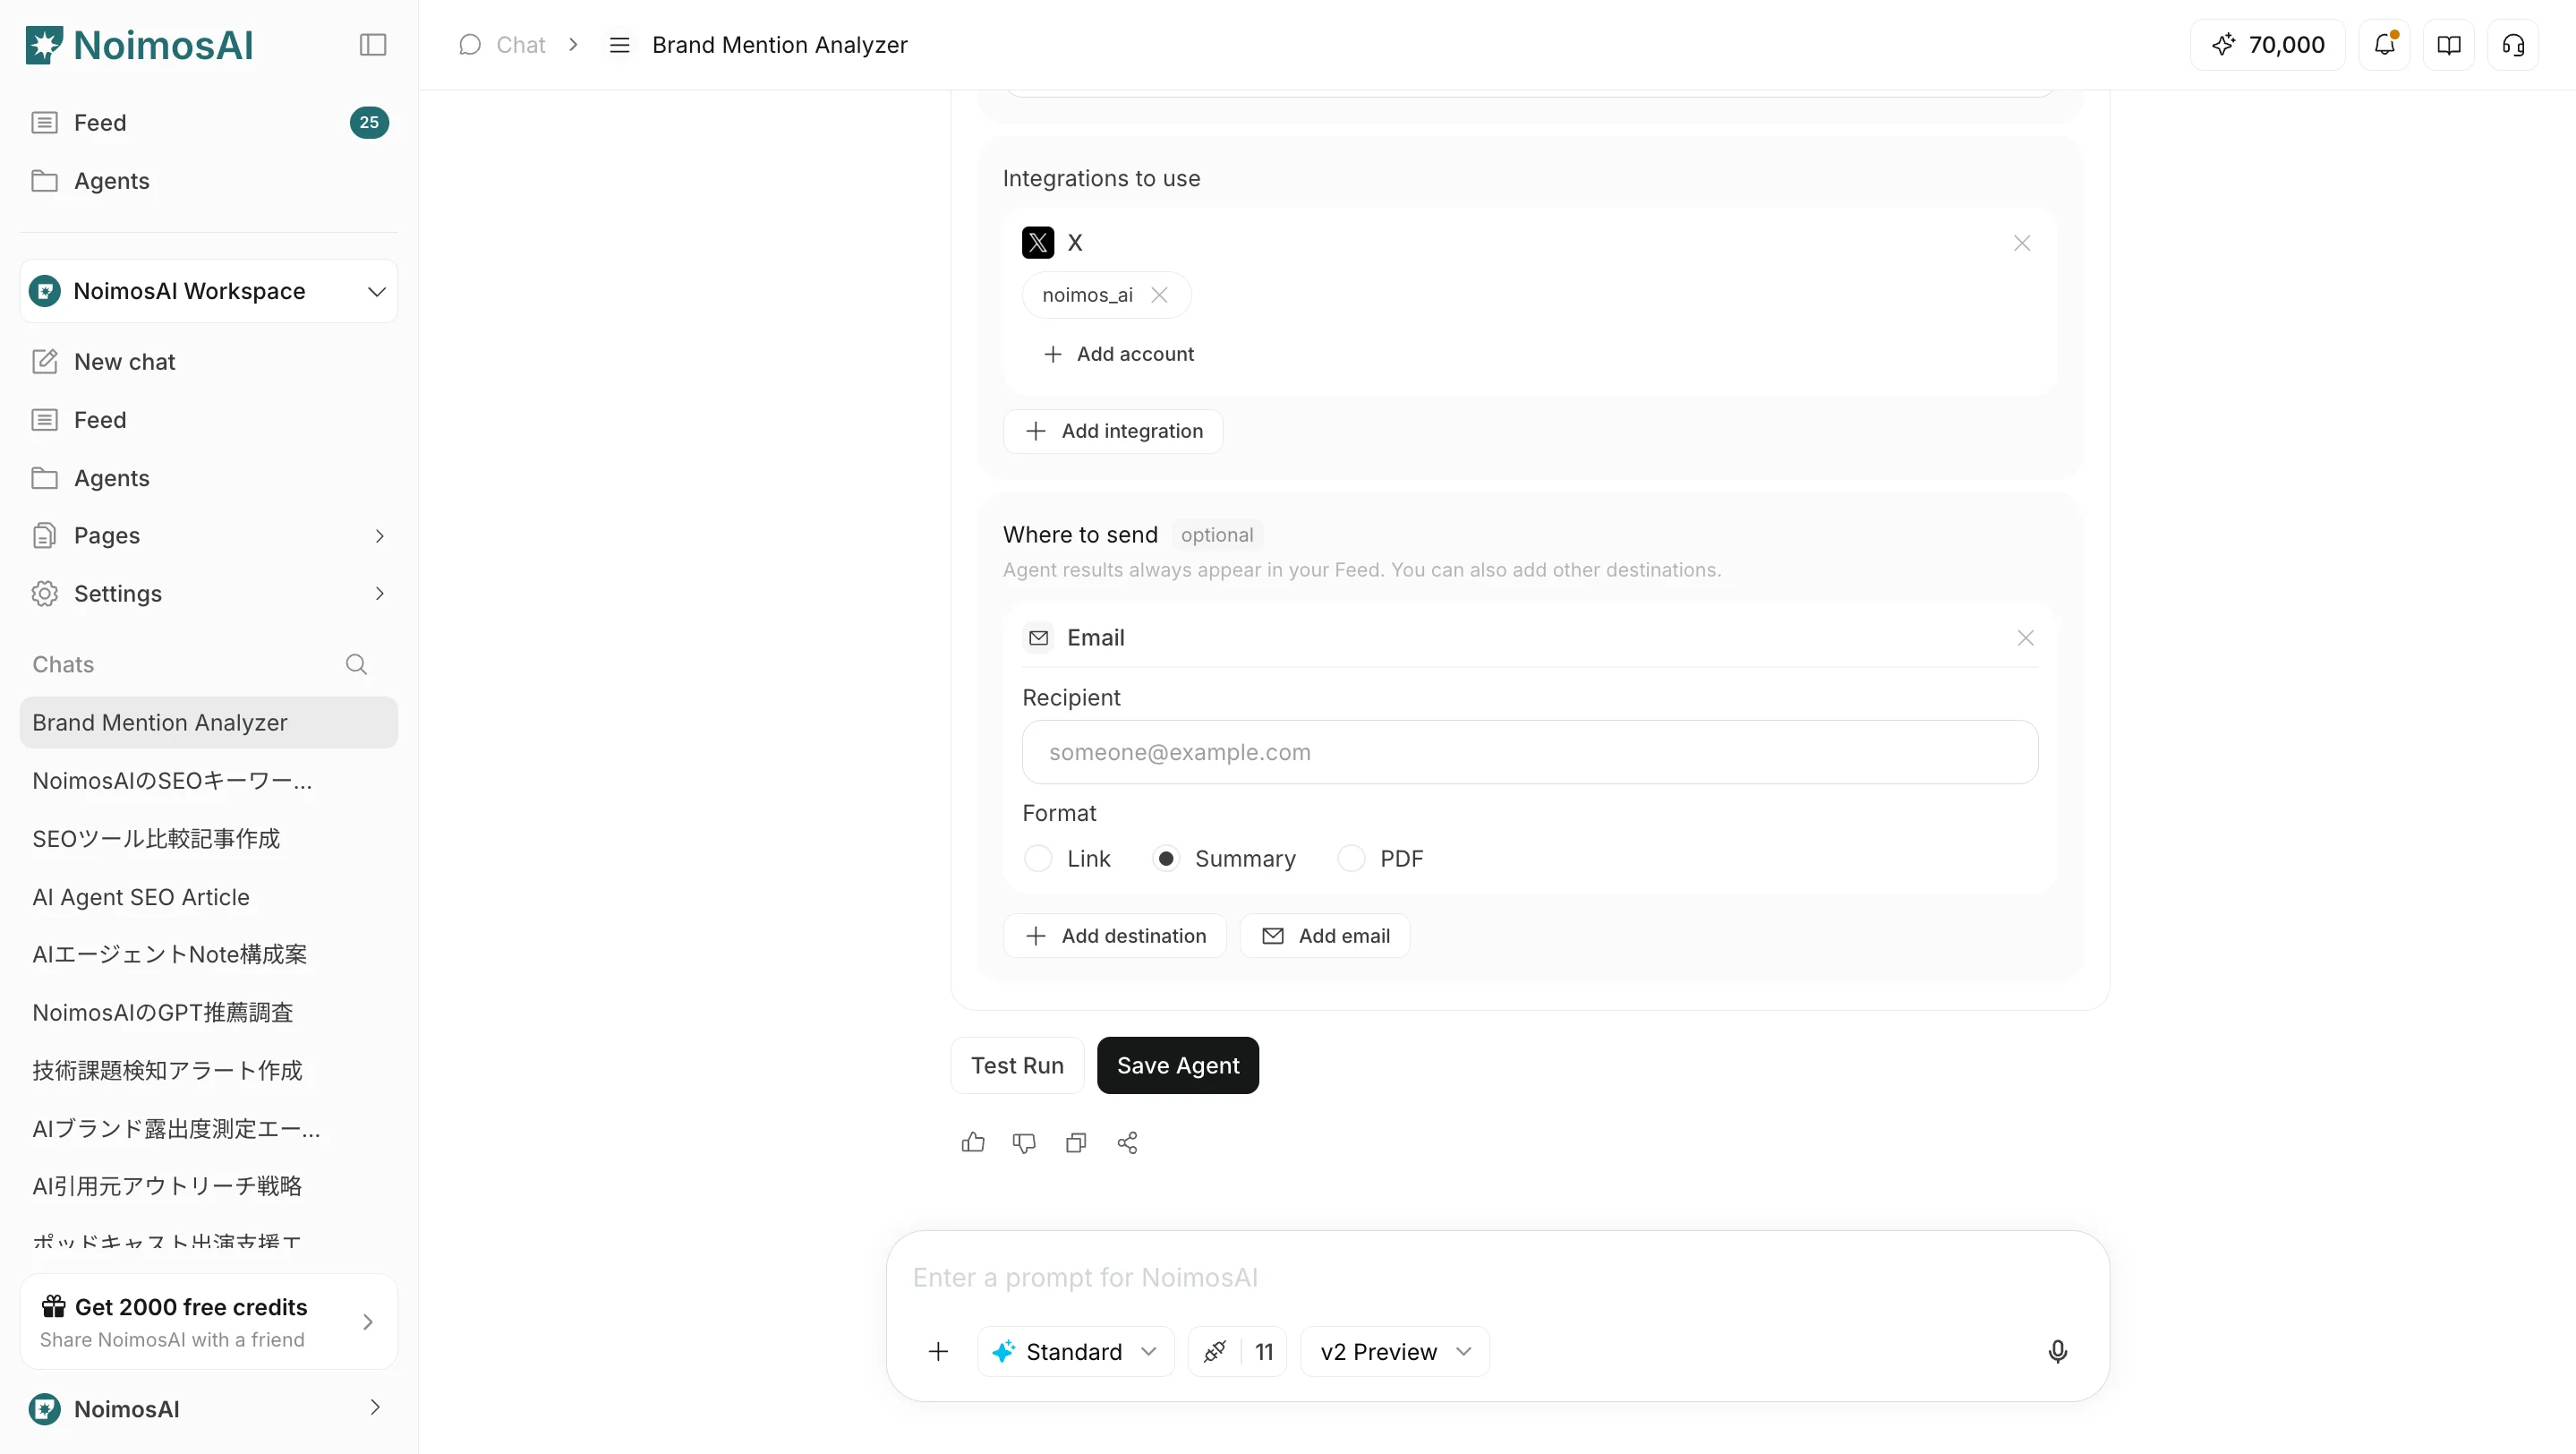
2. **이메일 추가**에서는 이메일 주소를 지정해 결과를 이메일로도 받을 수 있게 합니다.
<img src="https://mintcdn.com/agoslabstechnologiesfzco/FJKw6eZ1ZQ6W2xoq/public/help-center/ai-team/agent-output-email.png?fit=max&auto=format&n=FJKw6eZ1ZQ6W2xoq&q=85&s=43468fe34f49dde63d0e960b7b141049" alt="이메일을 추가하는 화면" style={{ border: '1px solid #e5e7eb', borderRadius: '8px', marginBottom: '1rem' }} width="2878" height="1624" data-path="public/help-center/ai-team/agent-output-email.png" />

어느 경우든 전송 형식은 `링크`, `요약`, `PDF` 중에서 선택할 수 있습니다.

## 관련 문서

* [처음부터 에이전트 만들기](/ko/help-center/ai-team/create-an-agent-from-scratch)
* [에이전트 편집 및 삭제](/ko/help-center/ai-team/edit-add-and-delete-triggers)