> ## Documentation Index
> Fetch the complete documentation index at: https://docs.noimosai.com/llms.txt
> Use this file to discover all available pages before exploring further.

# 프롬프트 템플릿 선택

> 프롬프트 템플릿으로 더 빠르게 시작하고, 구조화된 프롬프트를 상황에 맞게 조정합니다.

## 개요

프롬프트 템플릿은 자주 쓰는 작업을 빠르게 시작할 수 있는 재사용 가능한 프롬프트 초안입니다.
빠르게 시작하면서도 출력 구조를 일관되게 유지하는 데 도움이 됩니다.

## 위치

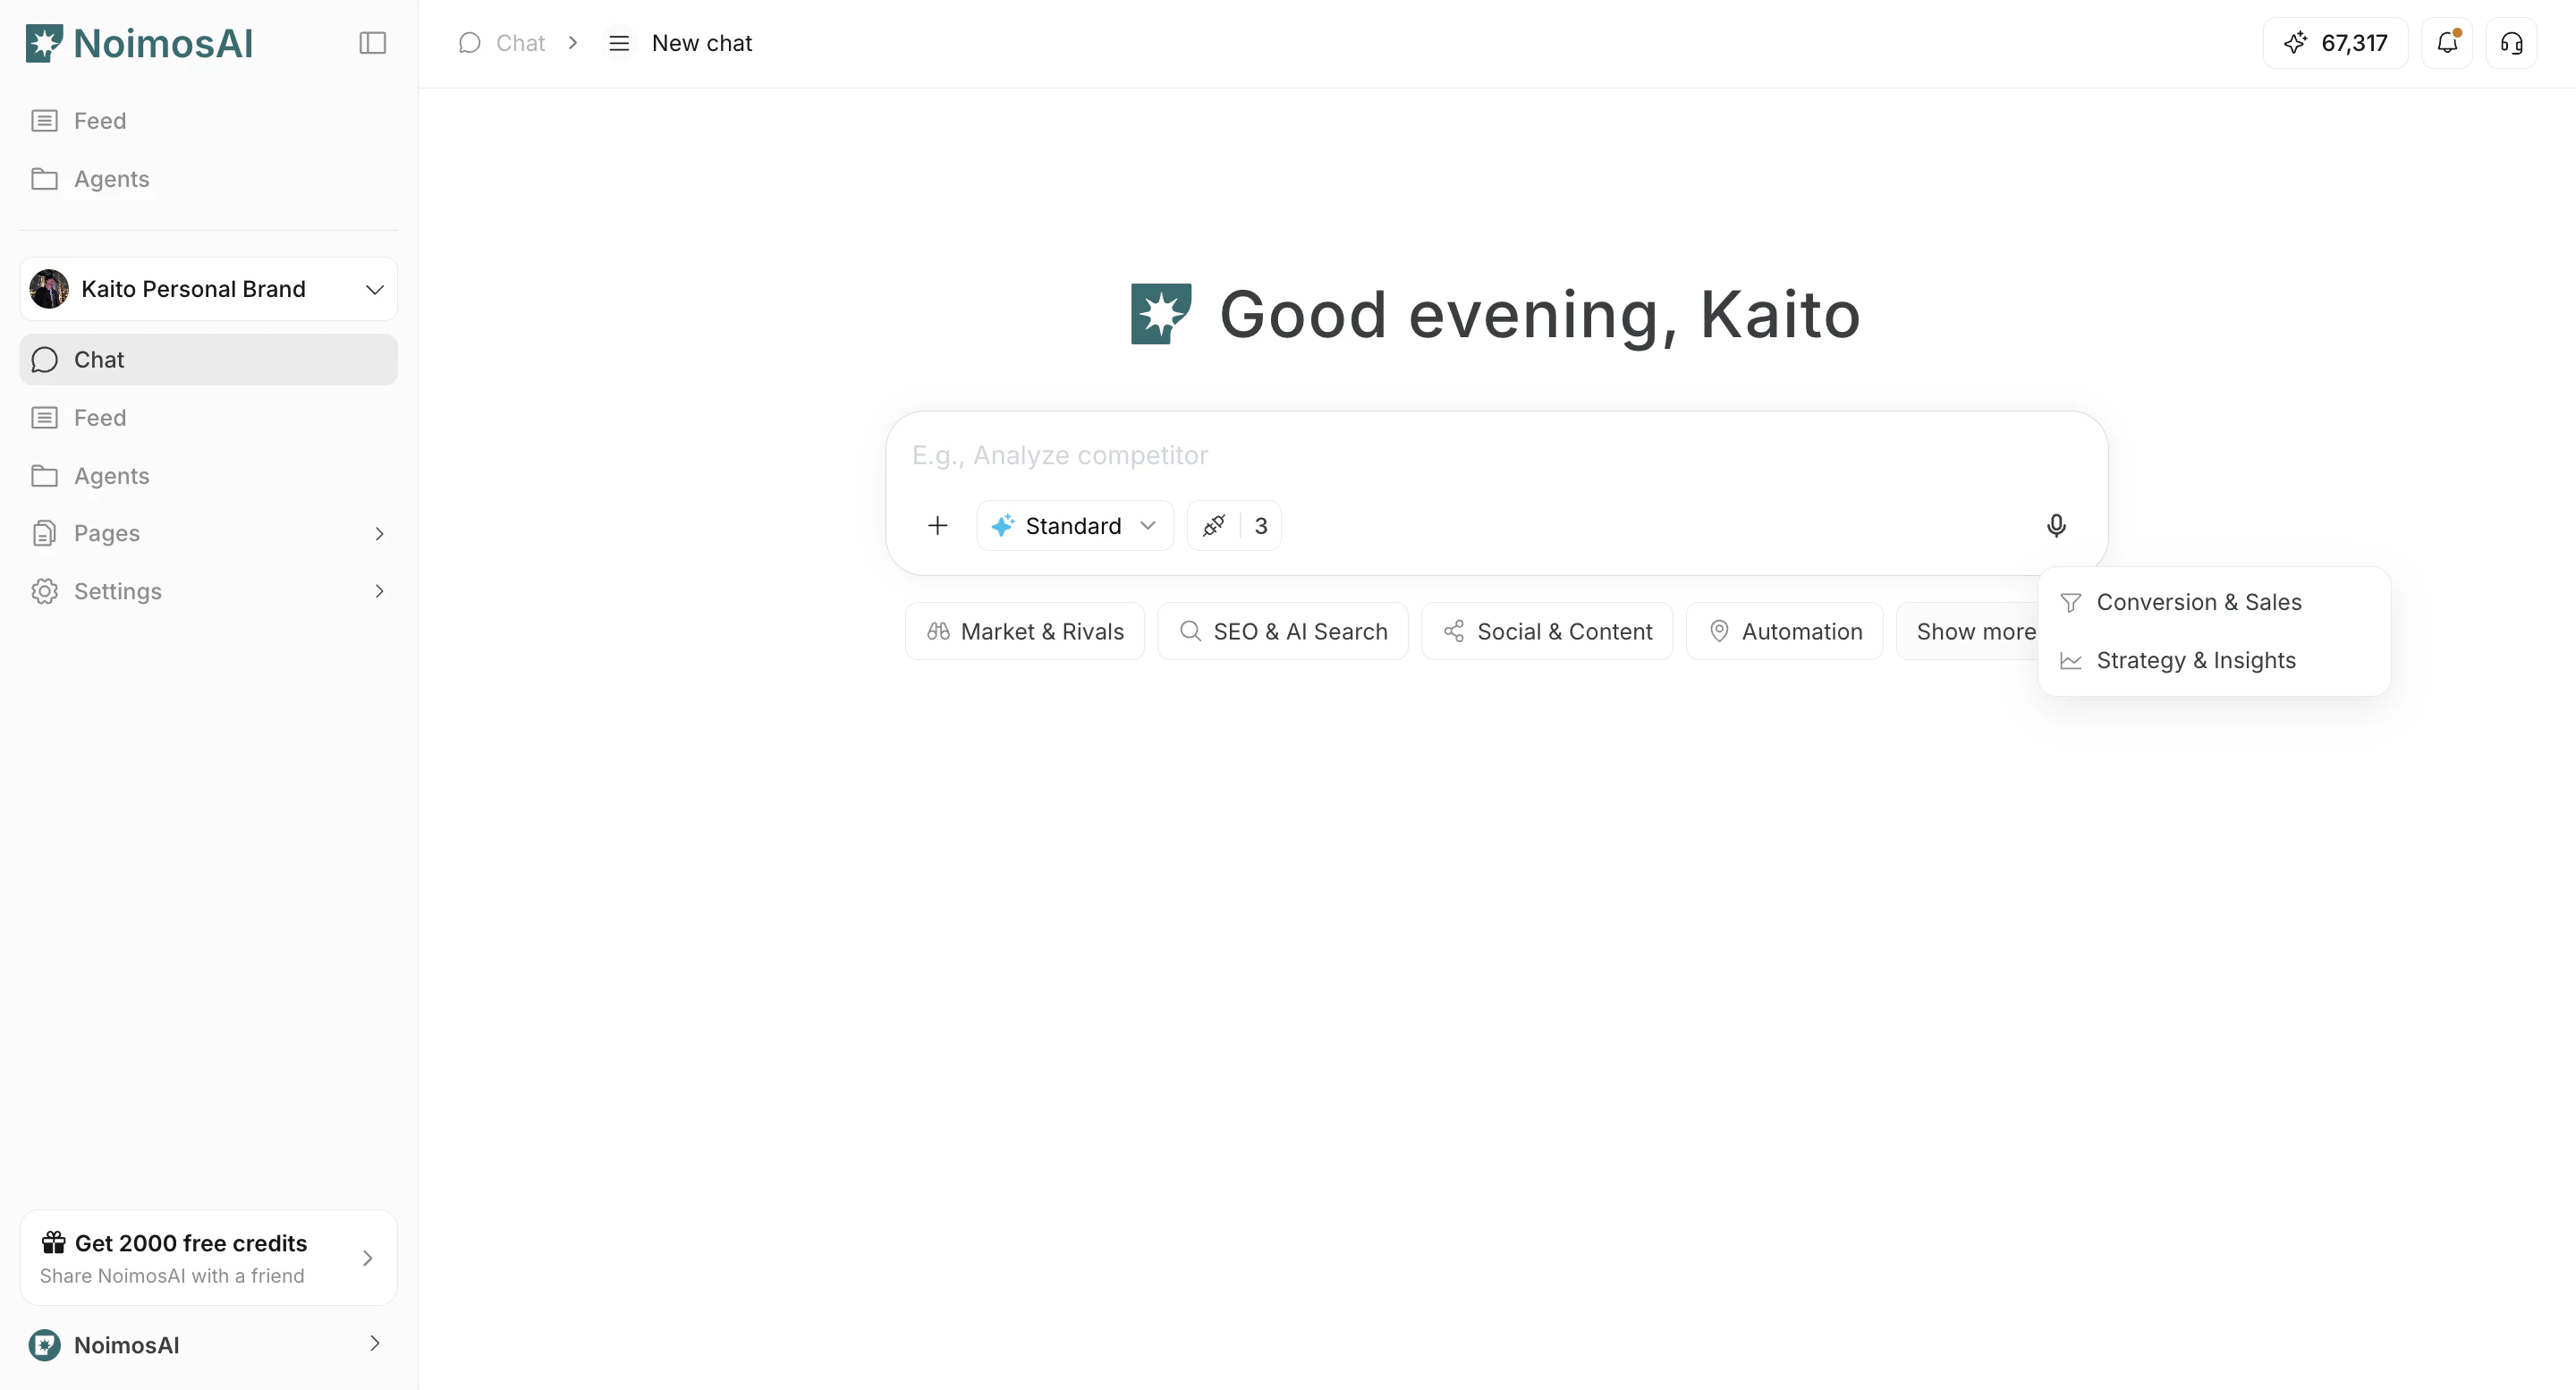
아래 순서로 이 영역을 엽니다.

1. `새 채팅`에서 템플릿 카드 영역까지 스크롤합니다.
<img src="https://mintcdn.com/agoslabstechnologiesfzco/EszfltwDX-U_LVi3/public/help-center/arcade/ai-chat/select-prompt-from-template/step-03.png?fit=max&auto=format&n=EszfltwDX-U_LVi3&q=85&s=1a84f5e5a76a59fa4c4491e6ee2d51db" alt="새 채팅에 표시된 템플릿 카드" style={{ border: '1px solid #e5e7eb', borderRadius: '8px', marginBottom: '1rem' }} width="2880" height="1554" data-path="public/help-center/arcade/ai-chat/select-prompt-from-template/step-03.png" />

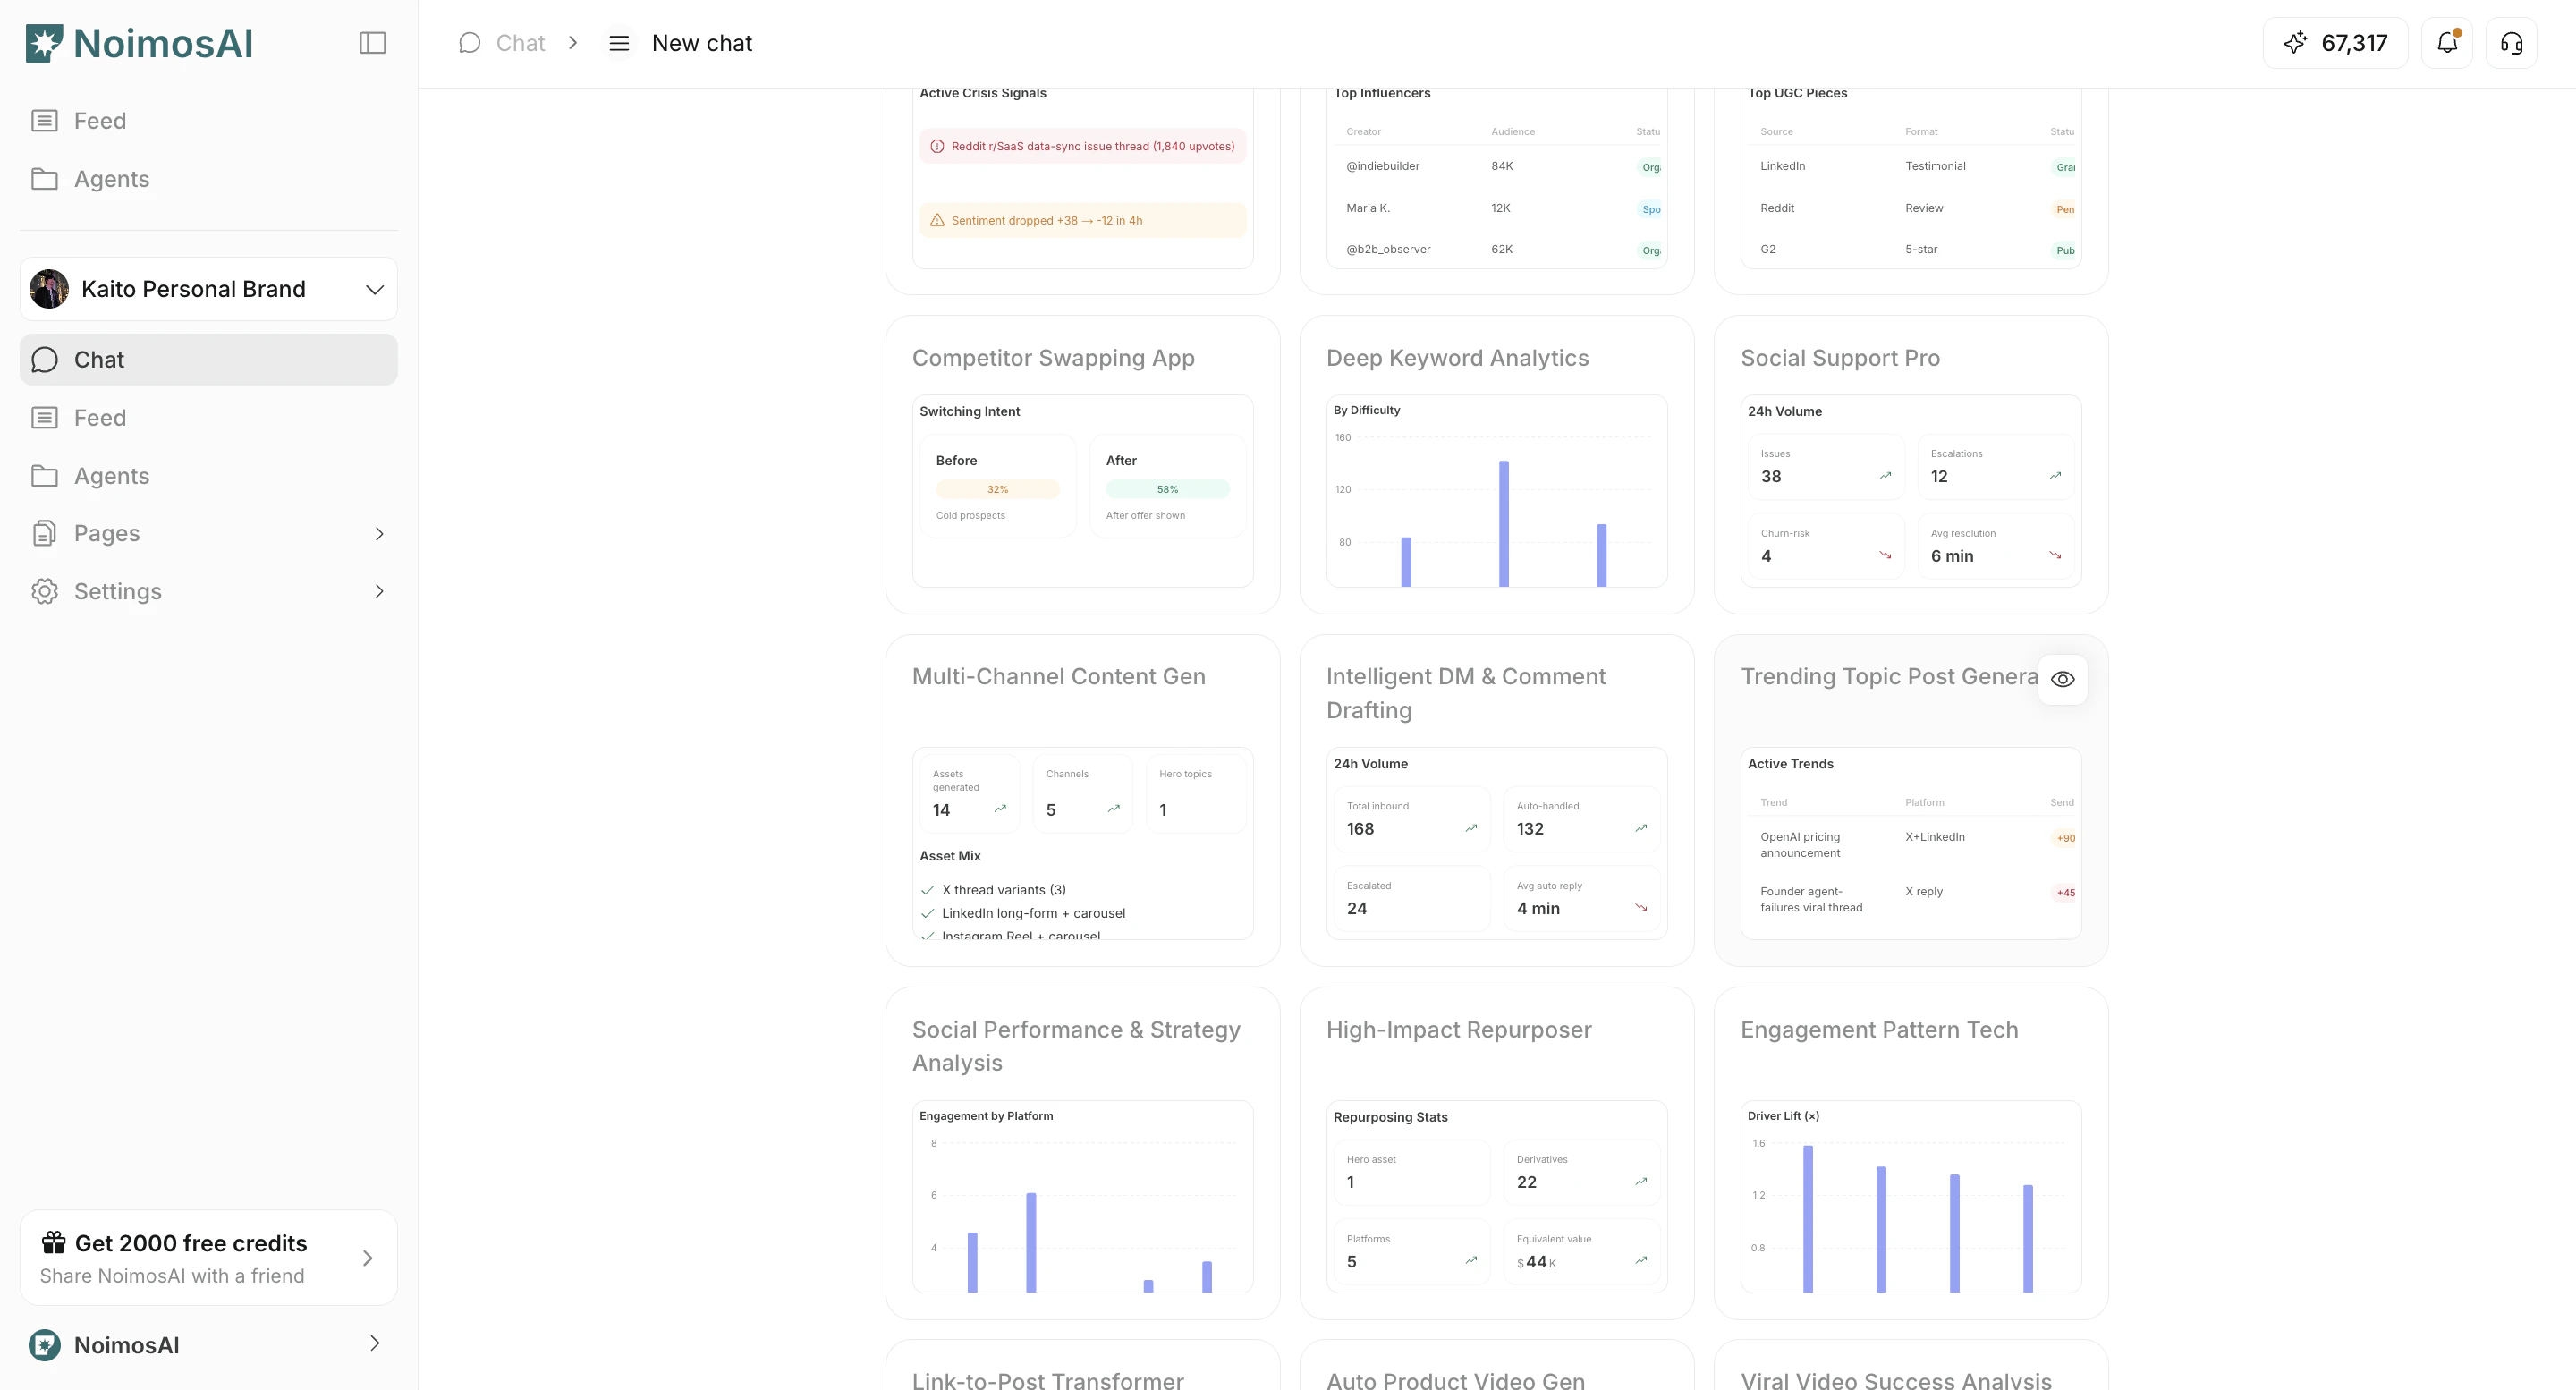
2. 사용 목적에 맞는 프롬프트 템플릿을 찾습니다.

<img src="https://mintcdn.com/agoslabstechnologiesfzco/EszfltwDX-U_LVi3/public/help-center/arcade/ai-chat/select-prompt-from-template/step-04.png?fit=max&auto=format&n=EszfltwDX-U_LVi3&q=85&s=6a653915ebf5cc9c177bb15e46040b9e" alt="사용 목적에 맞는 템플릿 찾기" style={{ border: '1px solid #e5e7eb', borderRadius: '8px', marginBottom: '1.5rem' }} width="2880" height="1554" data-path="public/help-center/arcade/ai-chat/select-prompt-from-template/step-04.png" />

## 템플릿 사용 방법

아래 순서로 진행합니다.

1. 관련 템플릿을 찾은 뒤 눈 아이콘을 눌러 상세 화면을 엽니다.
<img src="https://mintcdn.com/agoslabstechnologiesfzco/EszfltwDX-U_LVi3/public/help-center/arcade/ai-chat/select-prompt-from-template/step-05.png?fit=max&auto=format&n=EszfltwDX-U_LVi3&q=85&s=478e5f7e7d57ef2b5f457c5246ea5d40" alt="카테고리로 템플릿 필터링" style={{ border: '1px solid #e5e7eb', borderRadius: '8px', marginBottom: '1rem' }} width="2880" height="1554" data-path="public/help-center/arcade/ai-chat/select-prompt-from-template/step-05.png" />

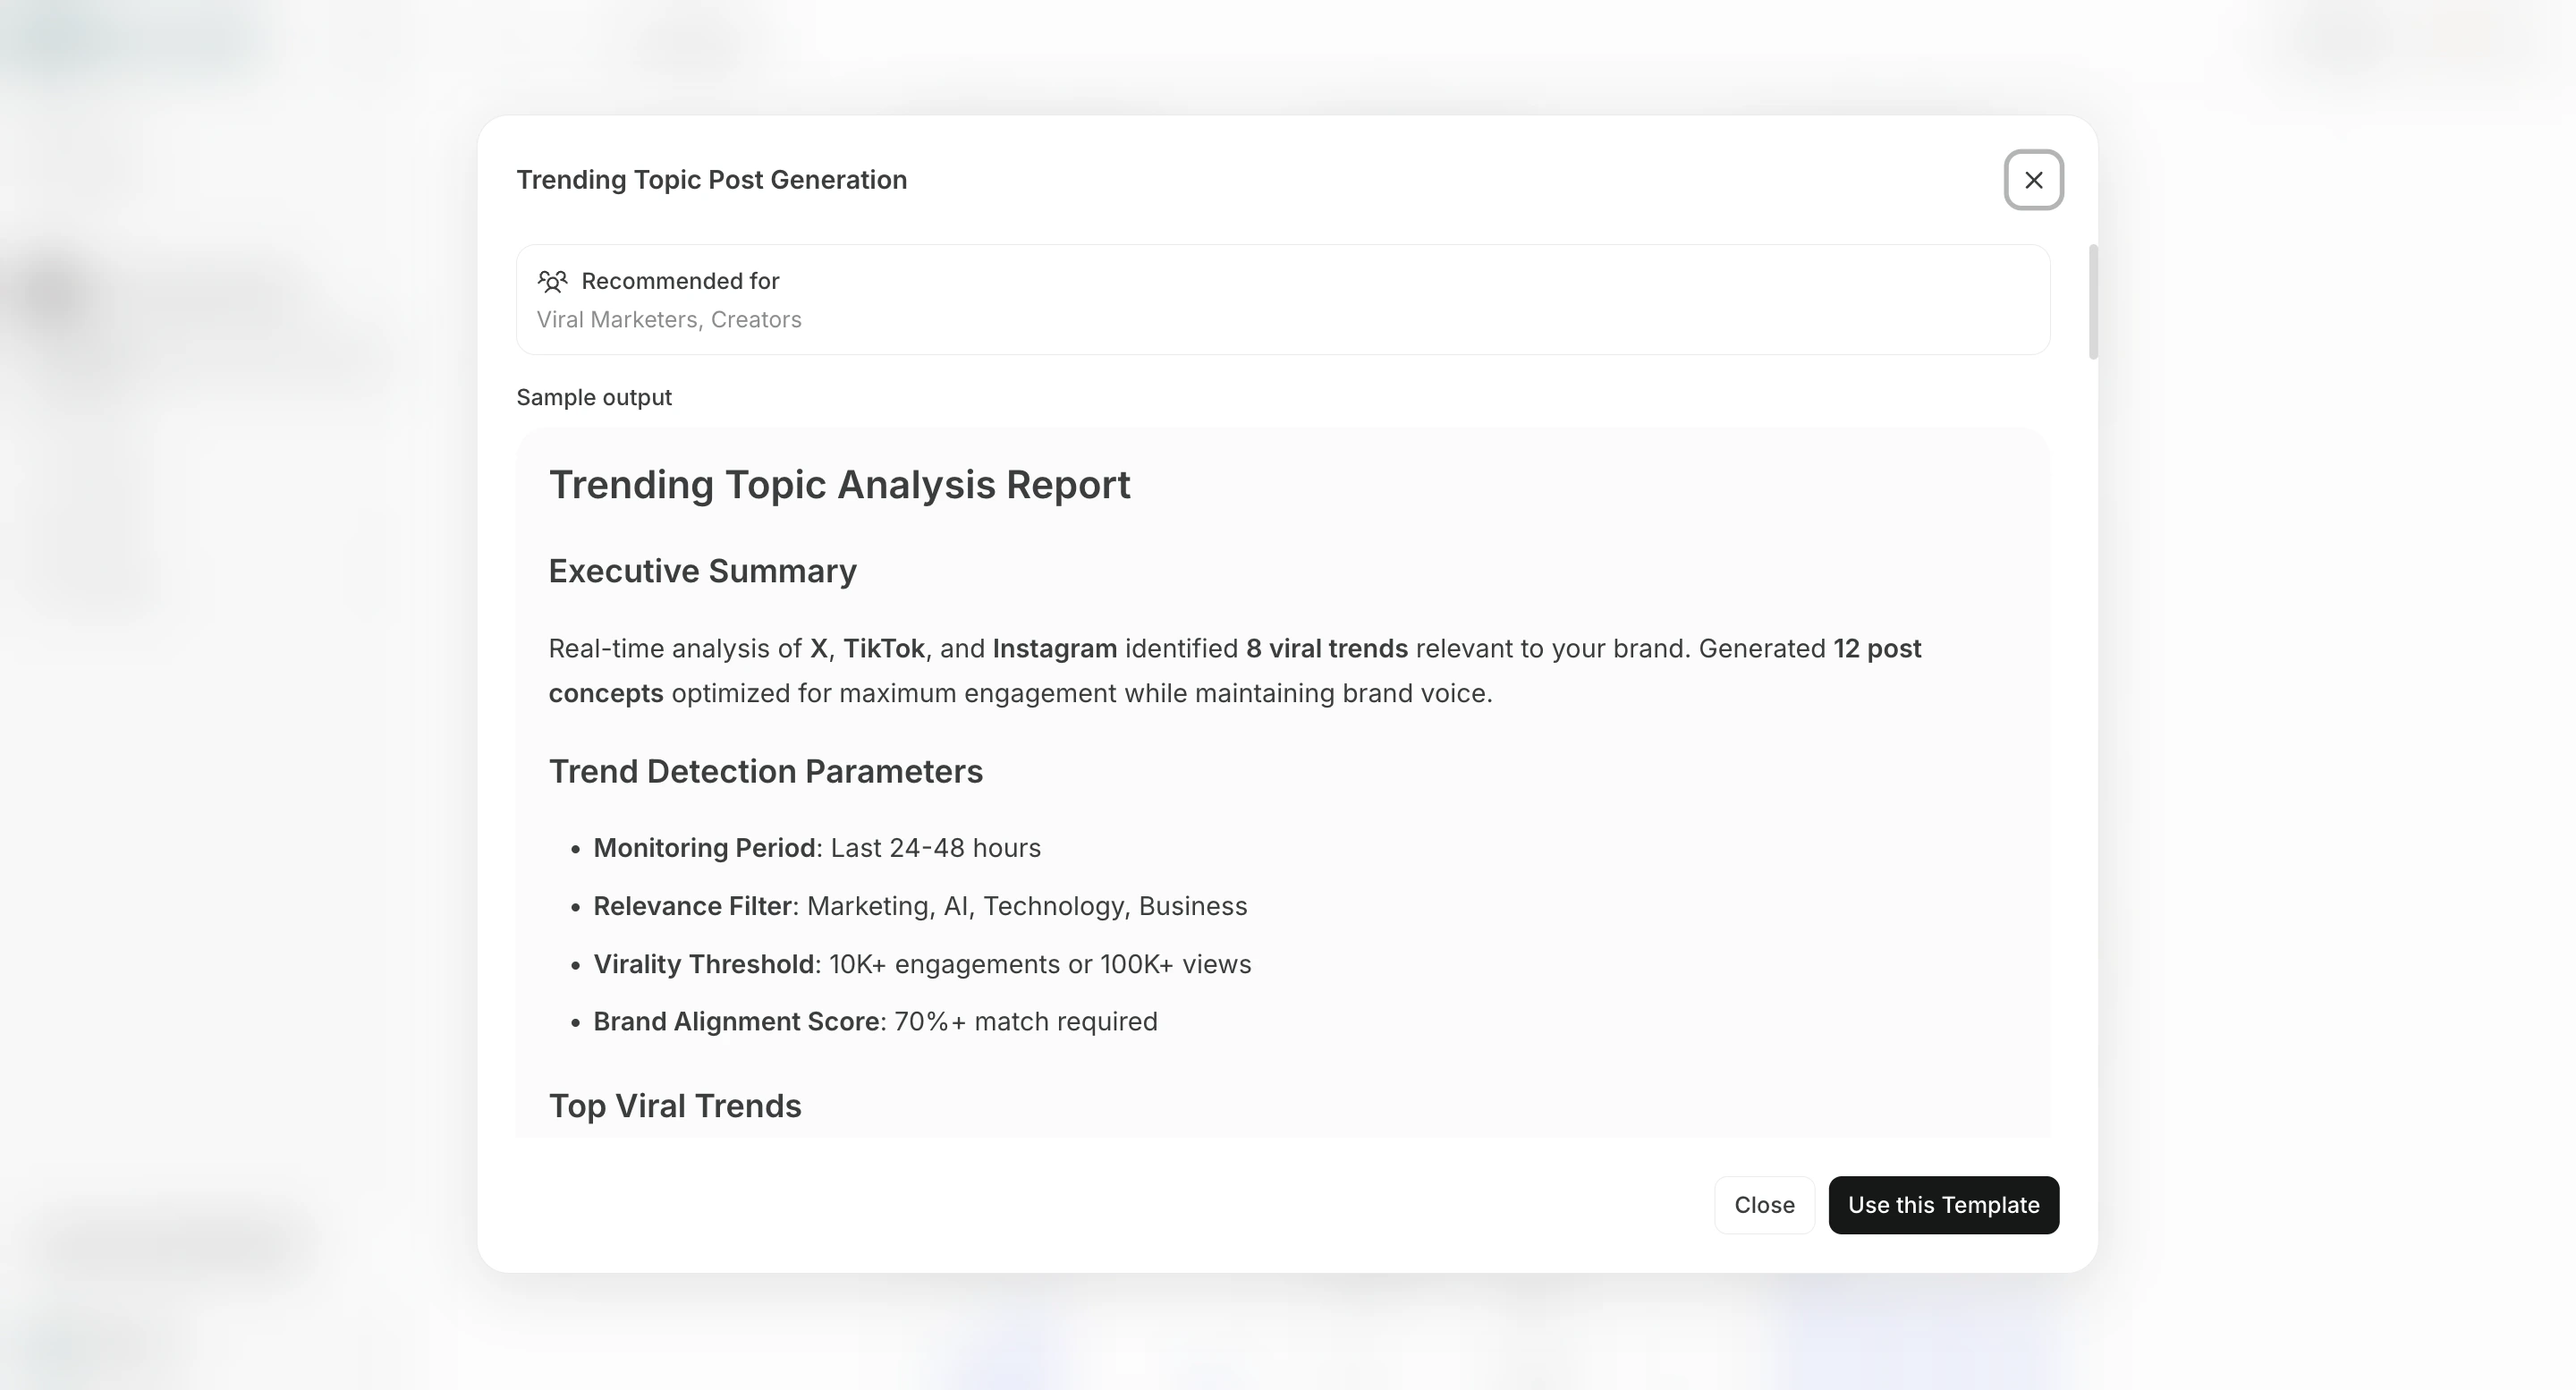
2. 해당 템플릿이 누구에게 적합한지와 예상 출력 형태를 확인합니다.
<img src="https://mintcdn.com/agoslabstechnologiesfzco/EszfltwDX-U_LVi3/public/help-center/arcade/ai-chat/select-prompt-from-template/step-07.png?fit=max&auto=format&n=EszfltwDX-U_LVi3&q=85&s=29908541a136a2b6a9c6ec1a1936529d" alt="템플릿의 상세 보기 클릭" style={{ border: '1px solid #e5e7eb', borderRadius: '8px', marginBottom: '1rem' }} width="2880" height="1554" data-path="public/help-center/arcade/ai-chat/select-prompt-from-template/step-07.png" />

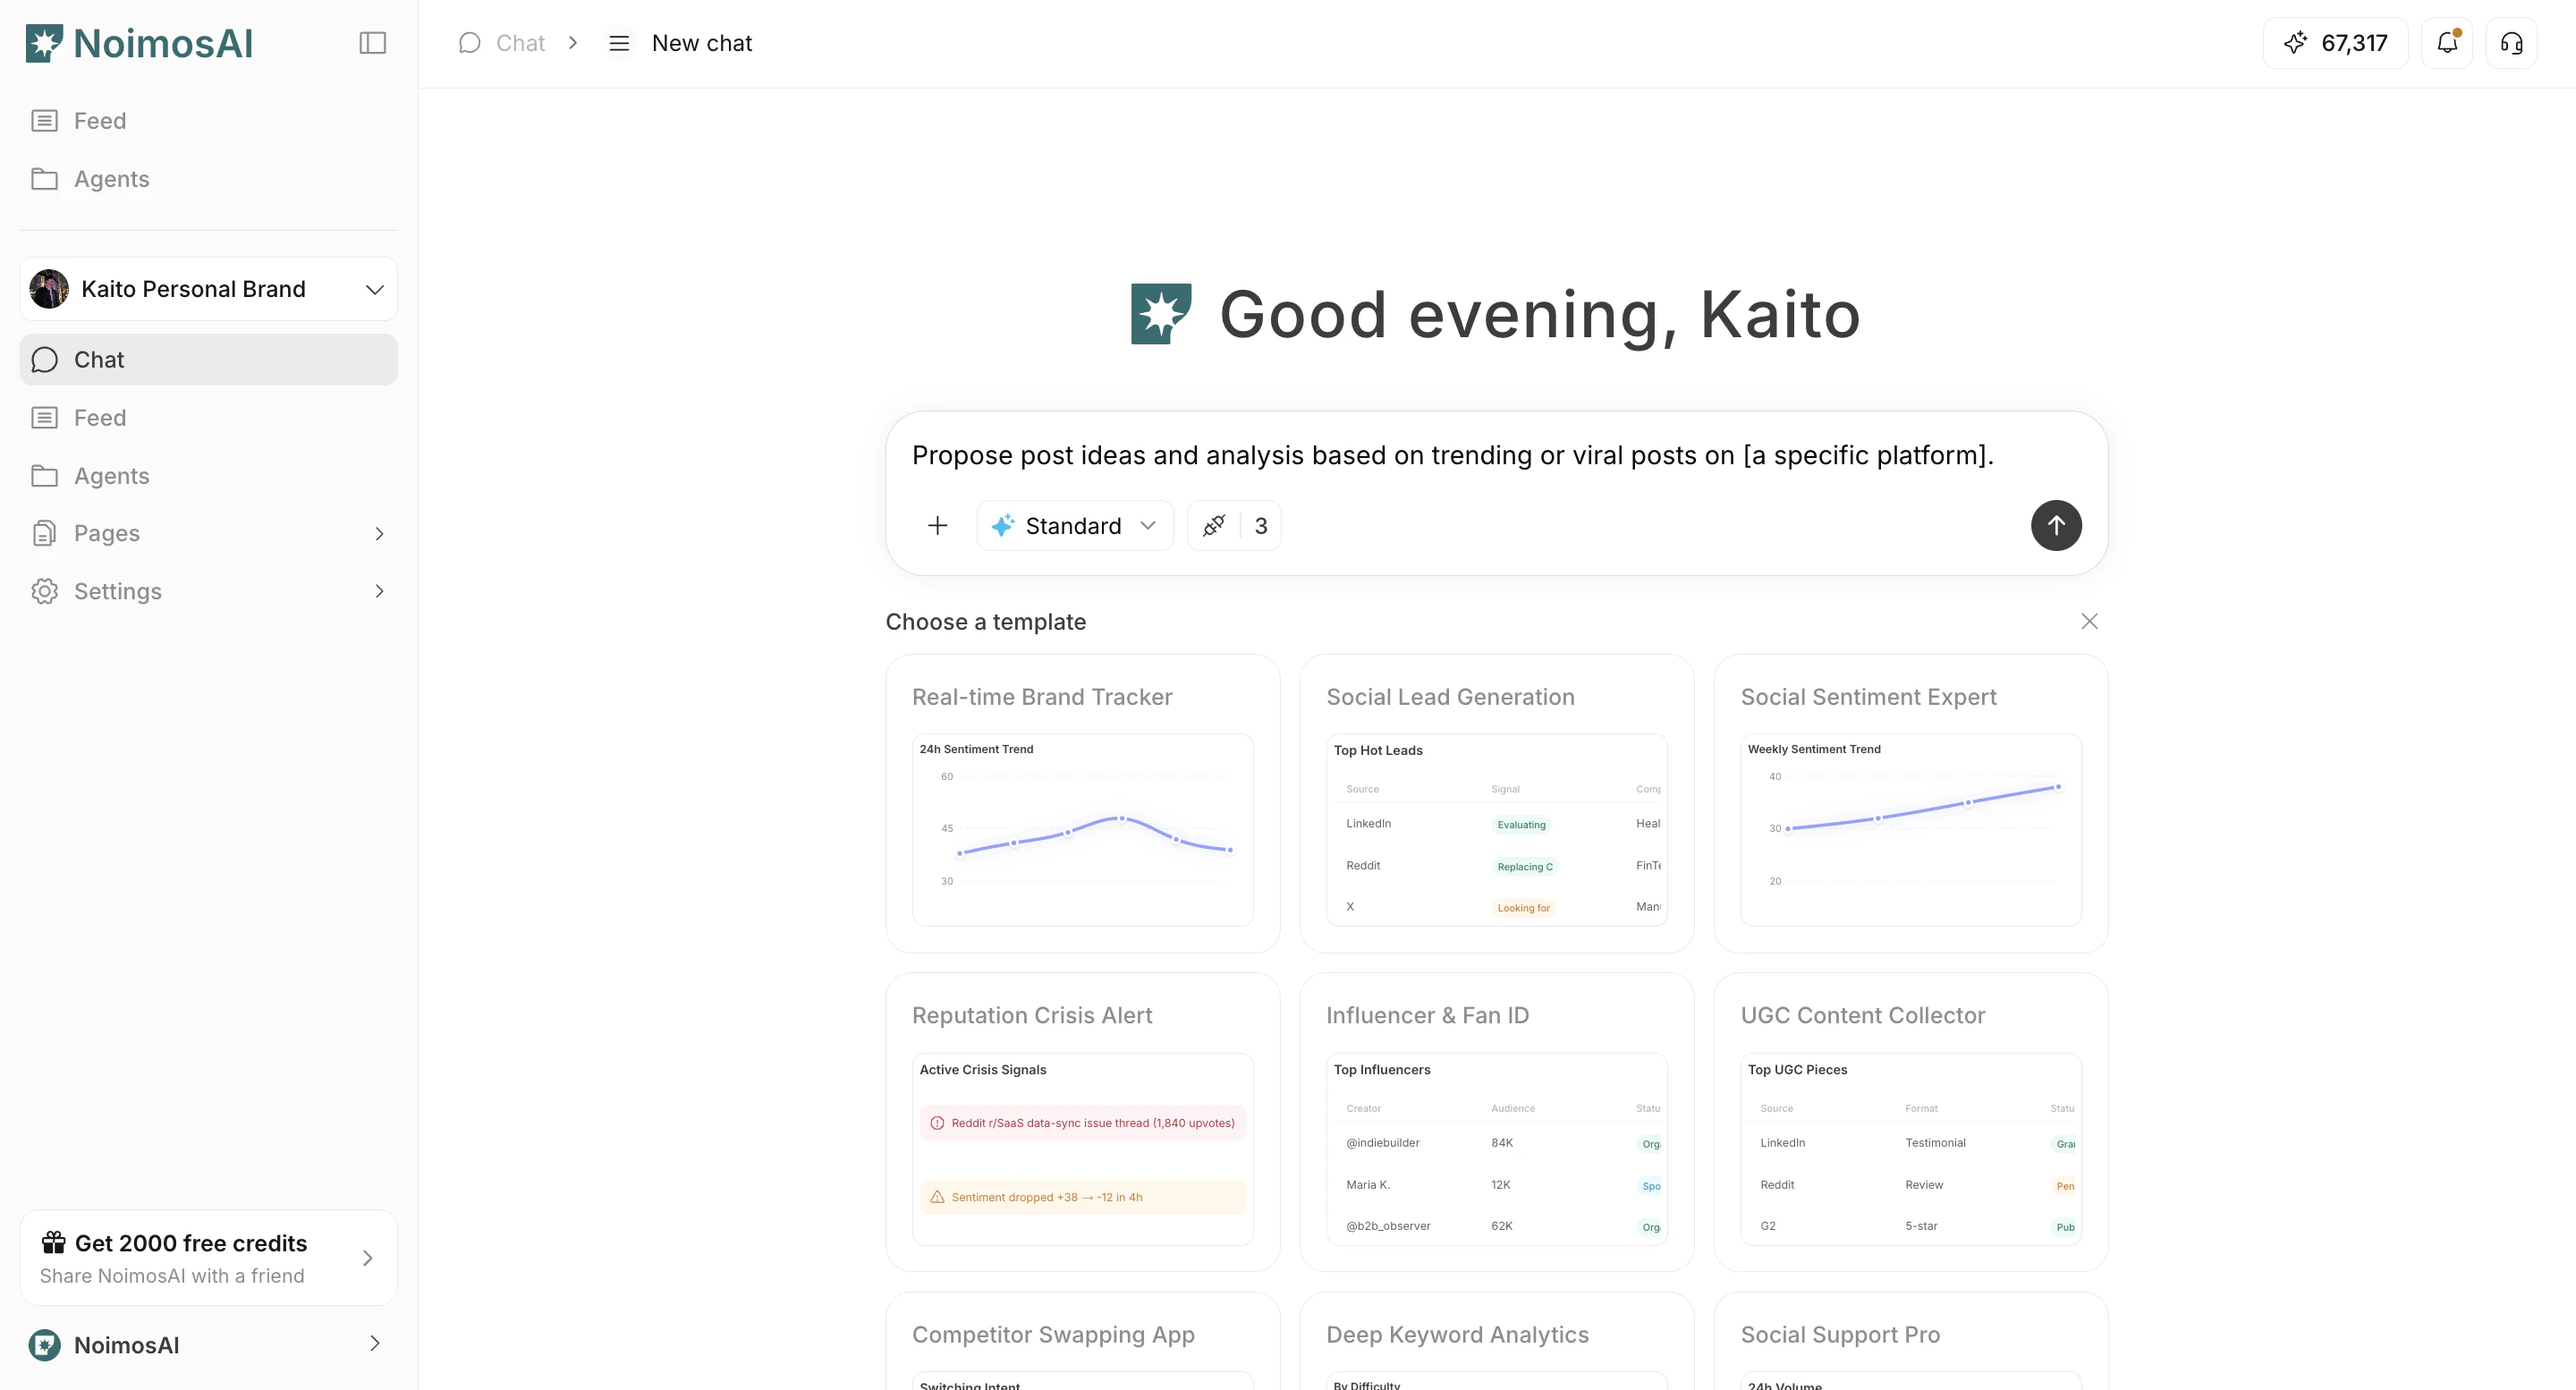
3. `이 템플릿 사용`을 선택해 채팅에 삽입합니다.

<img src="https://mintcdn.com/agoslabstechnologiesfzco/EszfltwDX-U_LVi3/public/help-center/arcade/ai-chat/select-prompt-from-template/step-10.png?fit=max&auto=format&n=EszfltwDX-U_LVi3&q=85&s=aa1fcfe079d87e61bfb47f9fb567eacd" alt="채팅에서 이 템플릿 사용" style={{ border: '1px solid #e5e7eb', borderRadius: '8px', marginBottom: '1rem' }} width="2880" height="1554" data-path="public/help-center/arcade/ai-chat/select-prompt-from-template/step-10.png" />

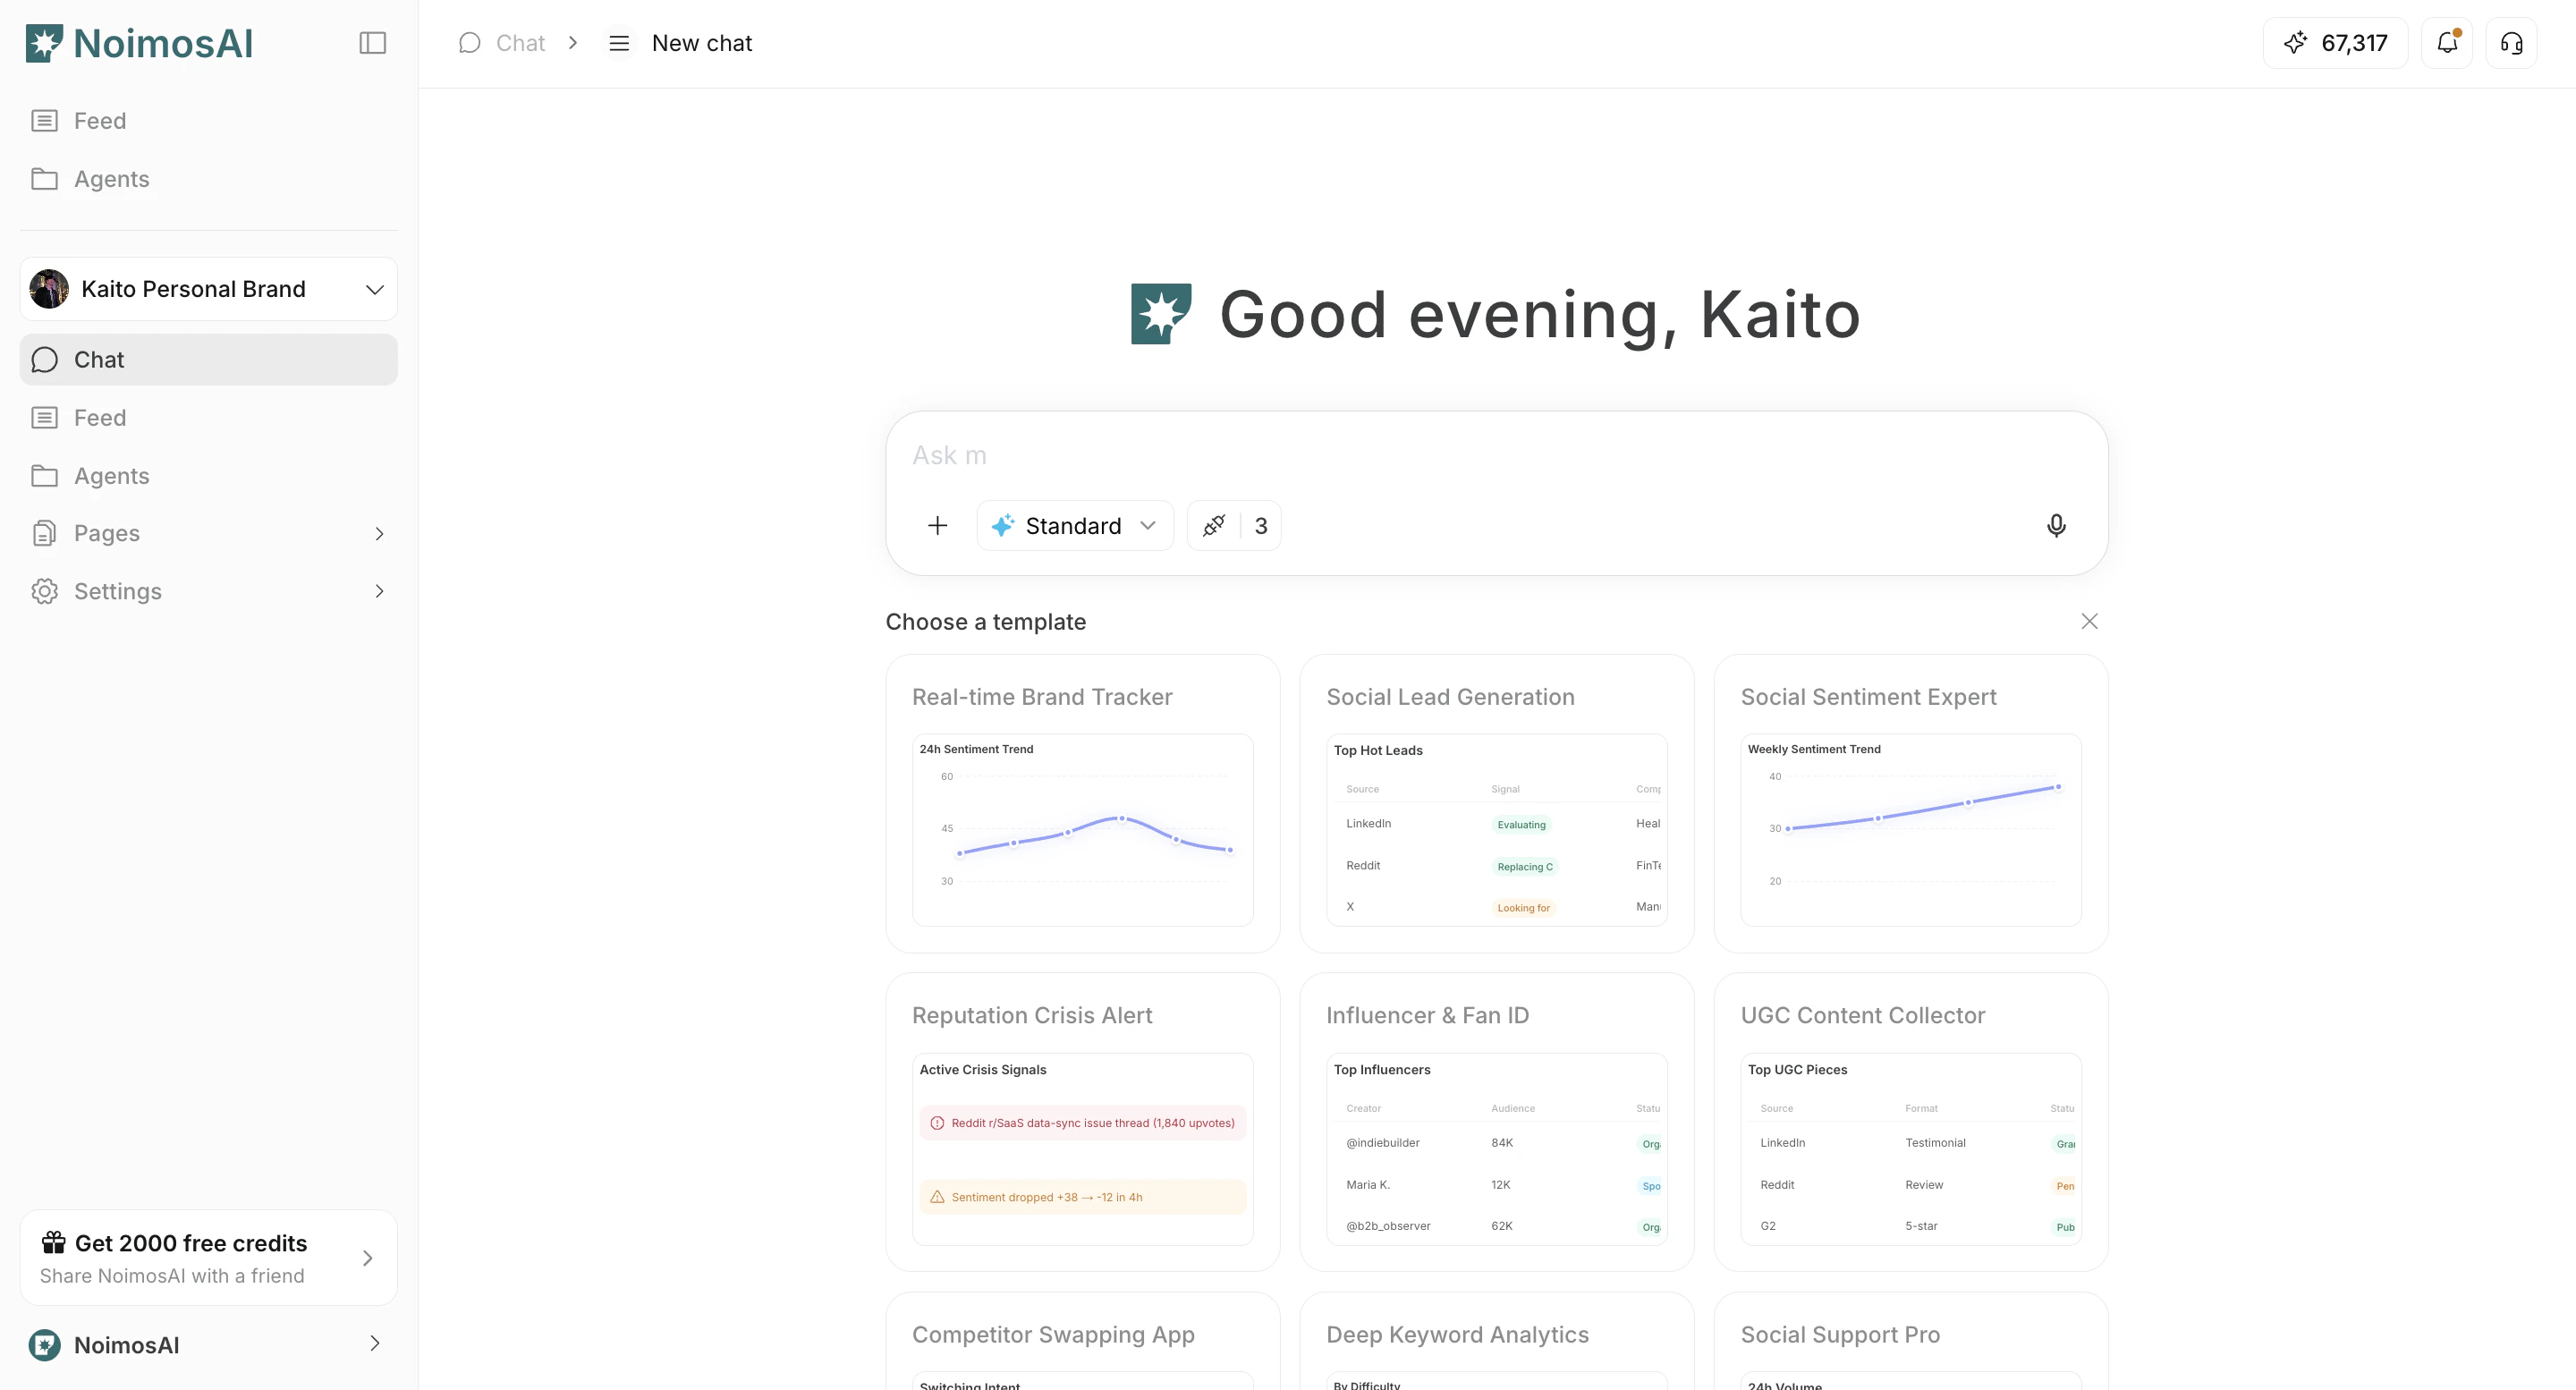
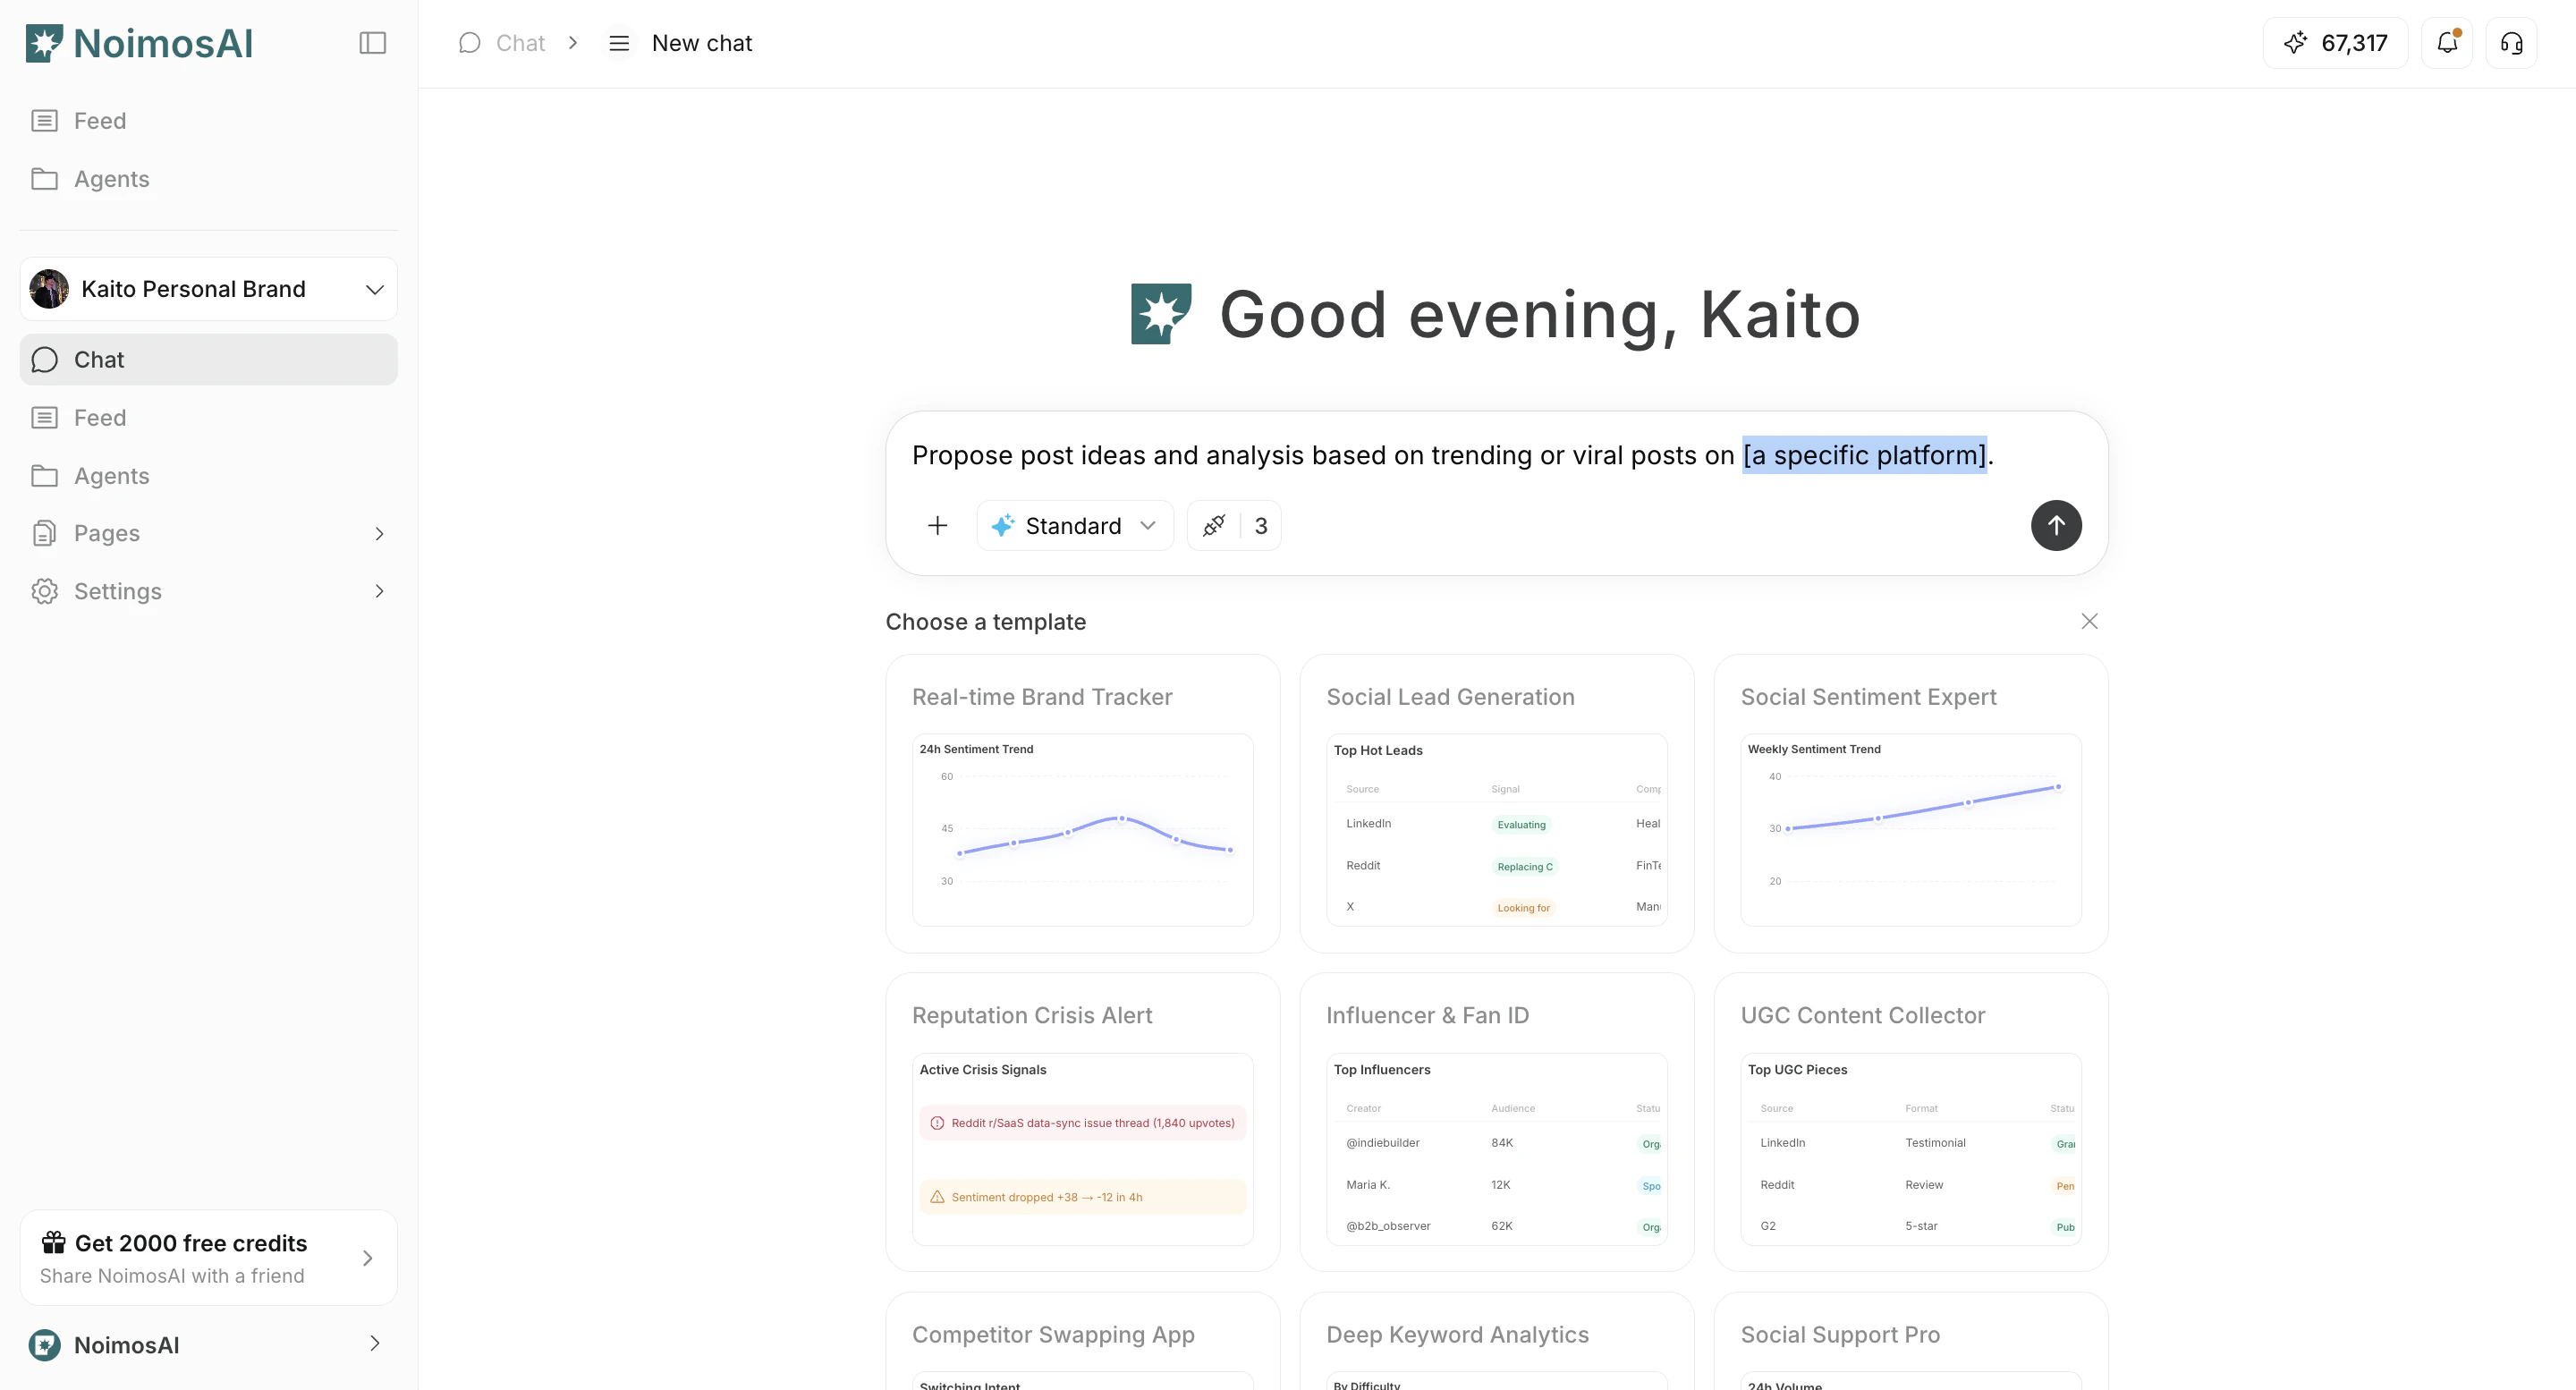
4. `[]` 같은 플레이스홀더를 자신의 컨텍스트로 바꿉니다.

<img src="https://mintcdn.com/agoslabstechnologiesfzco/EszfltwDX-U_LVi3/public/help-center/arcade/ai-chat/select-prompt-from-template/step-12.png?fit=max&auto=format&n=EszfltwDX-U_LVi3&q=85&s=5ca80ec98aa6b1388676e560d5fd6ce5" alt="플레이스홀더를 바꾼 뒤 프롬프트 전송" style={{ border: '1px solid #e5e7eb', borderRadius: '8px', marginBottom: '1rem' }} width="2880" height="1554" data-path="public/help-center/arcade/ai-chat/select-prompt-from-template/step-12.png" />

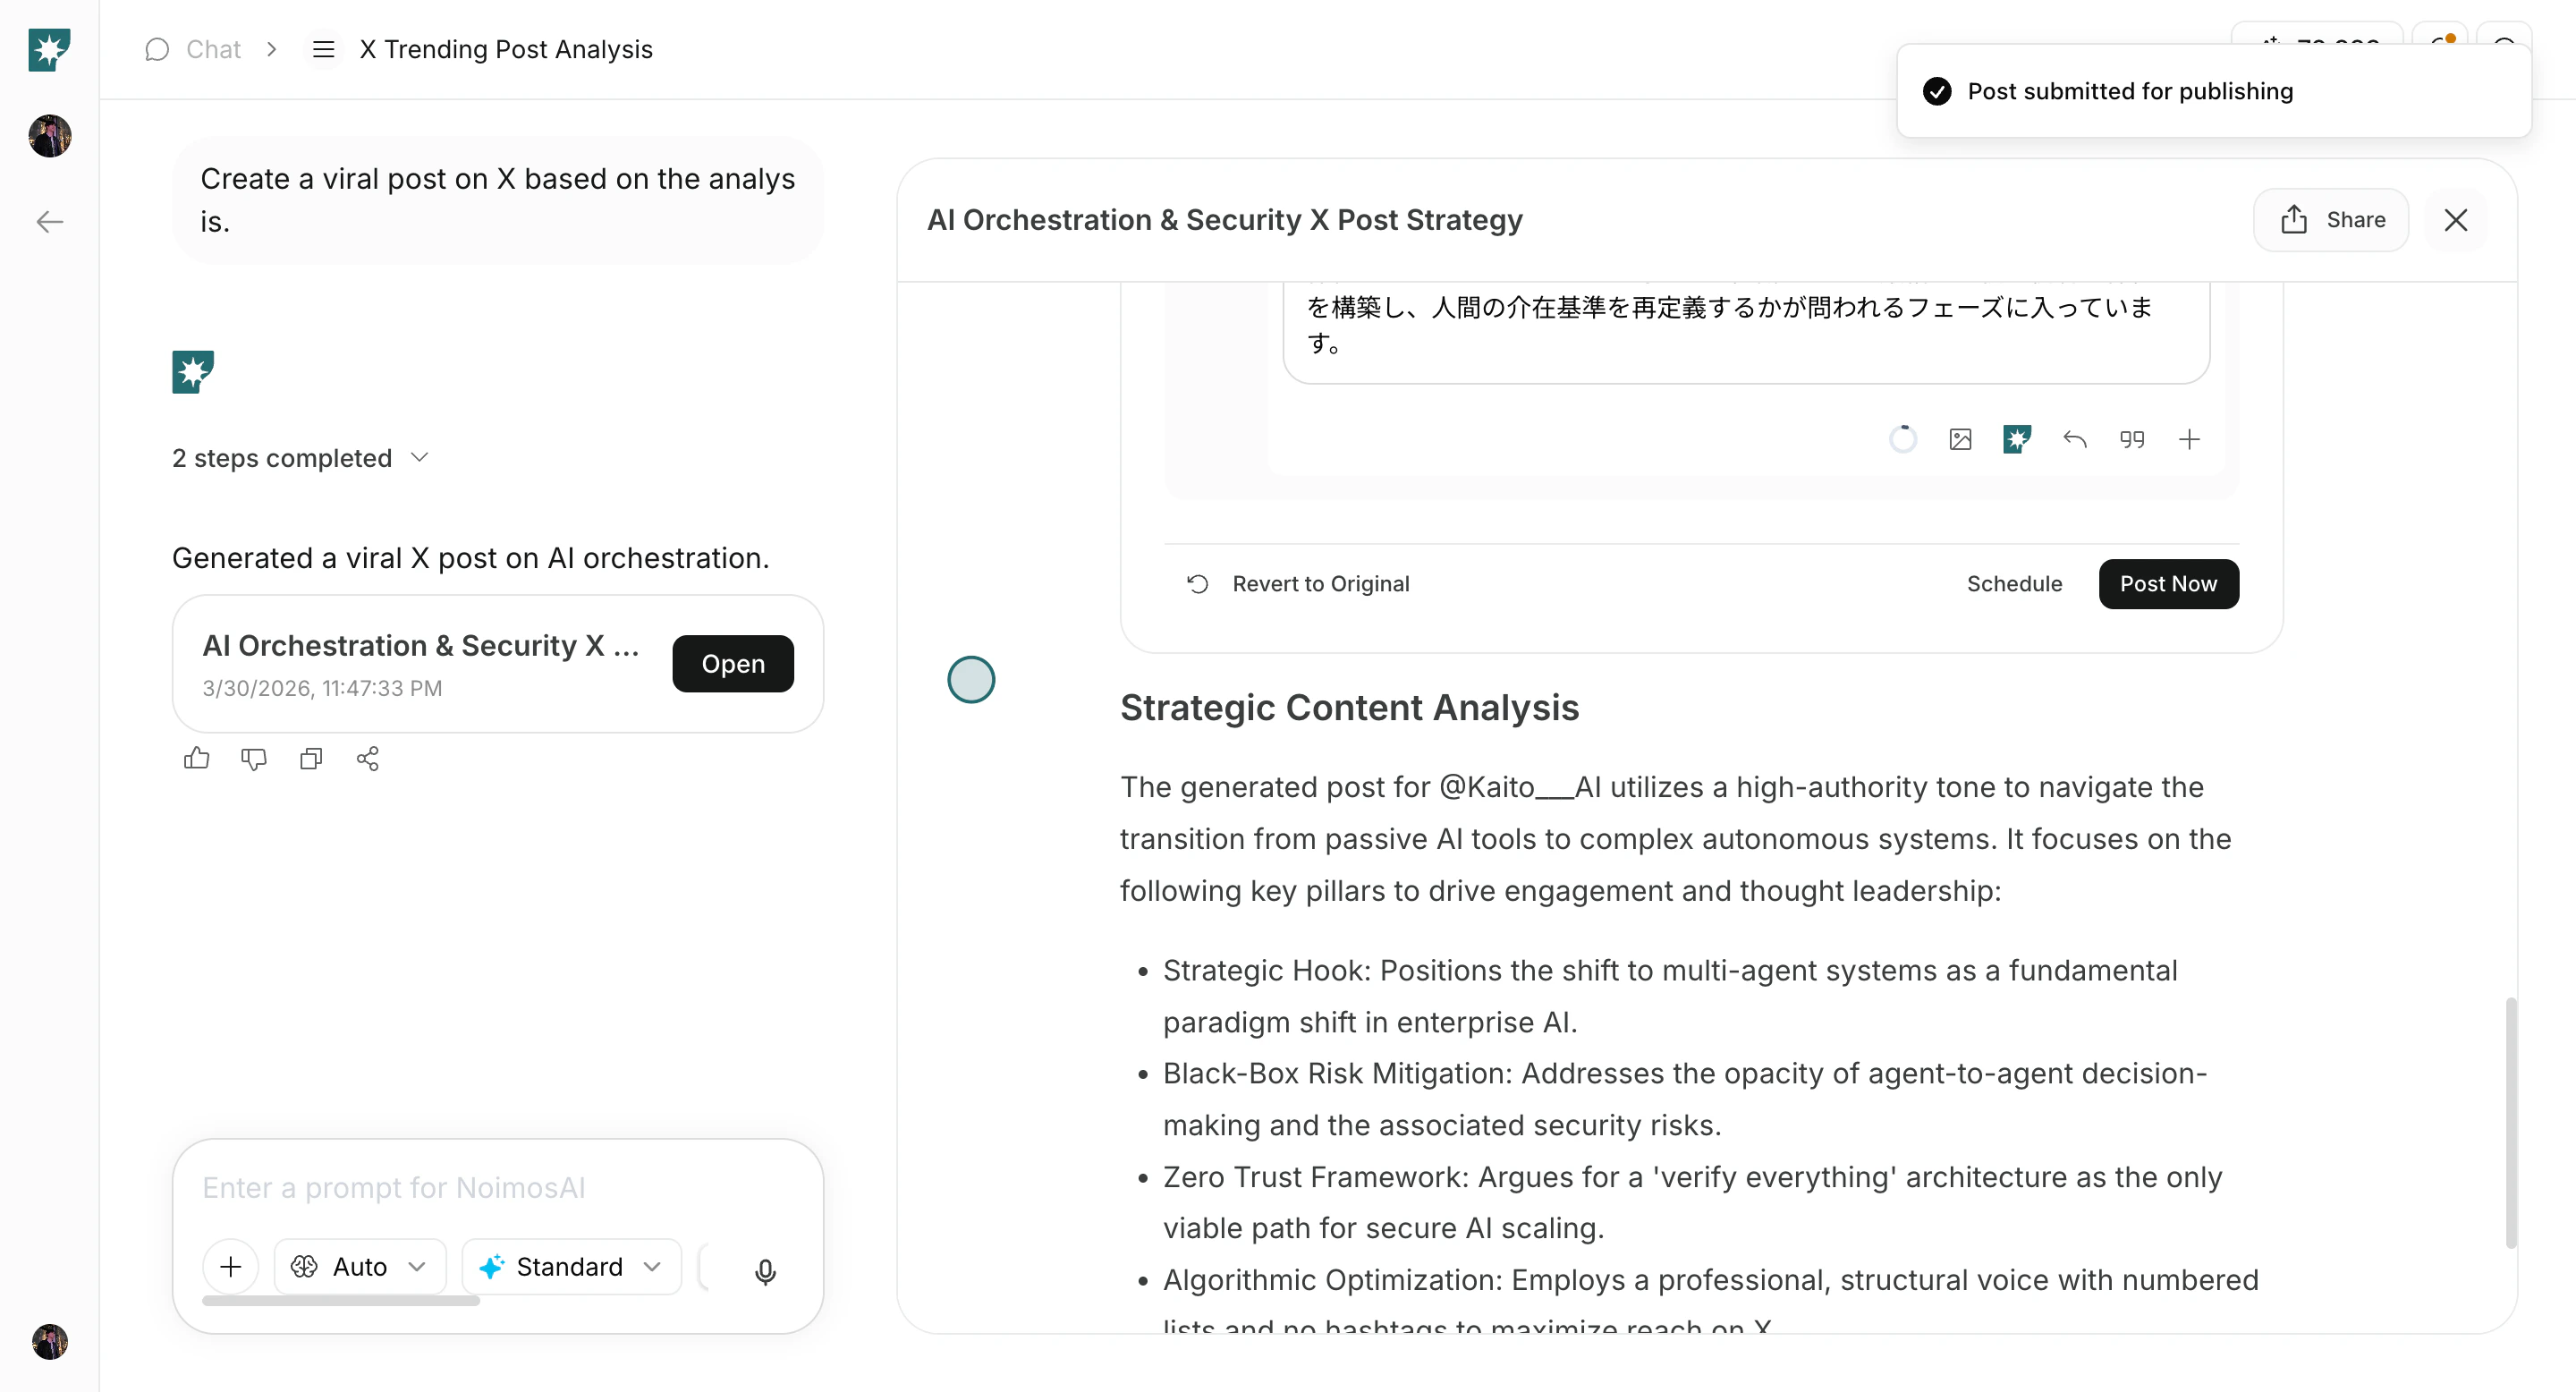
5. 전송한 뒤 후속 지시로 다듬습니다.

<img src="https://mintcdn.com/agoslabstechnologiesfzco/Fp8XwoziZBVDha6p/public/help-center/arcade/ai-chat/select-prompt-from-template/step-21.png?fit=max&auto=format&n=Fp8XwoziZBVDha6p&q=85&s=65259ae14987f07f4a2211ef12fc31d1" alt="프롬프트 전송 후 후속 지시로 수정" style={{ border: '1px solid #e5e7eb', borderRadius: '8px', marginBottom: '1.5rem' }} width="2880" height="1556" data-path="public/help-center/arcade/ai-chat/select-prompt-from-template/step-21.png" />

## 팁

일관성과 출력 품질을 높이려면 아래 팁을 참고하세요.

* 반복 가능한 작업에는 템플릿을 사용하고, 예외적인 작업에는 사용자 지정 프롬프트를 사용합니다.

## 관련

더 자세한 내용은 아래 관련 페이지를 참고하세요.

* [AI 채팅 기본 사항](/ko/help-center/chat/ai-chat-basics)
* [직접 프롬프트 입력하기](/ko/help-center/chat/enter-your-own-prompt)
* [채팅 설정 사용자 지정](/ko/help-center/chat/customize-chat-settings)