

Overview
Before starting a campaign, review the draft created by the agent and test the email. Approving a campaign does not begin sending to customers, so you start it separately after approval. This page explains how to test an email, approve and start a campaign, analyze results, and make revisions in that order.Review and Start a Campaign
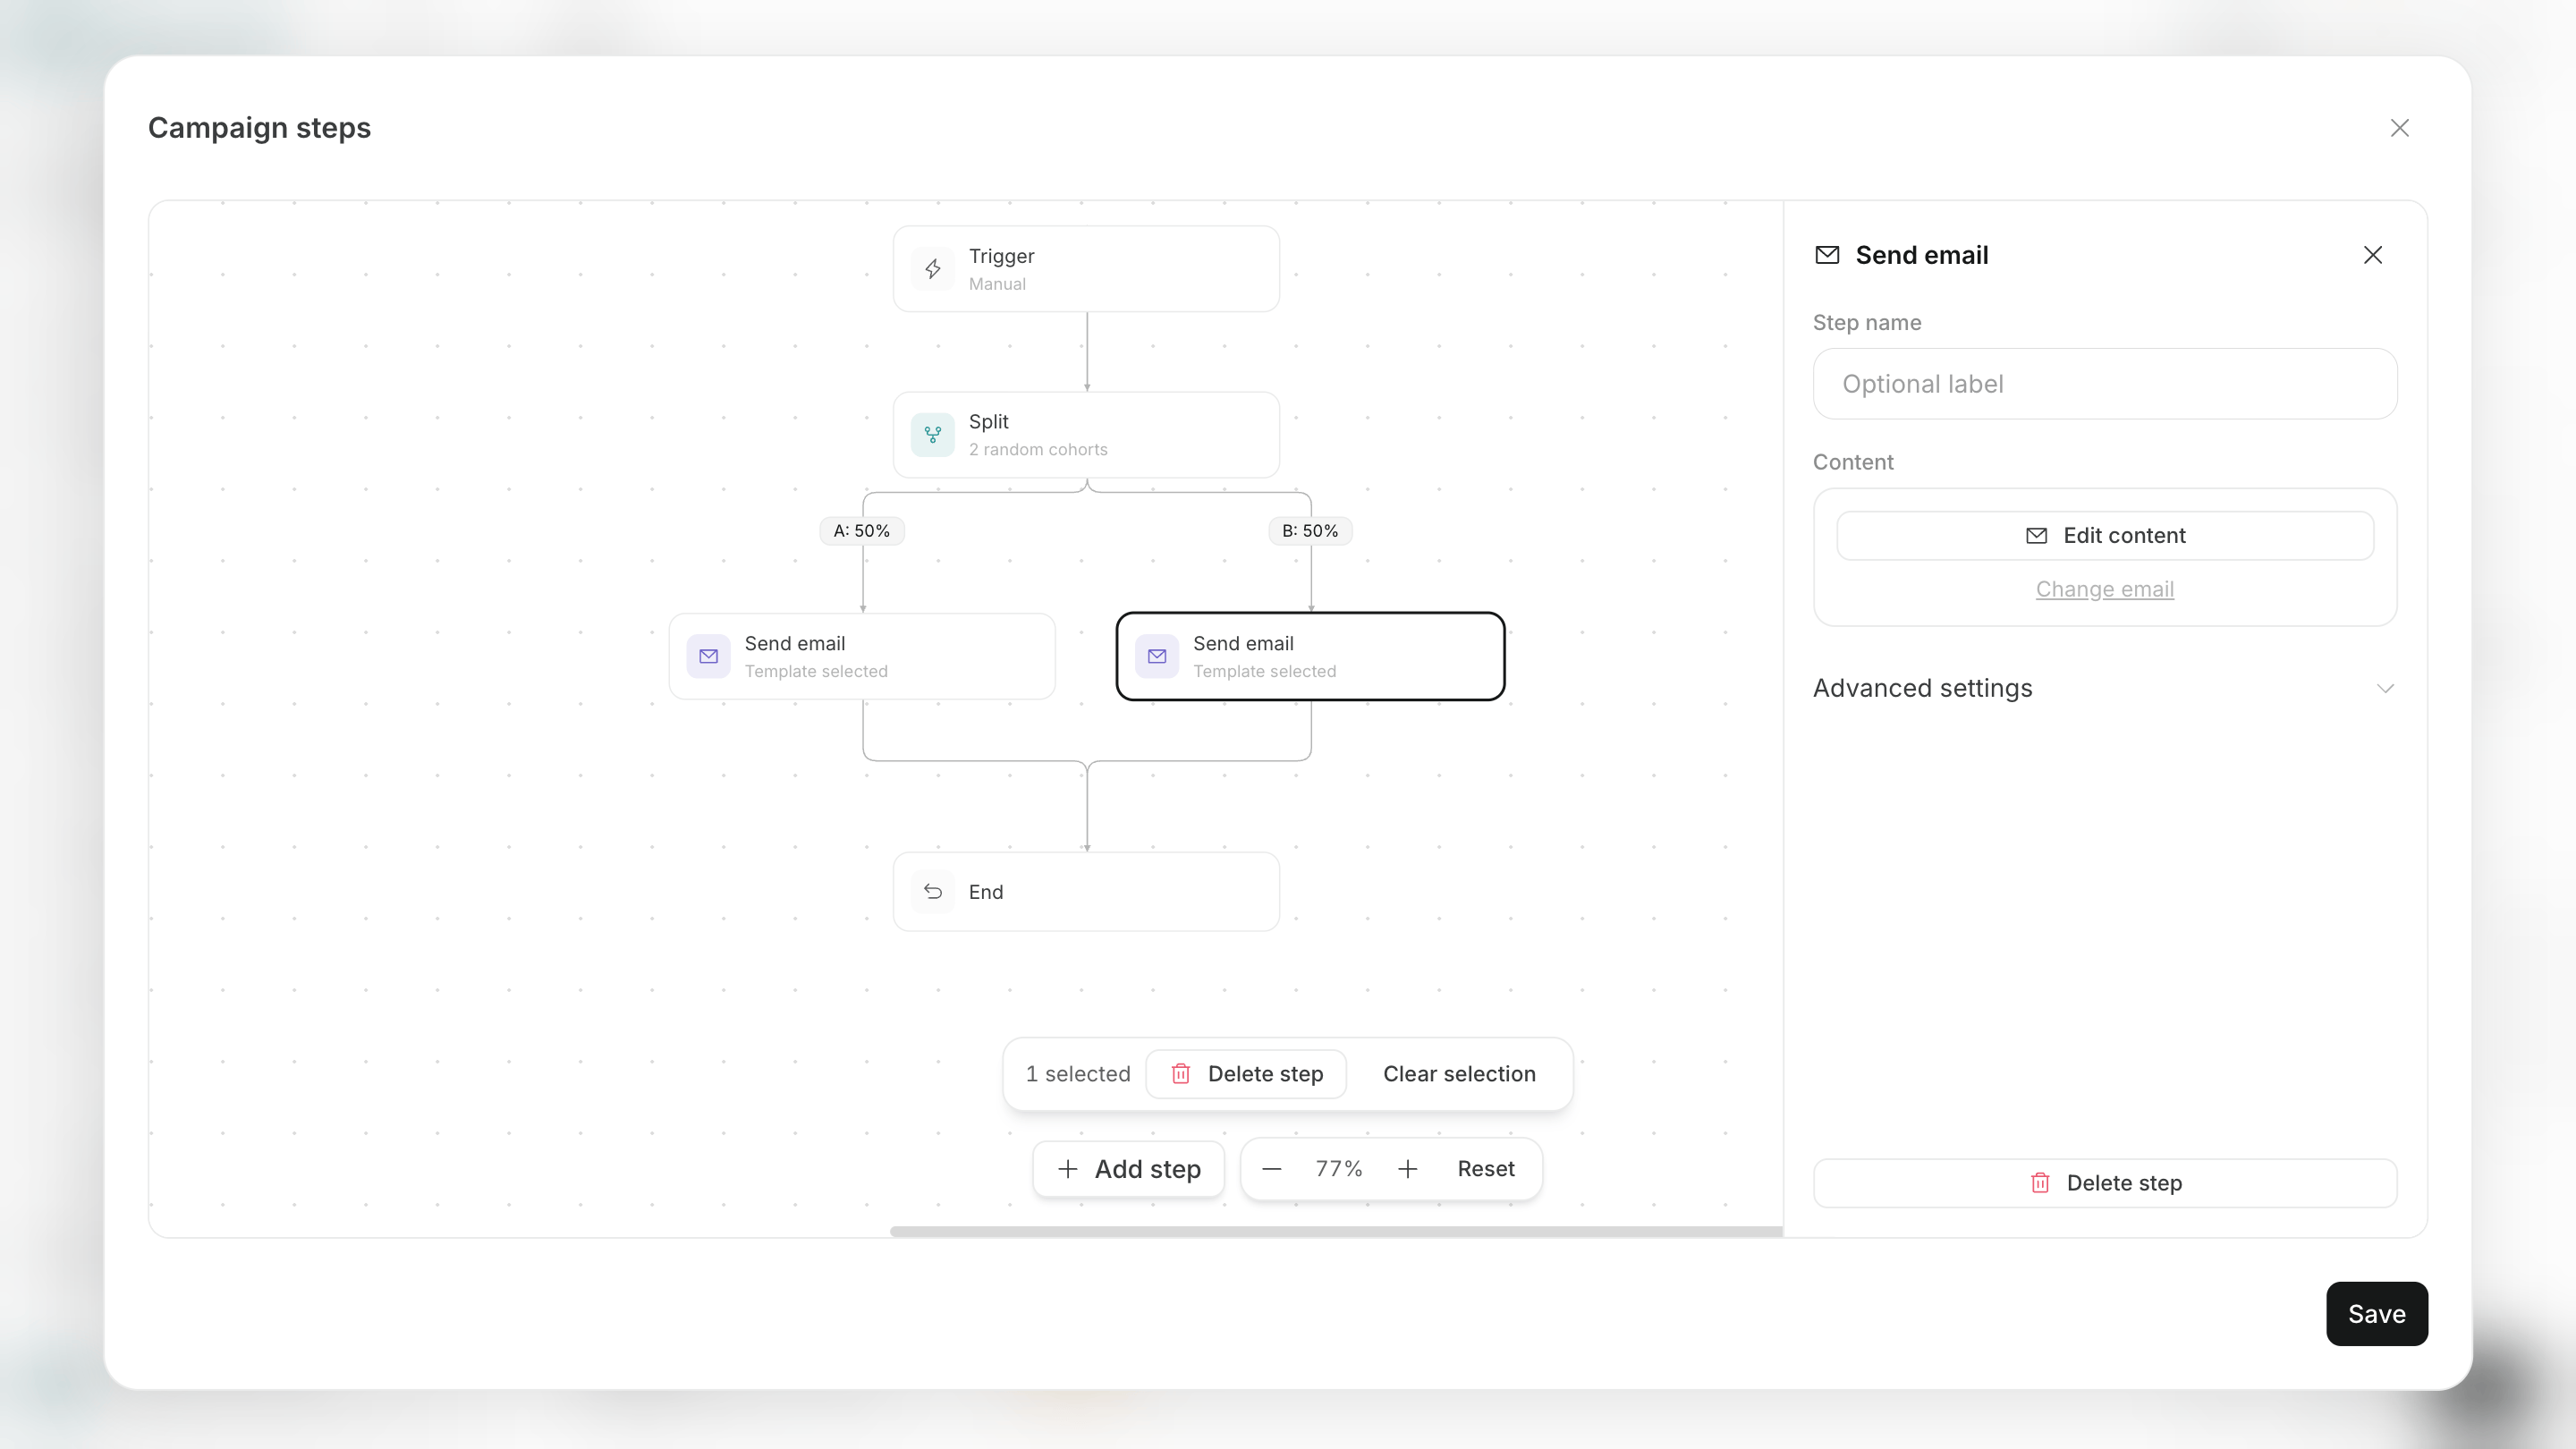
Review and start a campaign in the following four steps. When complete, customers who meet the entry condition move to the first step and the agent begins sending emails or notifications.1. Review All Campaign Steps
Before delivering messages to real customers, fix missing or incorrect settings. Review these seven items before starting.- The campaign goal is clear.
- The correct list or segment is selected.
- The trigger matches the intended condition.
- Email and notification content is complete.
- Wait times and branch conditions are correct.
- Every path reaches an endpoint.
- The sender and event tracking you need are available.
2. Send an Email with Test Run
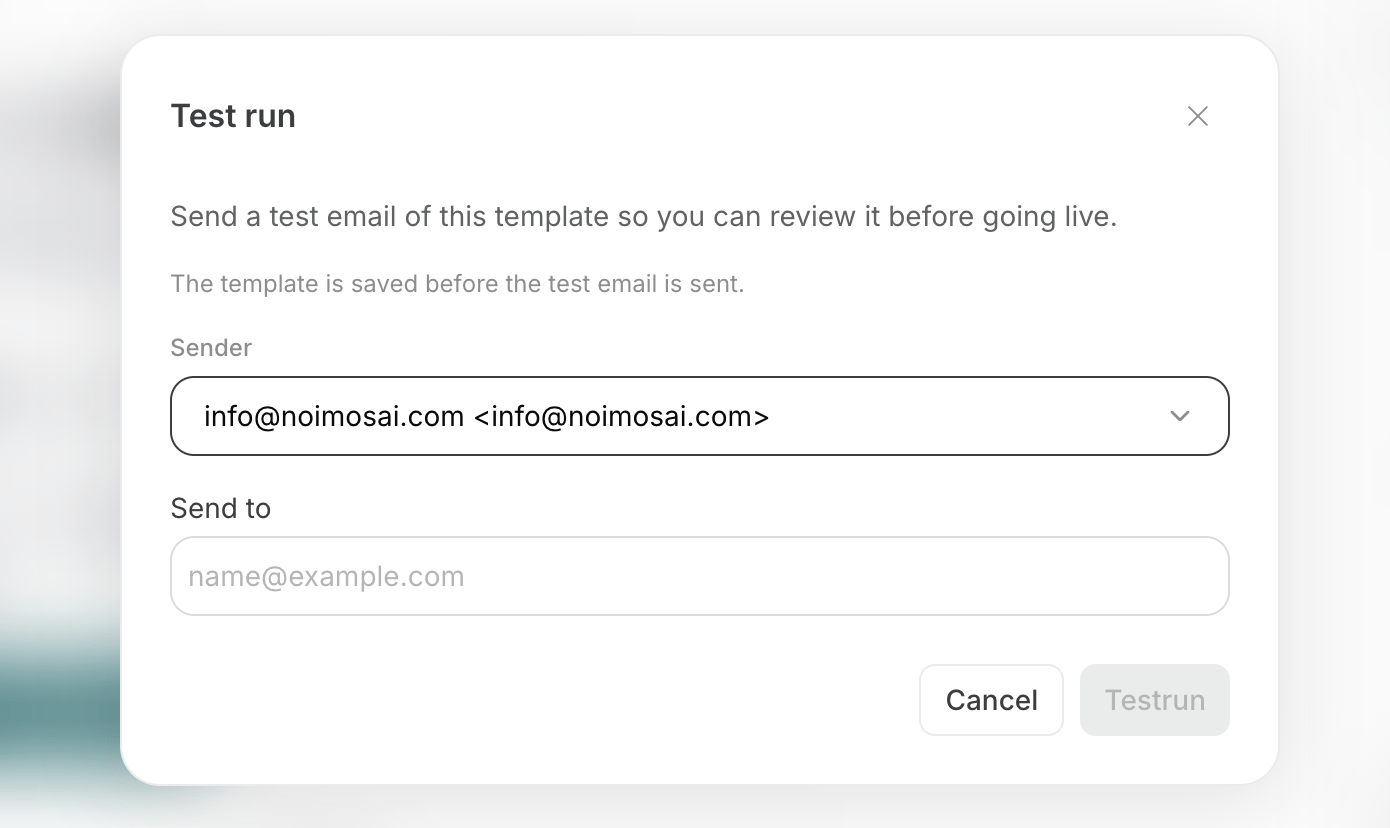
For a campaign that includes email, useTest run to send a selected email to a specified address.
Test run sends only one selected email step. It does not run the entire campaign, including waits, branches, actions, or goals.
Run a test in the following six steps. When complete, you can check the email display and links in an actual inbox.
- Open the campaign canvas or the campaign’s
Settings. - Select
Test run. - Choose the email step to test.
- Enter the test email recipient.
- Run
Test run. - In the received email, review the subject, body, inserted content, images, links, and layout issues.
3. Approve the Campaign
For a campaign draft created in chat, selectApprove in the campaign canvas to save it.
You cannot approve a campaign if no trigger is selected, a required step setting is missing, or a path has no endpoint. Fix the highlighted areas in the canvas, then approve it again.
4. Start the Campaign
After approving a campaign, start it from theAgents screen.
Start a campaign in the following five steps. Starting it can begin enrollment and sending.
- Open the campaign from
Campaignson theAgentsscreen. - In
ActivityandSettings, review the goal, audience, sender, and campaign steps. - Turn on the toggle at the top of the screen.
- In the dialog, review the campaign to start and its estimated credit usage.
- Confirm that you want to start it.
Analyze Results and Request Improvements
After you start a campaign, itsActivity displays customer progress and main results. For detailed results, ask the agent to summarize them in the campaign’s Tasks.
For a customer engagement campaign, track these four metrics.
- Number of customers enrolled in the campaign
- Number of customers reached by a message
- Email open rate
- Number of customers who reached the goal
—. Use a verified sending domain to measure delivery results in NoimosAI.