Overview
TheTable block is for managing tabular information on a page.
You can create a custom table from scratch or add data from connected accounts as Linked Data columns.
When to use it
Use a table when you want to organize information like this on one page.- Manage initiative lists, tasks, and review items.
- Compare posts, pages, search queries, or similar records by row.
- Manage statuses, owners, dates, and URLs in columns.
- Review connected account metrics in the same table.
Add a table
Insert a table from the add block menu.- Open the target page.
- Click
Add block. - Select
TablefromData. - Add the rows and properties you need.
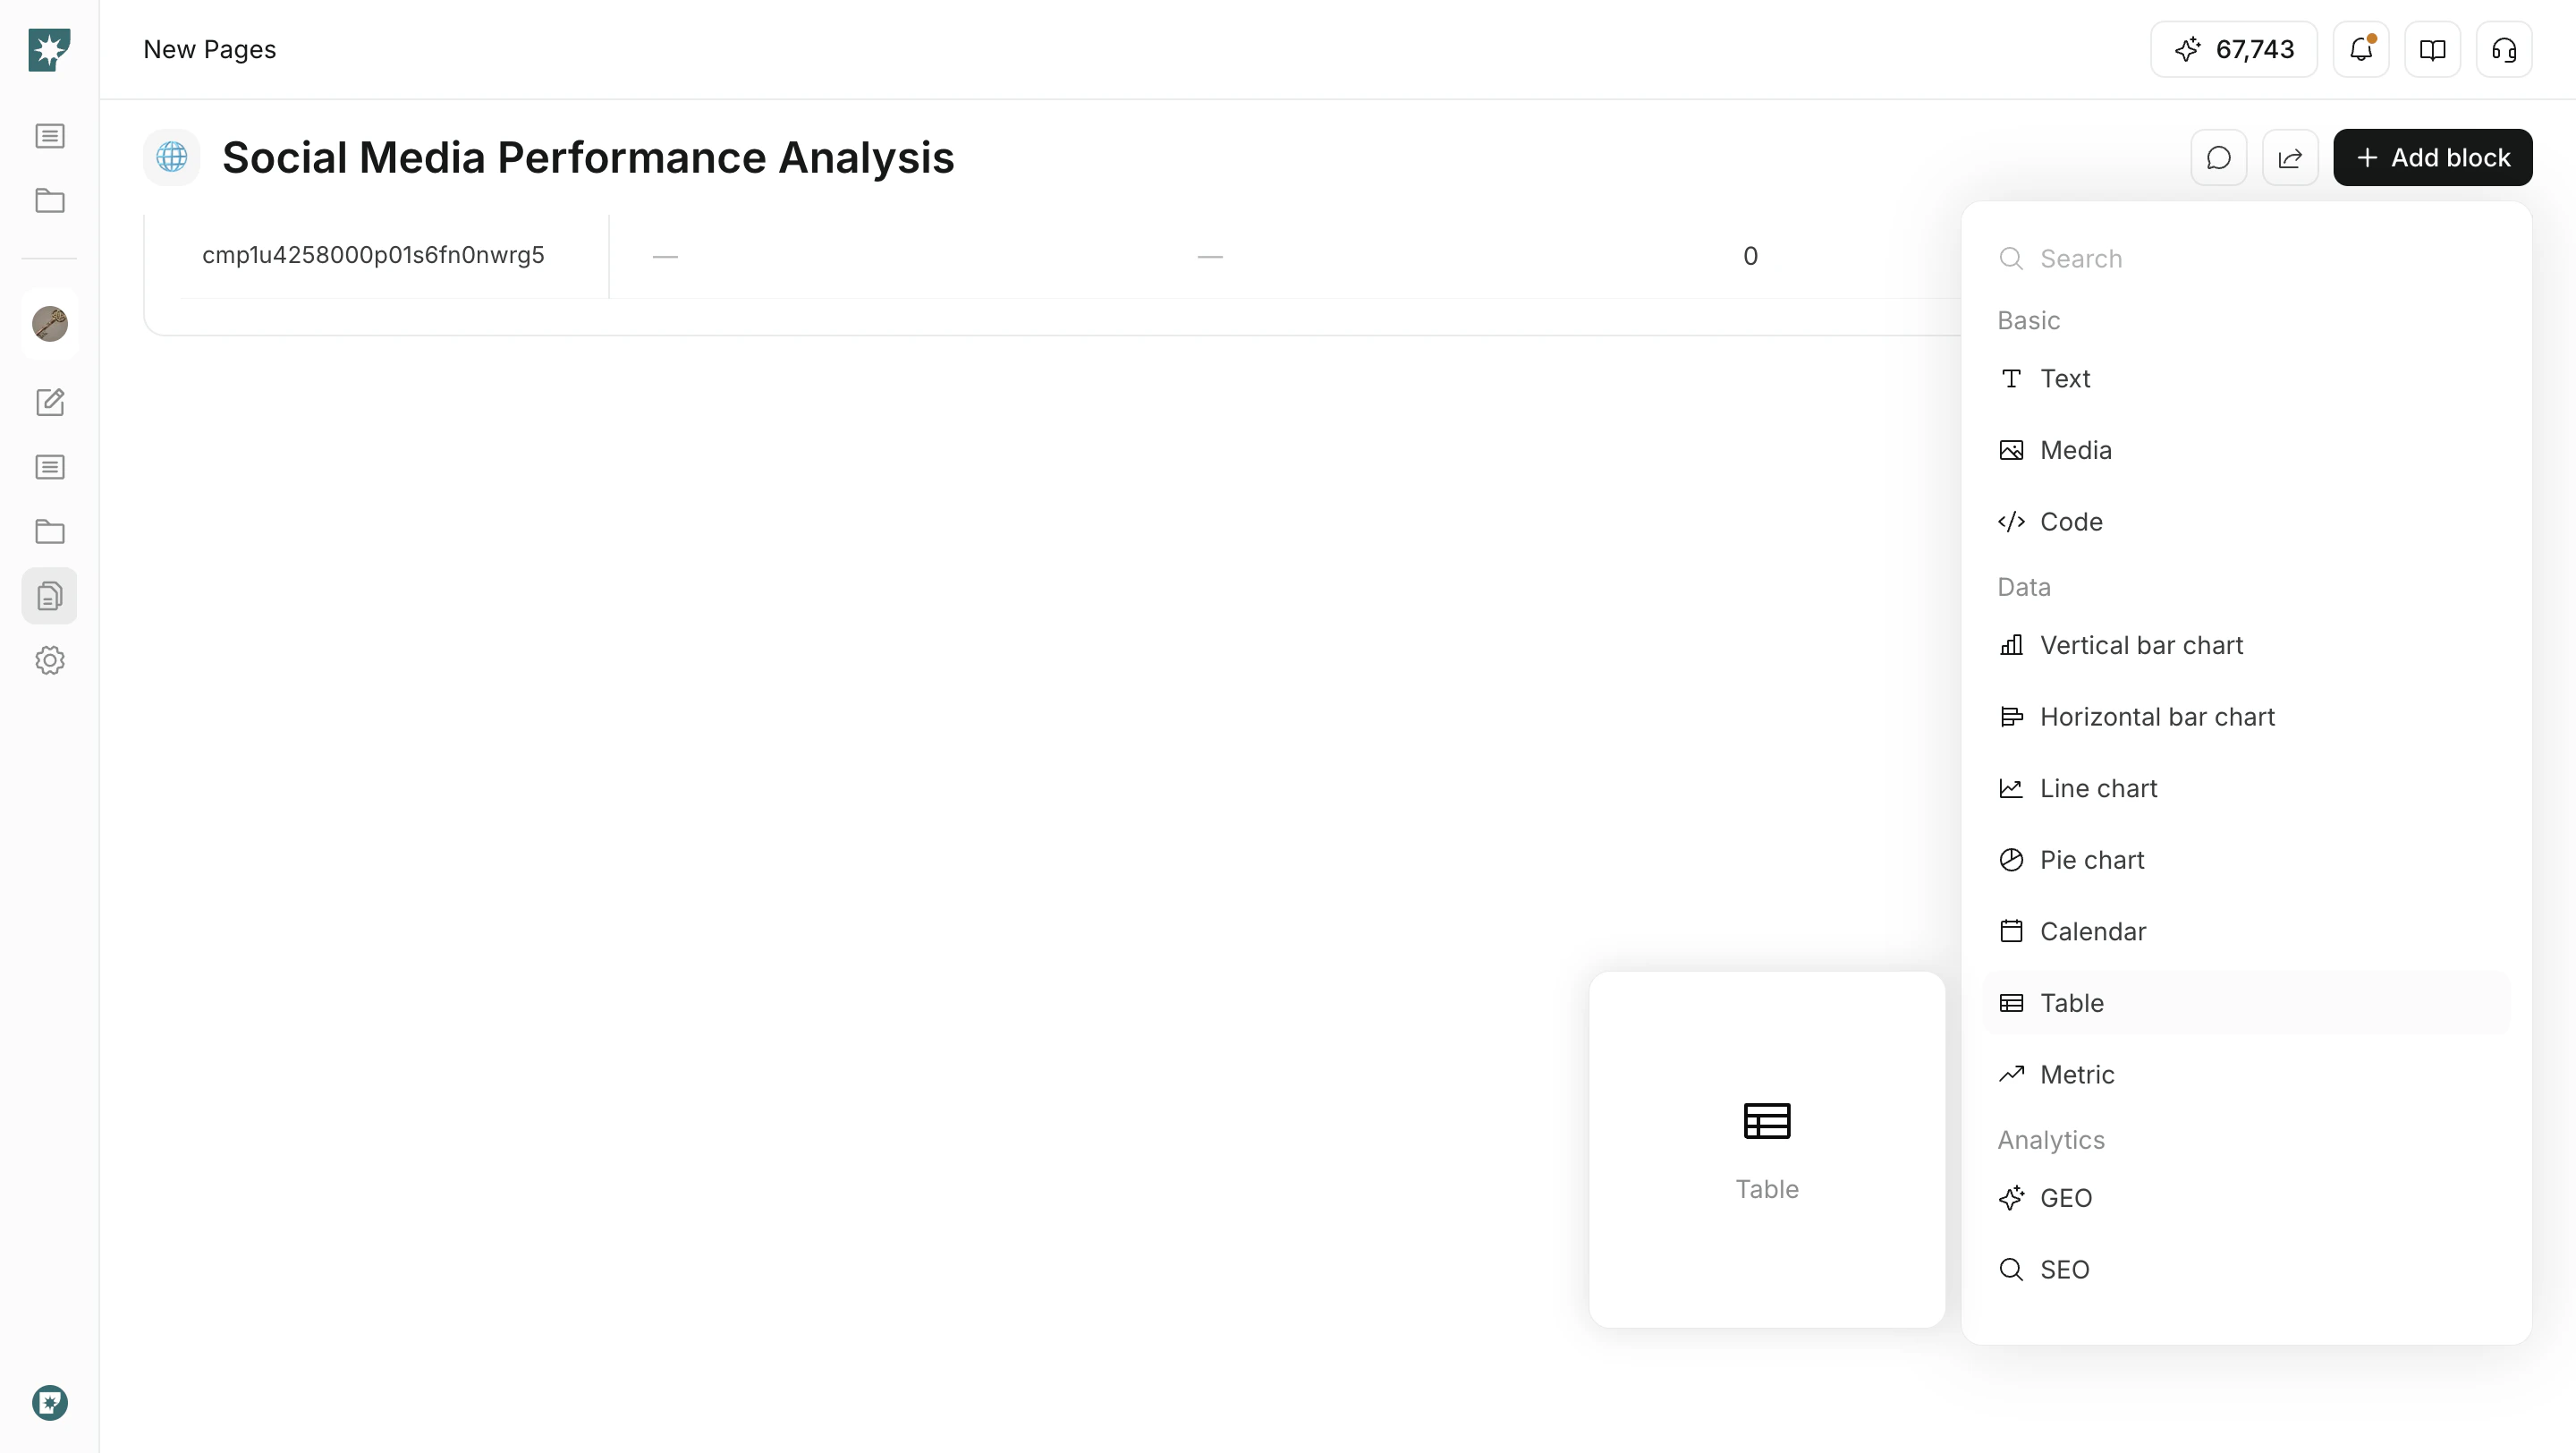
Add properties
Properties are the types of information used as table columns.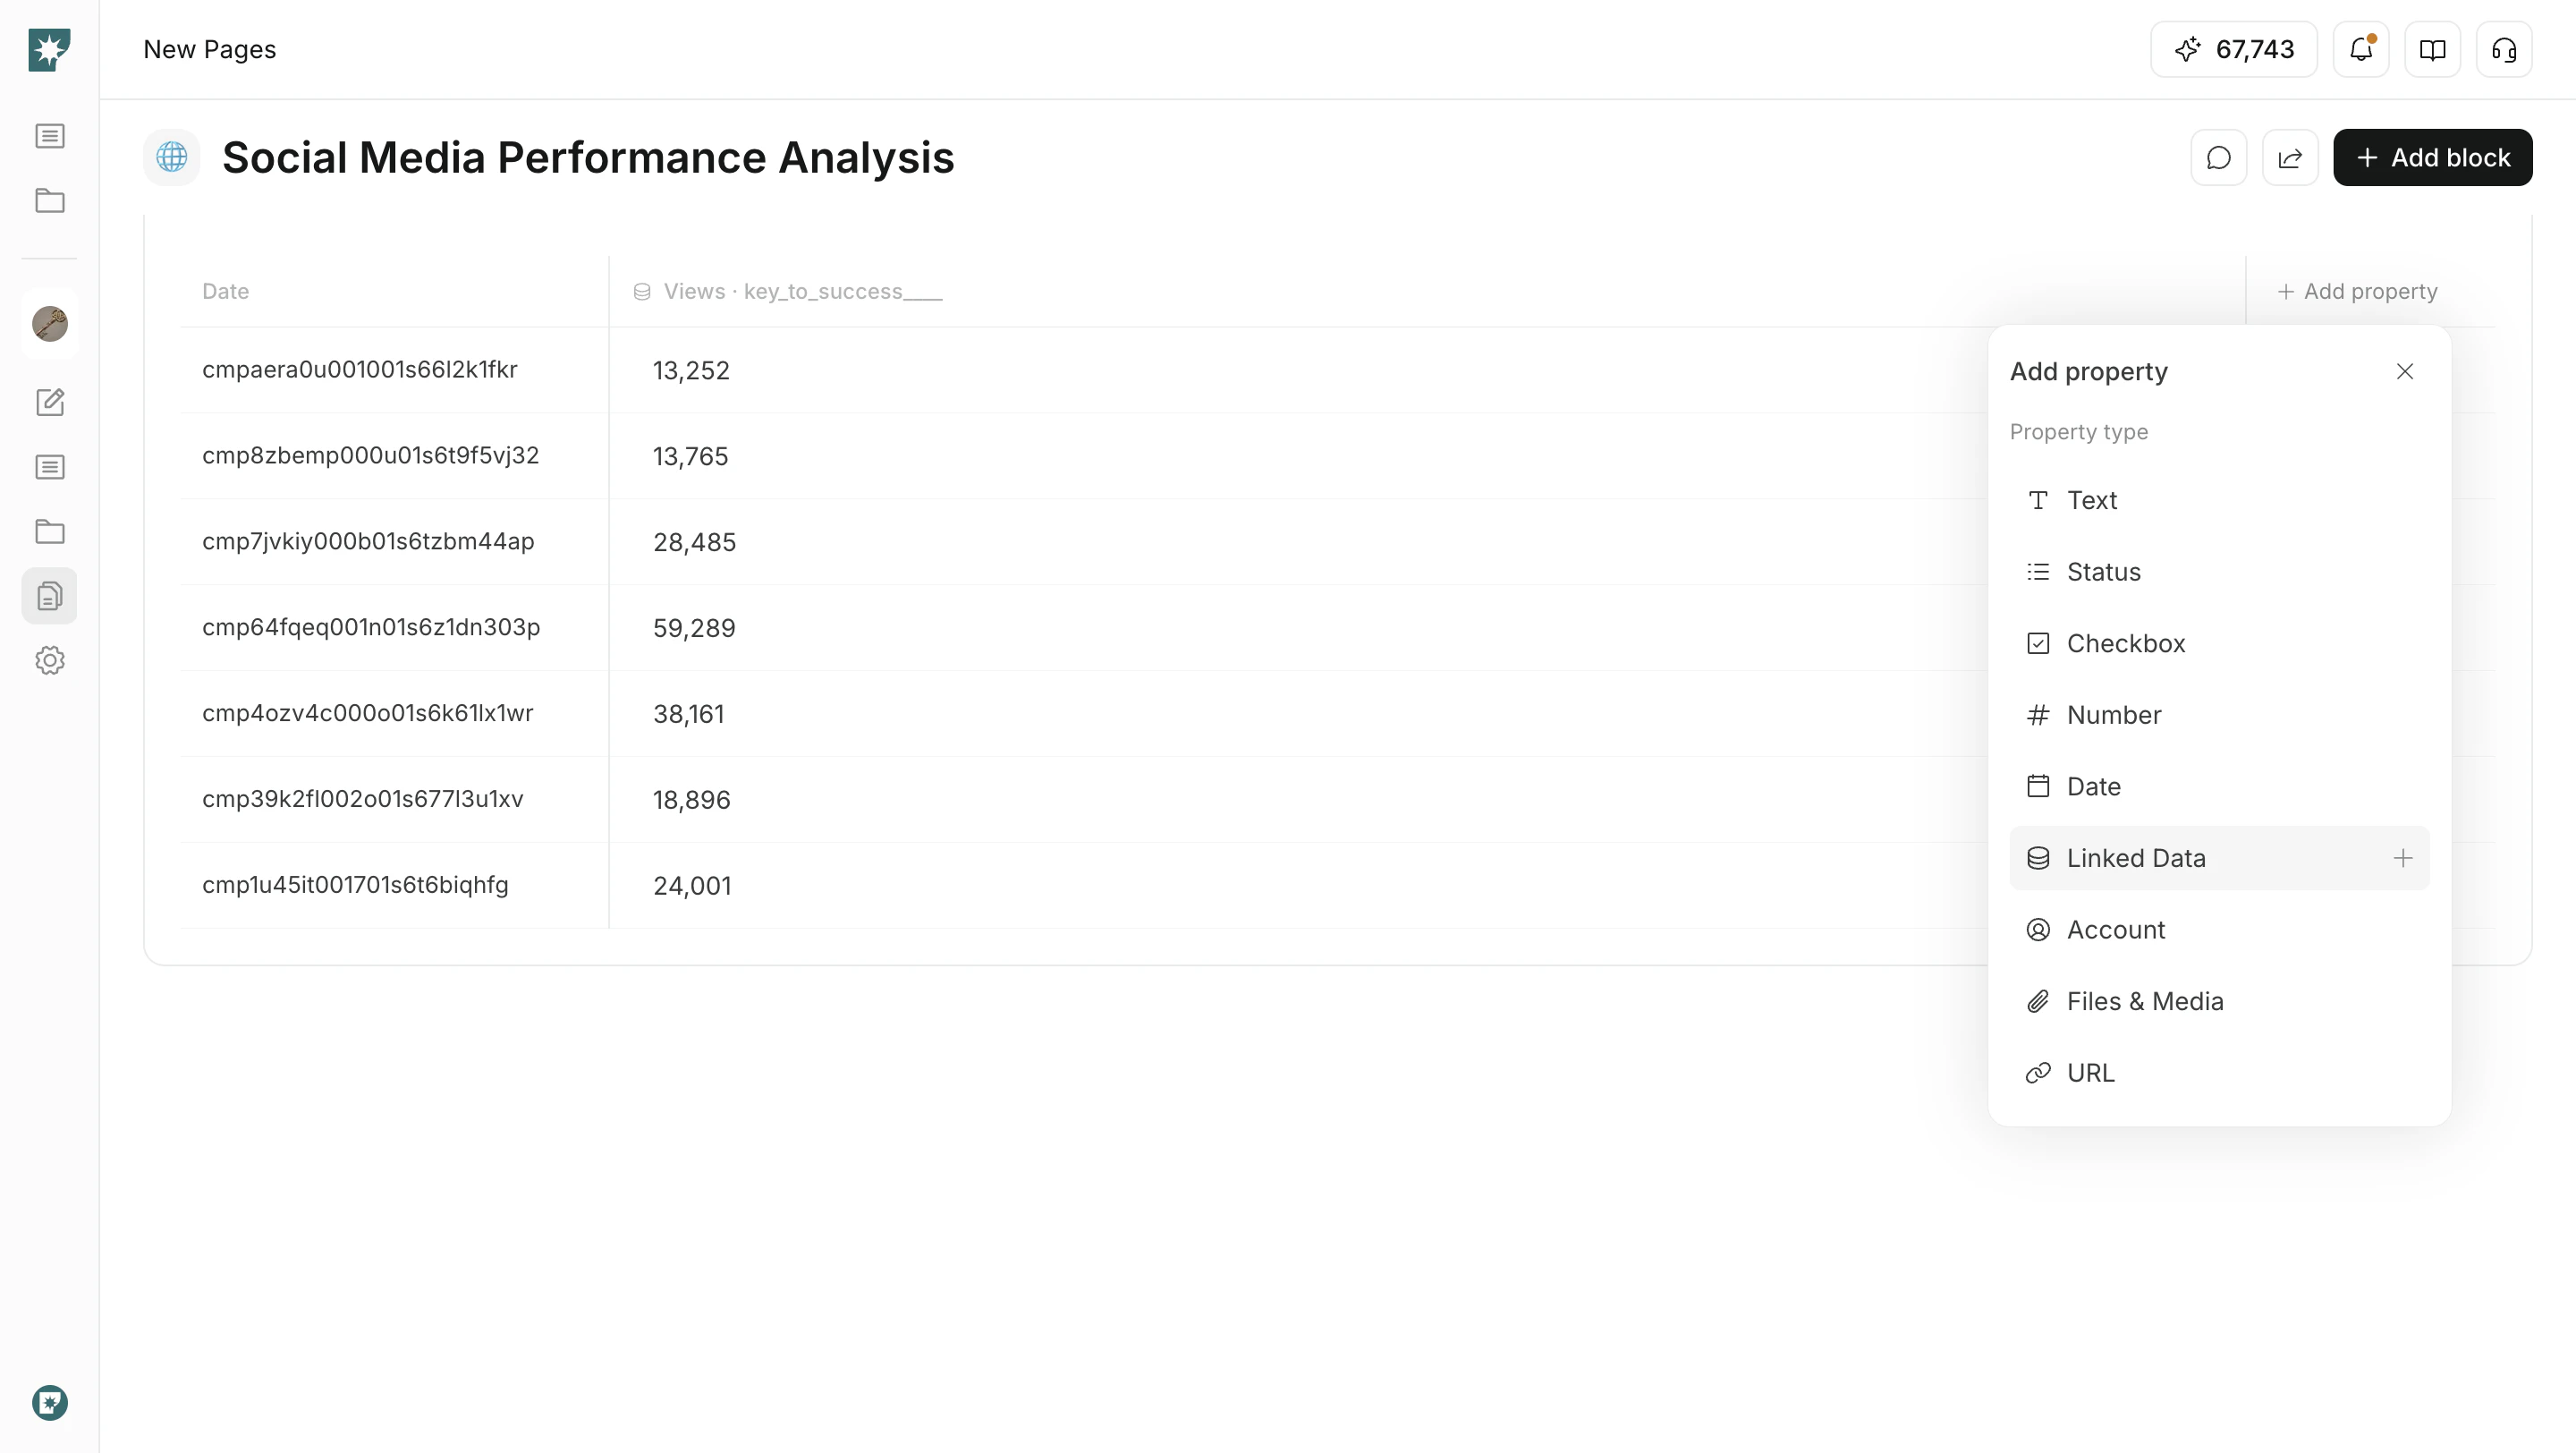
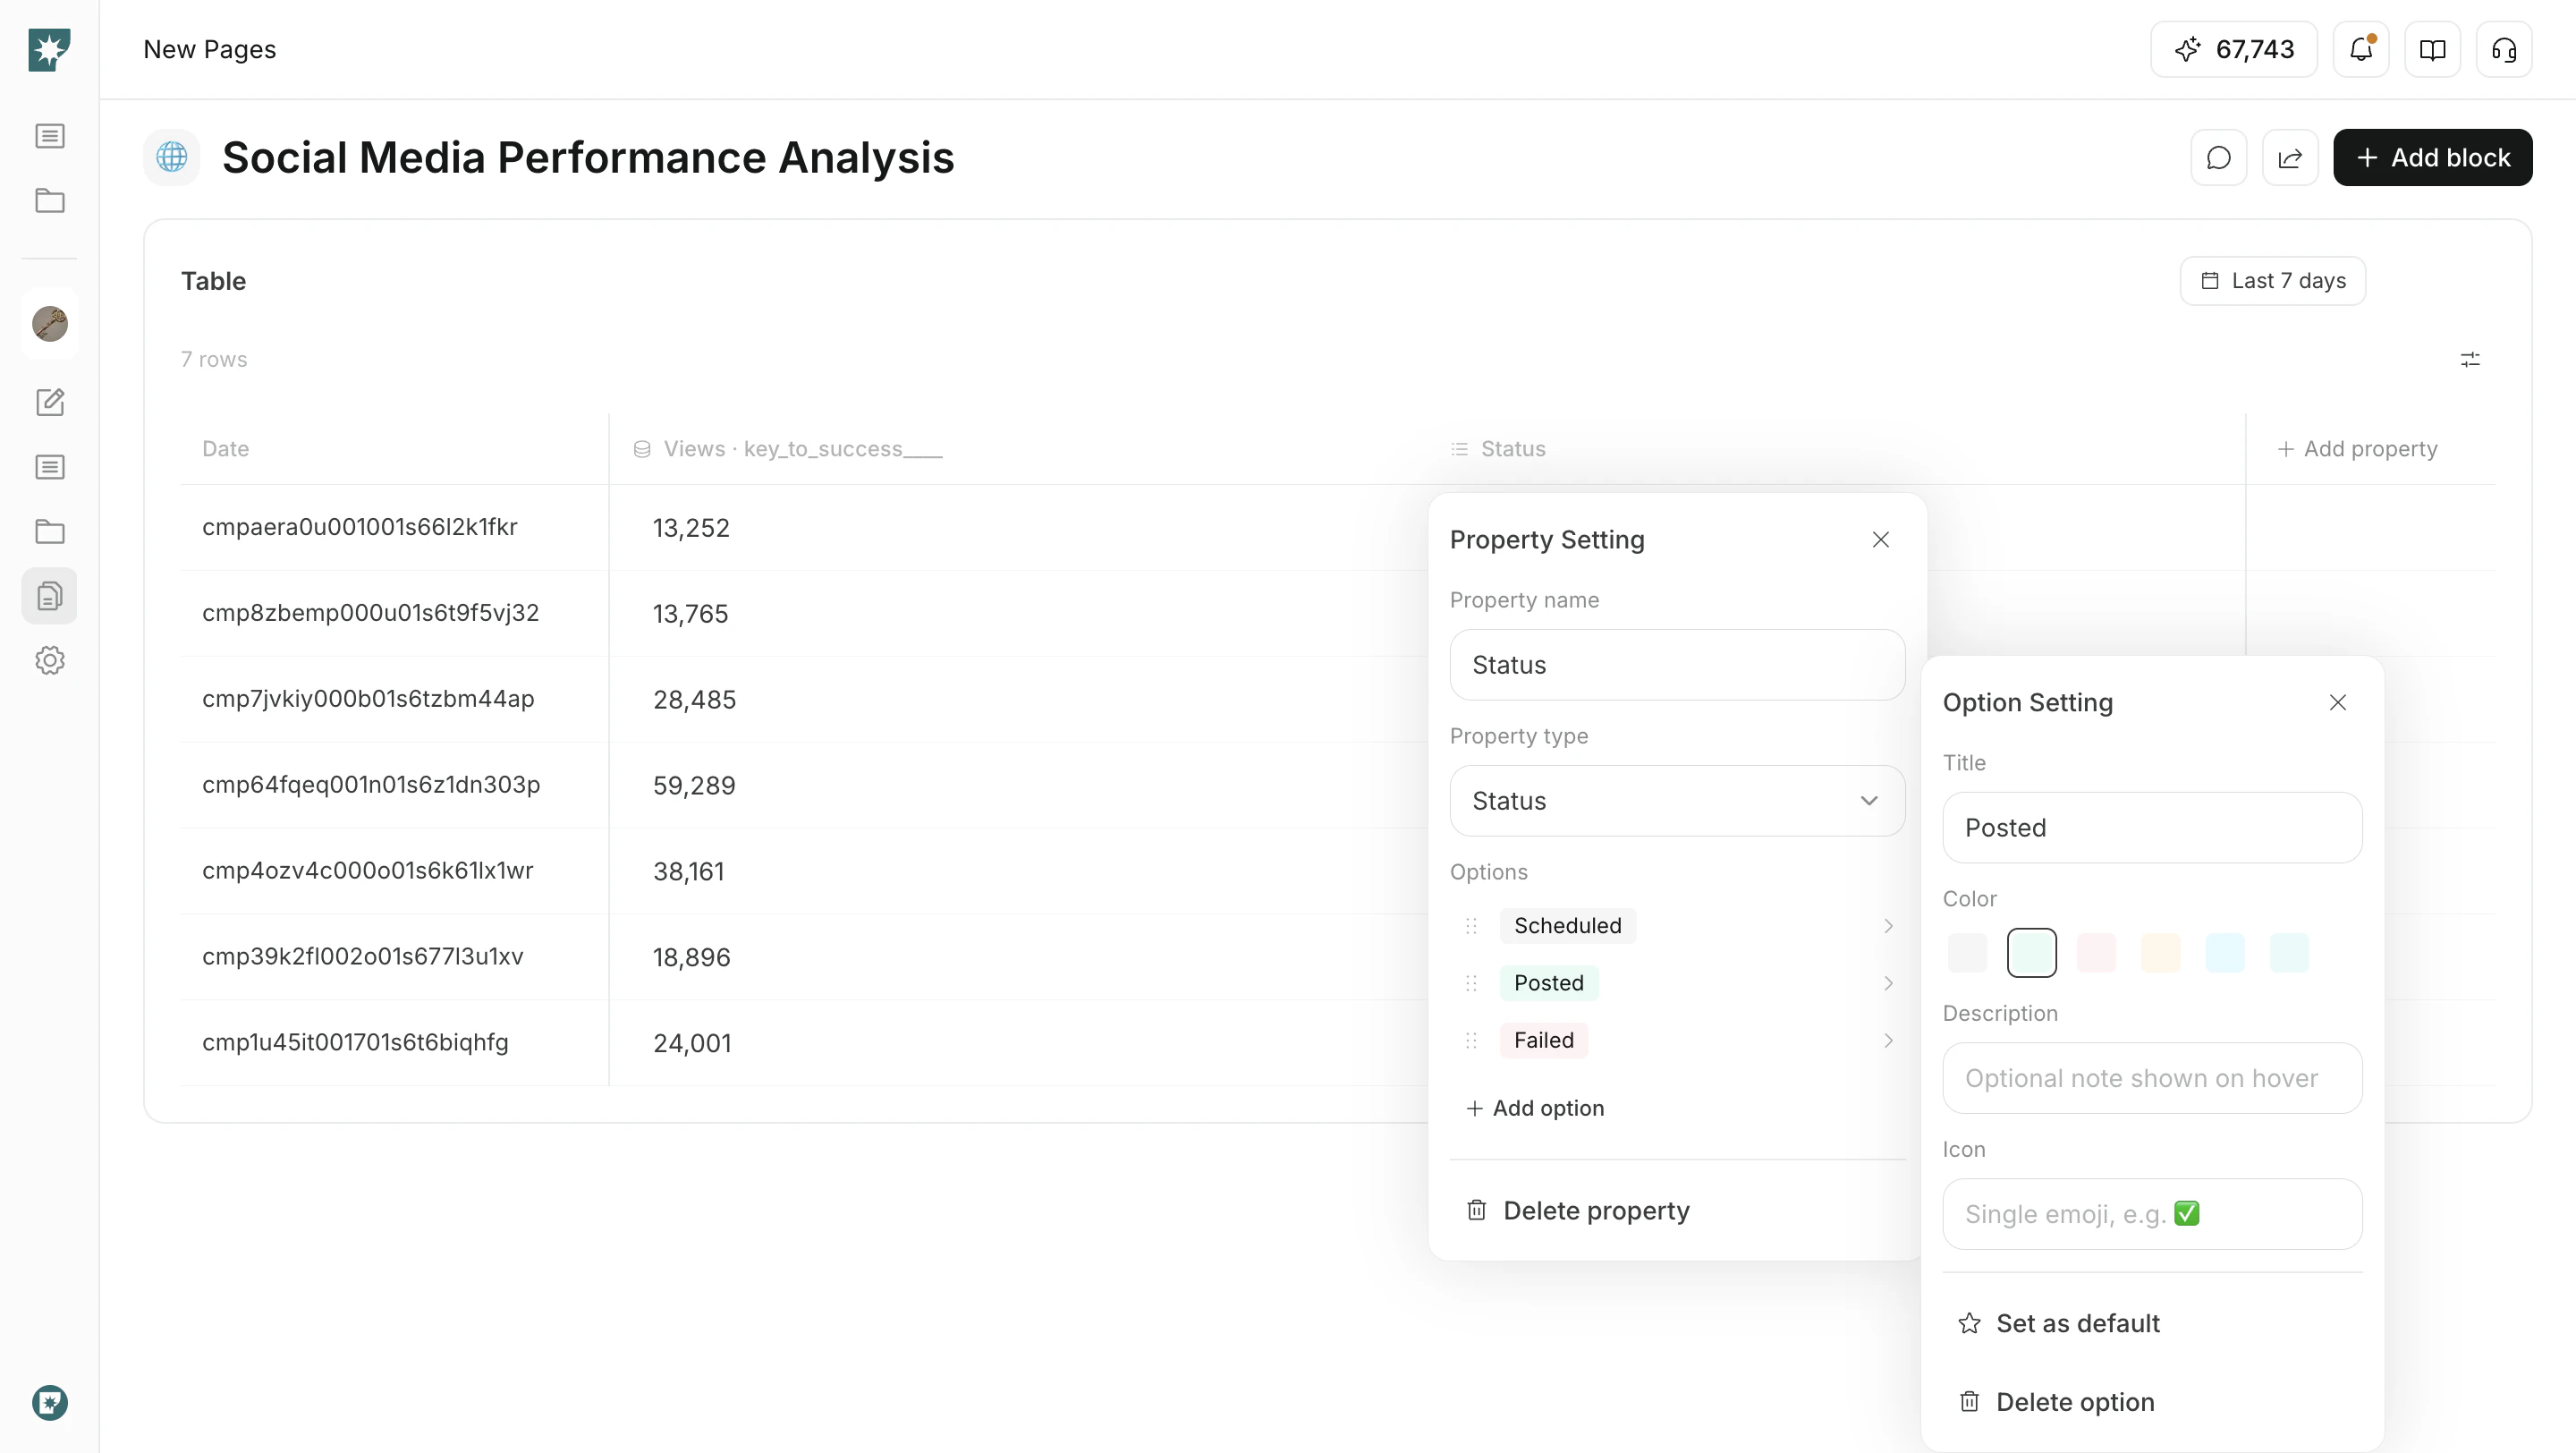
Configure statuses
Use theStatus property to tailor options to your workflow.
- Rename options.
- Set colors, descriptions, and icons.
- Make a frequently used status the
Default. - Drag statuses to change their order.
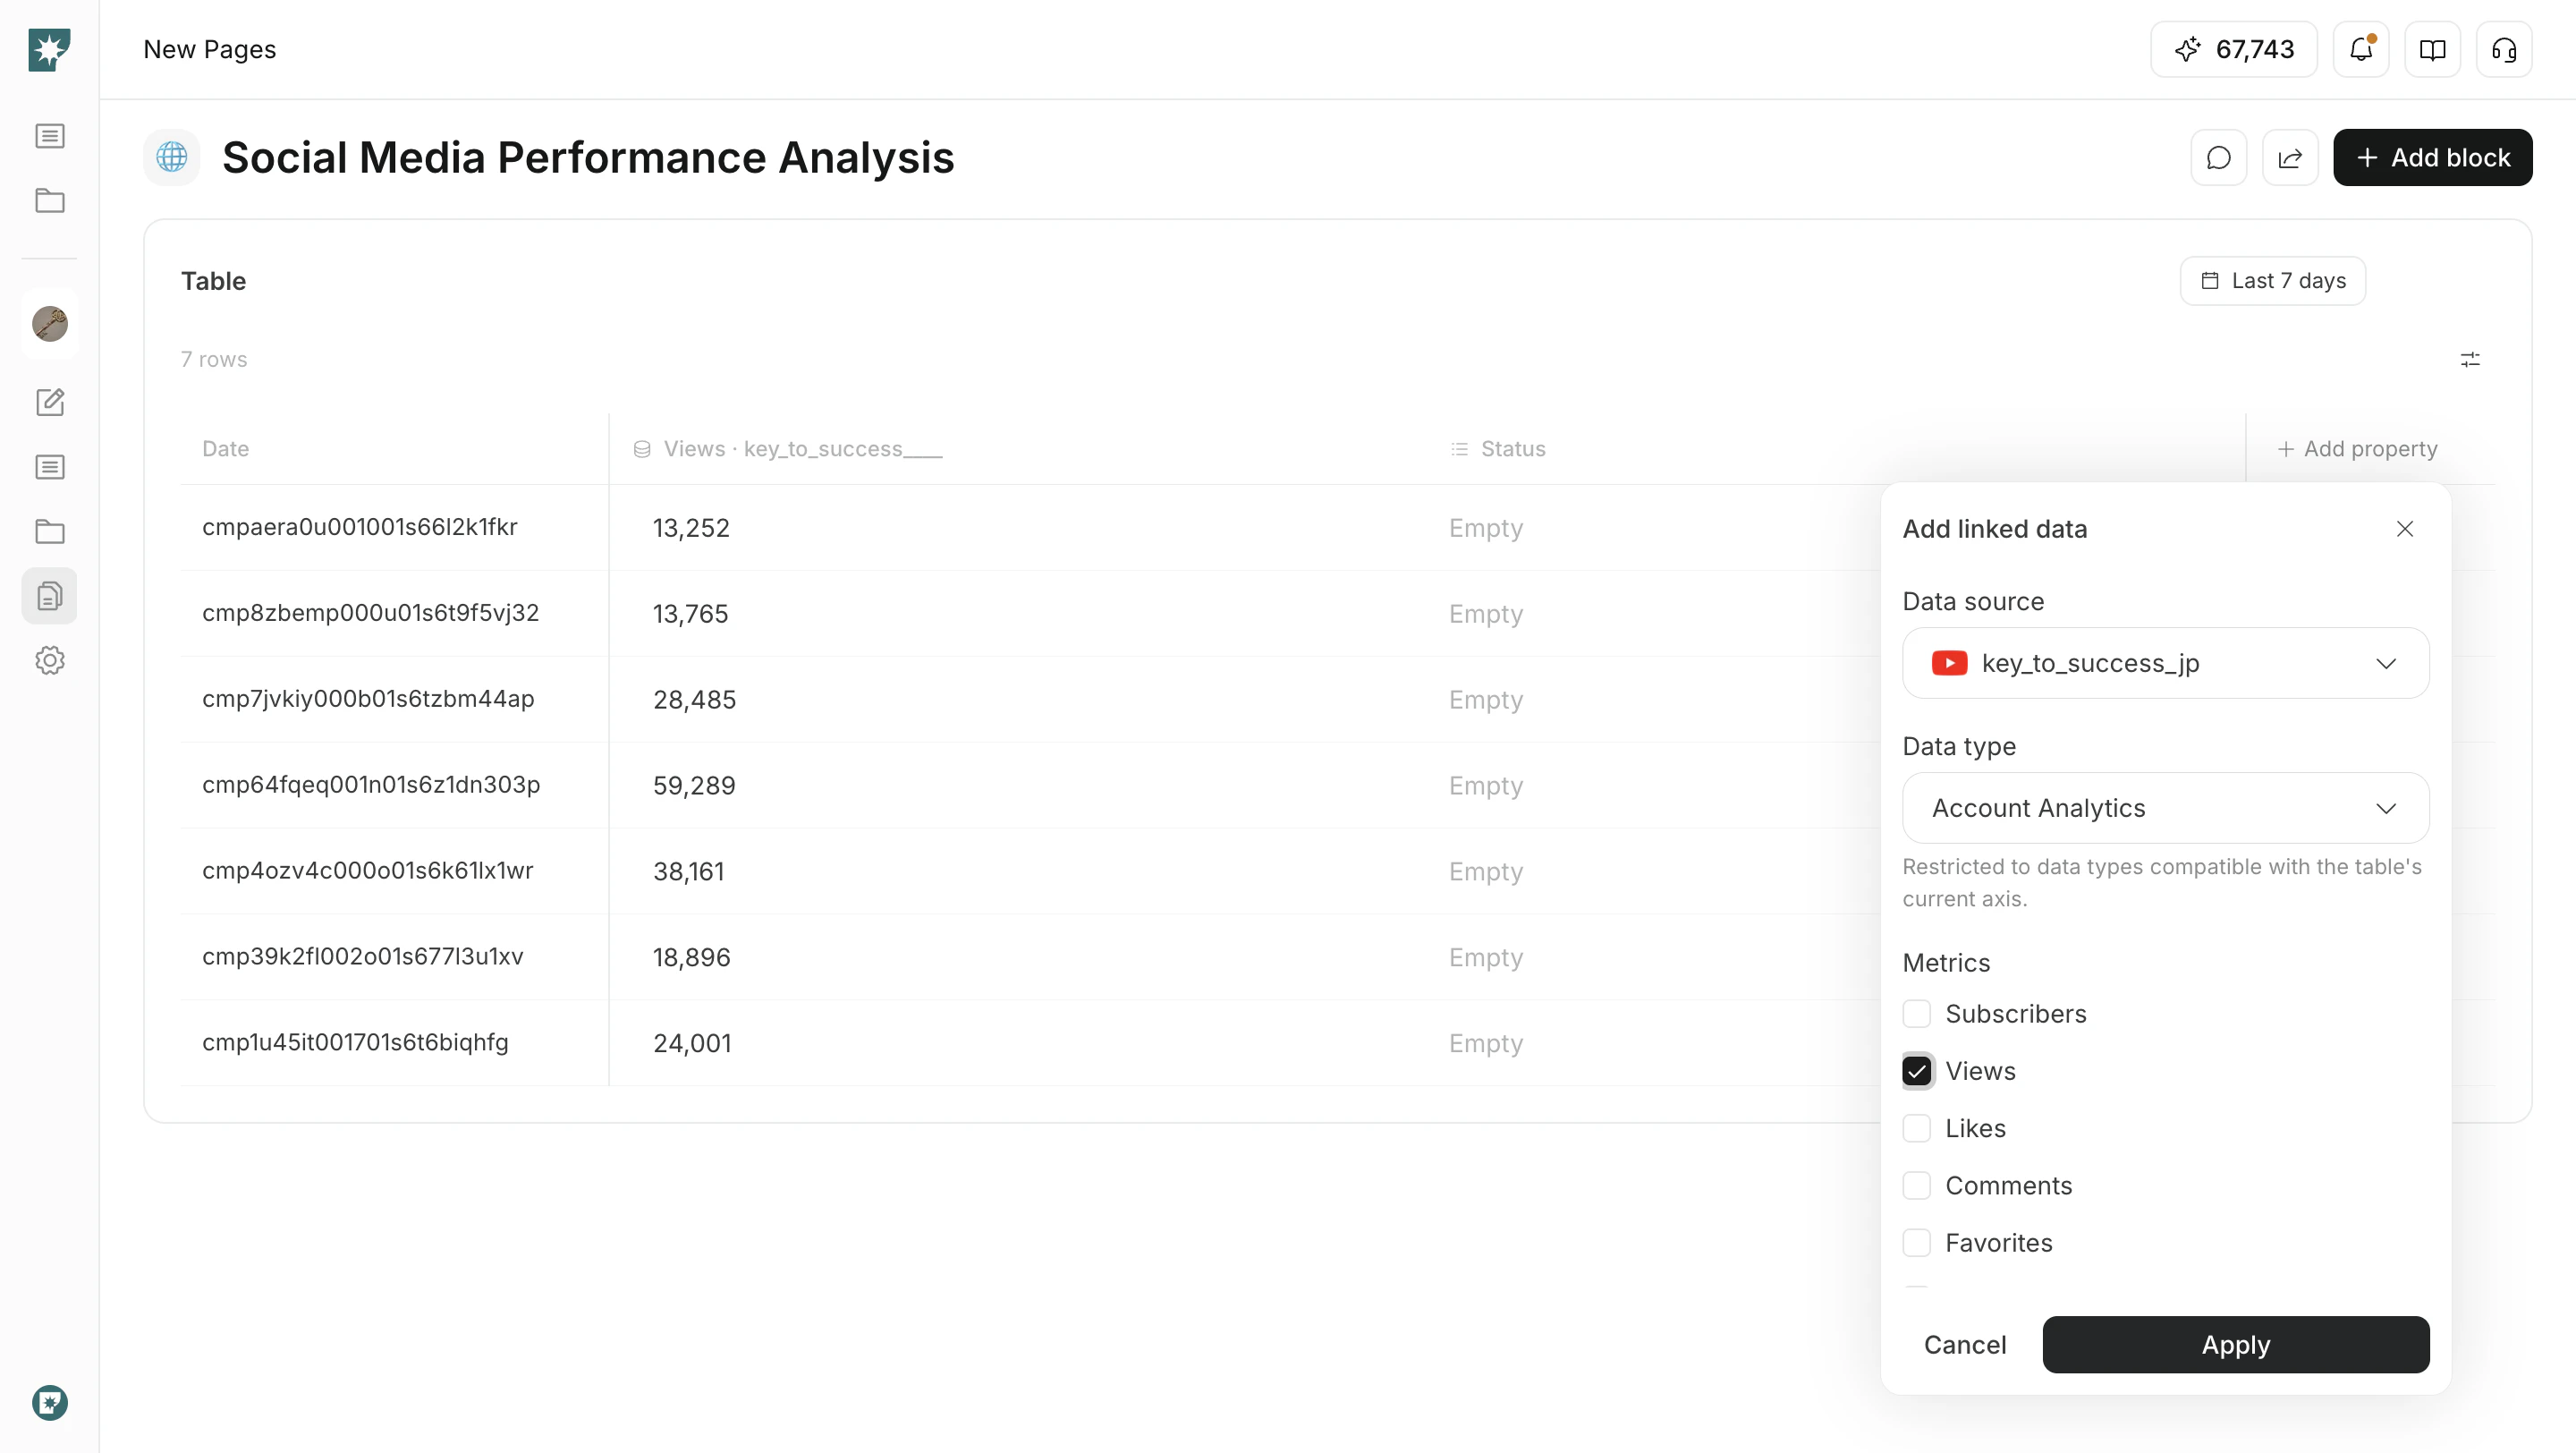
Add Linked Data
UseLinked Data to show data from connected accounts as table columns.
- Open
Add property. - Select
Linked Data. - Choose the data source, data type, metrics, and period.
- Click
Applyto add it to the table.
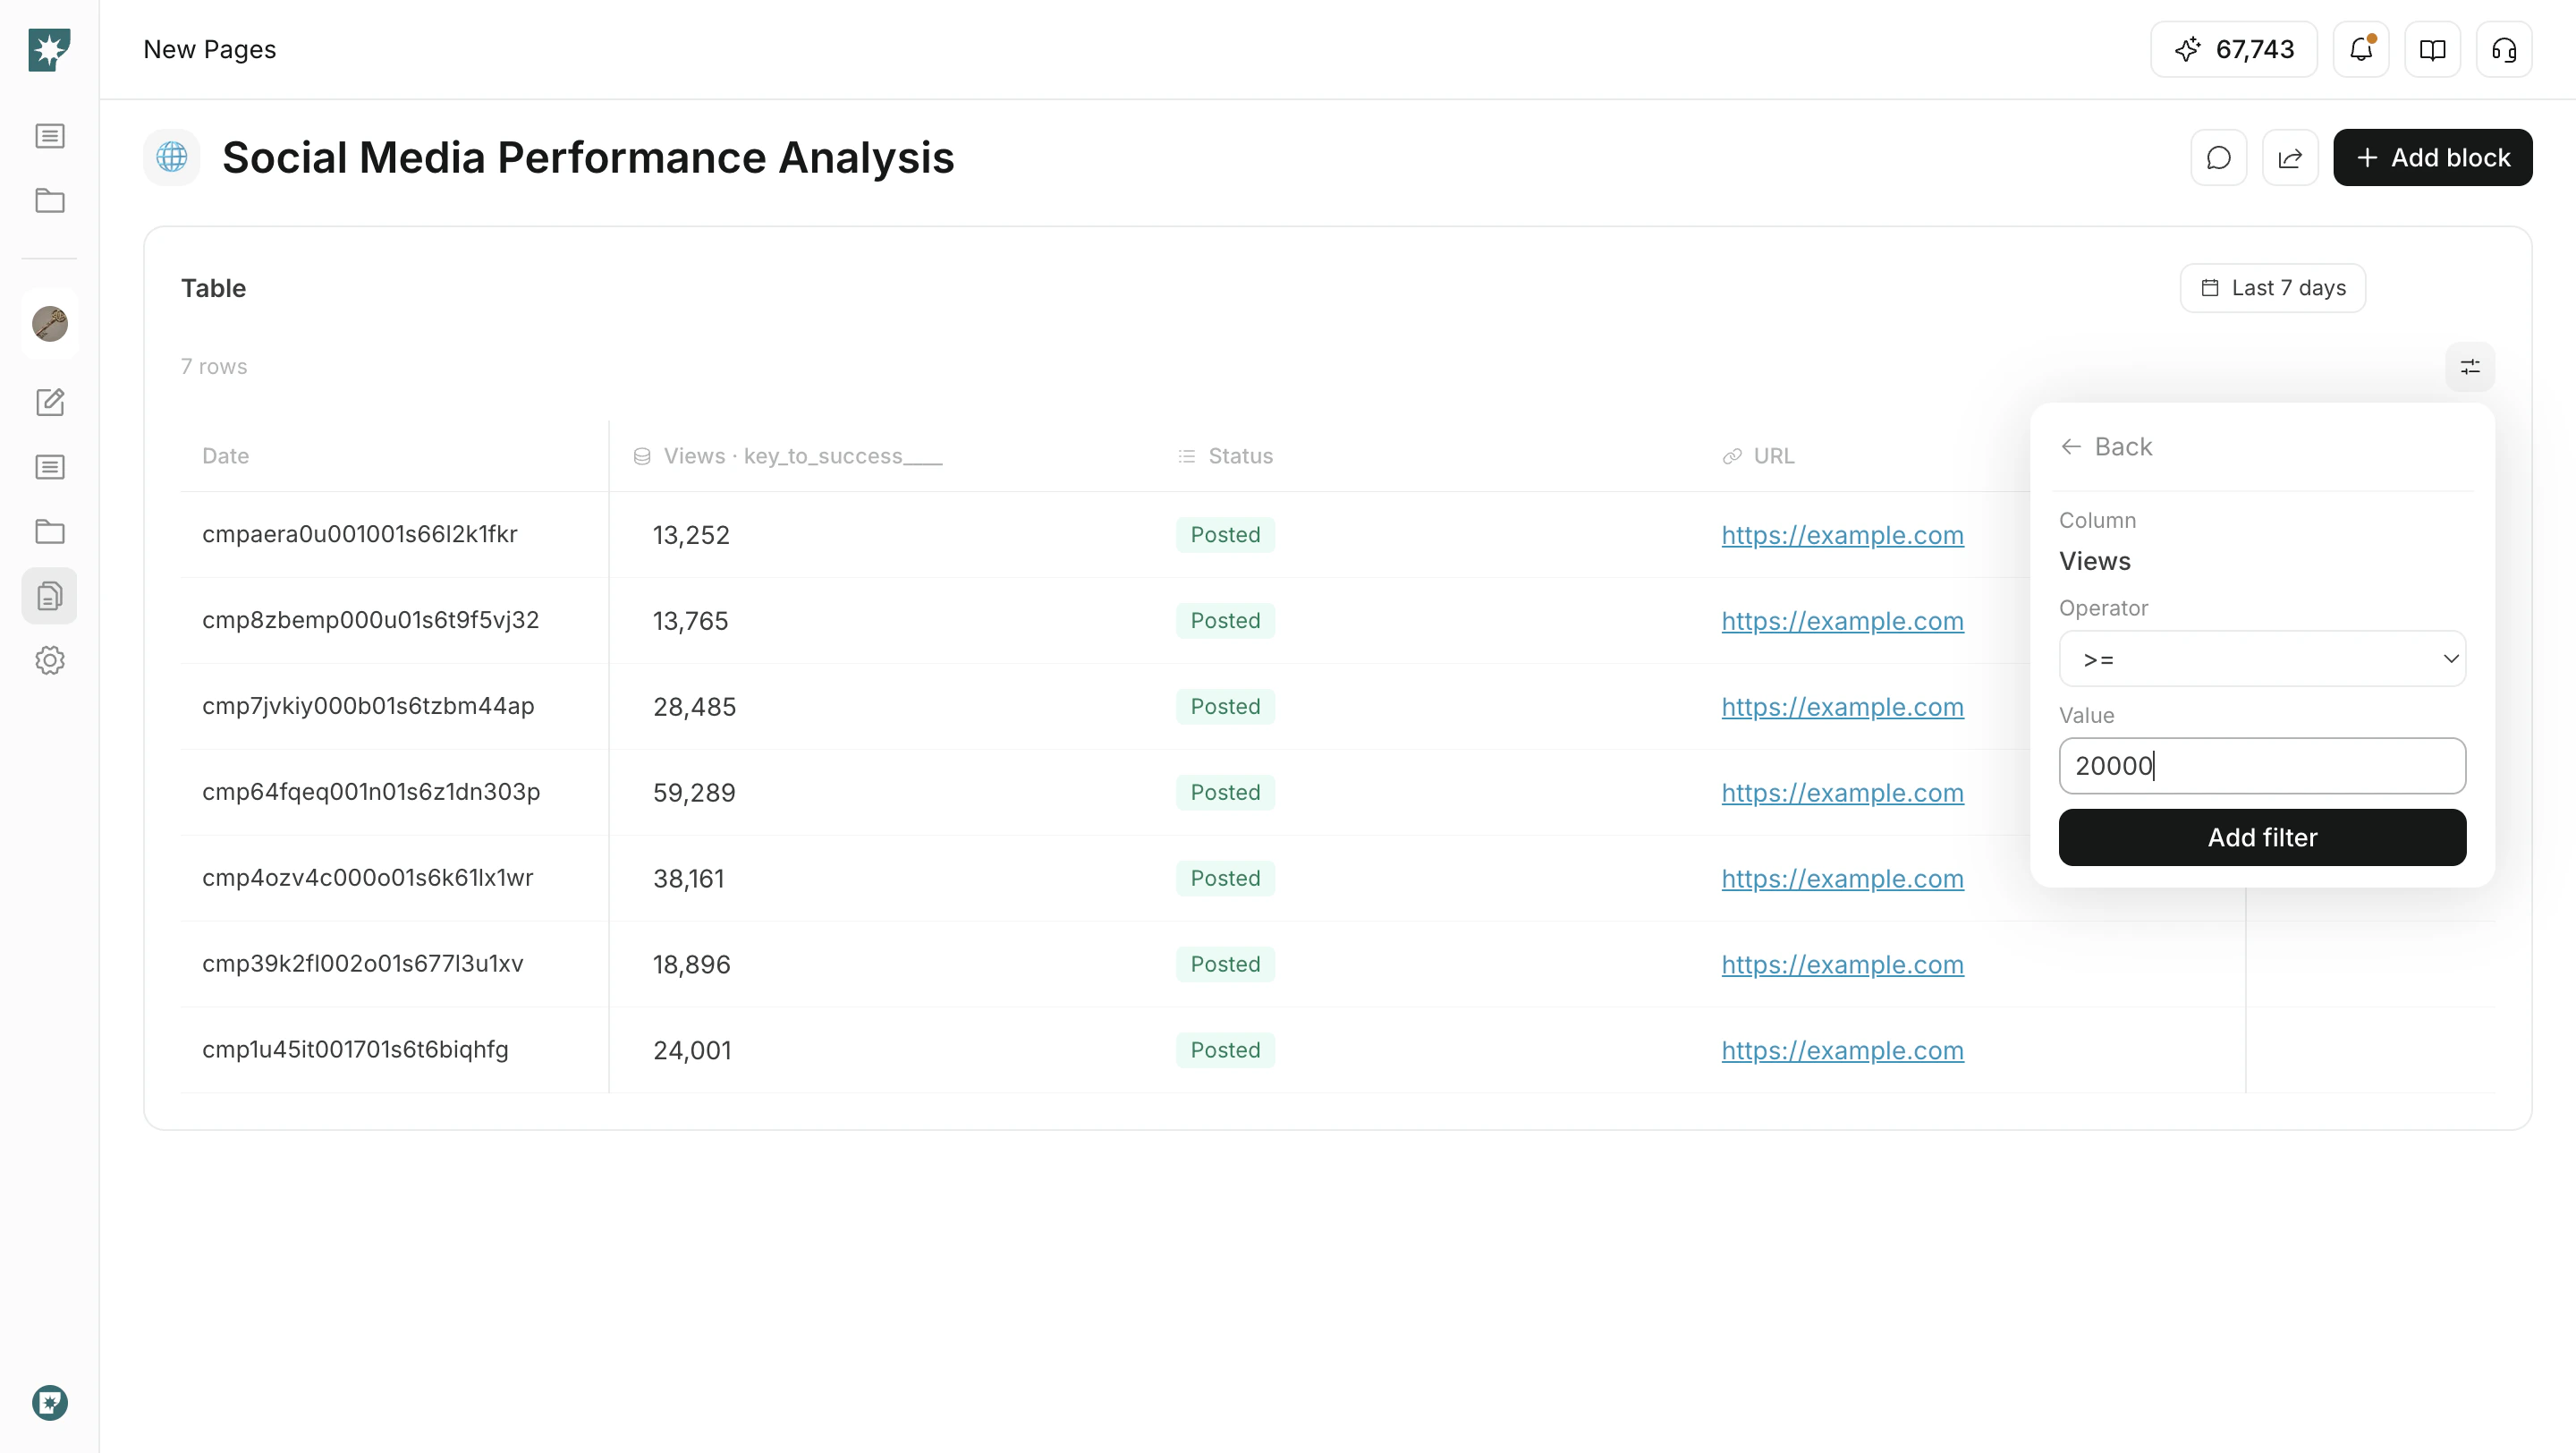
Filter and sort
When a table has many rows, use filters and sorting to focus what you review.Filter: Specify a column, condition, and value to show matching rows.Sort: Sort numeric or date columns in ascending or descending order.Pagination: Review large tables page by page.