Overview
Use this guide to get your first autonomous workflow running quickly. You only need to do three things:- Connect your apps
- Create an agent
- Review results in All Tasks
Before You Start
Confirm the basics below so your first autonomous run can start without setup blockers.- You can access a workspace.
- You have at least one app to connect (for example, Google Analytics, WordPress, or social platforms).
- You know the first task you want agents to run autonomously.
Step 1: Connect Apps
OpenSettings in your workspace, then go to Integrations.
From there:
- Click
Connectfrom Integrations.
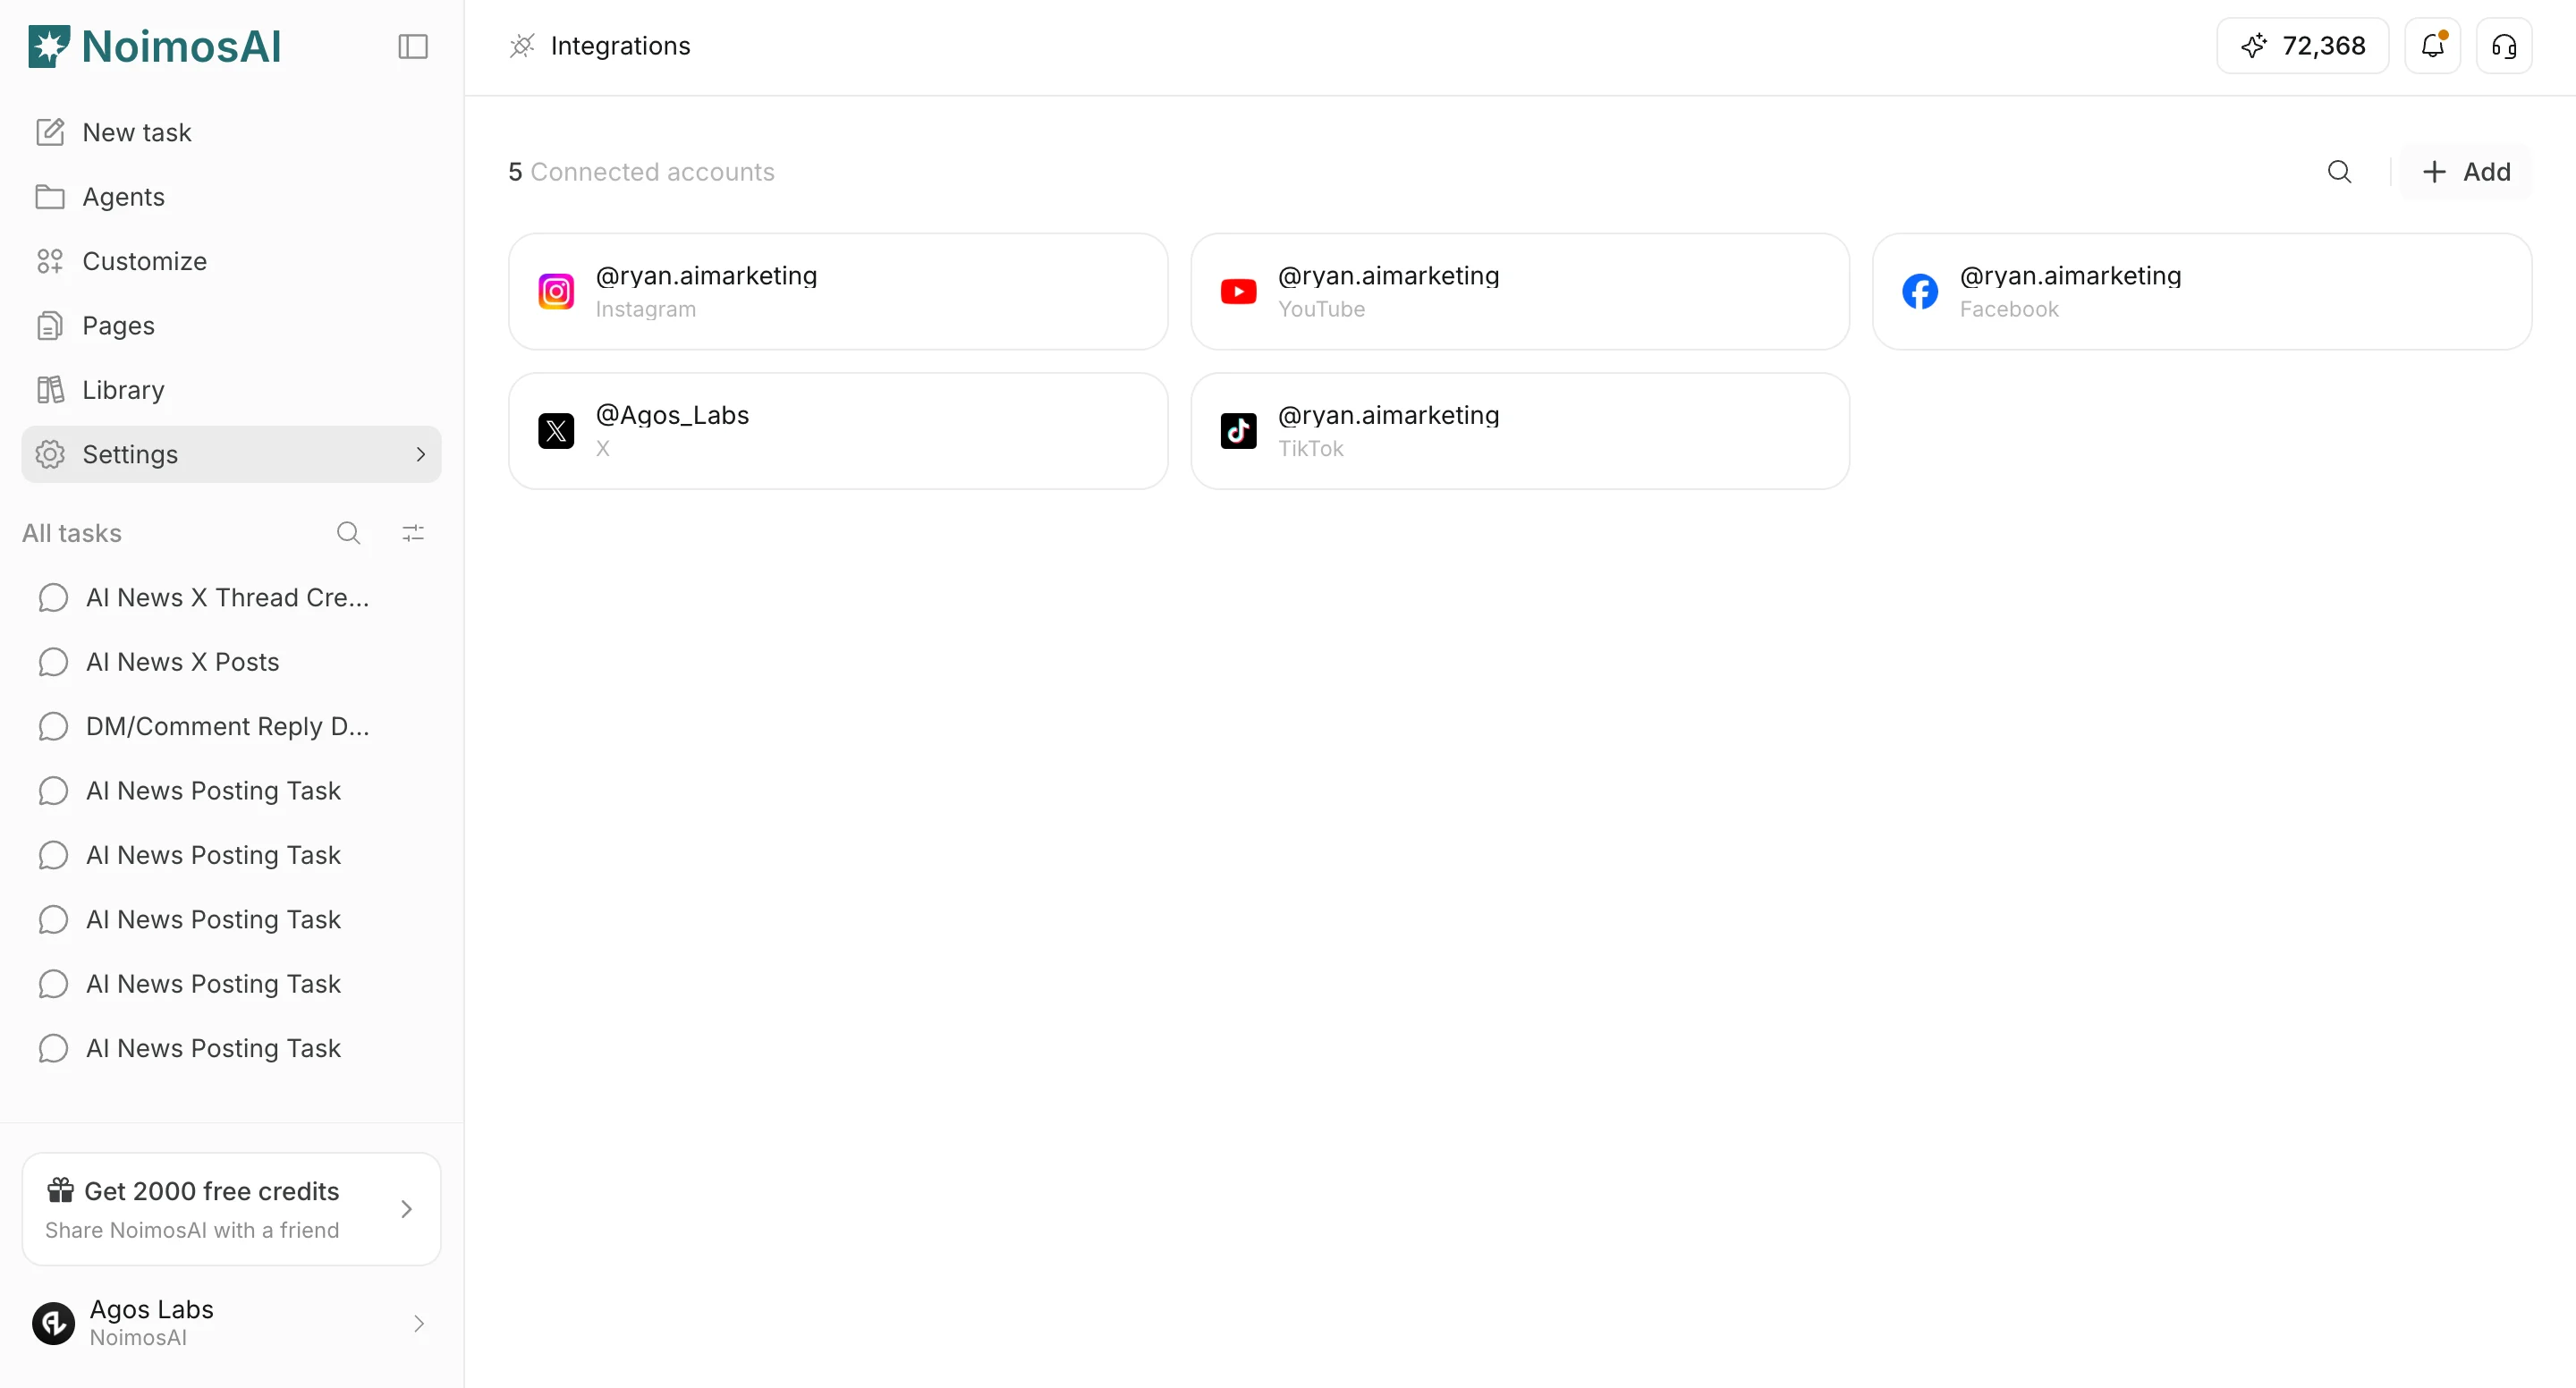
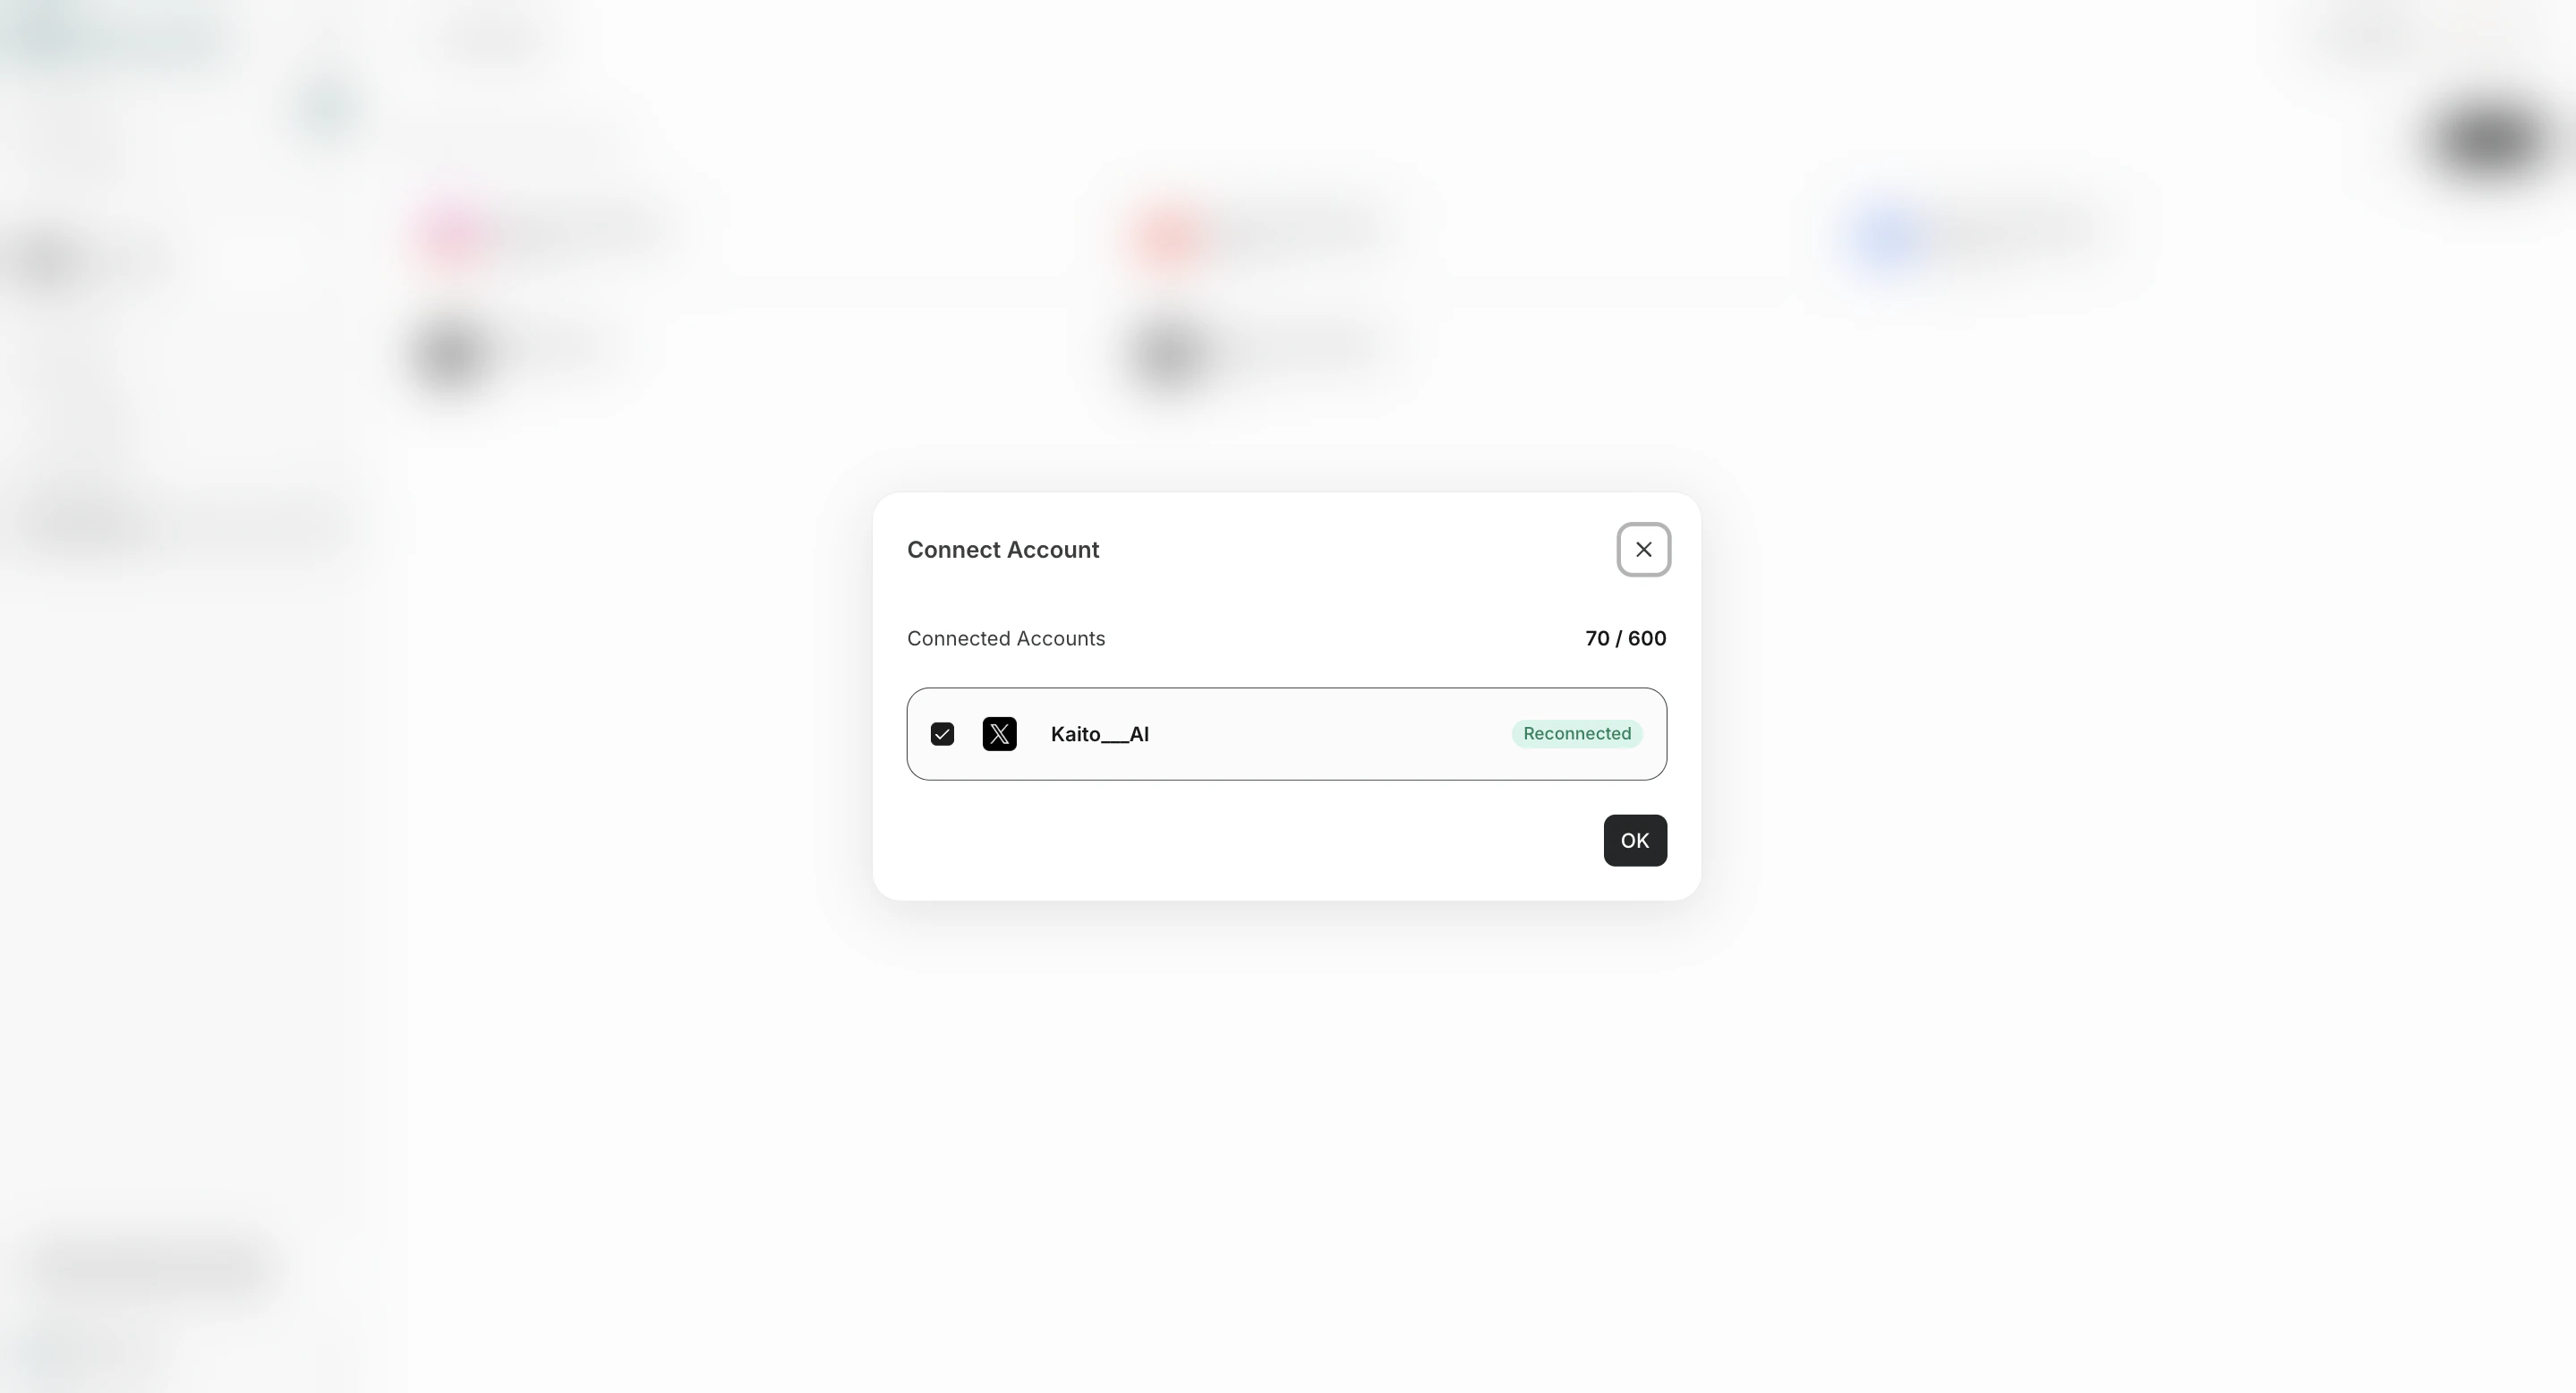
- Choose an app account and add it to the agent that needs it.
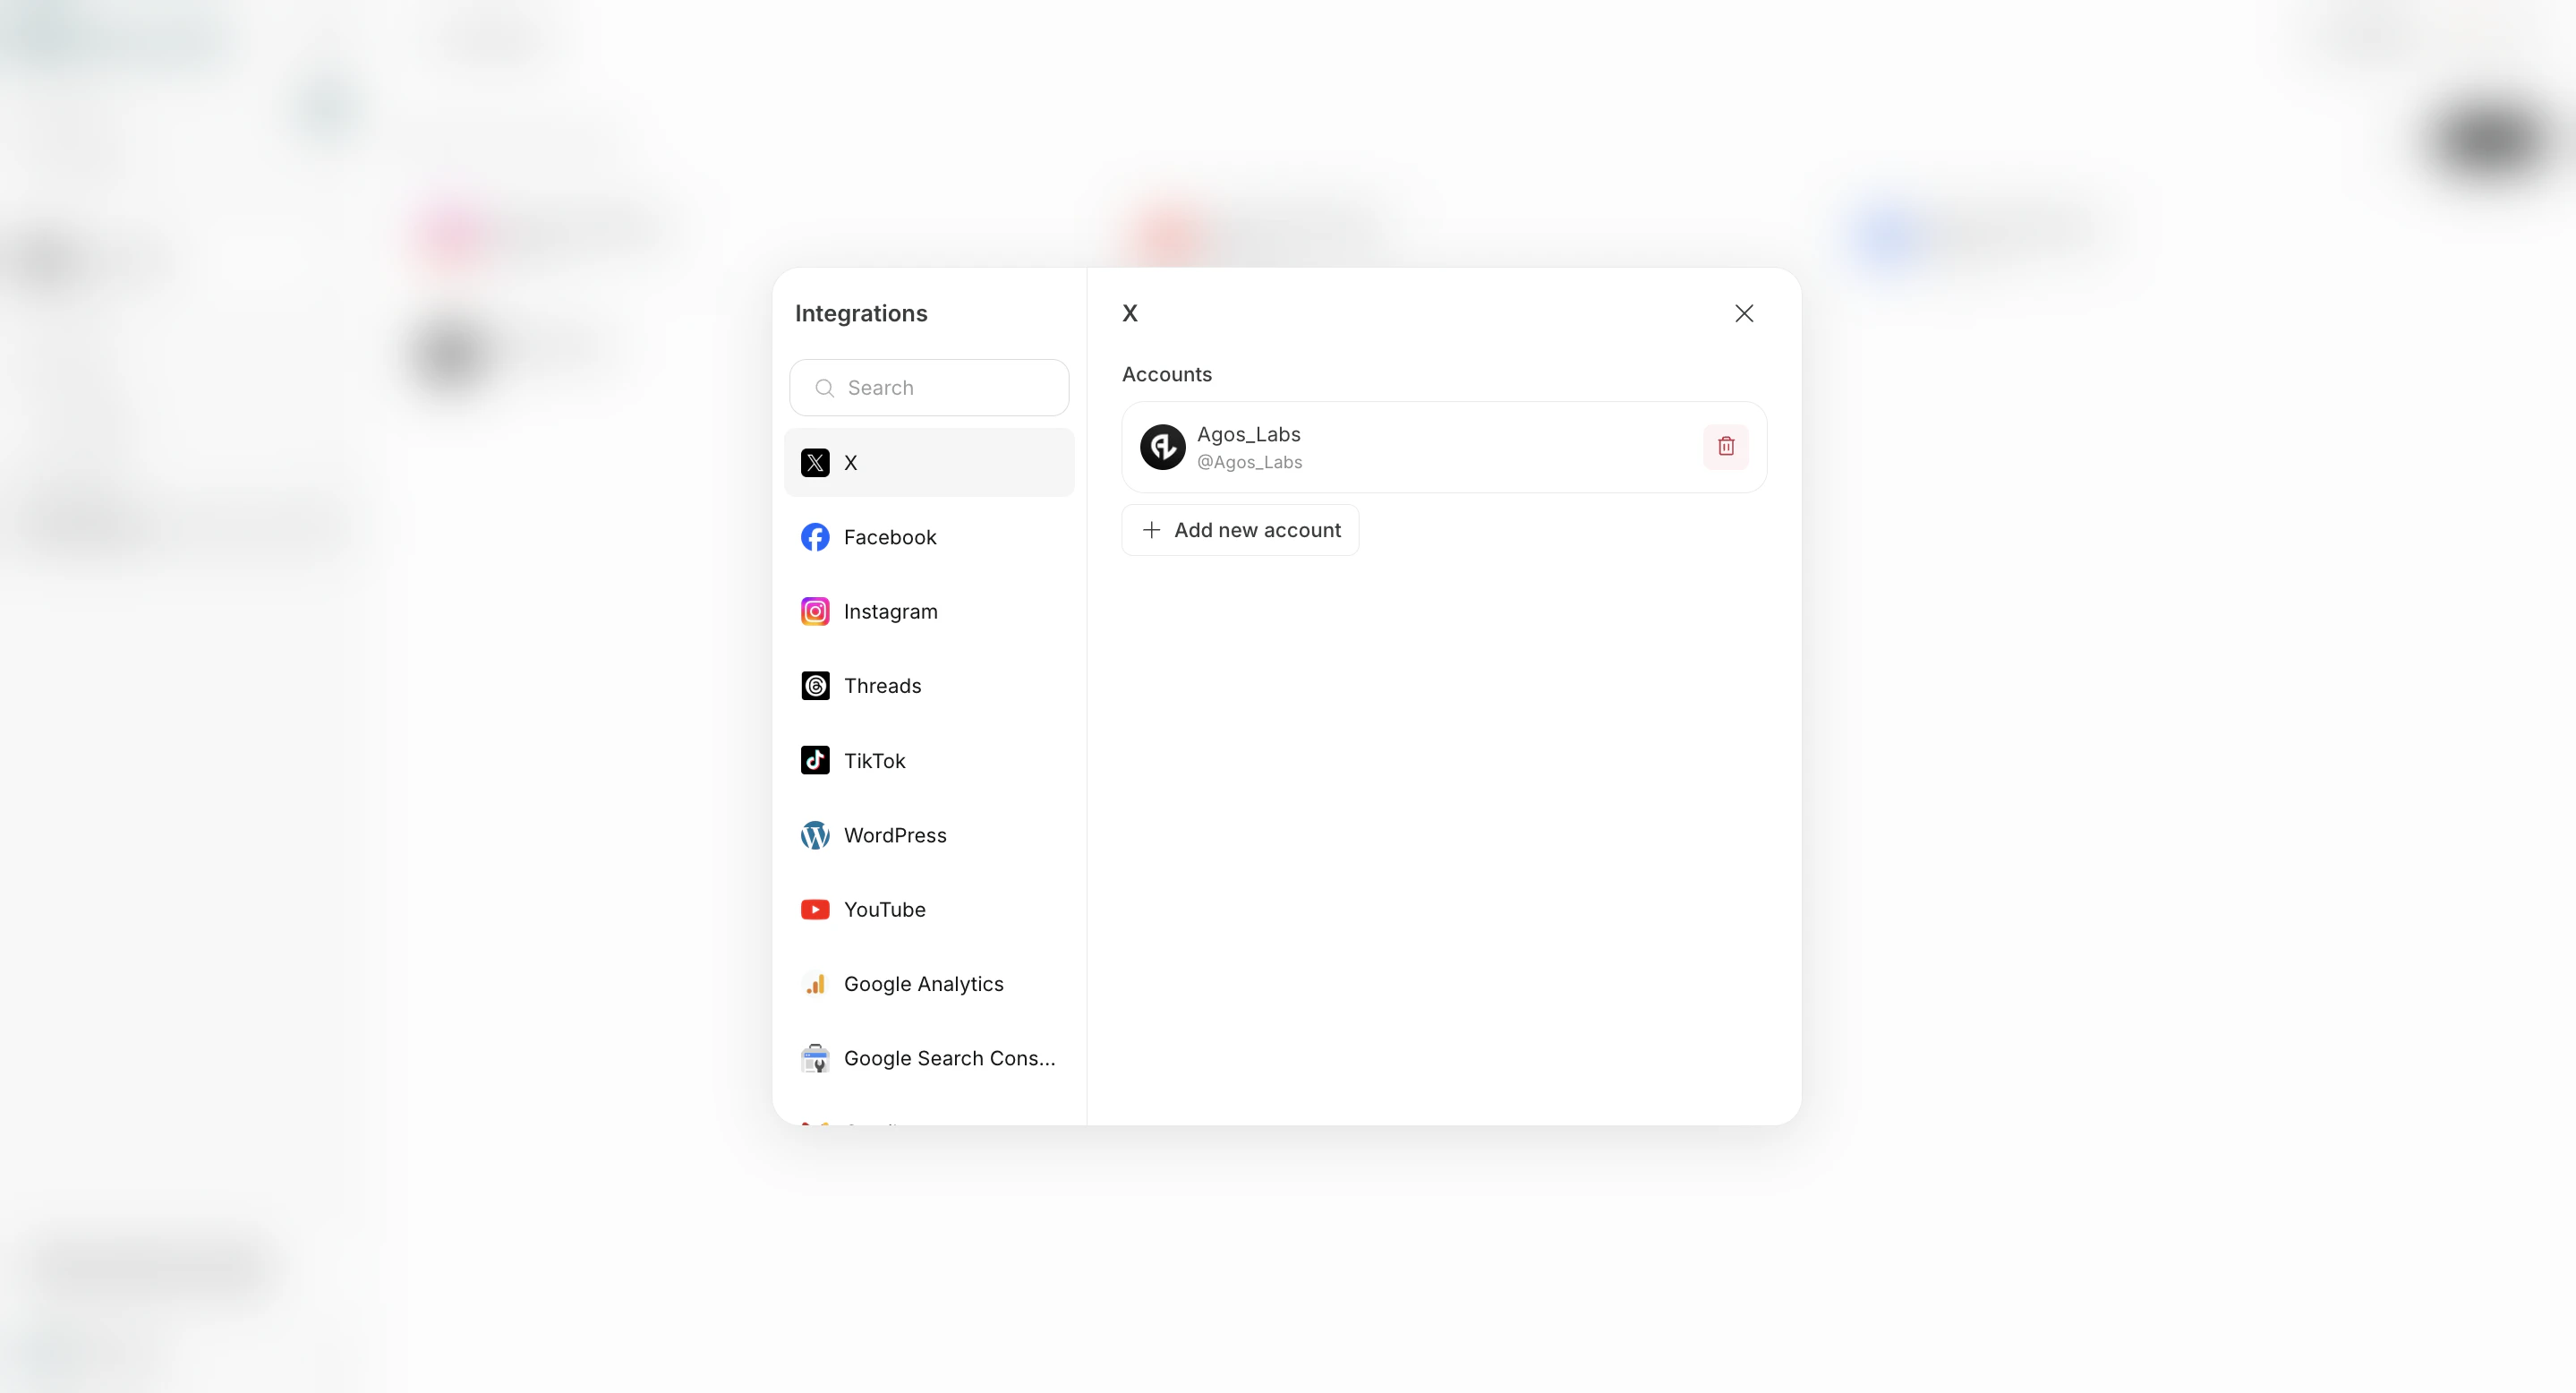
- Save your changes.
Step 2: Create Your First Agent
Go toAgents, then click Add Agent.
Recommended first run:
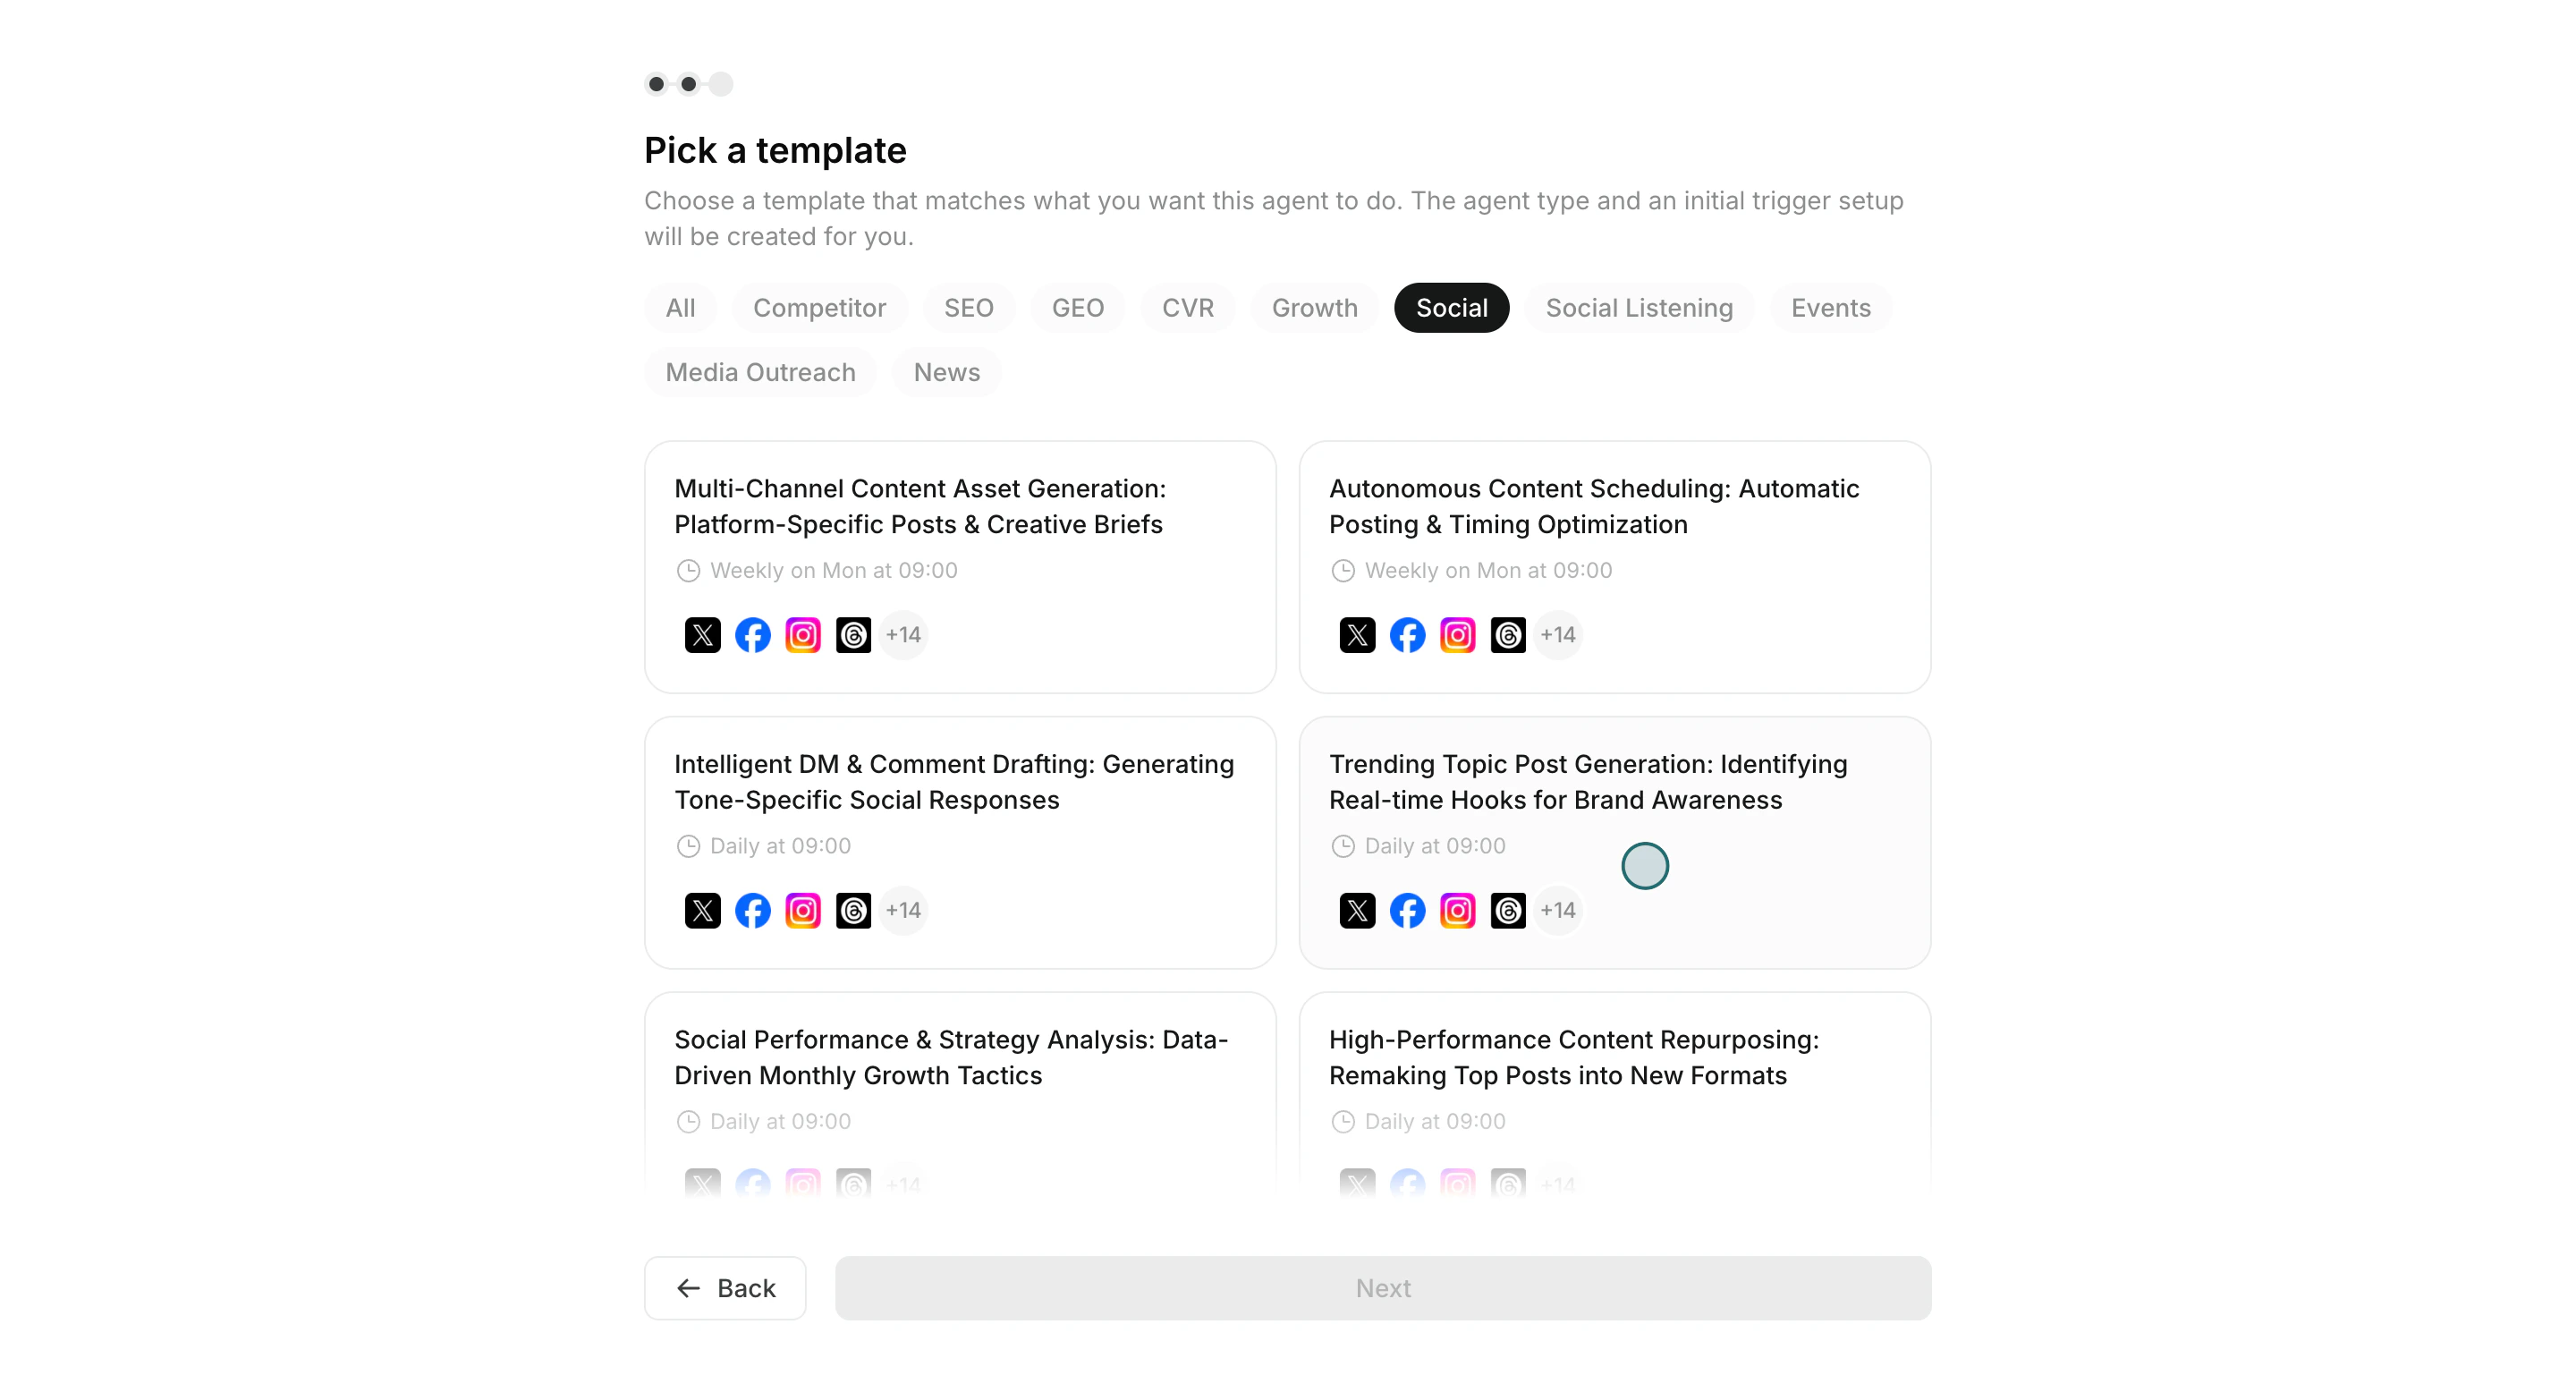
- Choose
Create from a template.
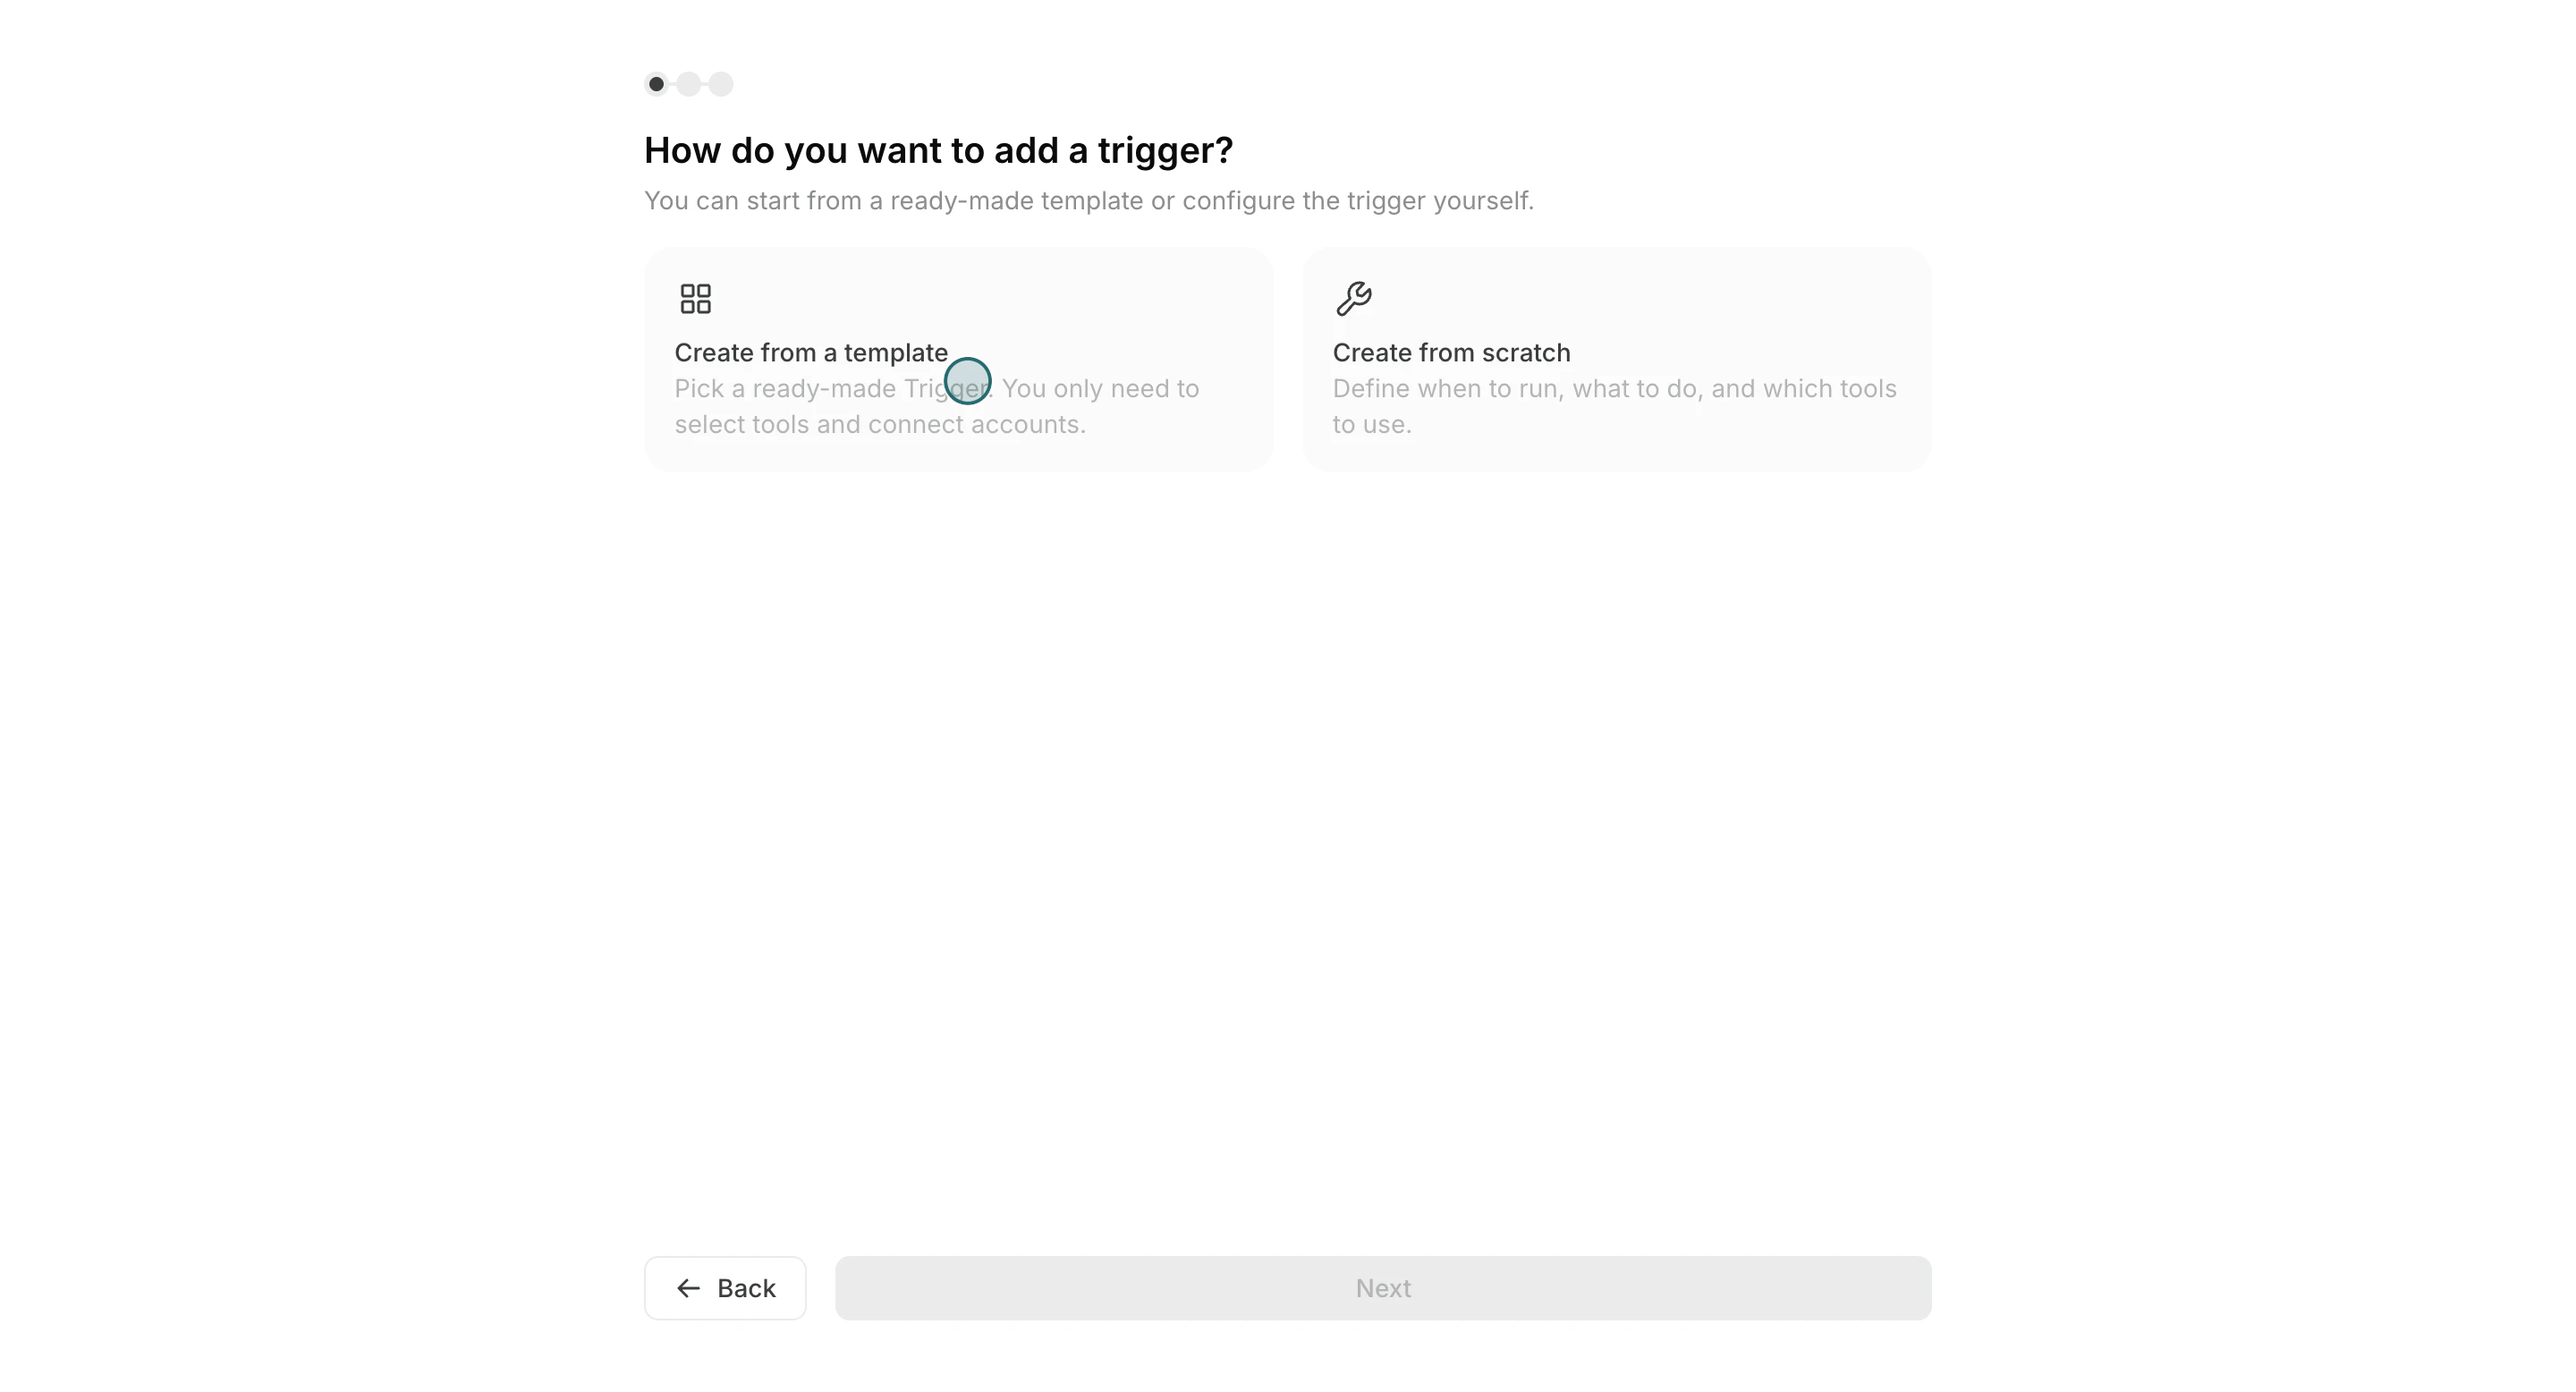
- Pick a template close to your use case.
- Set schedule and instruction prompt.
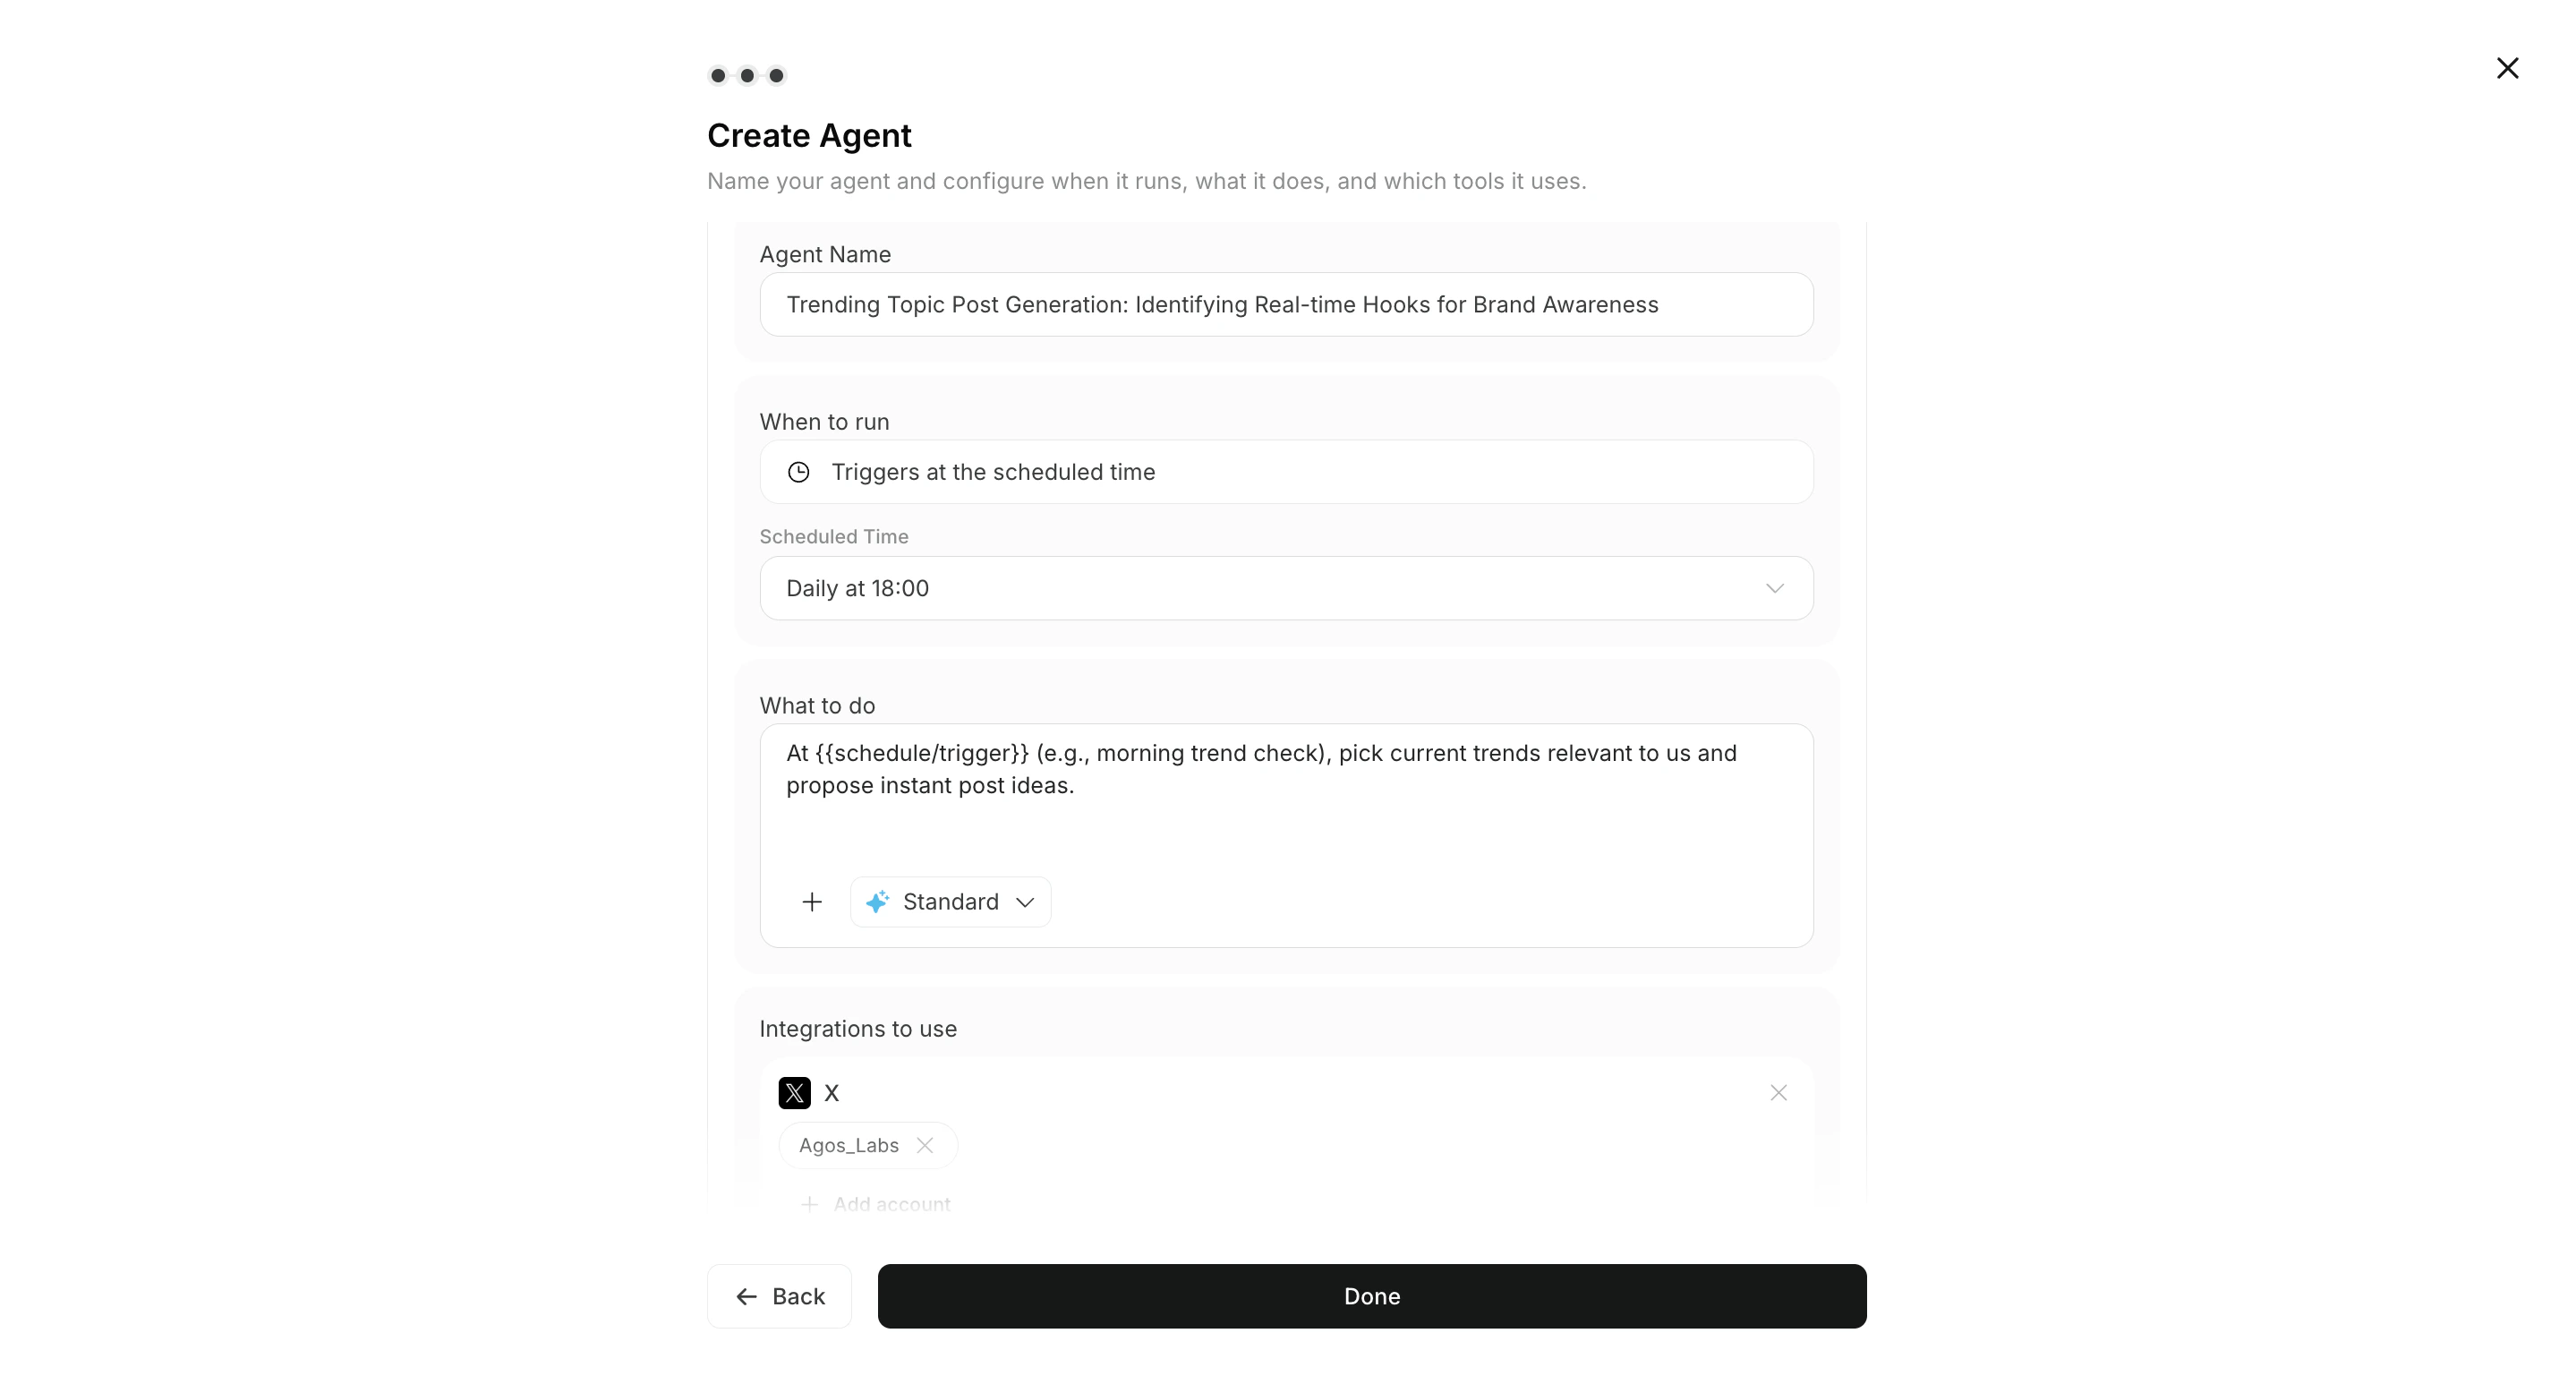
- Select integrations/apps, then activate the trigger if needed.
Step 3: Review Results in All Tasks
When an agent run is complete, the result appears in the related agent session.Open
All Tasks and check the completed agent session.
Use this review loop:
- Open the completed agent session from
All Tasks. - Open
Execution Results, then select the execution you want to review. - Check output details and source context.
- Add refinement instructions in the same chat and review the response.
Need the Interactive Walkthrough?
Use the Learning Center demos for full click-by-click guidance:Start the first task from a recommendation
After connecting apps, you can start from an Advisor Agent recommendation instead of creating a normal agent immediately. OpenAdvisor Agent recommendations on the home screen, or open Agents > Advisor Agent > Recommendations, choose a recommendation, and click Run. A dedicated task chat opens with the execution prompt already placed in the input box.
See Advisor Agent Basics for details.