Overview
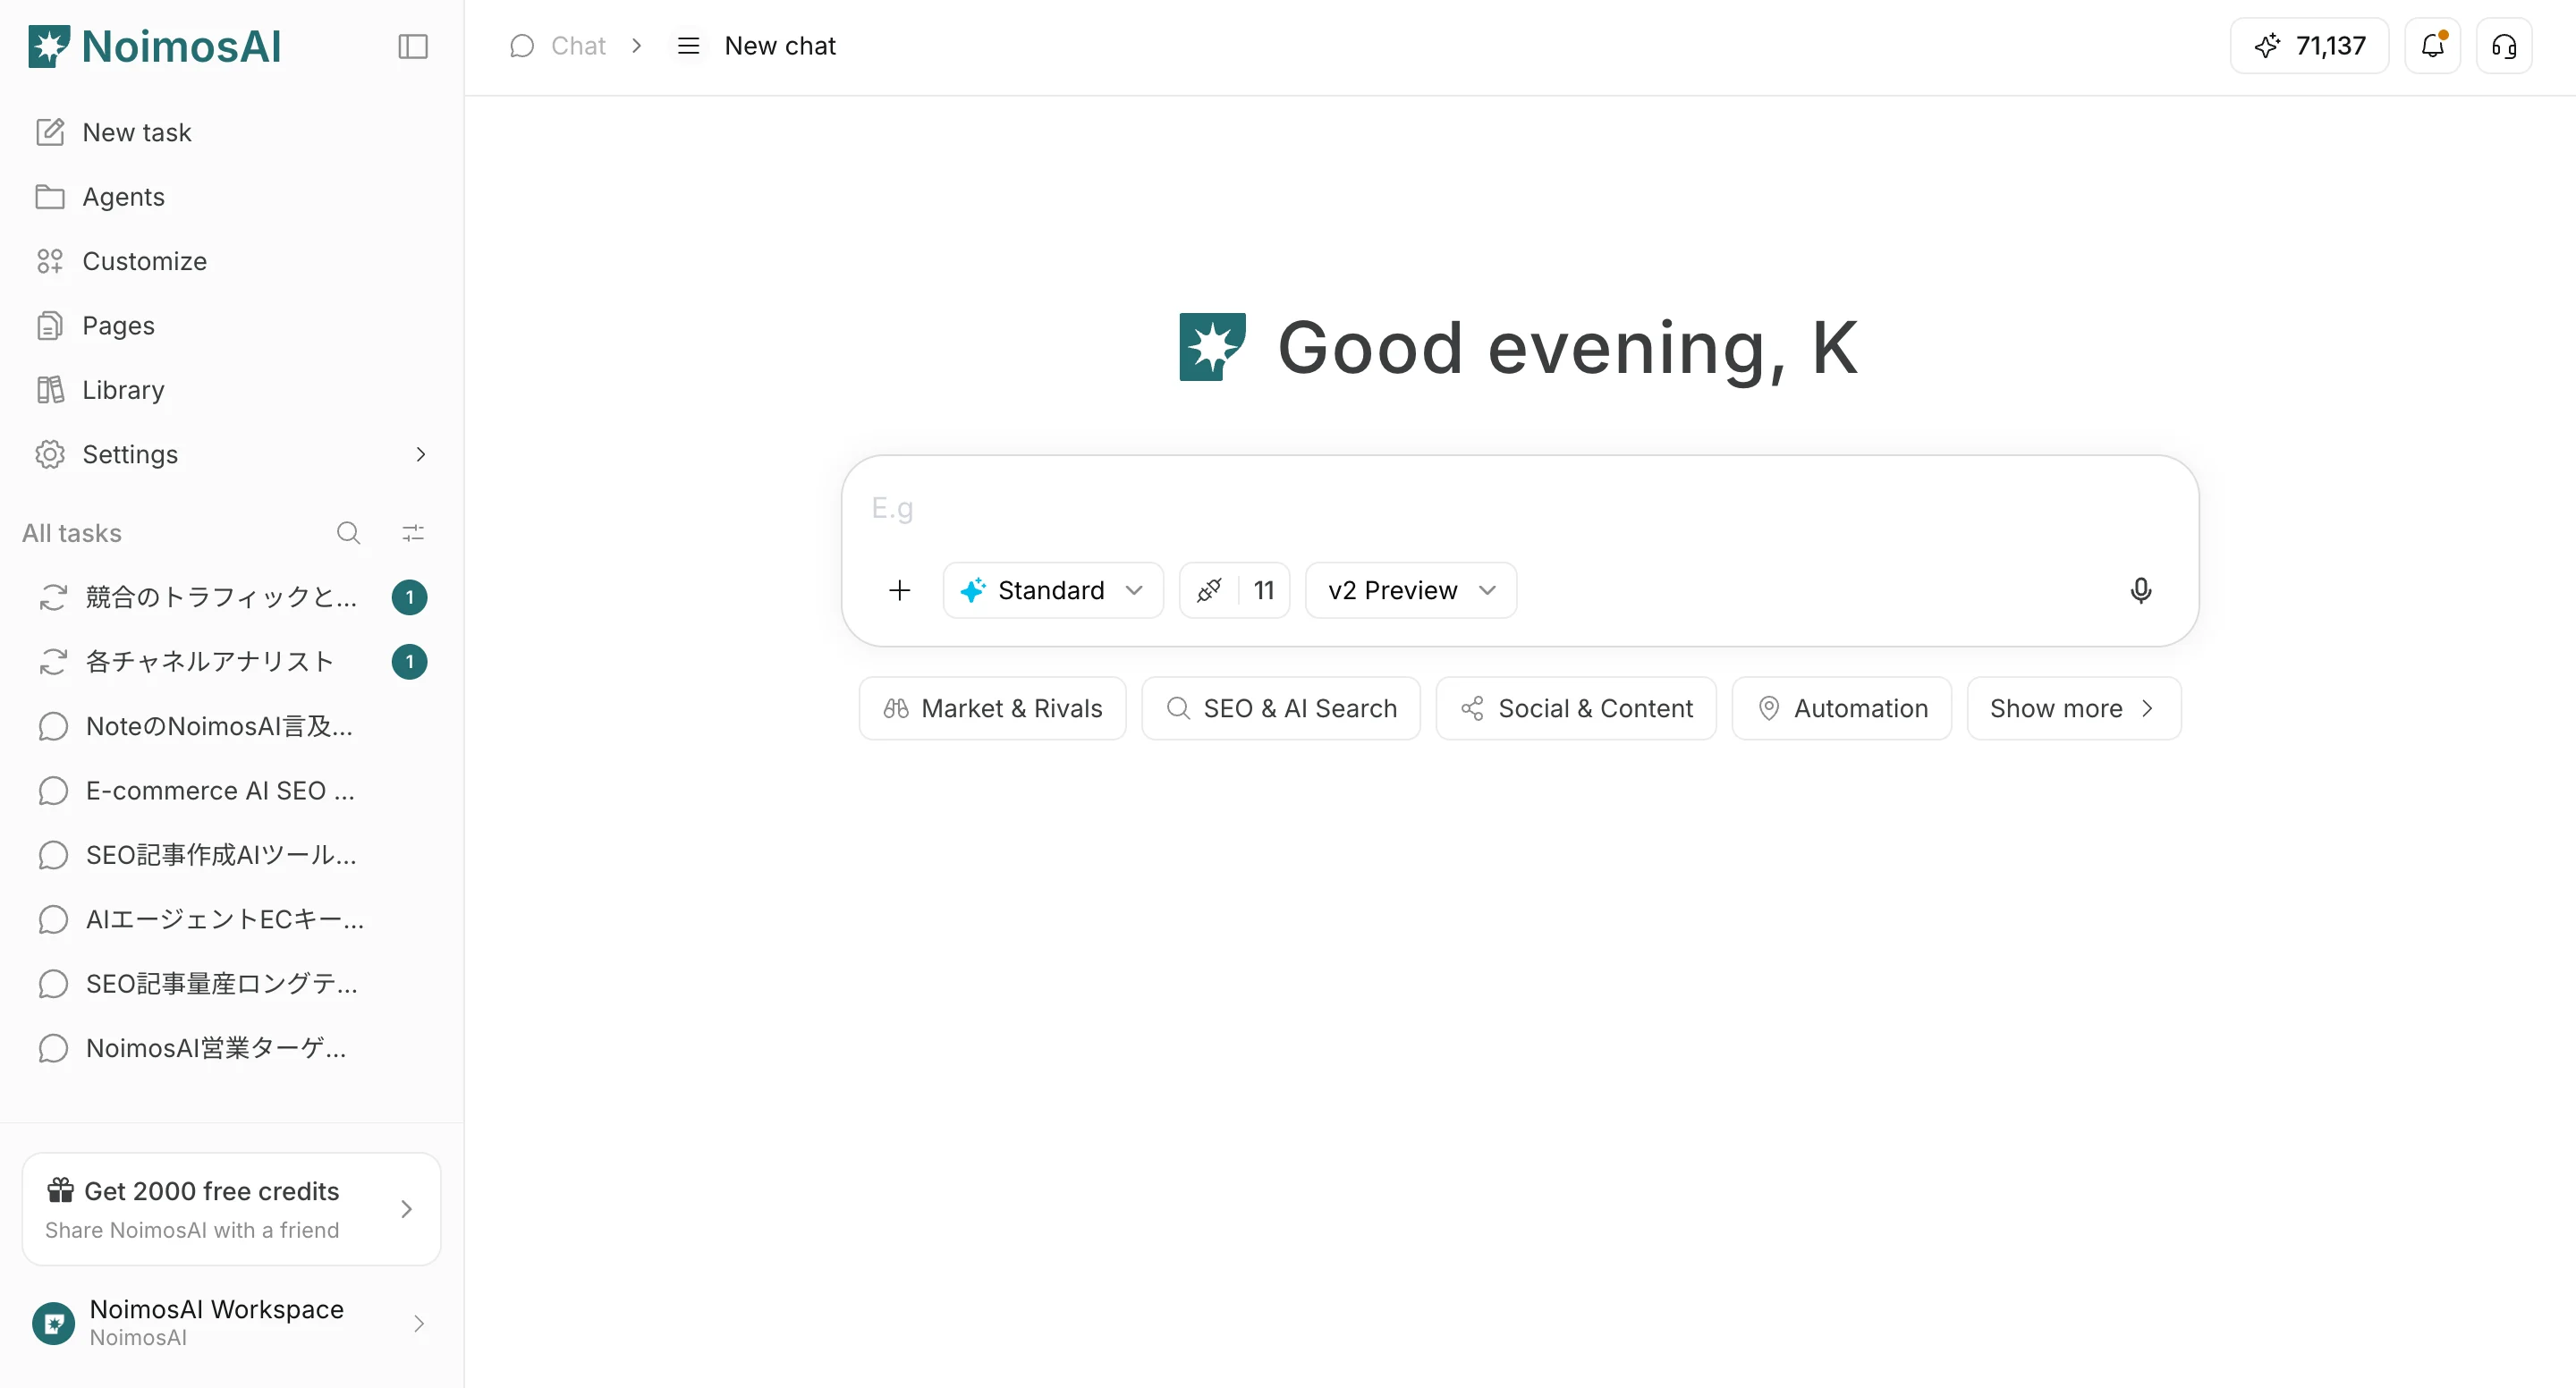
Customize Chat settings to control speed, quality, personalization, creation modes, and reference context.Where to find it
- Open
Chat.
- Use
+below the input box to open file actions andAI Behavior Settings.
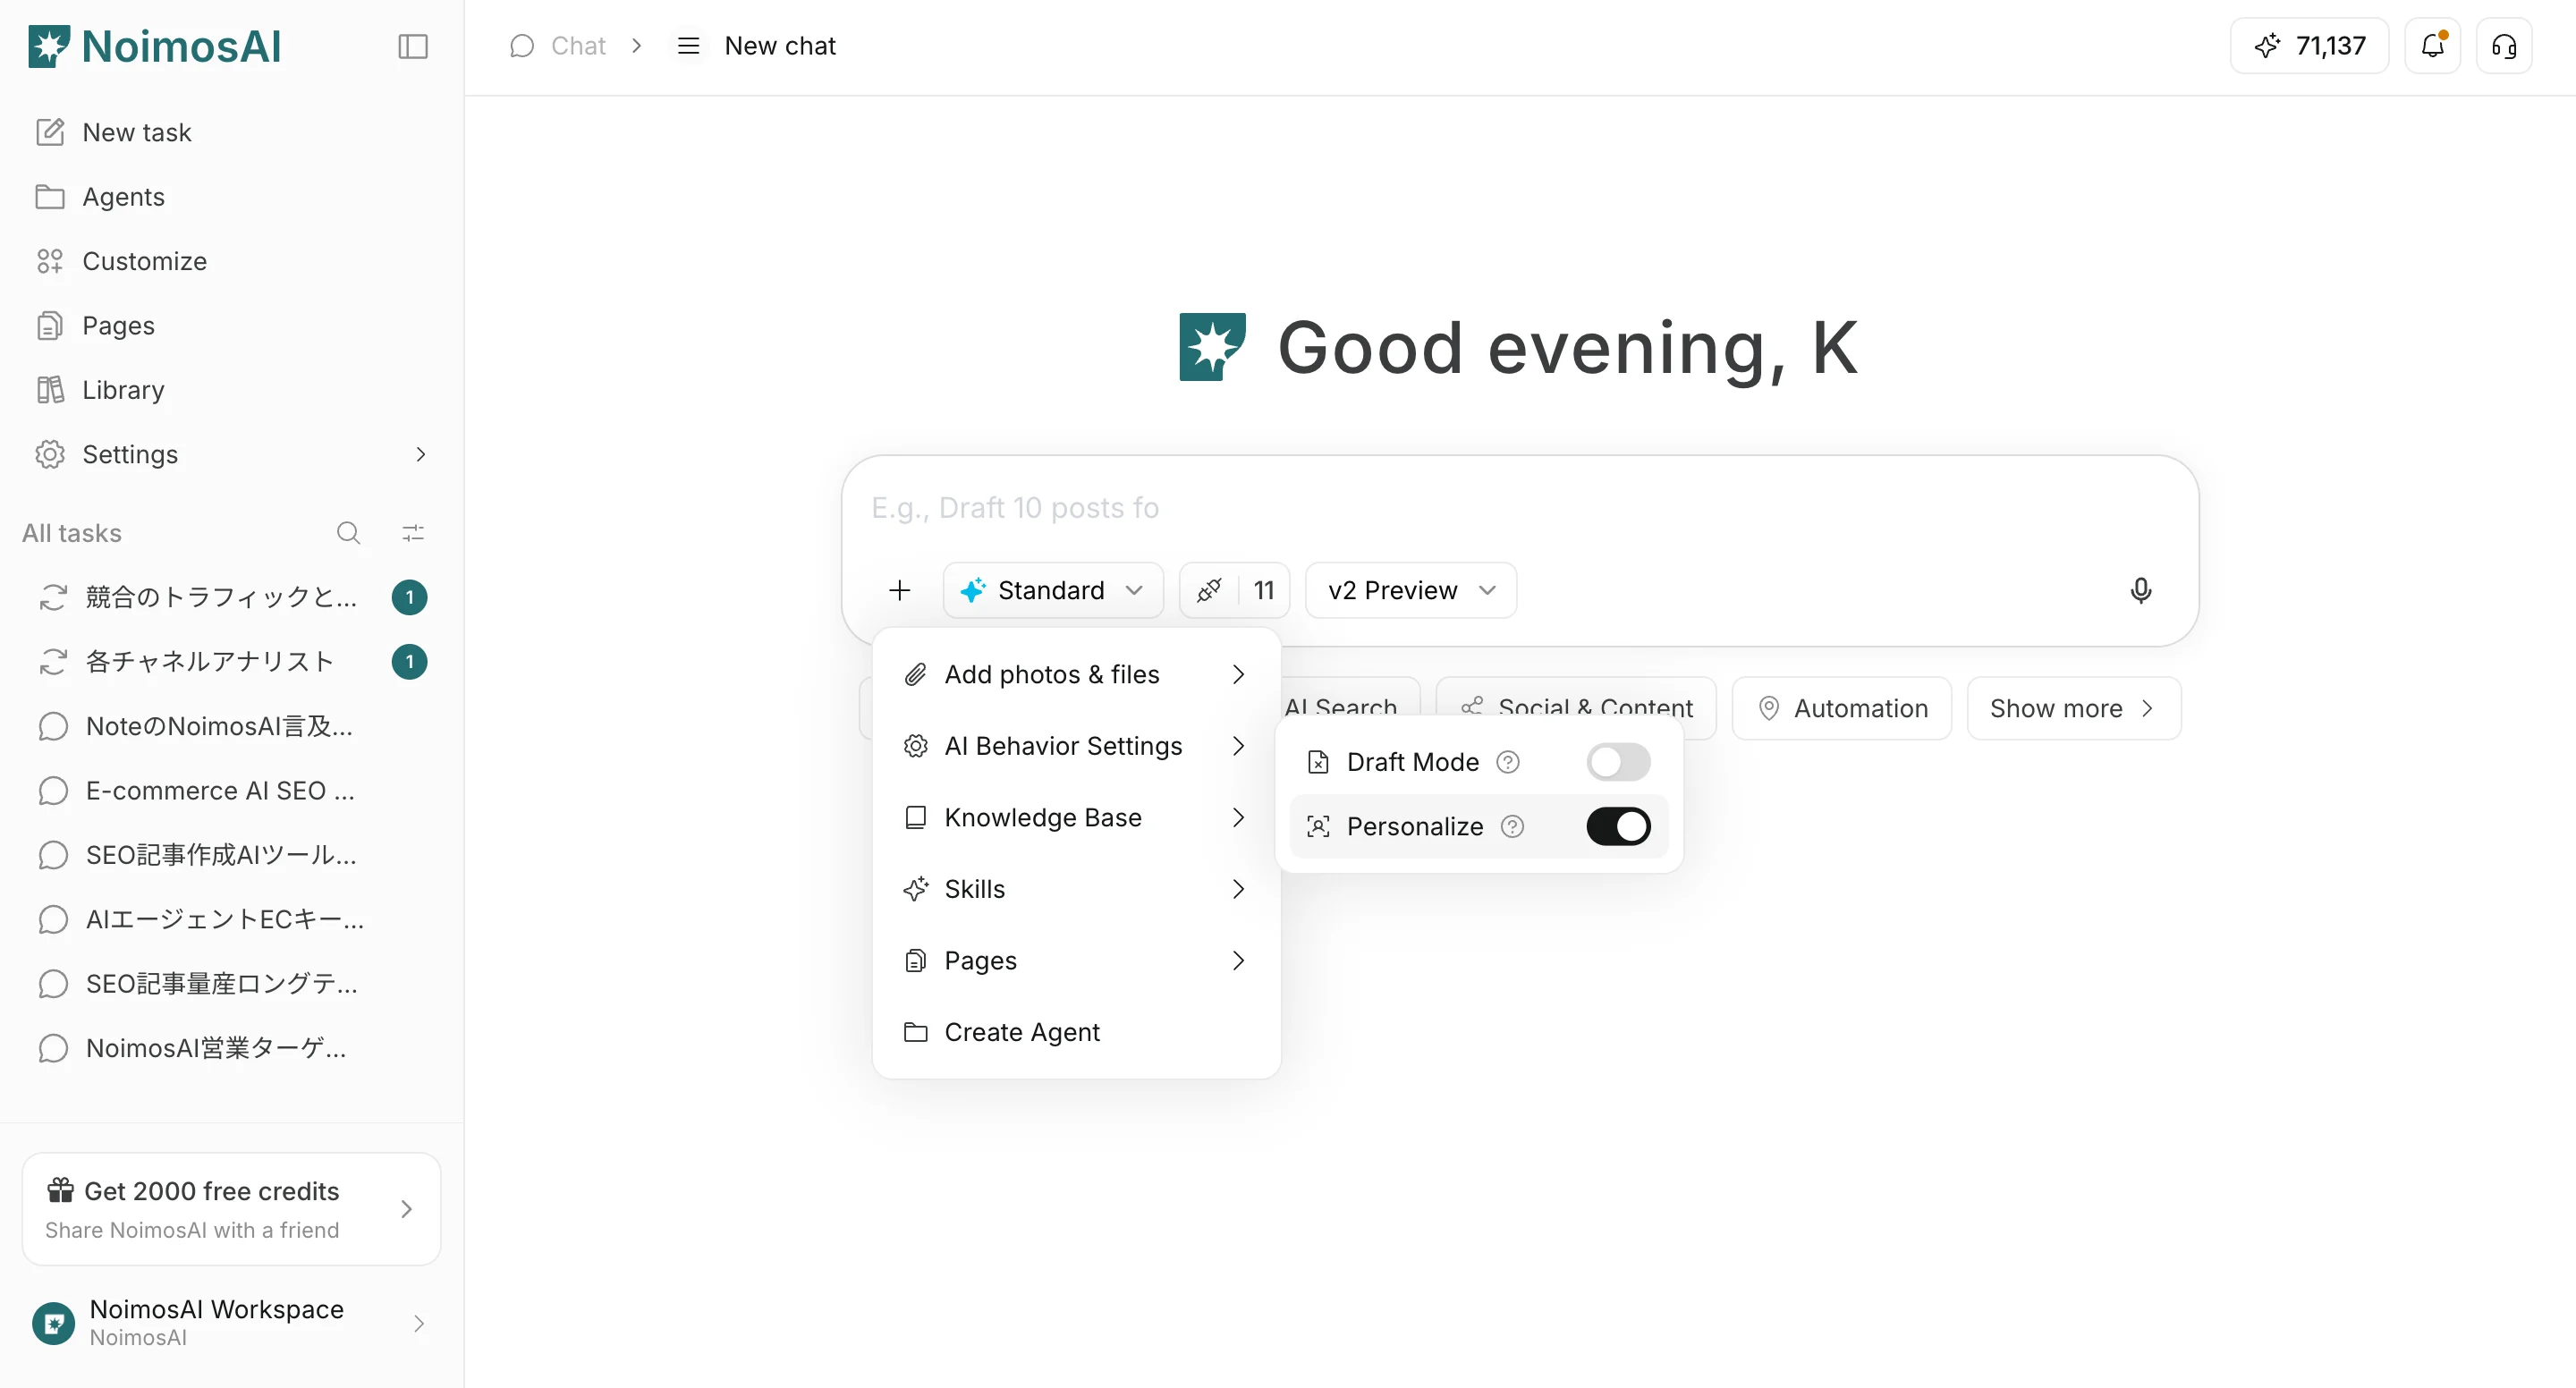
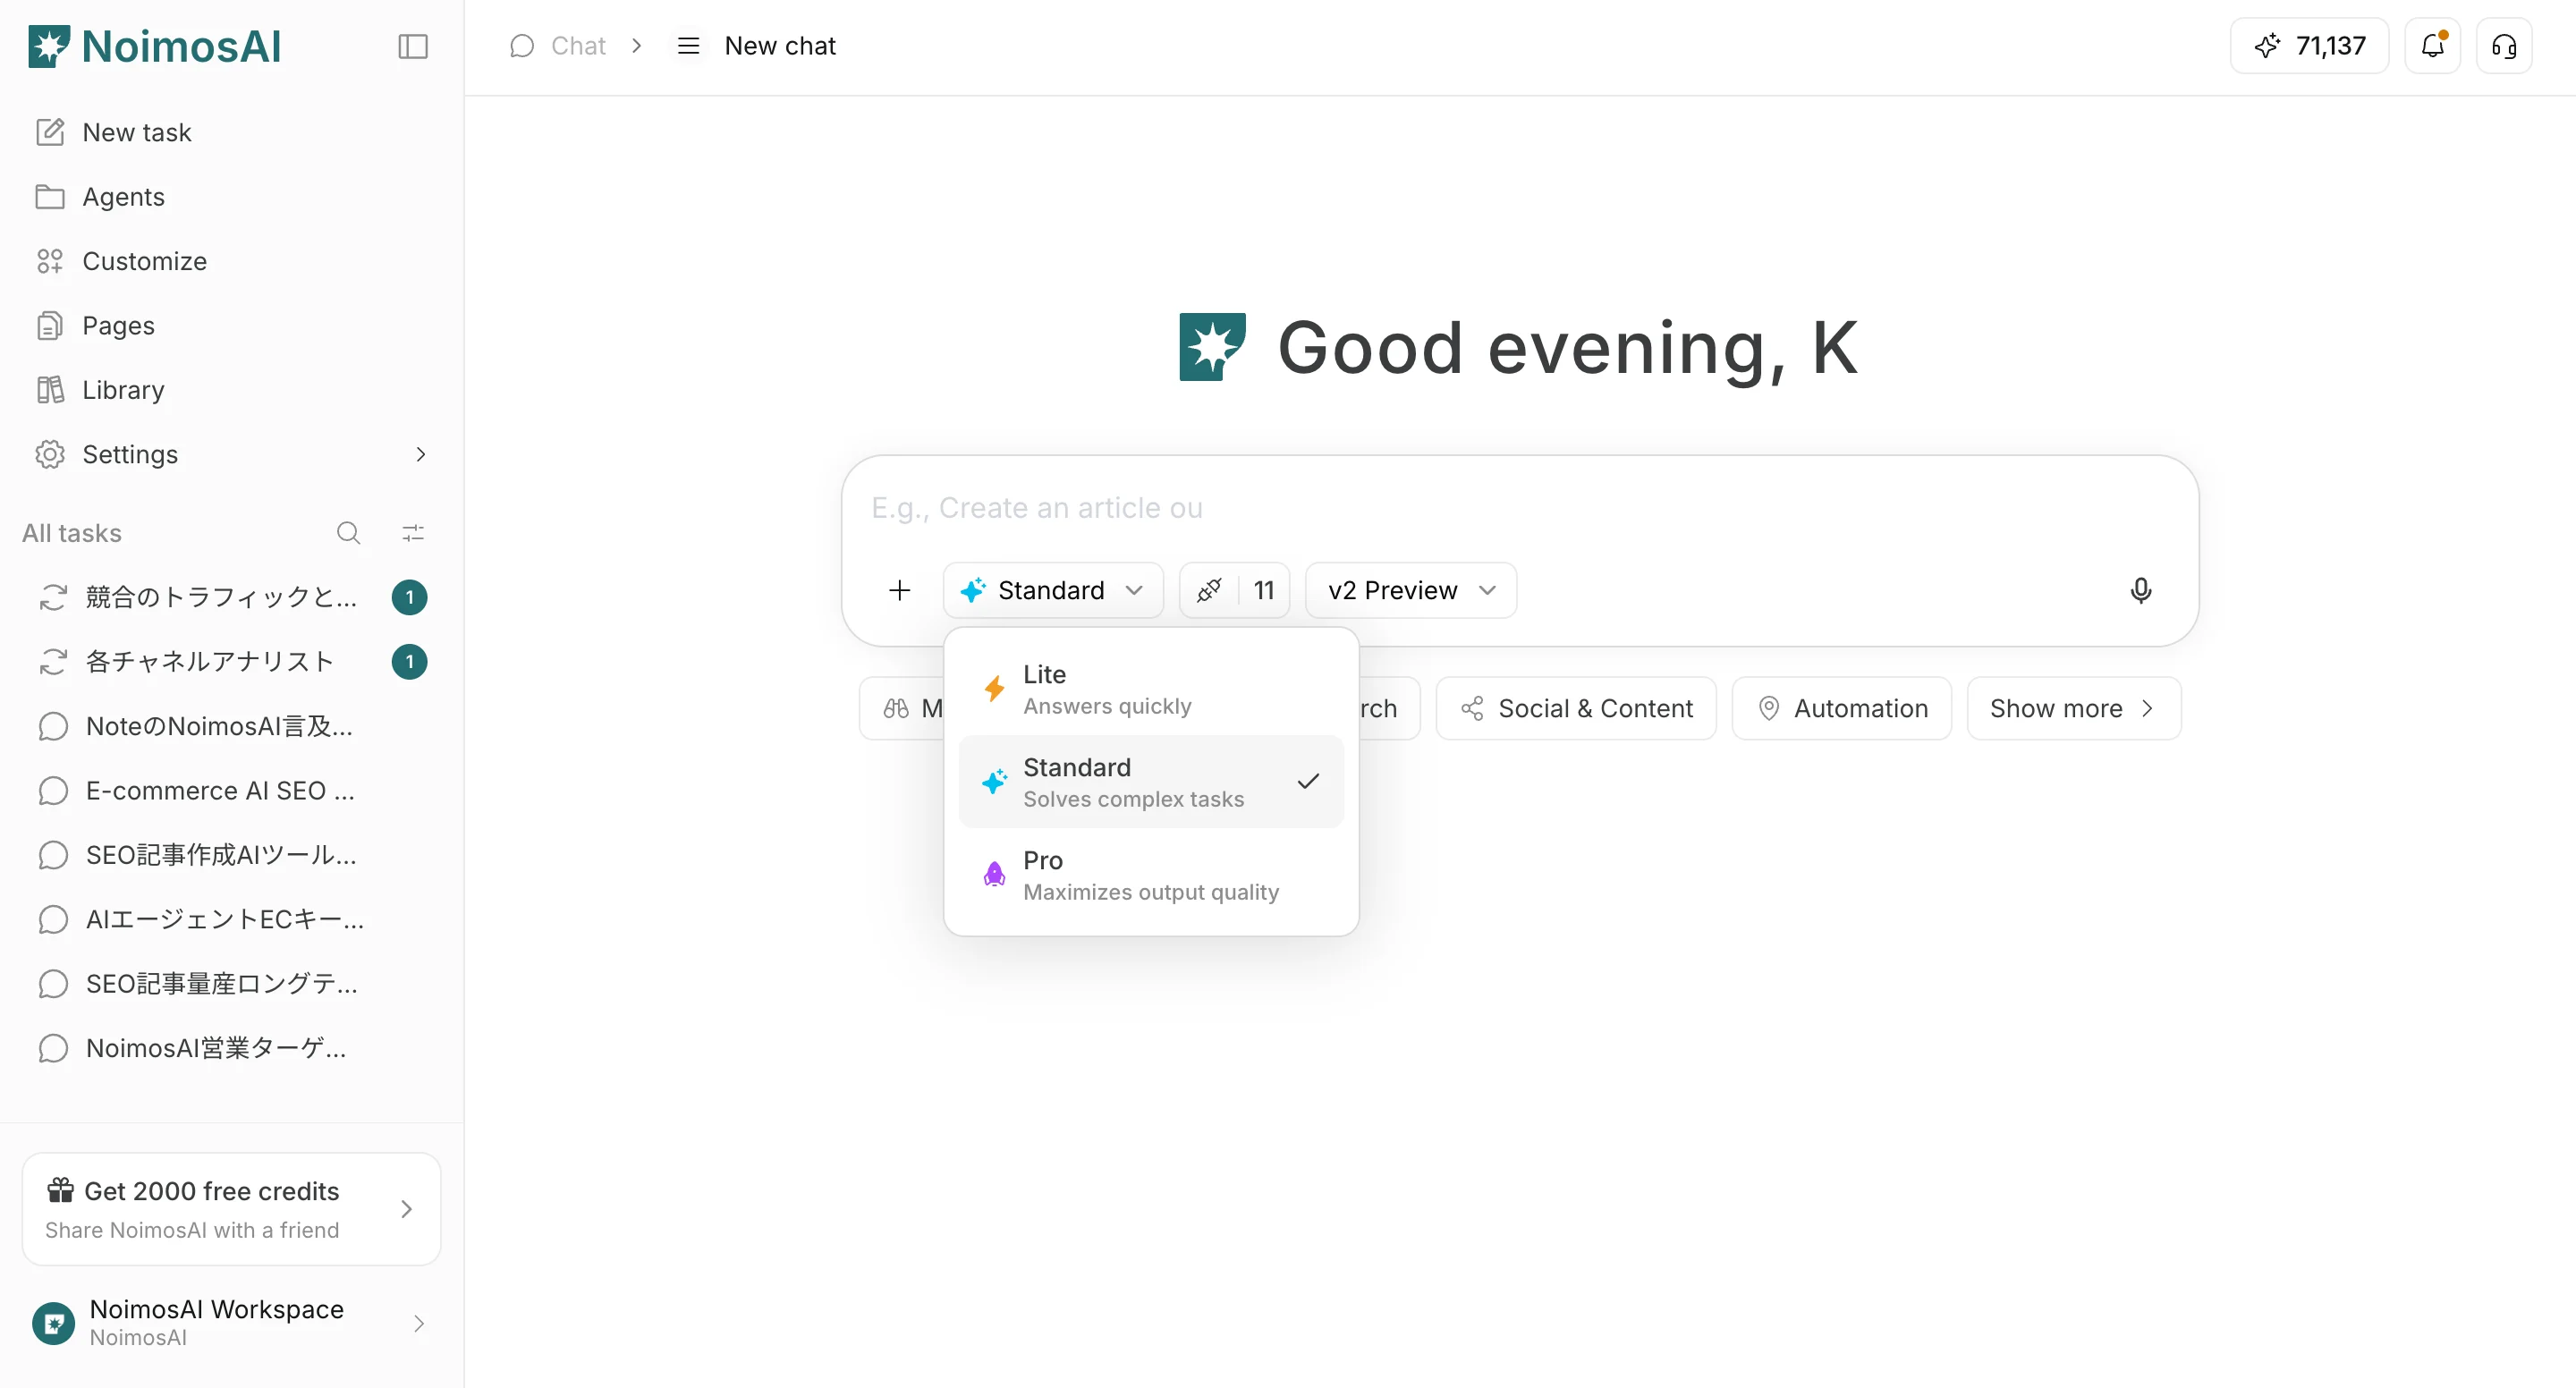
- Set the response mode (
Lite/Standard/Pro).
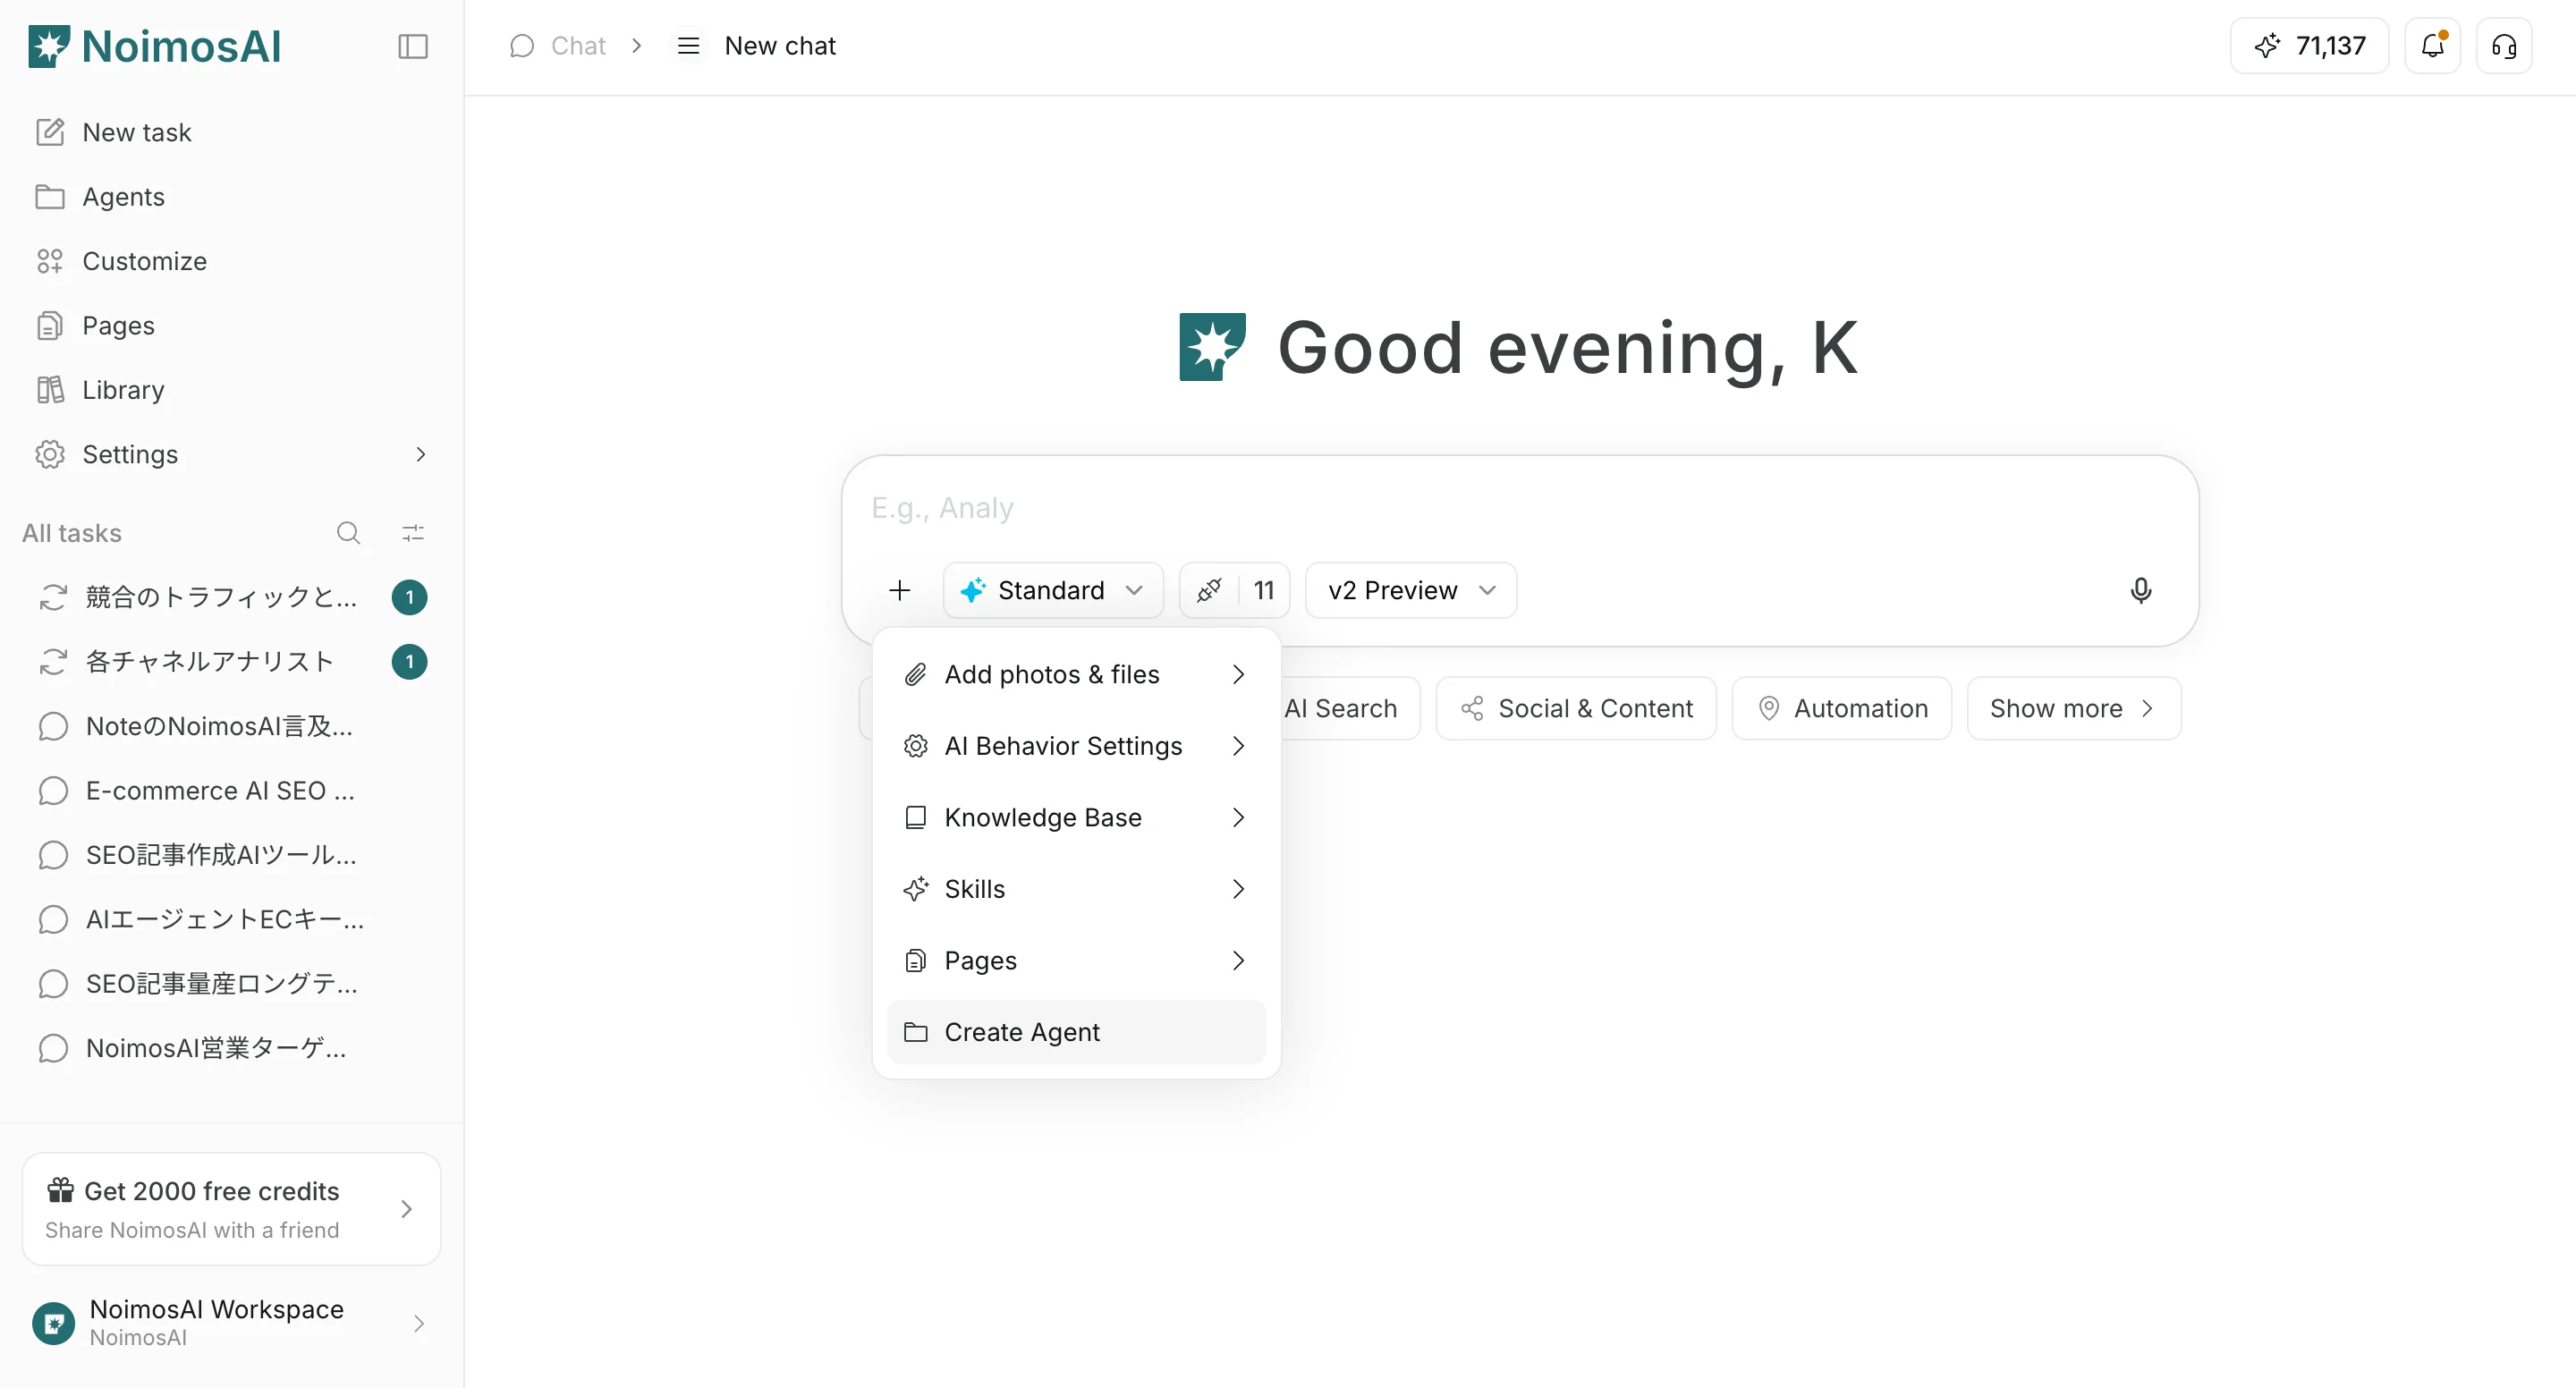
- If needed, set
Create Agent/Create Pagemode, attach a Knowledge Base, and choose the integrations to use.
Available settings
Don't use draft step: Skip the draft stage and move directly to full generation.Don't personalize: Do not use saved personalization context.Response mode:Liteis faster,Standardbalances speed and quality, andProprioritizes quality.Create Agent: Create an agent for repeated execution from the chat context.Create Page: Create a page draft from the chat context.Knowledge Base: Attach it to the chat instructions as explicit reference context for AI.Integrations: Control which integrations Chat can use.
Recommended defaults
- Start with
Standard. - Use
Litefor rough drafts. - Use
Prowhen final quality matters most. - Turn on
Don't personalizeonly when you need neutral output.