Overview
Workspace creation covers basic info, integrations, and initial setup in sequence. Defining the operating unit first helps keep output quality stable later.Decide the Workspace Unit First
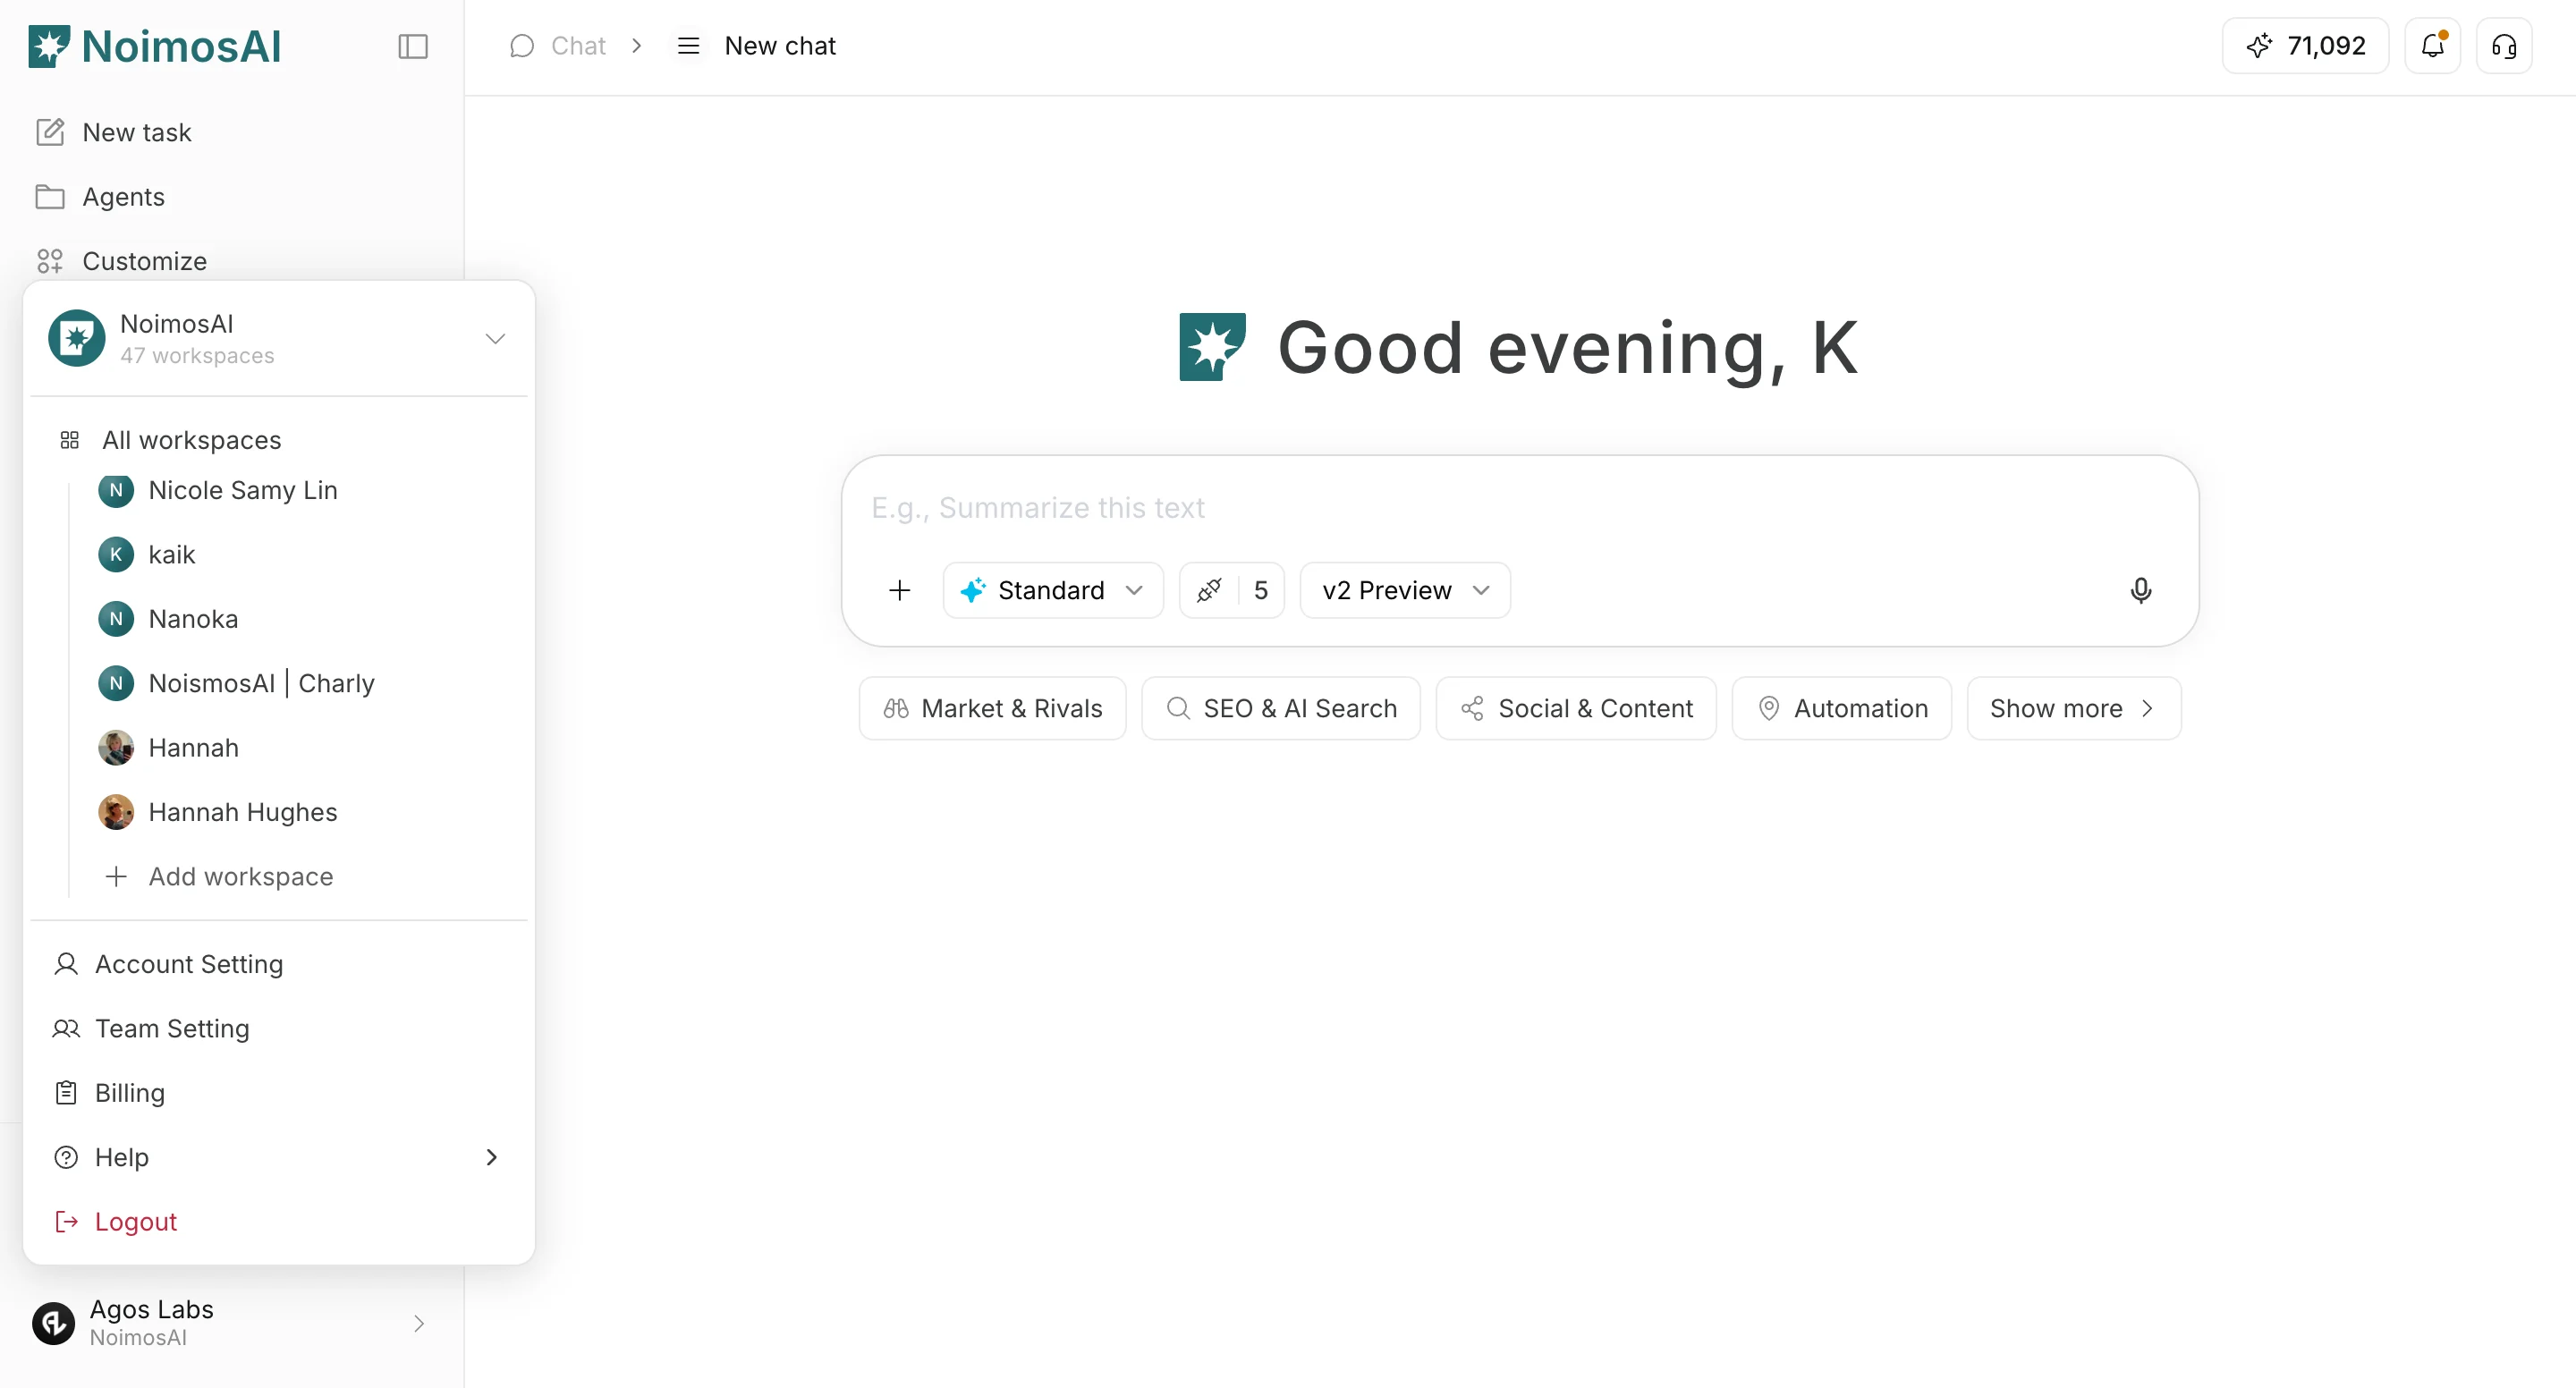
Create workspaces by brand or service line, not by department.- Guideline:
1 brand / 1 service line = 1 workspace - Team is the organization unit, workspace is the execution unit
- For agency operations, split workspaces by client within the same team
- Connected accounts, Knowledge Base, and Memory are isolated per workspace
Where to find
Workspace selector -> Add workspaceTeam settings -> Workspaces -> Create new workspace
Setup Steps
- Select workspace type (
Personal brand/Company brand).
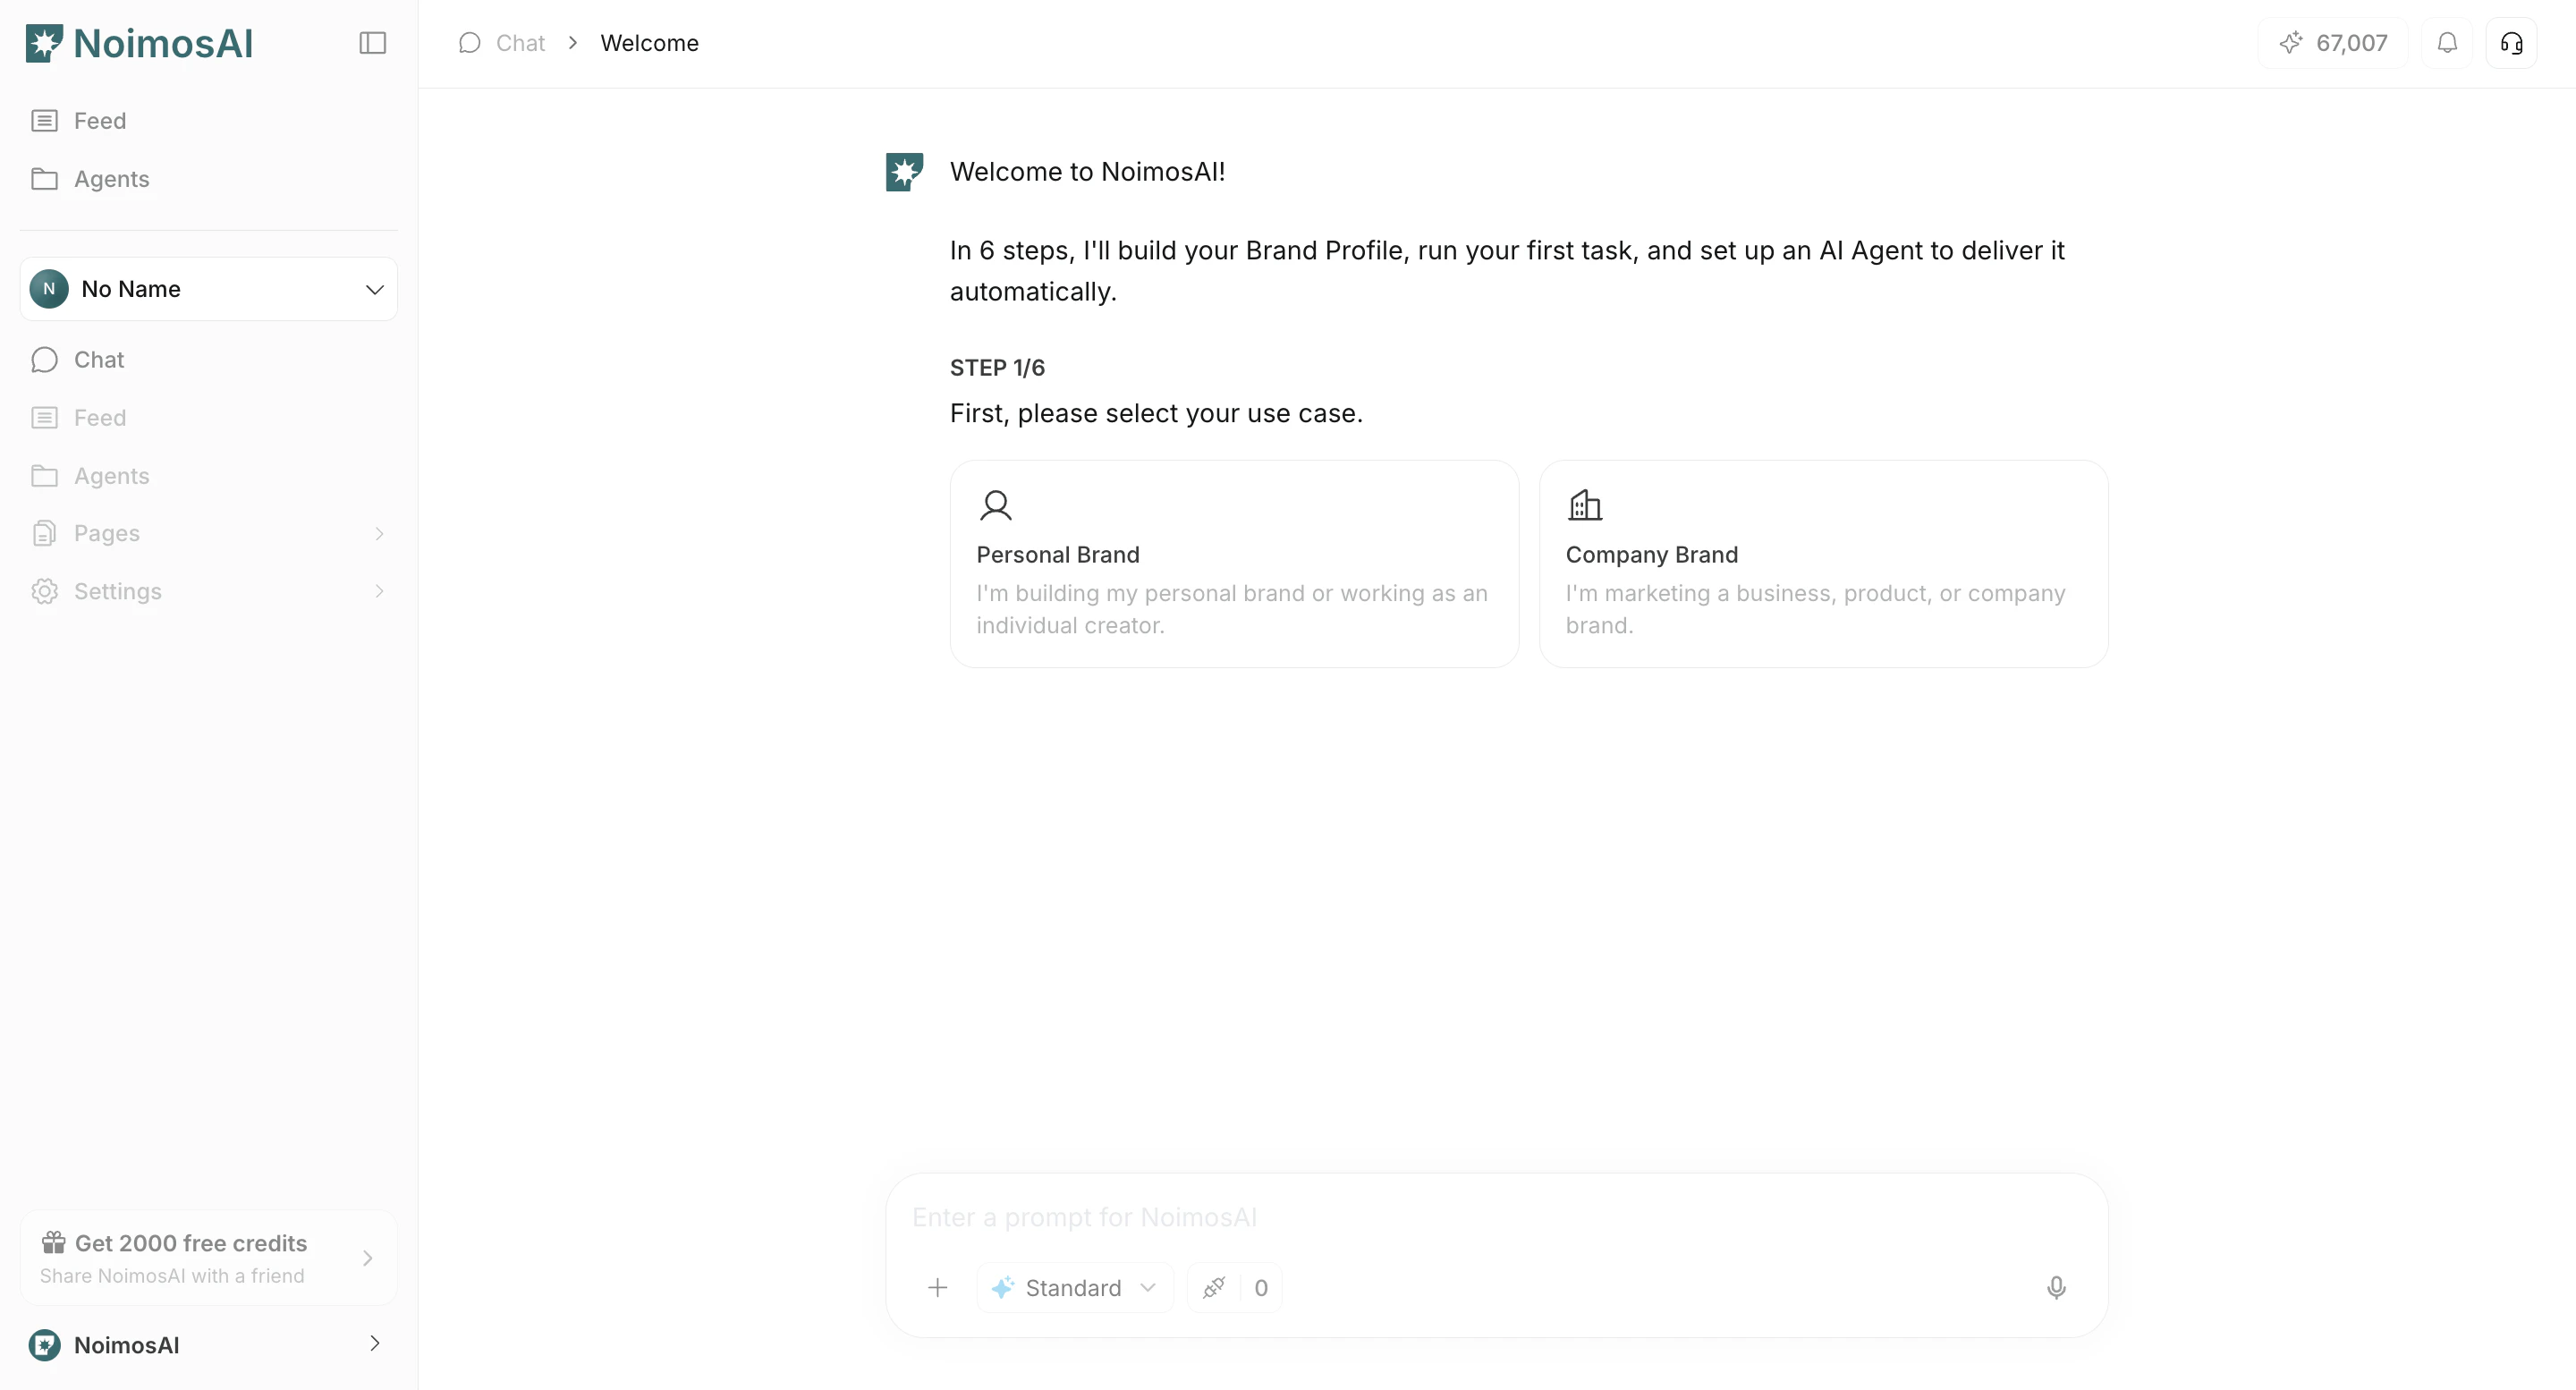
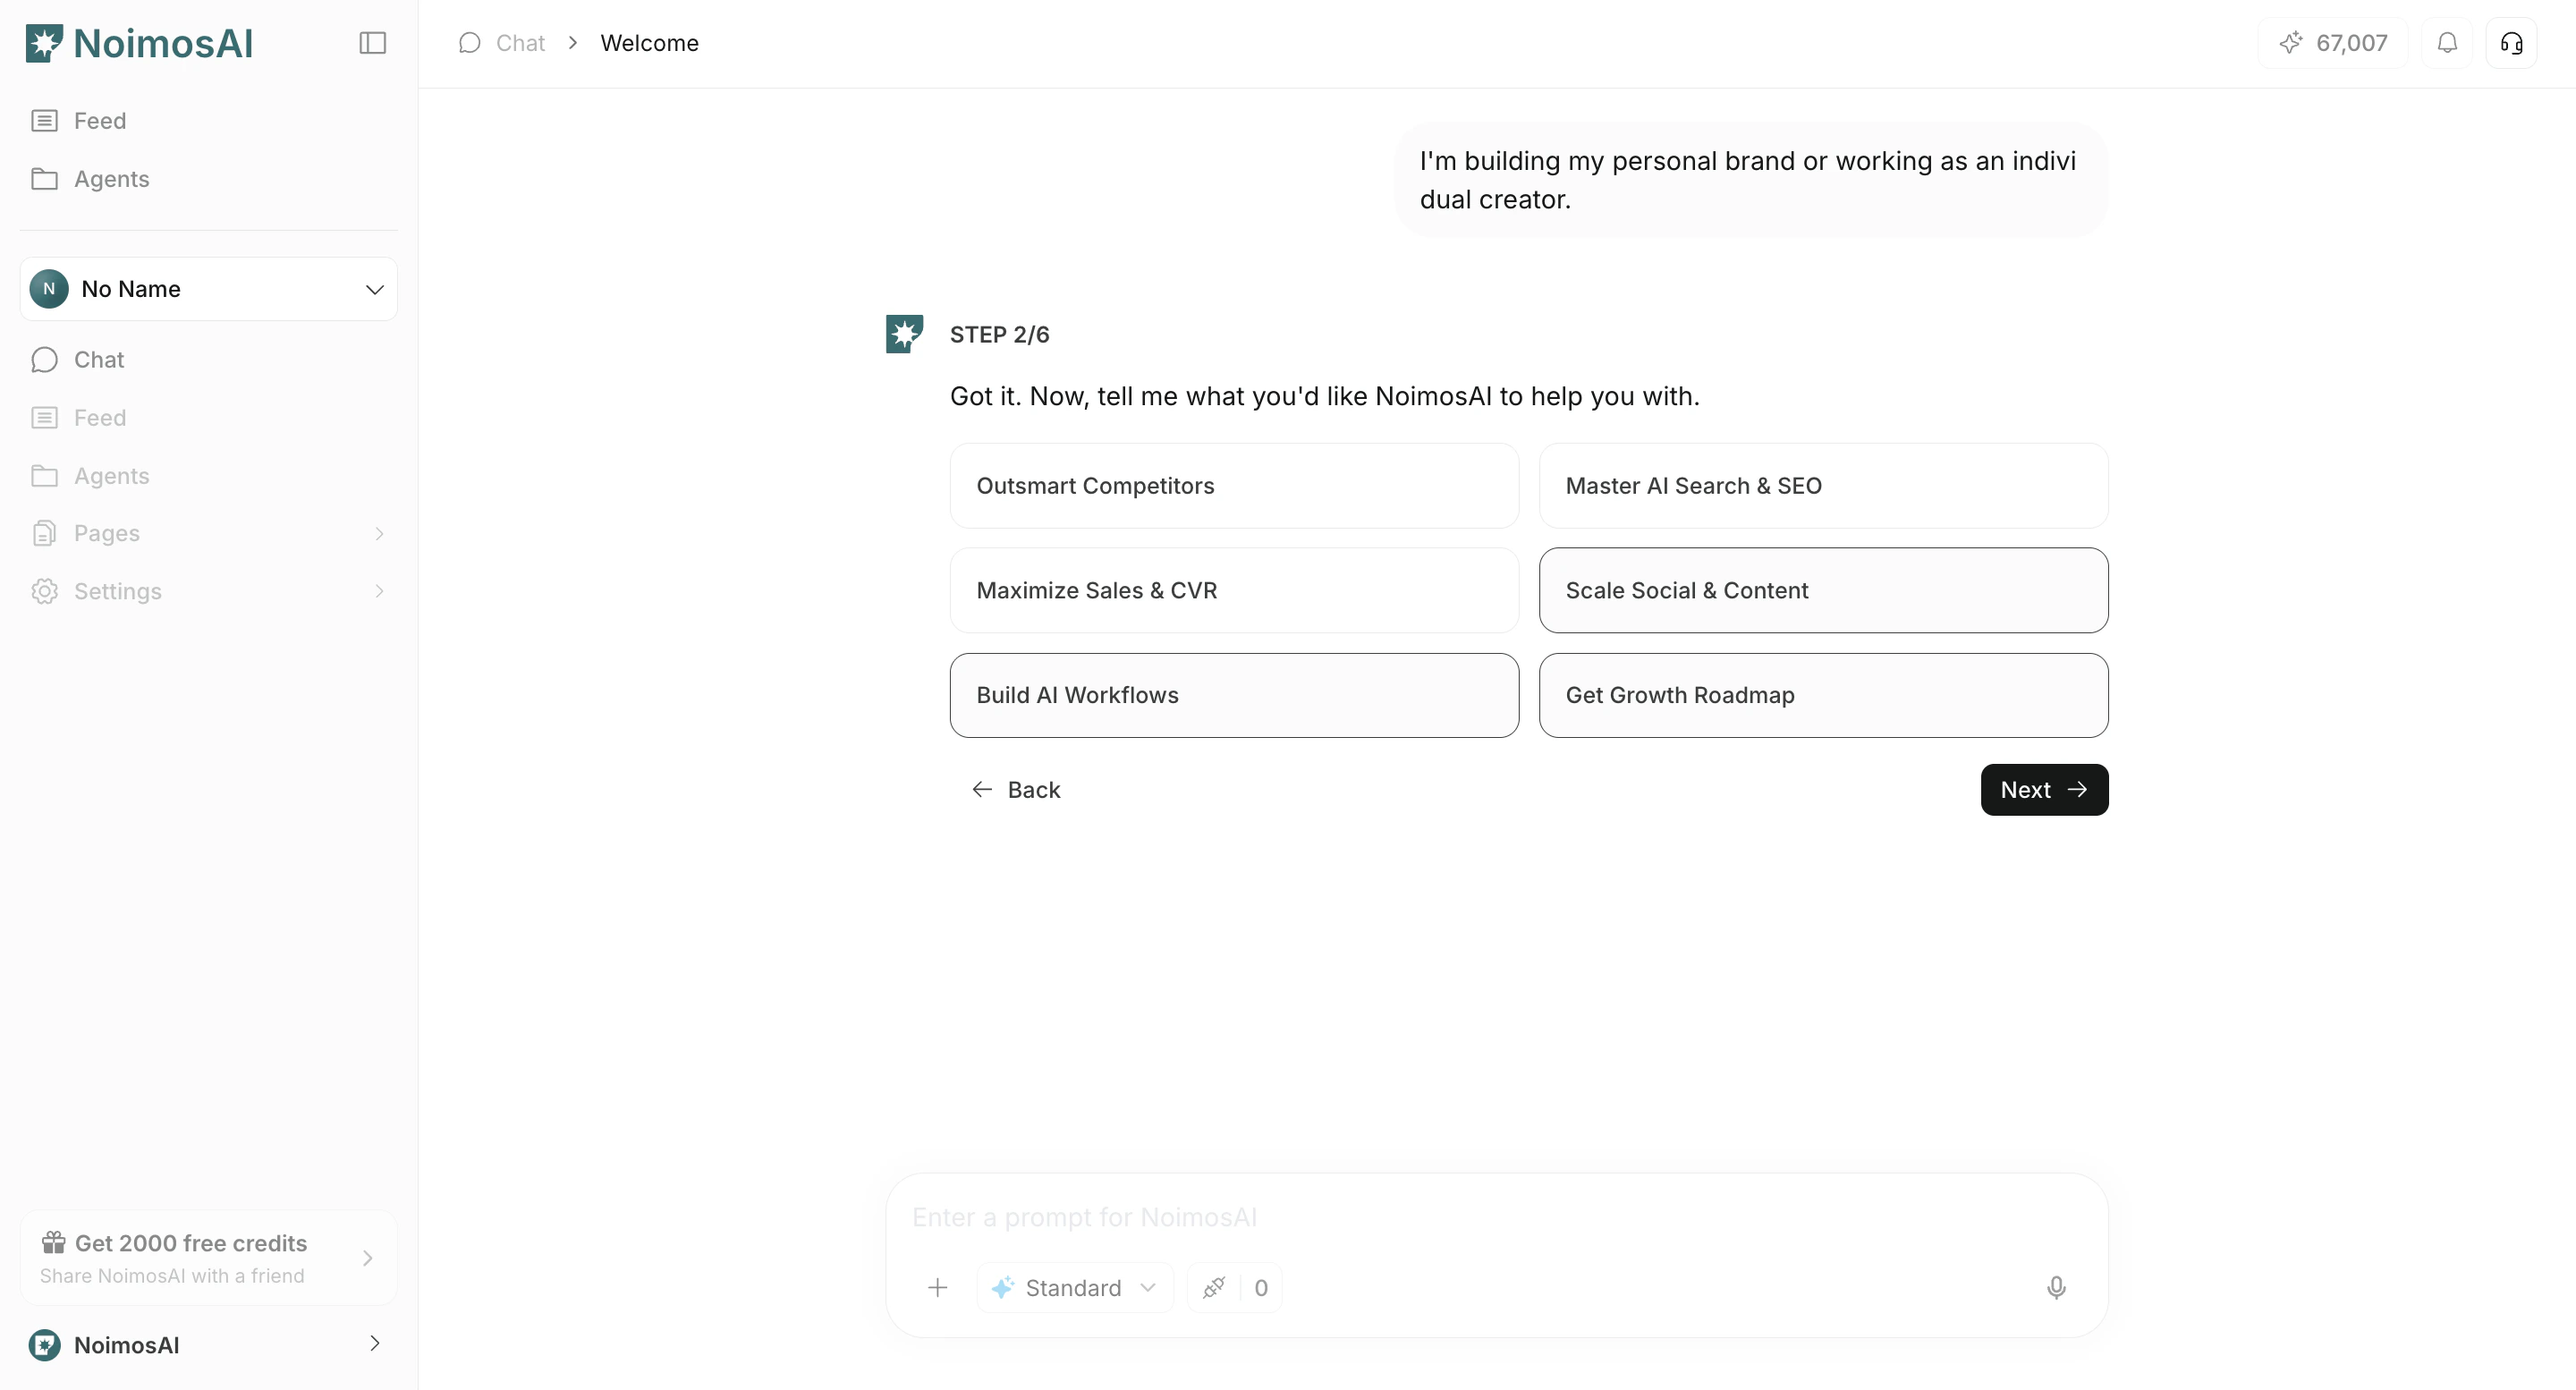
- Select your primary objective for using NoimosAI.
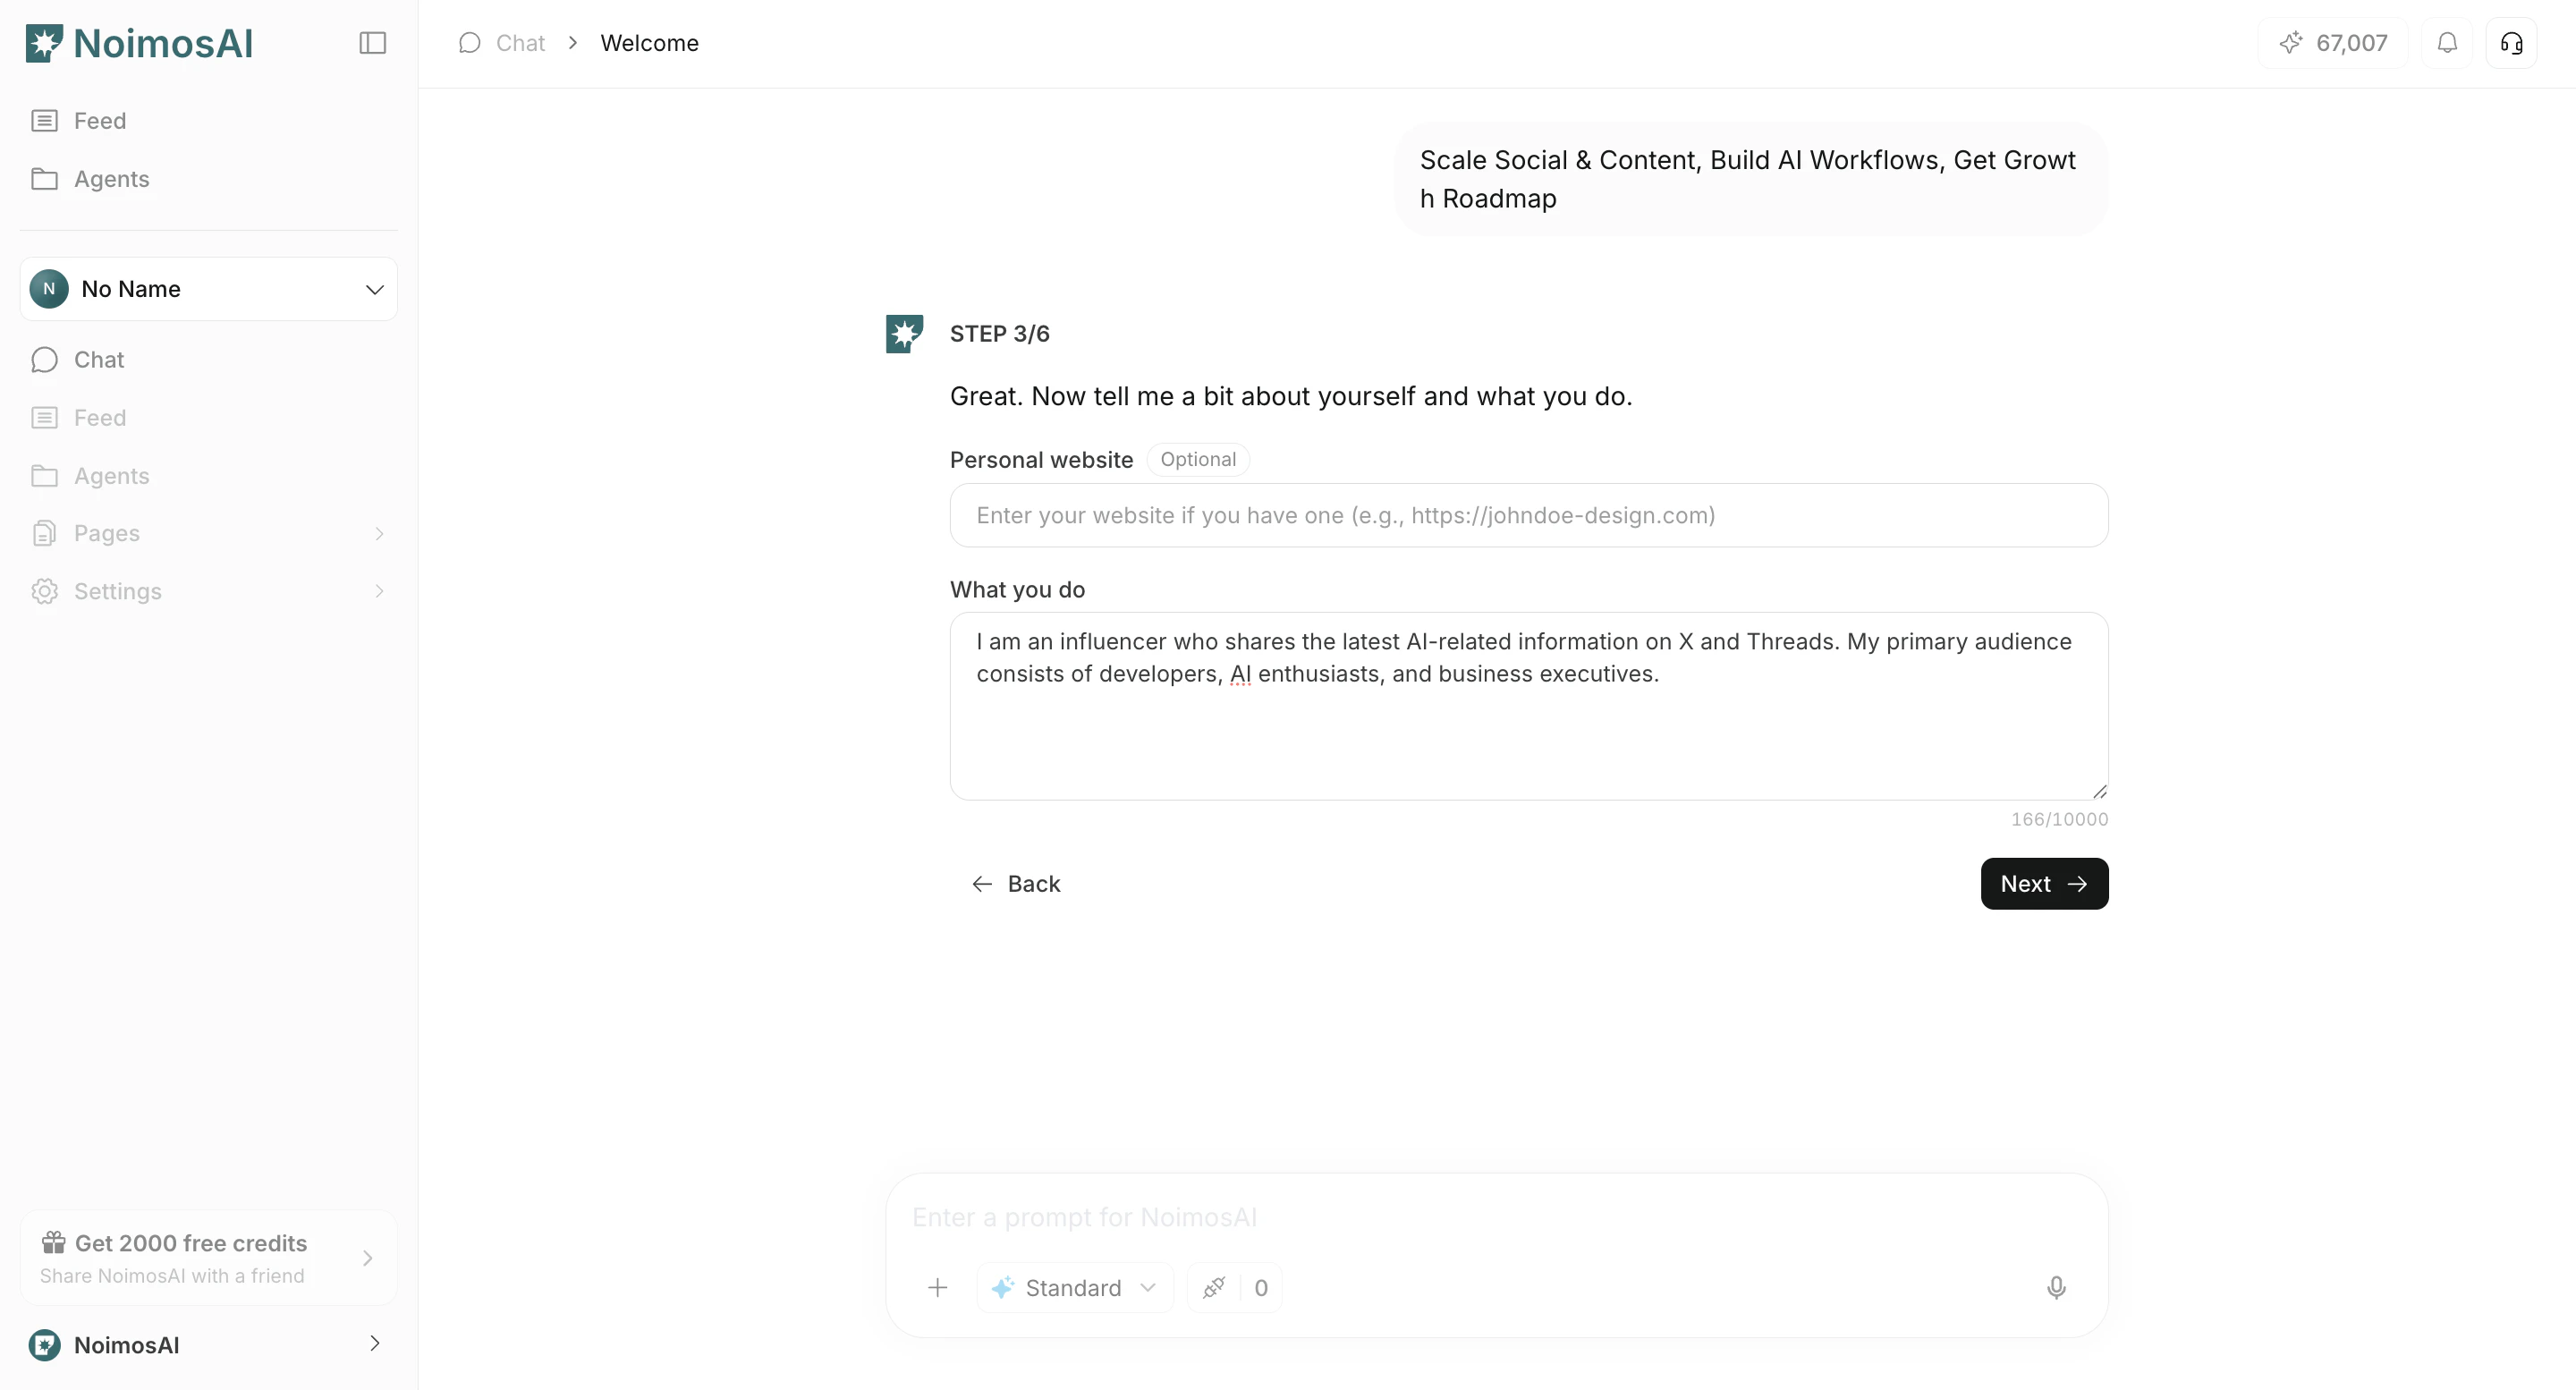
- Enter basic information such as your website and activity details.
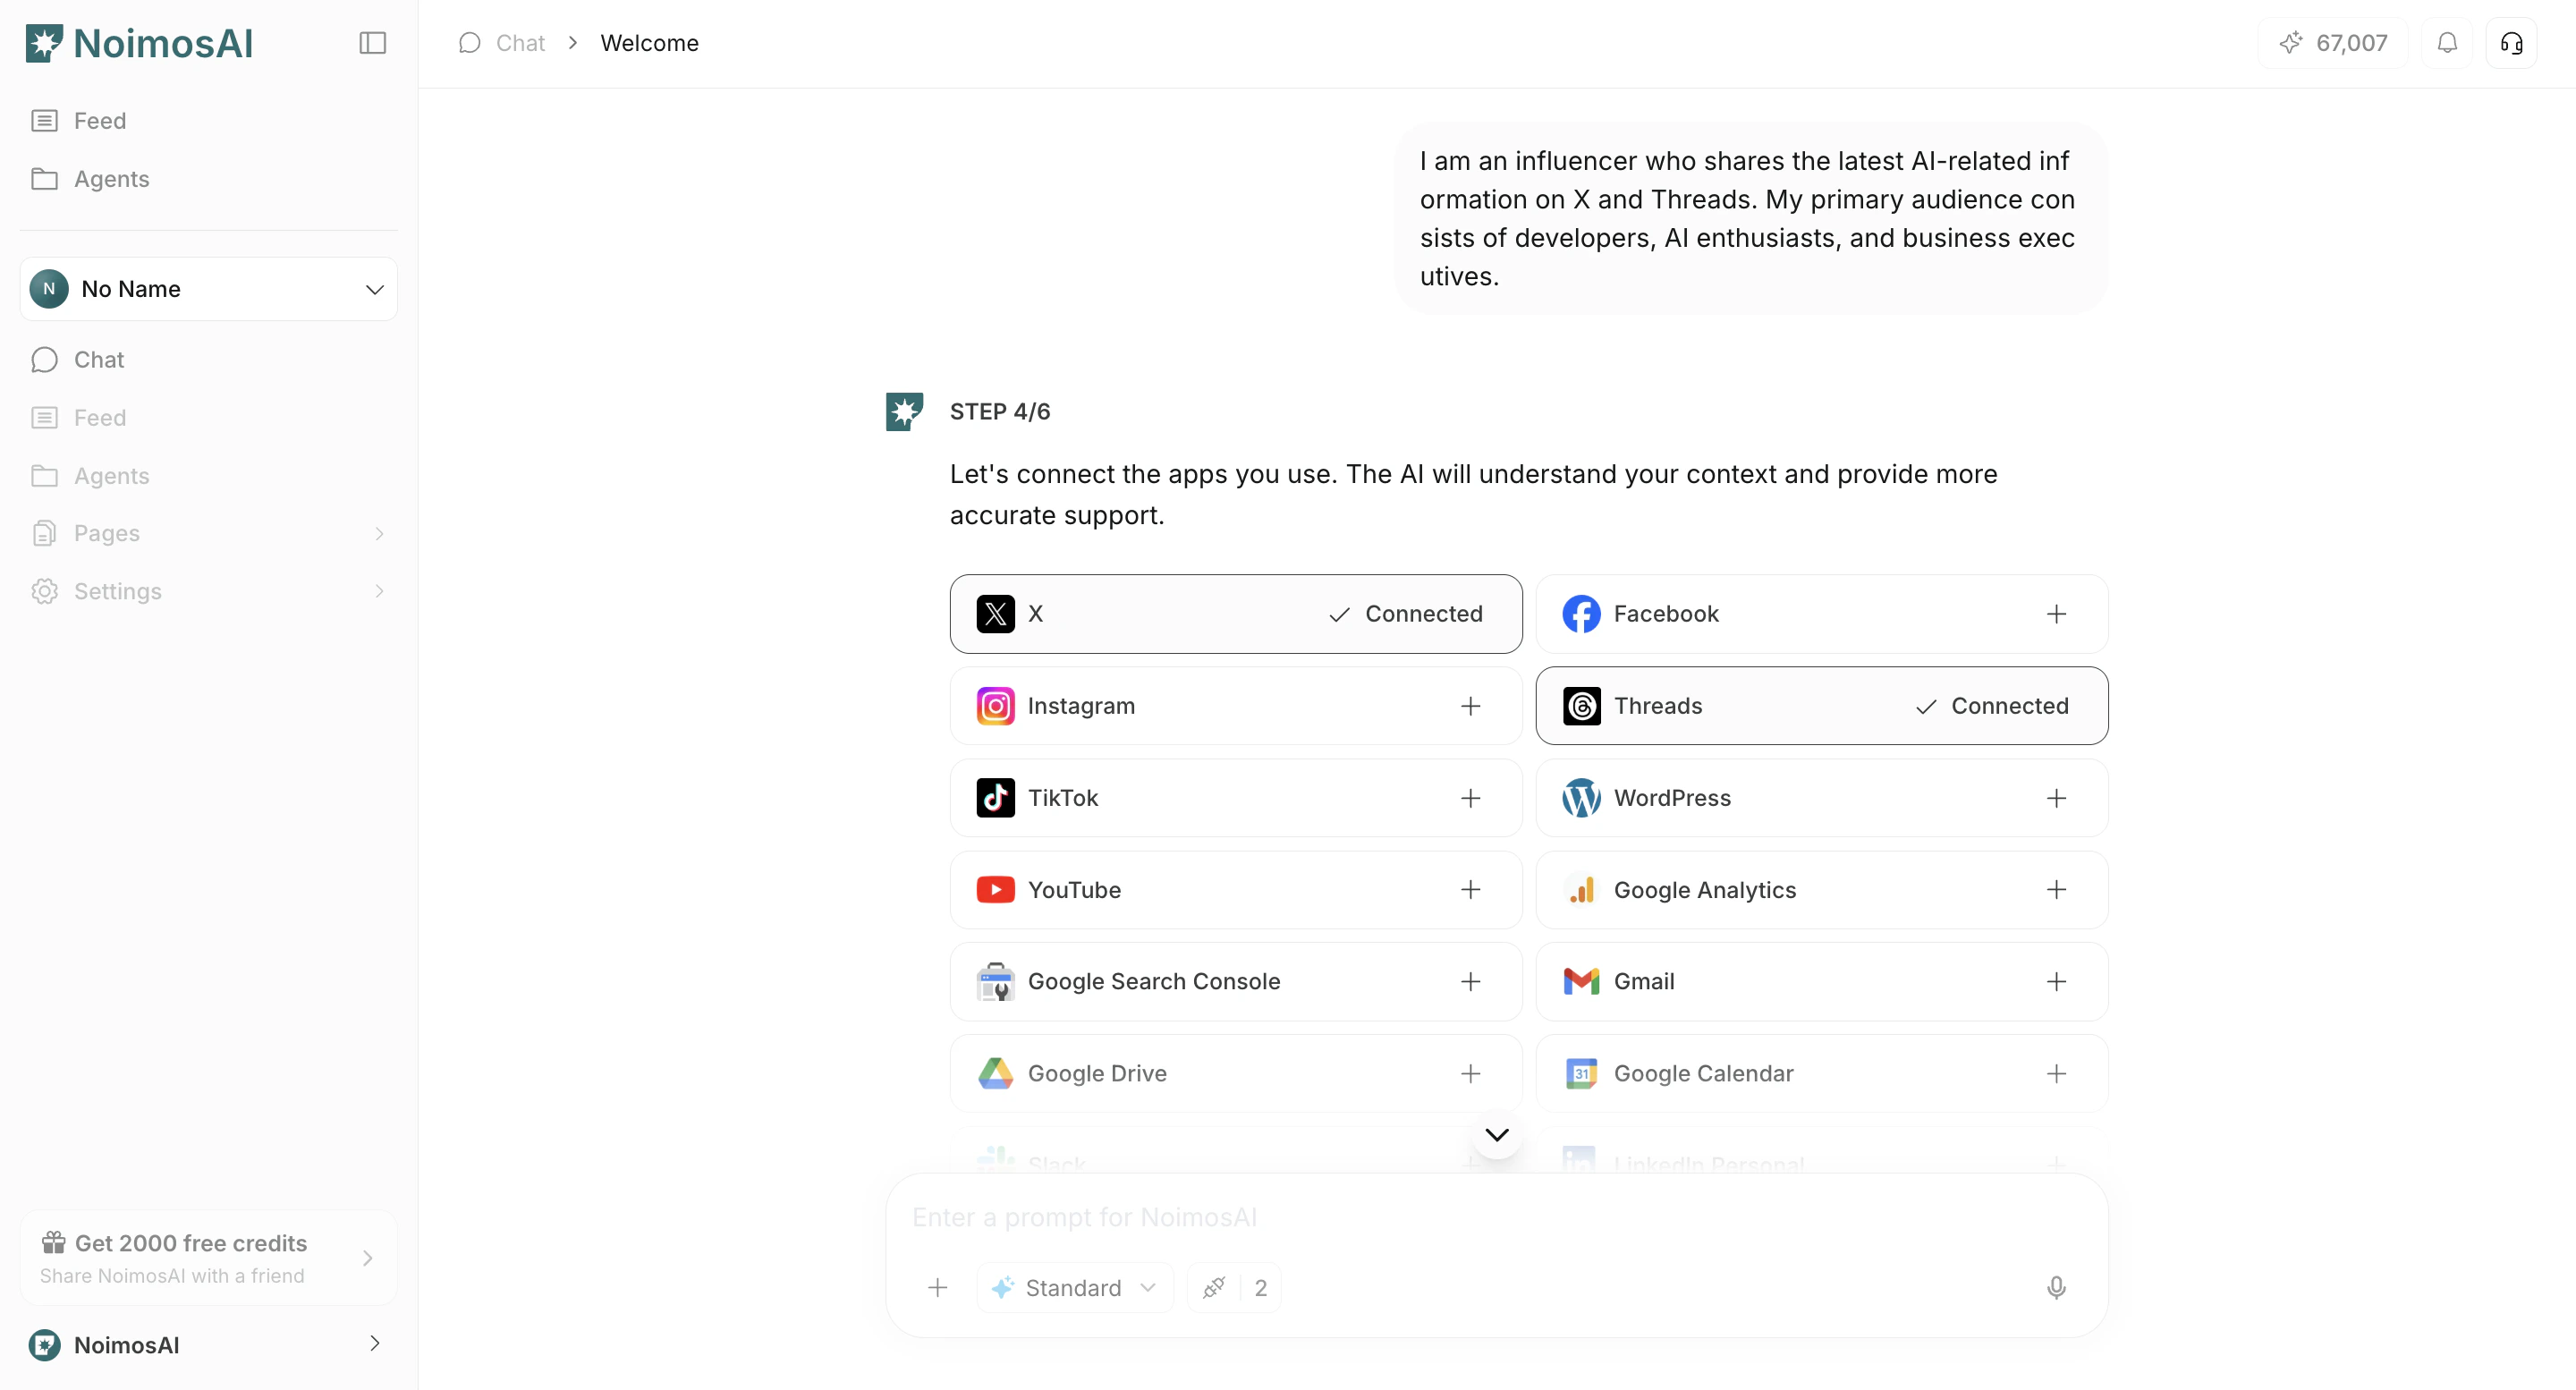
- Connect the apps you want to manage and operate in this workspace.
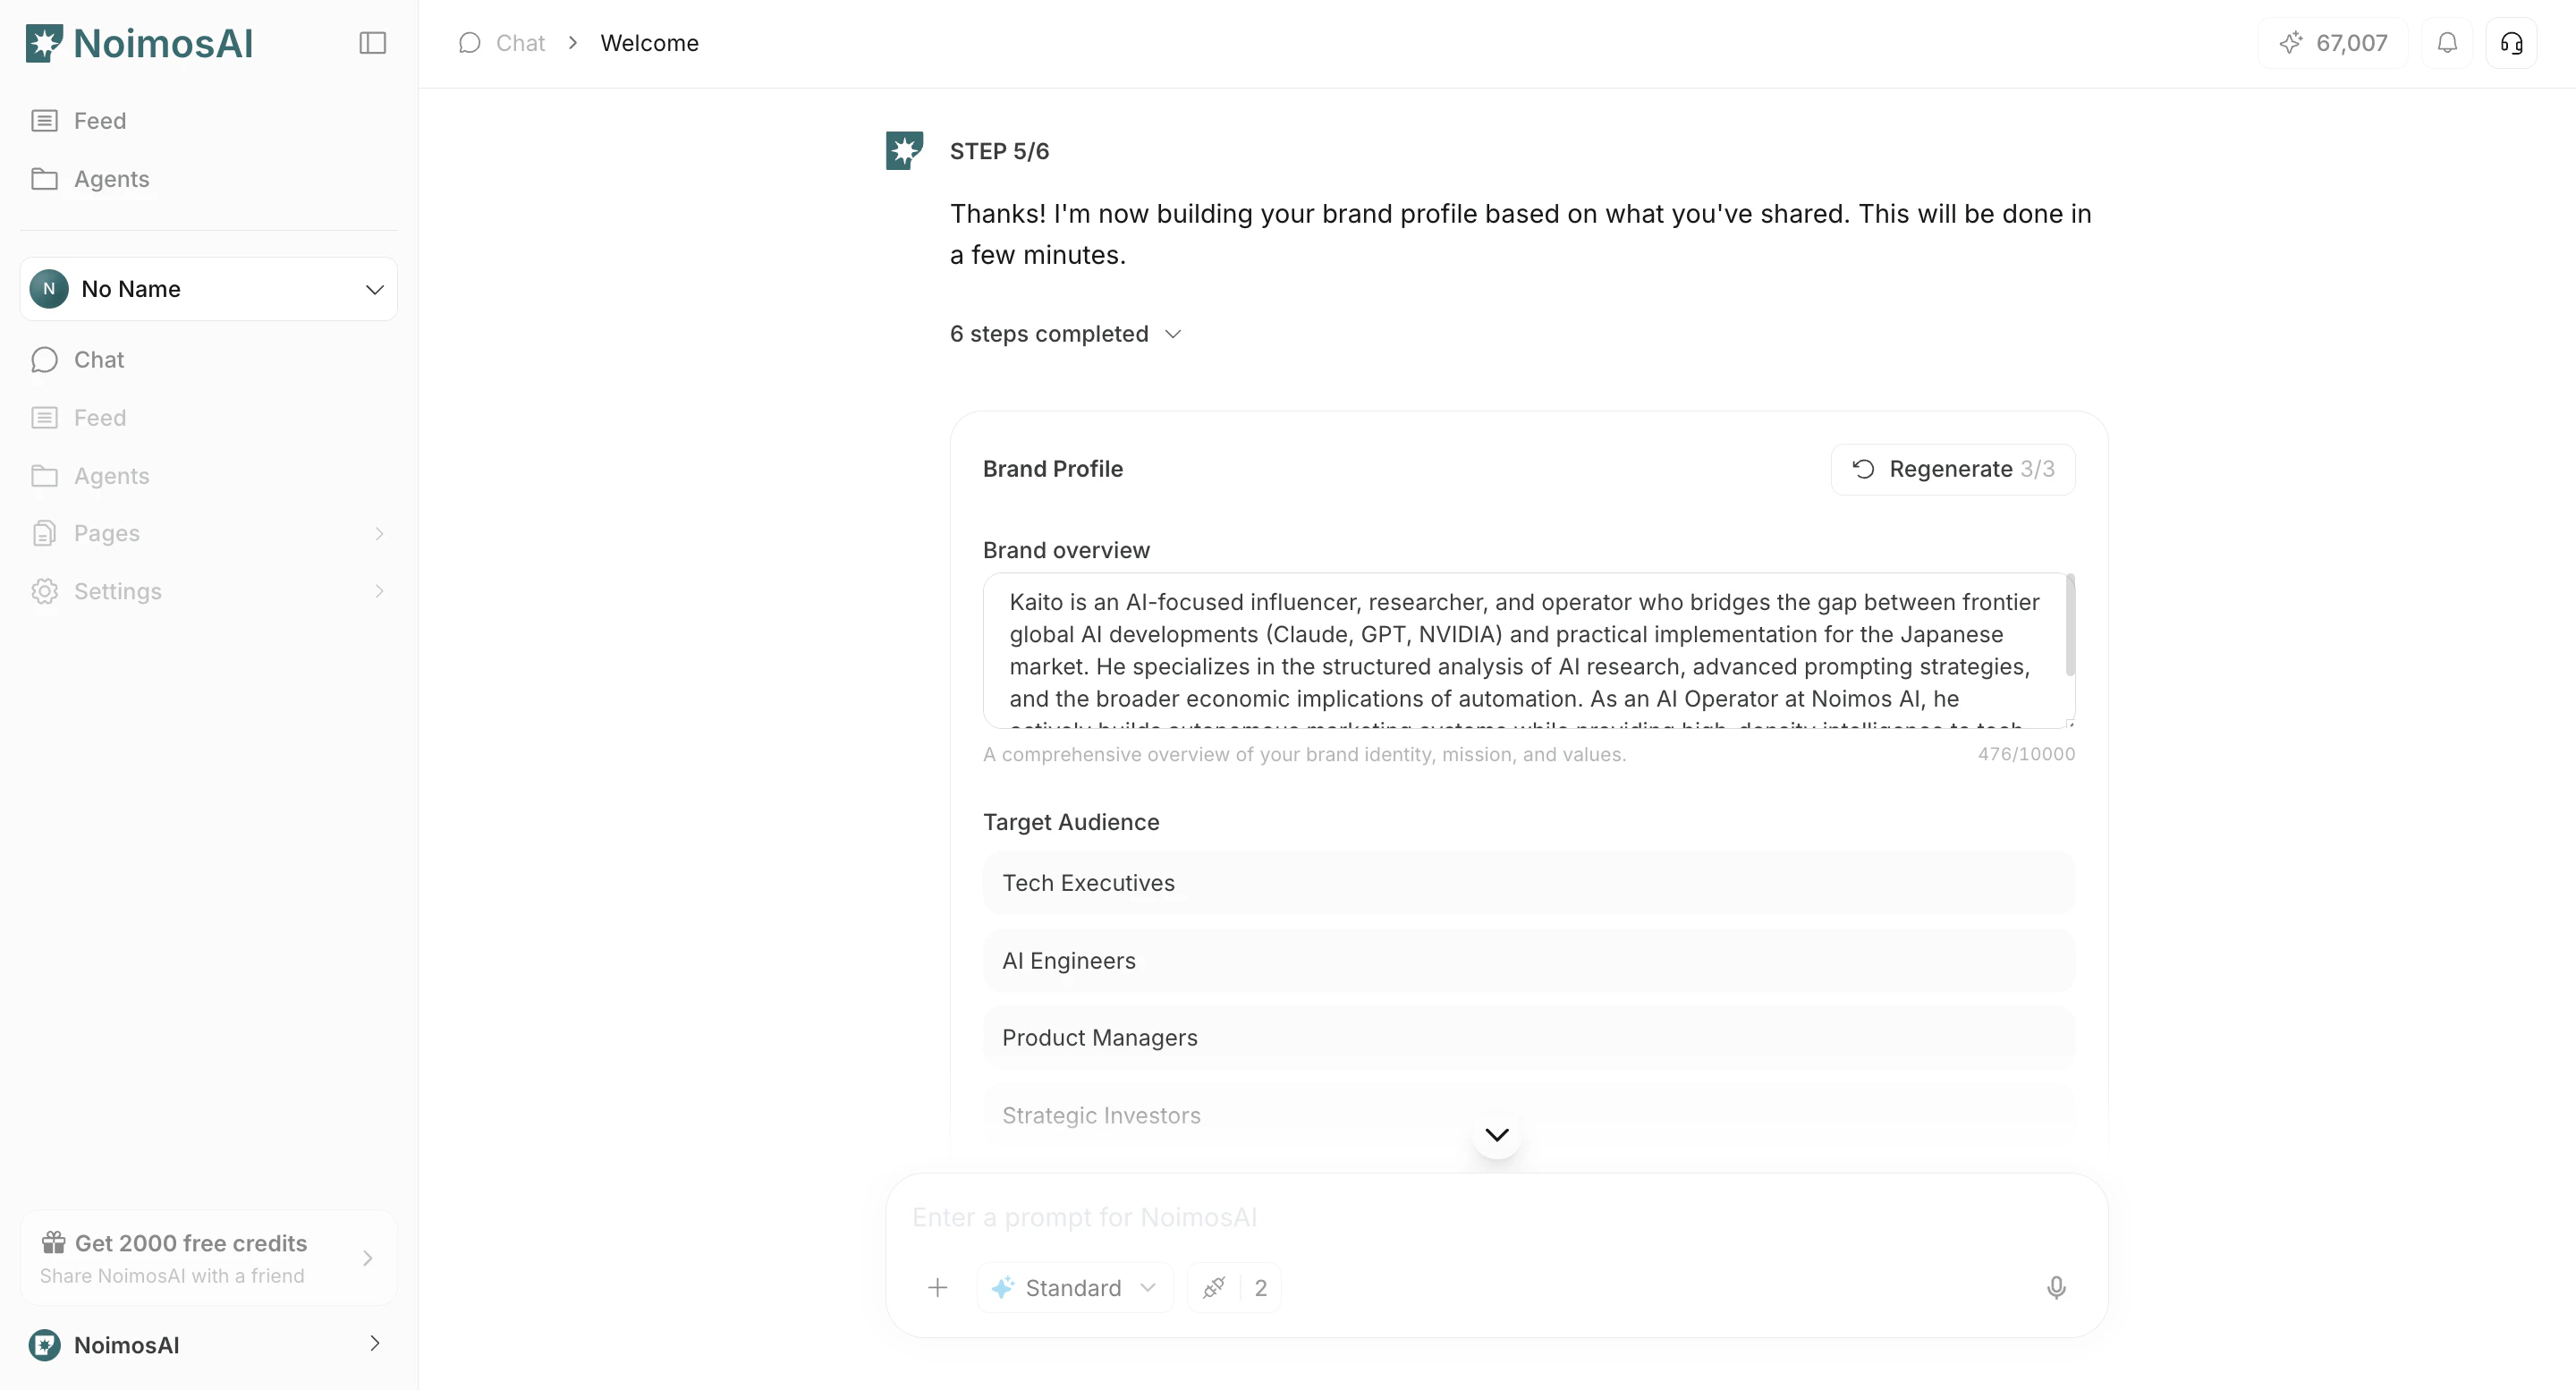
- Review detected brand overview, competitors, influencers, and keyword candidates.
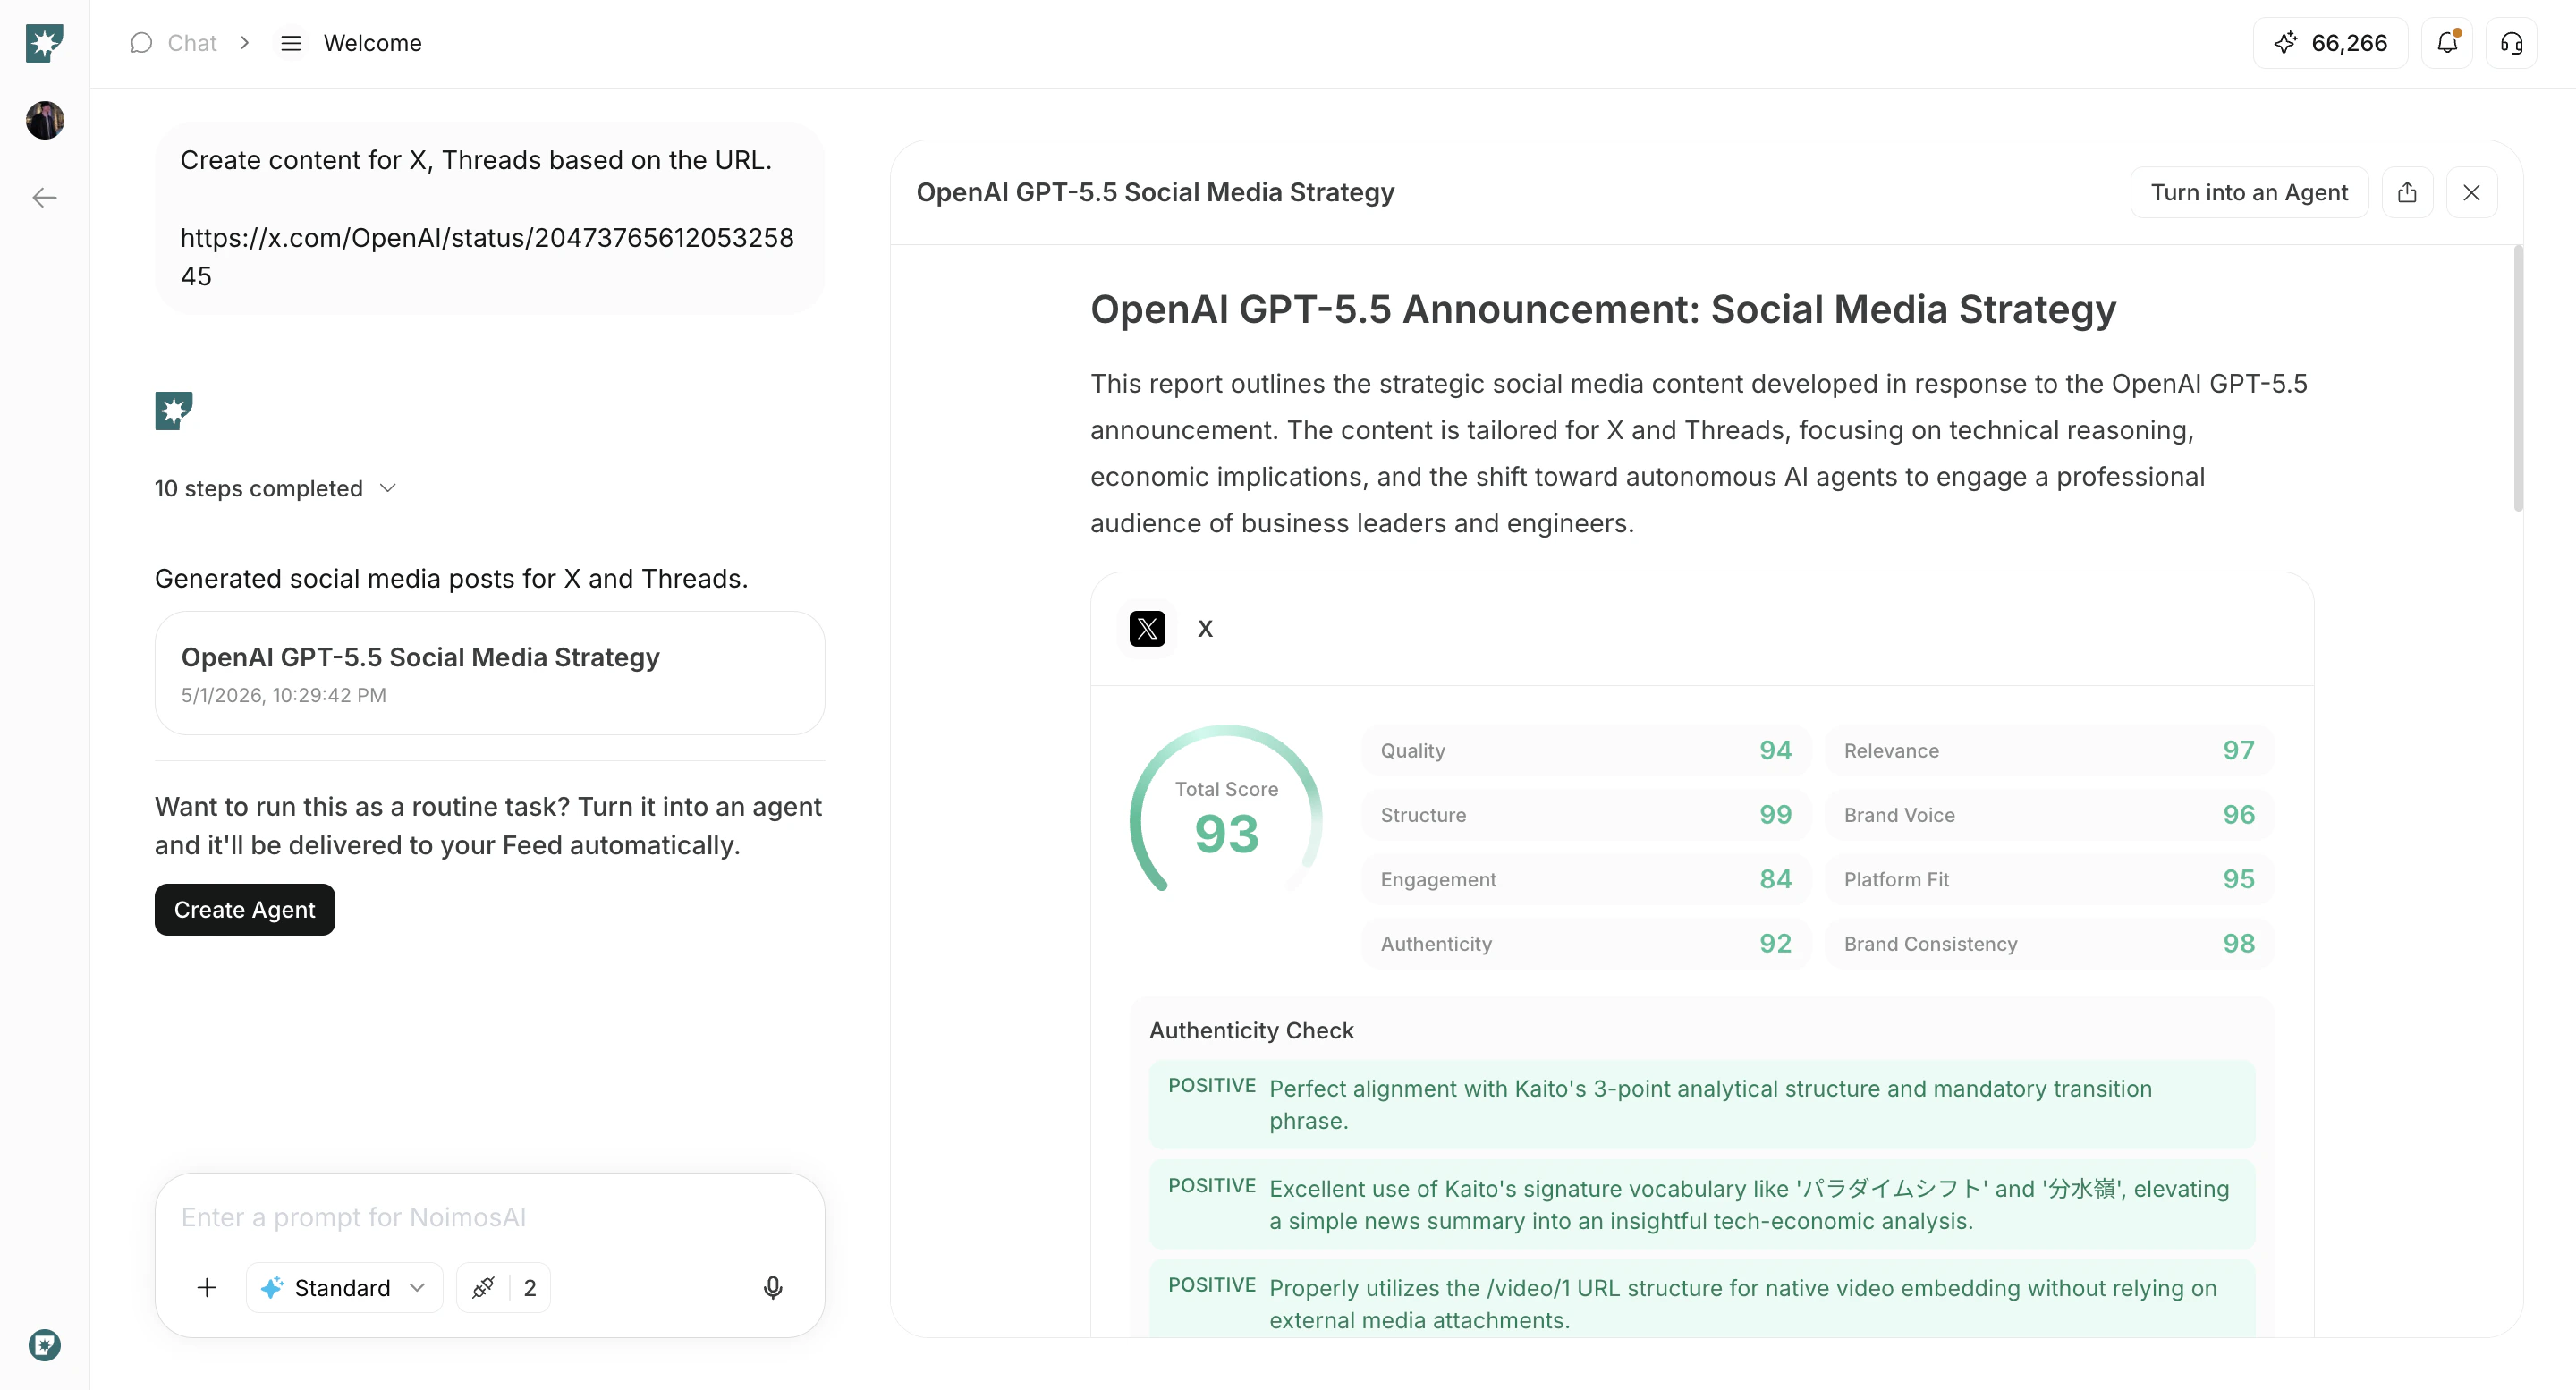
- Create your first output by entering instructions in Chat or selecting a template.

- Review results displayed on the canvas.
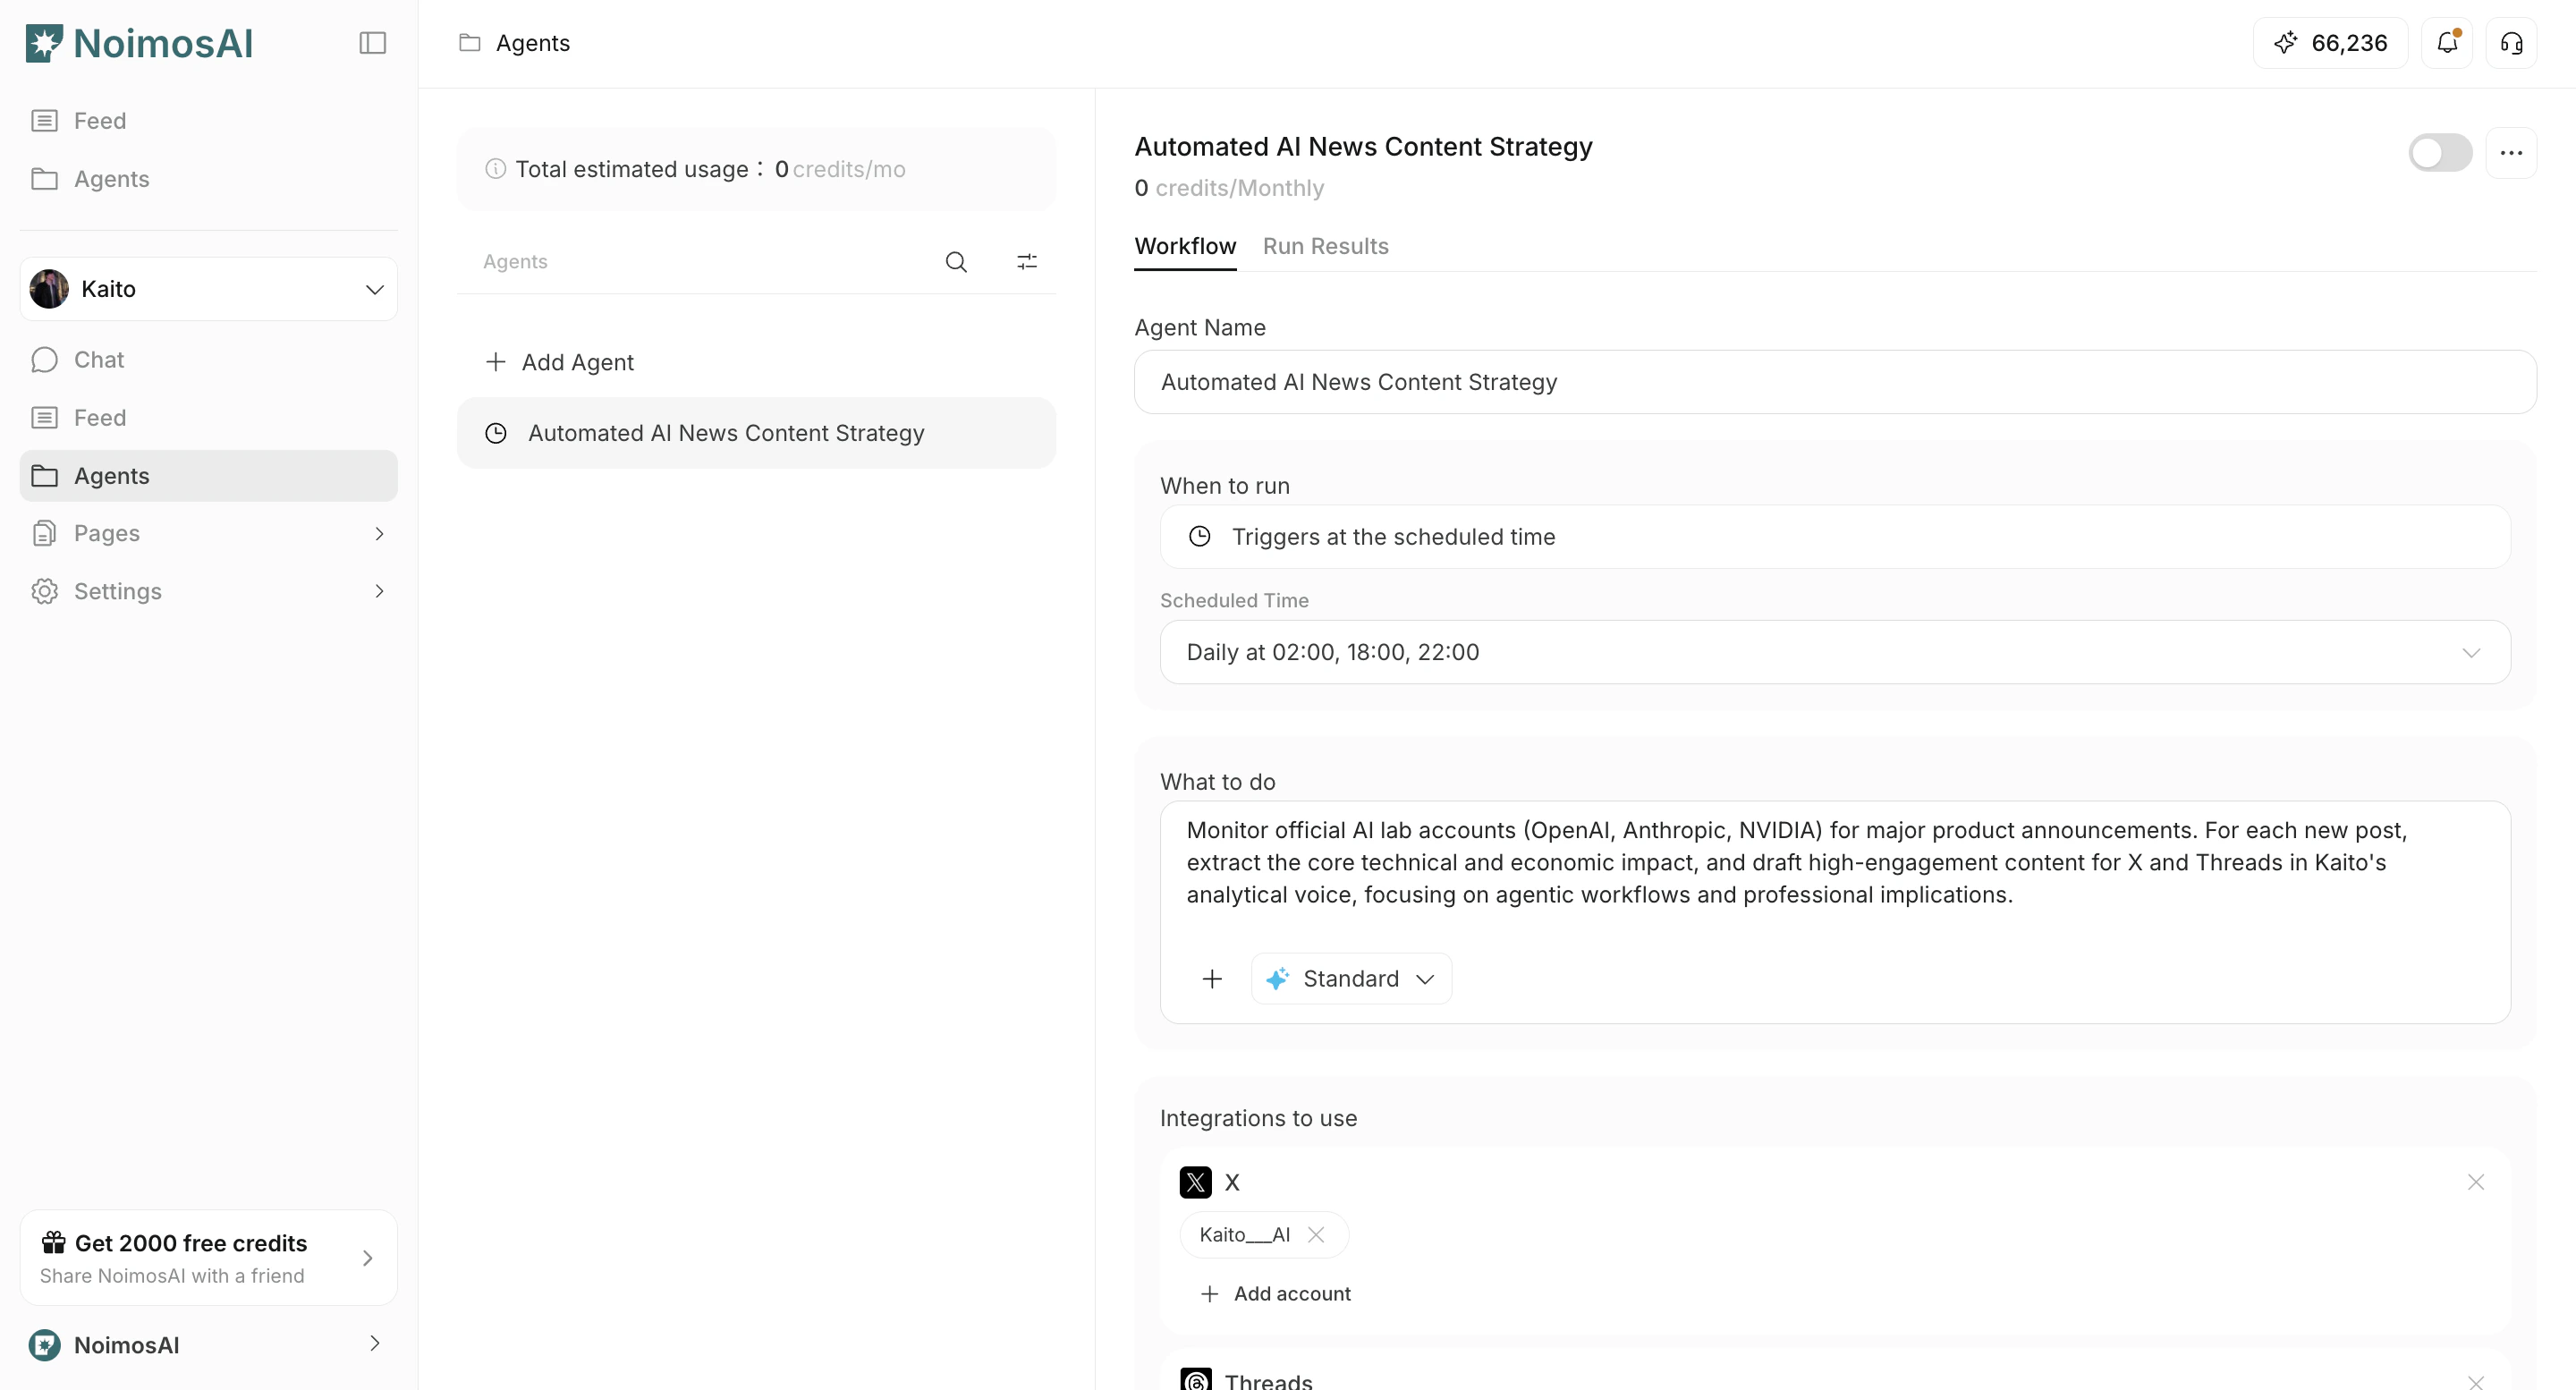
- If you want to run the same work repeatedly, click
Create Agent.
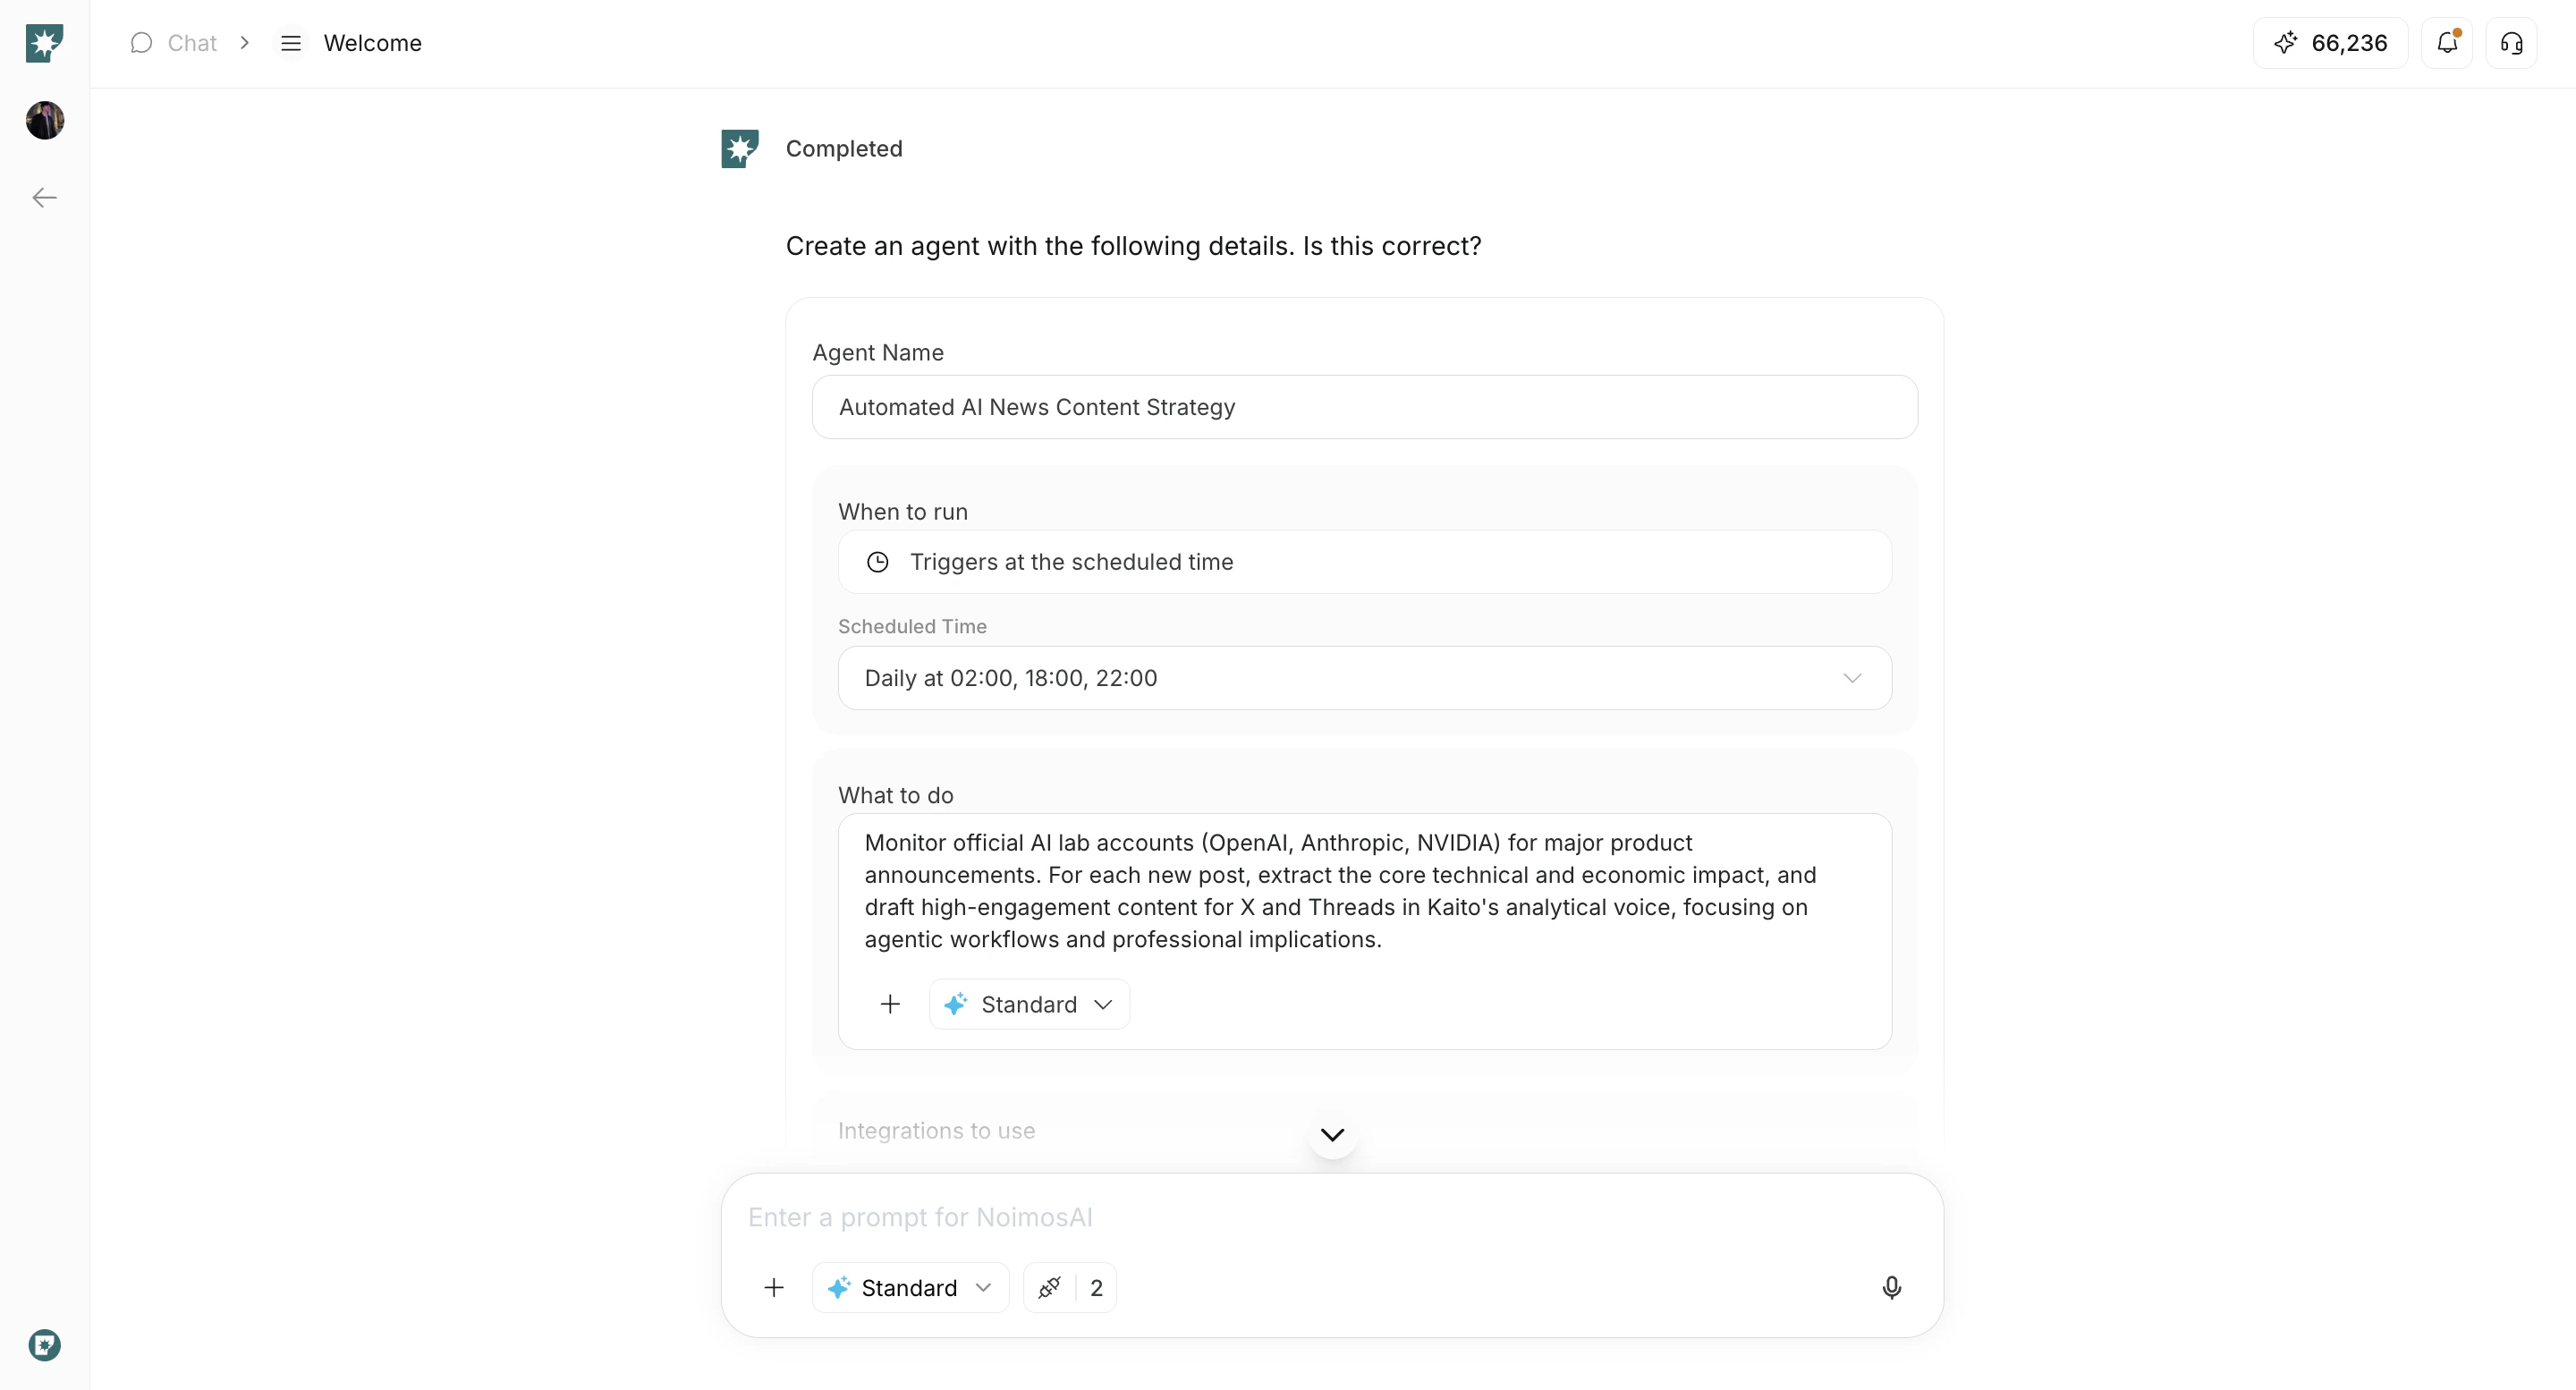
- Check created agents in the
Agentstab.
Notes
- Some input fields vary by workspace type.
- You can connect integrations later, but connecting during onboarding improves initial quality.
- Workspace limits follow your current plan.